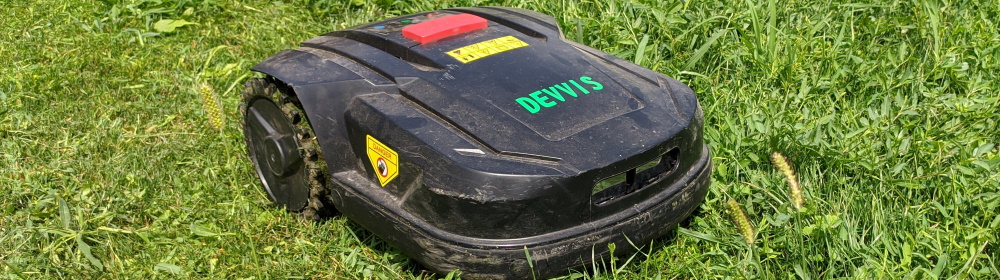
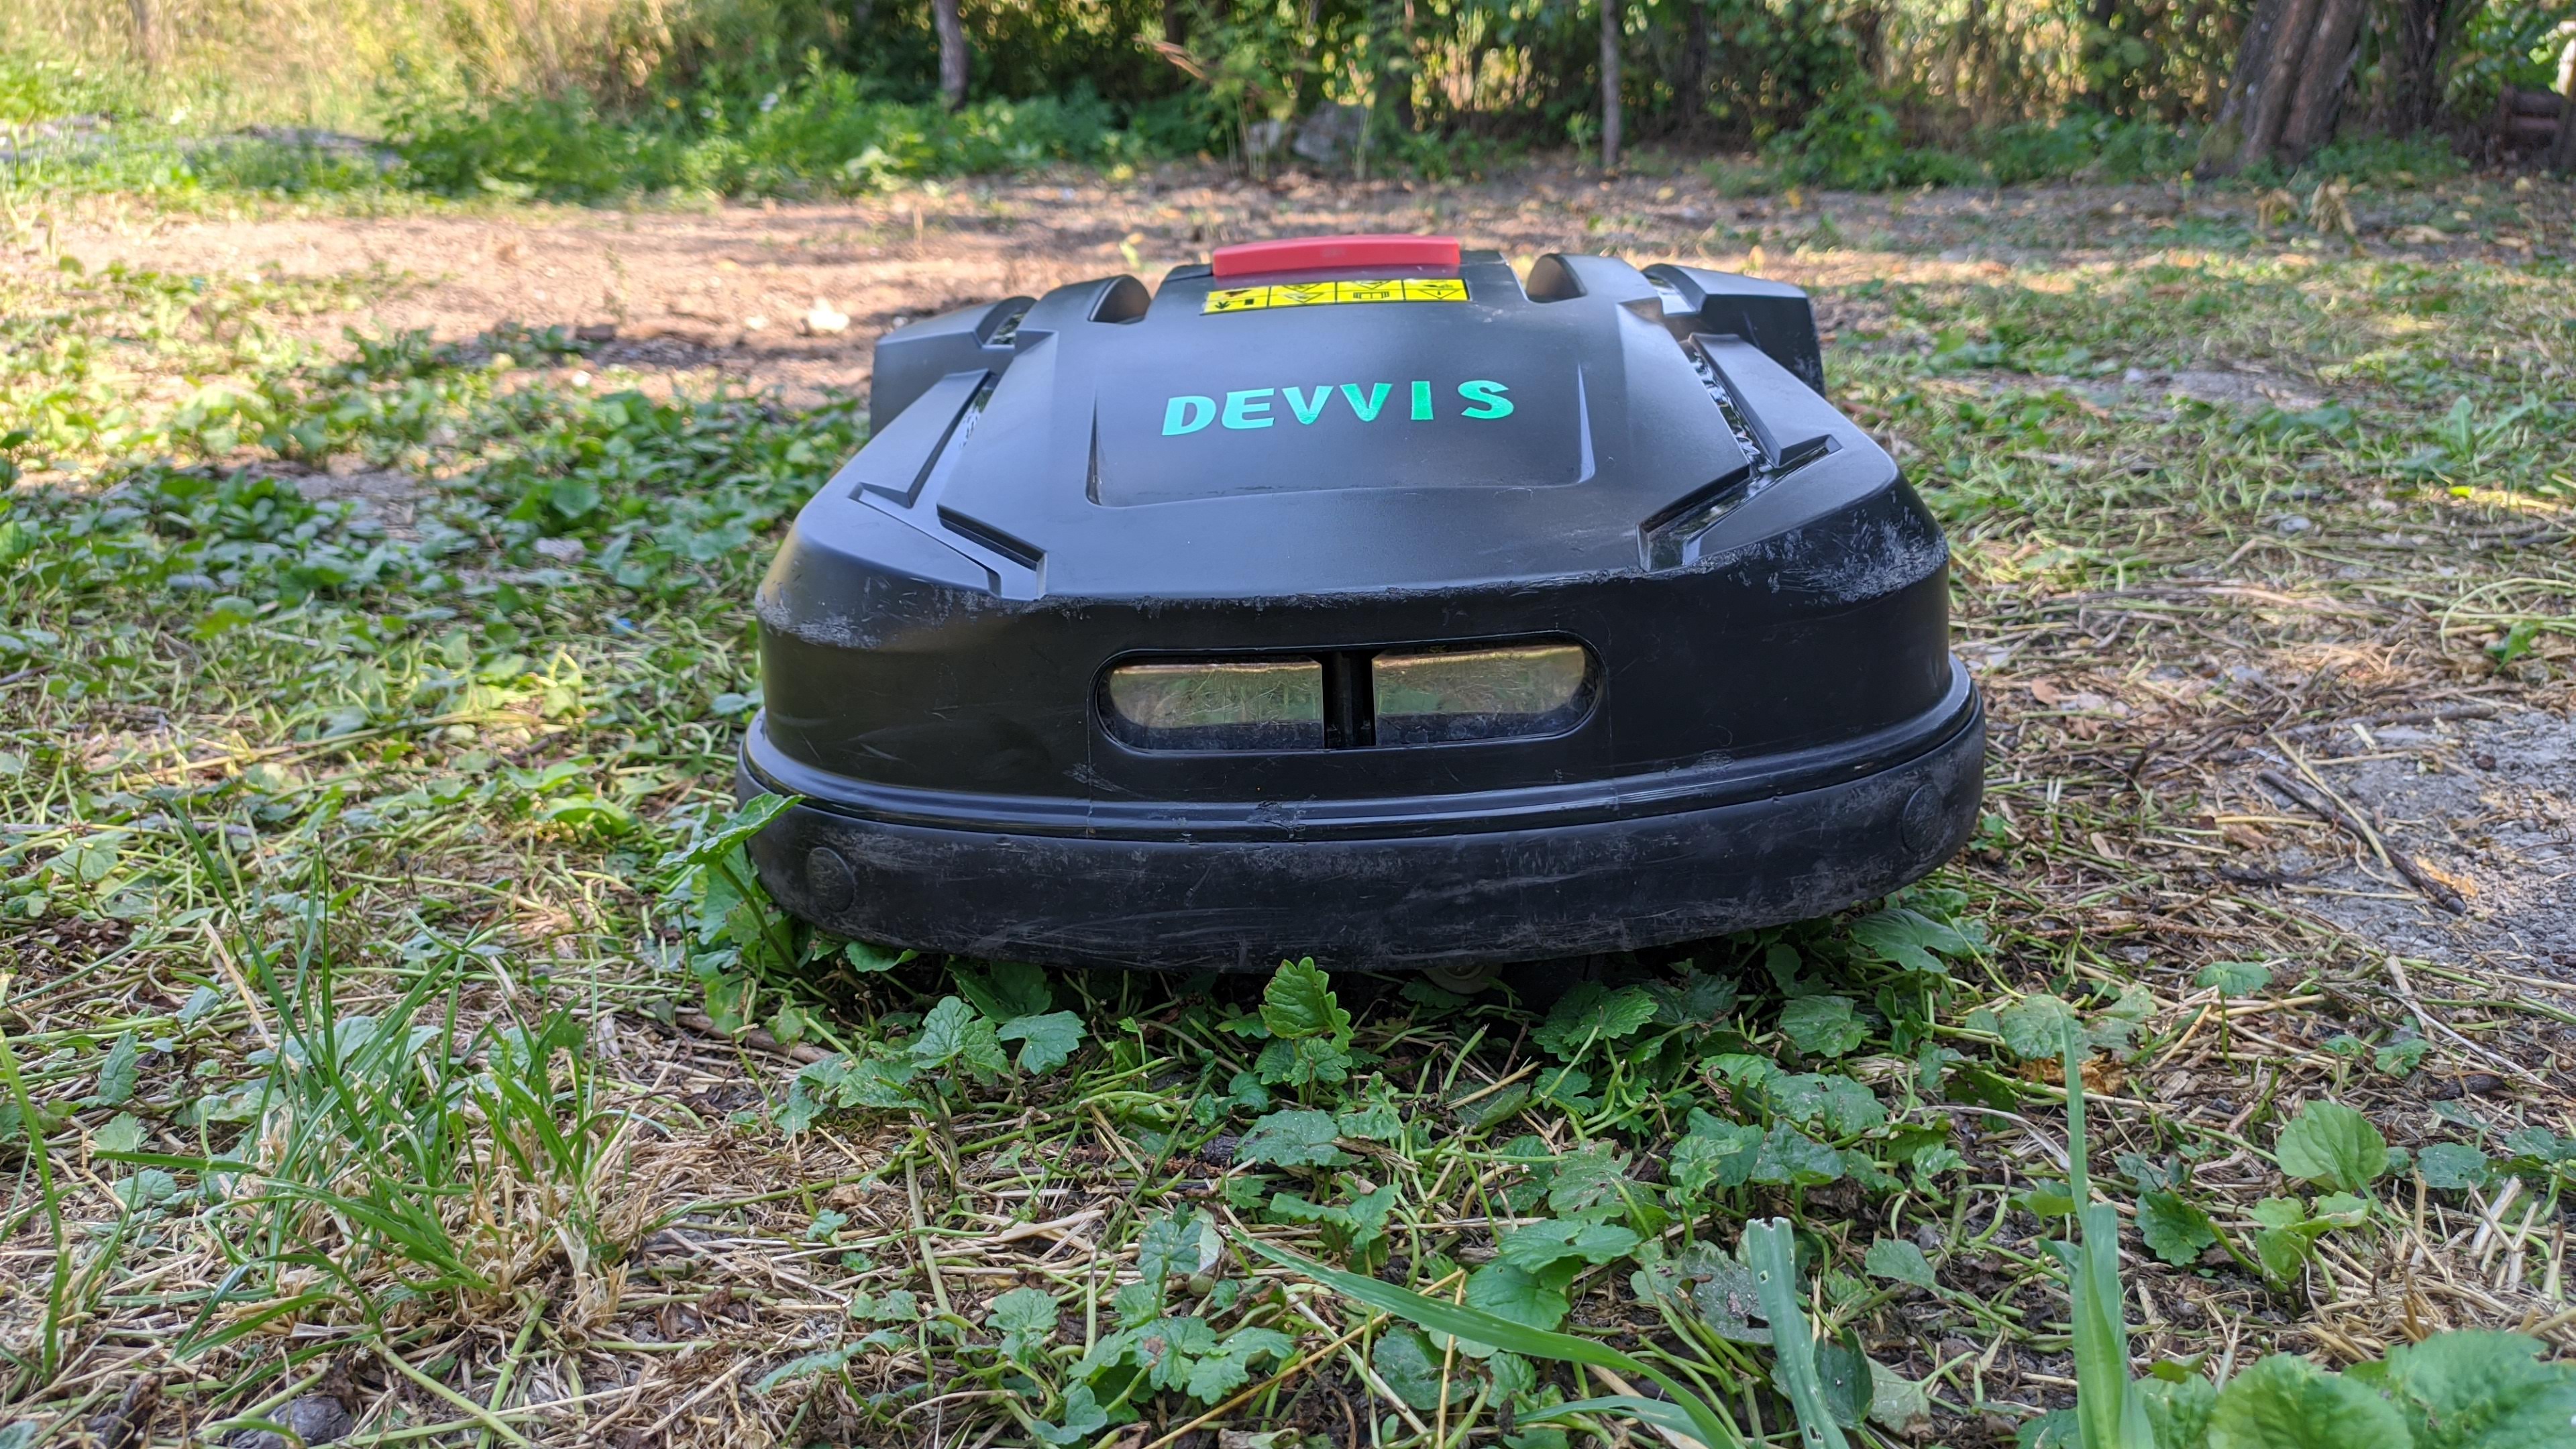
Devvis H750T Robot Lawn Mower Review
Summary
Robot lawn mowers are definitely not a new thing in the market, but its hard to justify the expense for small lawns. Enter the Devvis H750T robot lawn mower.
Full disclosure: This is a review sample sent to me free of charge by Devvis. Review is not influenced by that fact and is solely my opinion. Links to the store and product pages are affiliate links.
The official Devvis AliExpress store ships worldwide from China and an EU warehouse. Unlike other AliExpress sellers, Devvis has a 2 years warranty policy, spare parts available to order and they’re happy to answer any questions about their products and shipping.
If you are from Europe, when ordering from the Devvis store, the price displayed by AliExpress will initially be displayed with VAT included. When you select shipping from China and go to checkout, the VAT will be subtracted from the price. Regardless of the shipping option, Devvis will ship the mower to you from the closest warehouse. Don’t hesitate to contact the store if you have more questions.
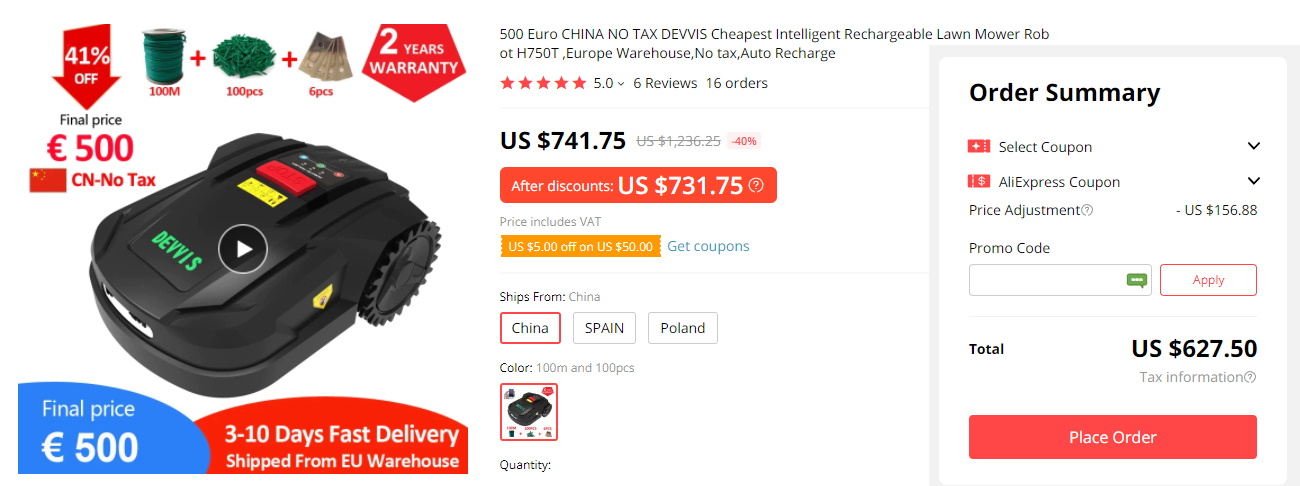
After arranging the shipping, I got mine delivered in just 7 days from the EU warehouse.
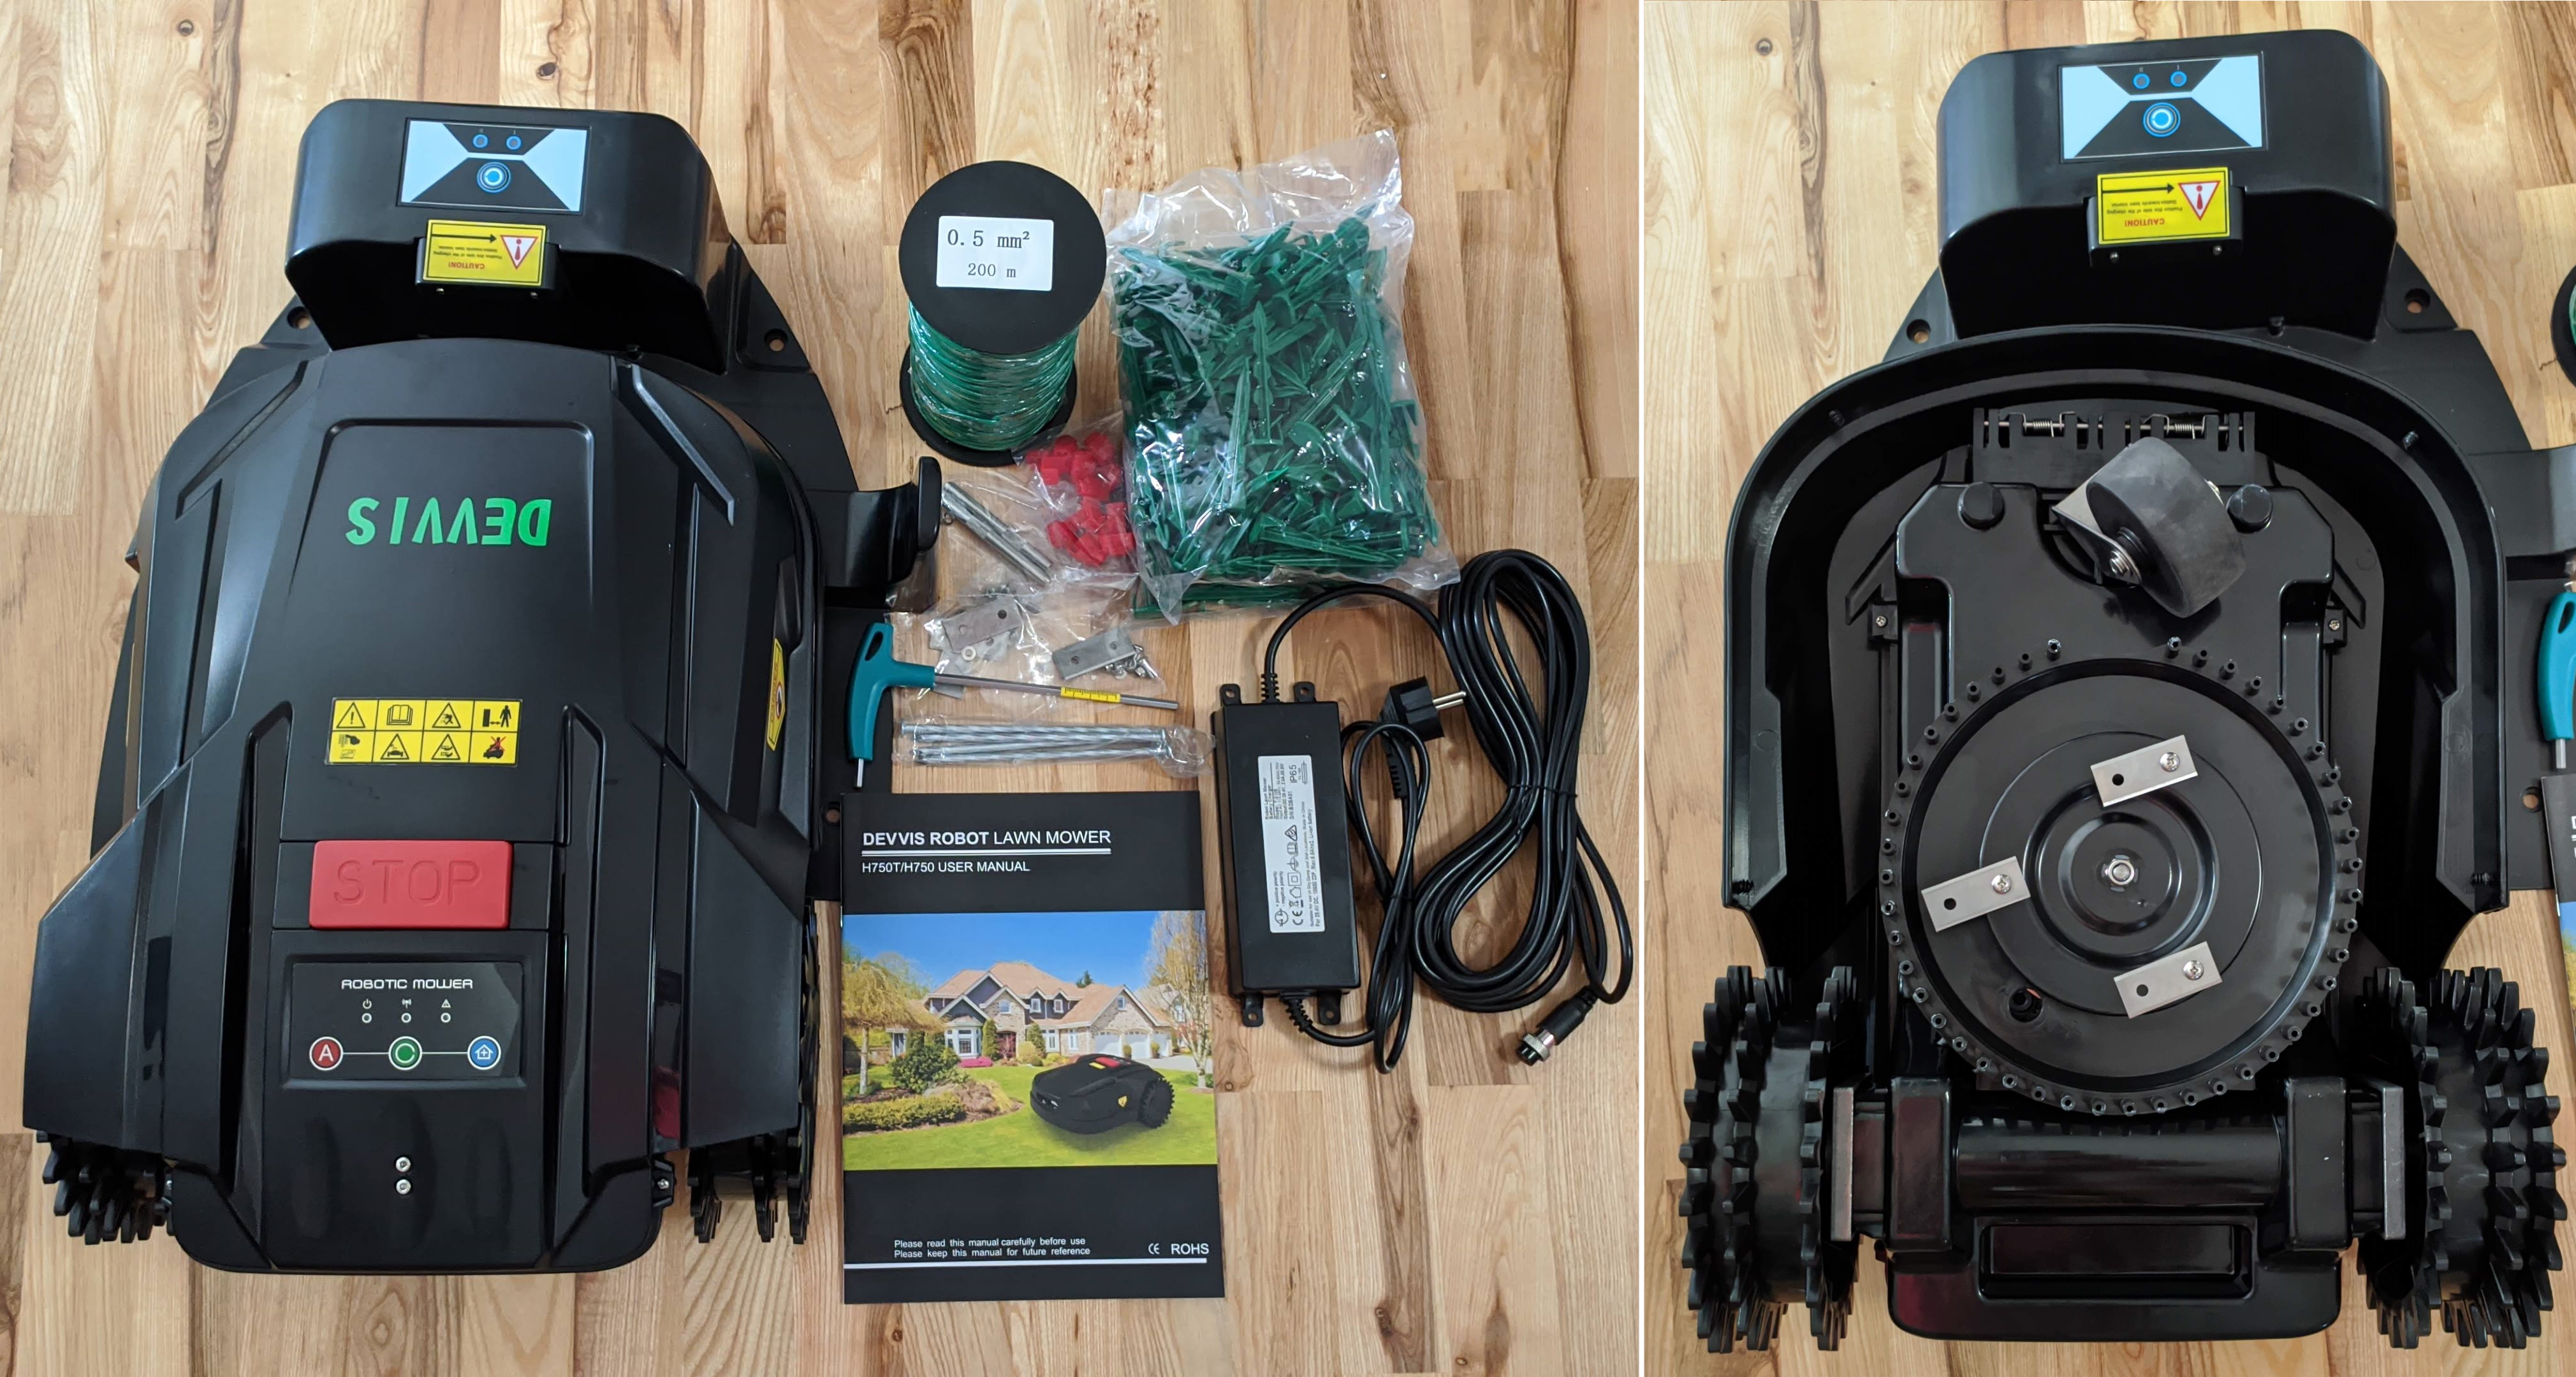
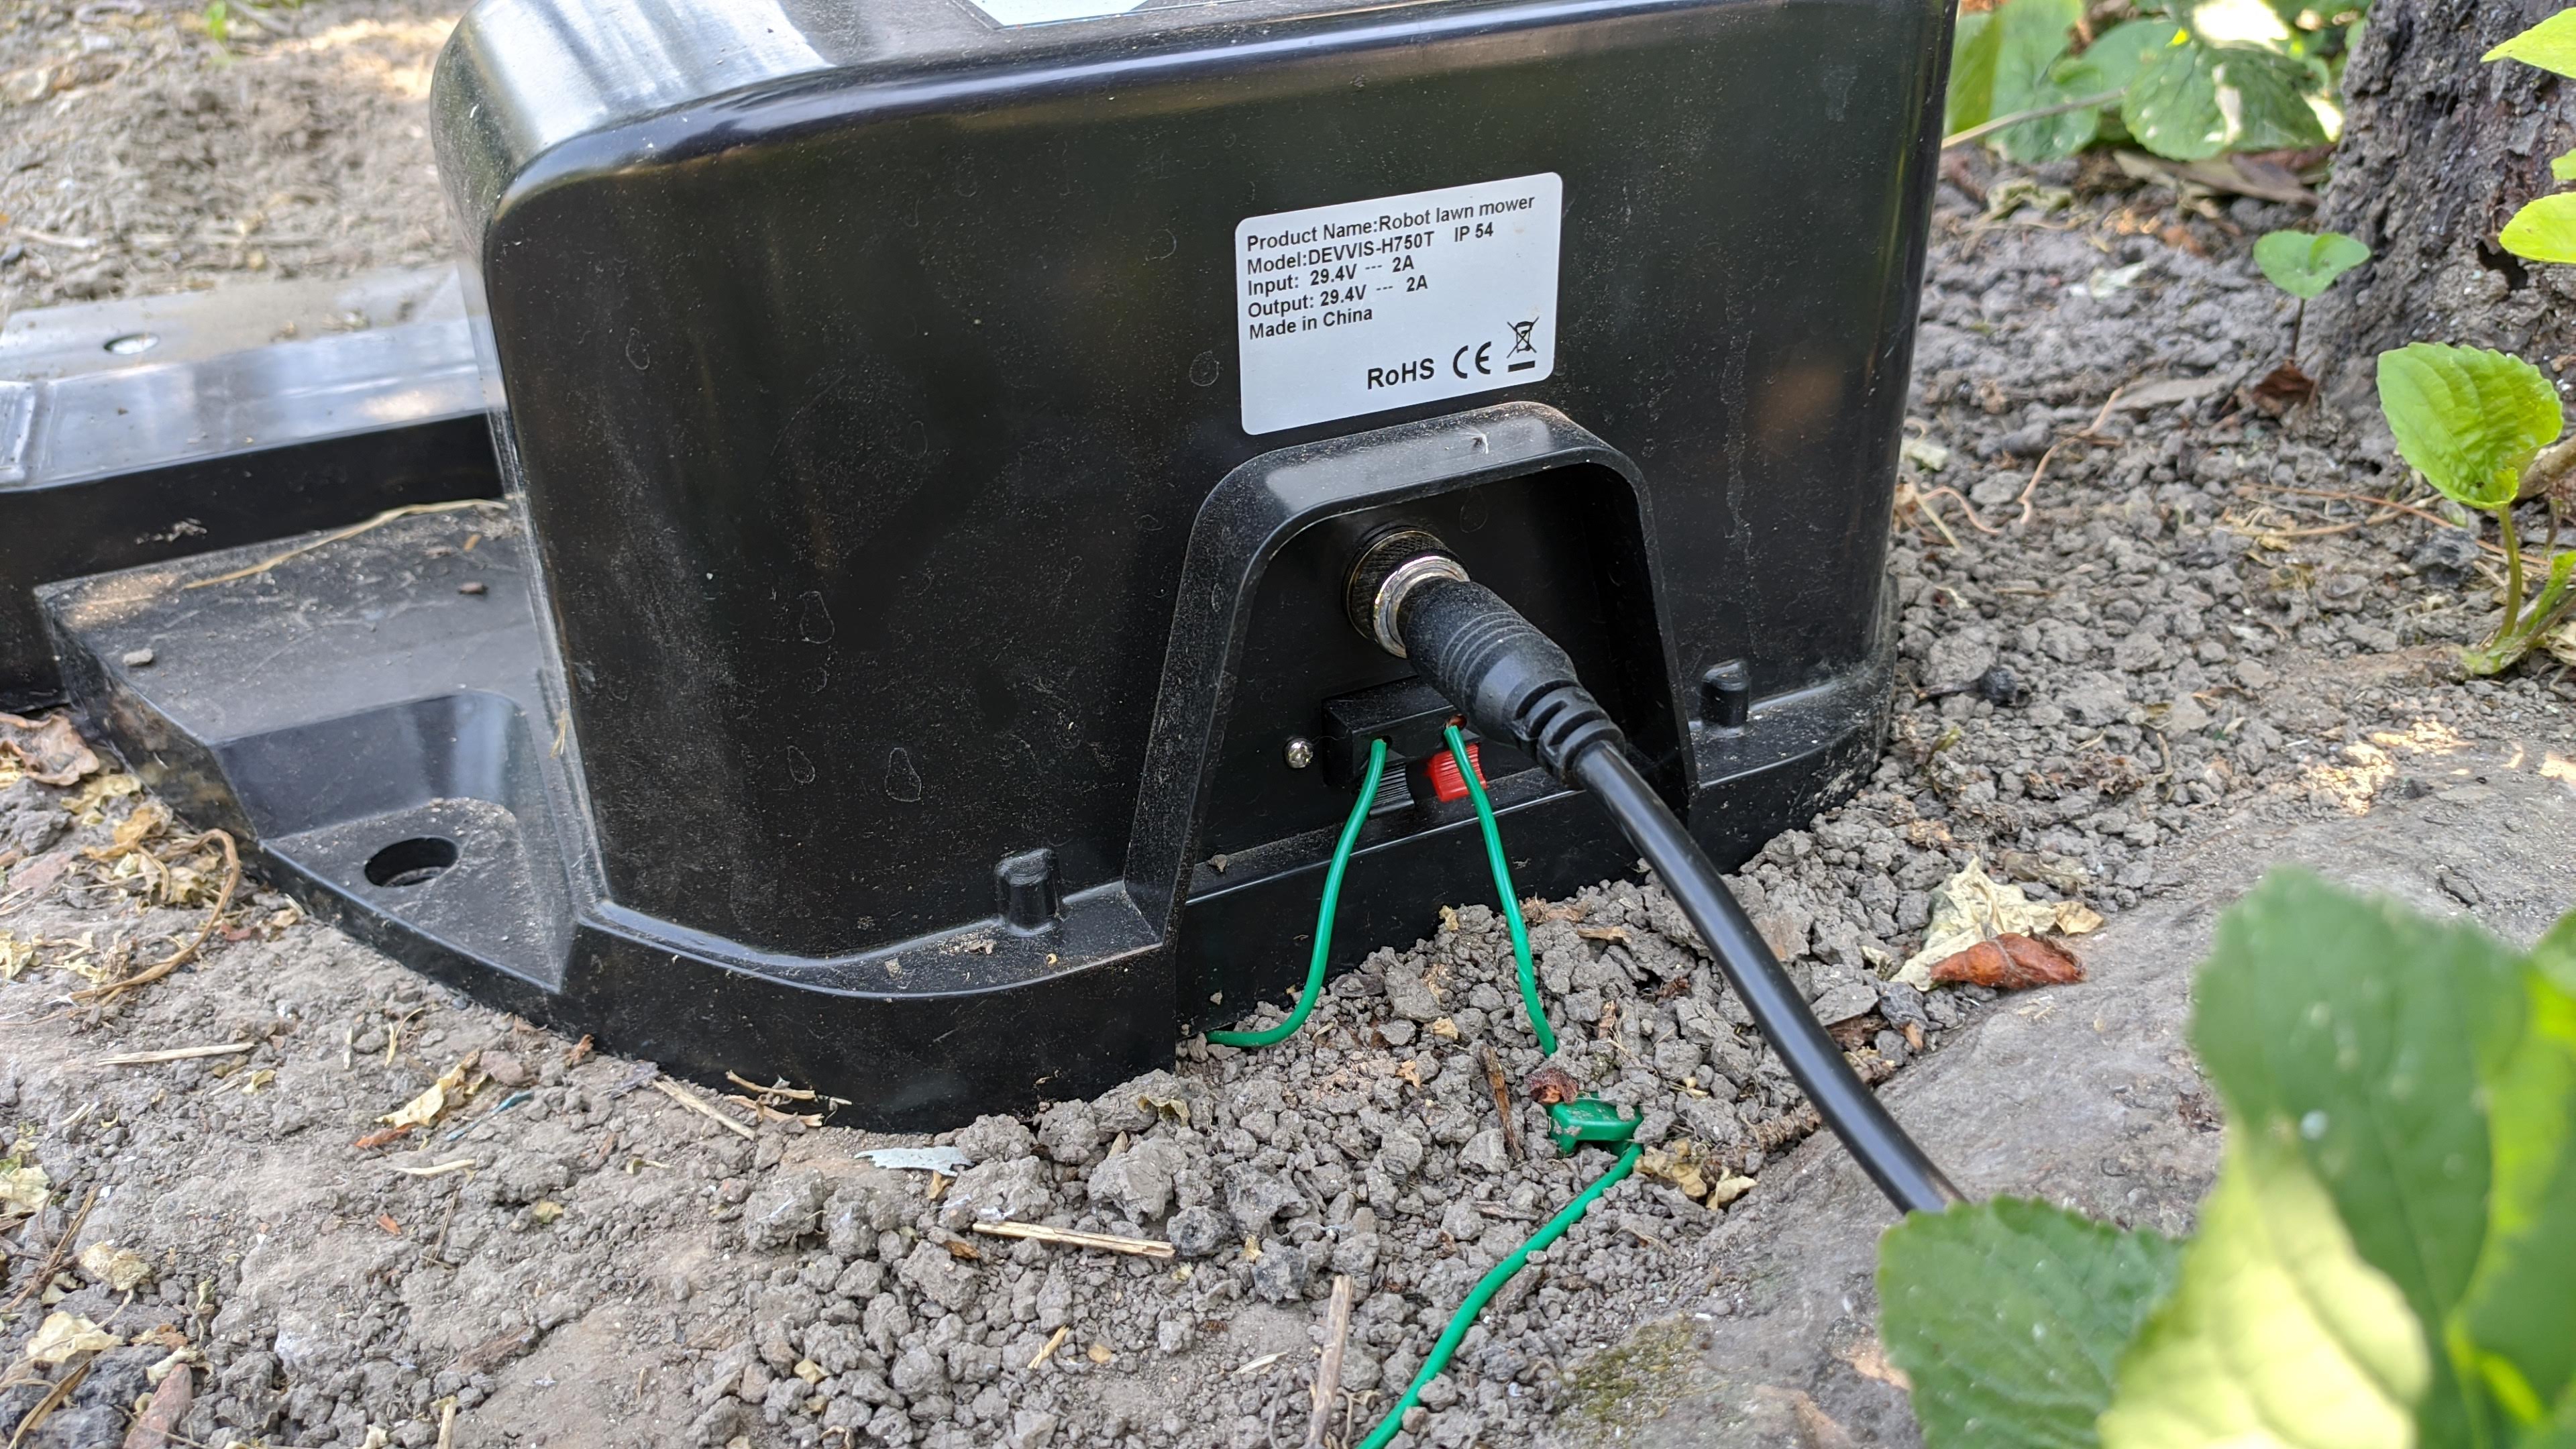
Inside the box you get the titular robot mower, charging station and charger with 7 meters of cable (Devvis will ship a plug appropriate for your country), a full color manual, 200m spool of wire, 200 wire pegs, 15 connectors, 4 nails, 15 replacement blades and a wrench tool.
The manual is in English with good illustrations and has everything you need to learn how to install and operate the Devvis H750T. Only thing in the manual that bugged me the entire time is that they keep referring to the physical wire as “virtual wire”!
Features
Devvis H750T is a waterproof robot lawn mower designed for lawns of up to 800 m2 size. The cutting width is 18 cm and the cutting height is manually adjustable from 2.5 cm to 5.5 cm. H750T and the charger are waterproof with an IP54 rating.
The large 4.4 Ah battery is sufficient an average of 2 hours of cutting on a single charge, depending on the terrain, grass height and wetness. The battery needs 3 hours to fully recharge. The maximum operating temperature is 40°C and the mower will disconnect itself from the charger if the battery is too hot. That happened to me few times when the robot mower was left in the scorching sun so I’d recommend a shaded location for the charging station.
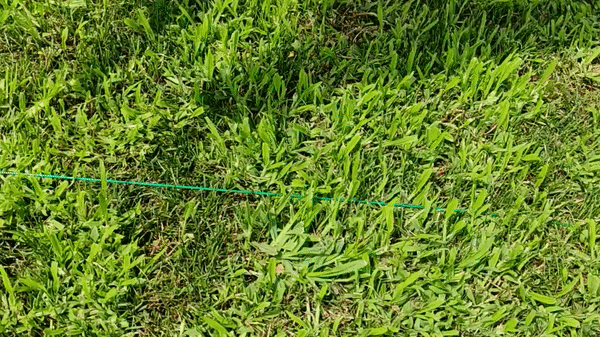
You might think a robot lawn mower is just a robot vacuum with some grass cutting blades fitted but its not exactly like that. You can’t simply drop a robot mower on an fresh lawn and expect it to work autonomously like its indoor cousins. There is no LIDAR navigation or obstacle recognition in most robot mowers, instead you use a physical 0.5 mm3 green wire that, once electrically charged from the charging station, will create a virtual fence around the mowing area via an electric signal. The robot mower uses a gyroscope and the aforementioned electric signal sensing to stay inside the perimeter.
H750T robot mower is also equipped with other sensors to aid in navigation and ensure safe operation: bump, lift, tilt, touch and rain sensor. Rain sensor is crucial to singal the mower to return to the charging station when it starts raining to avoid working the wet ground and grass and clogging the blades and wheels.
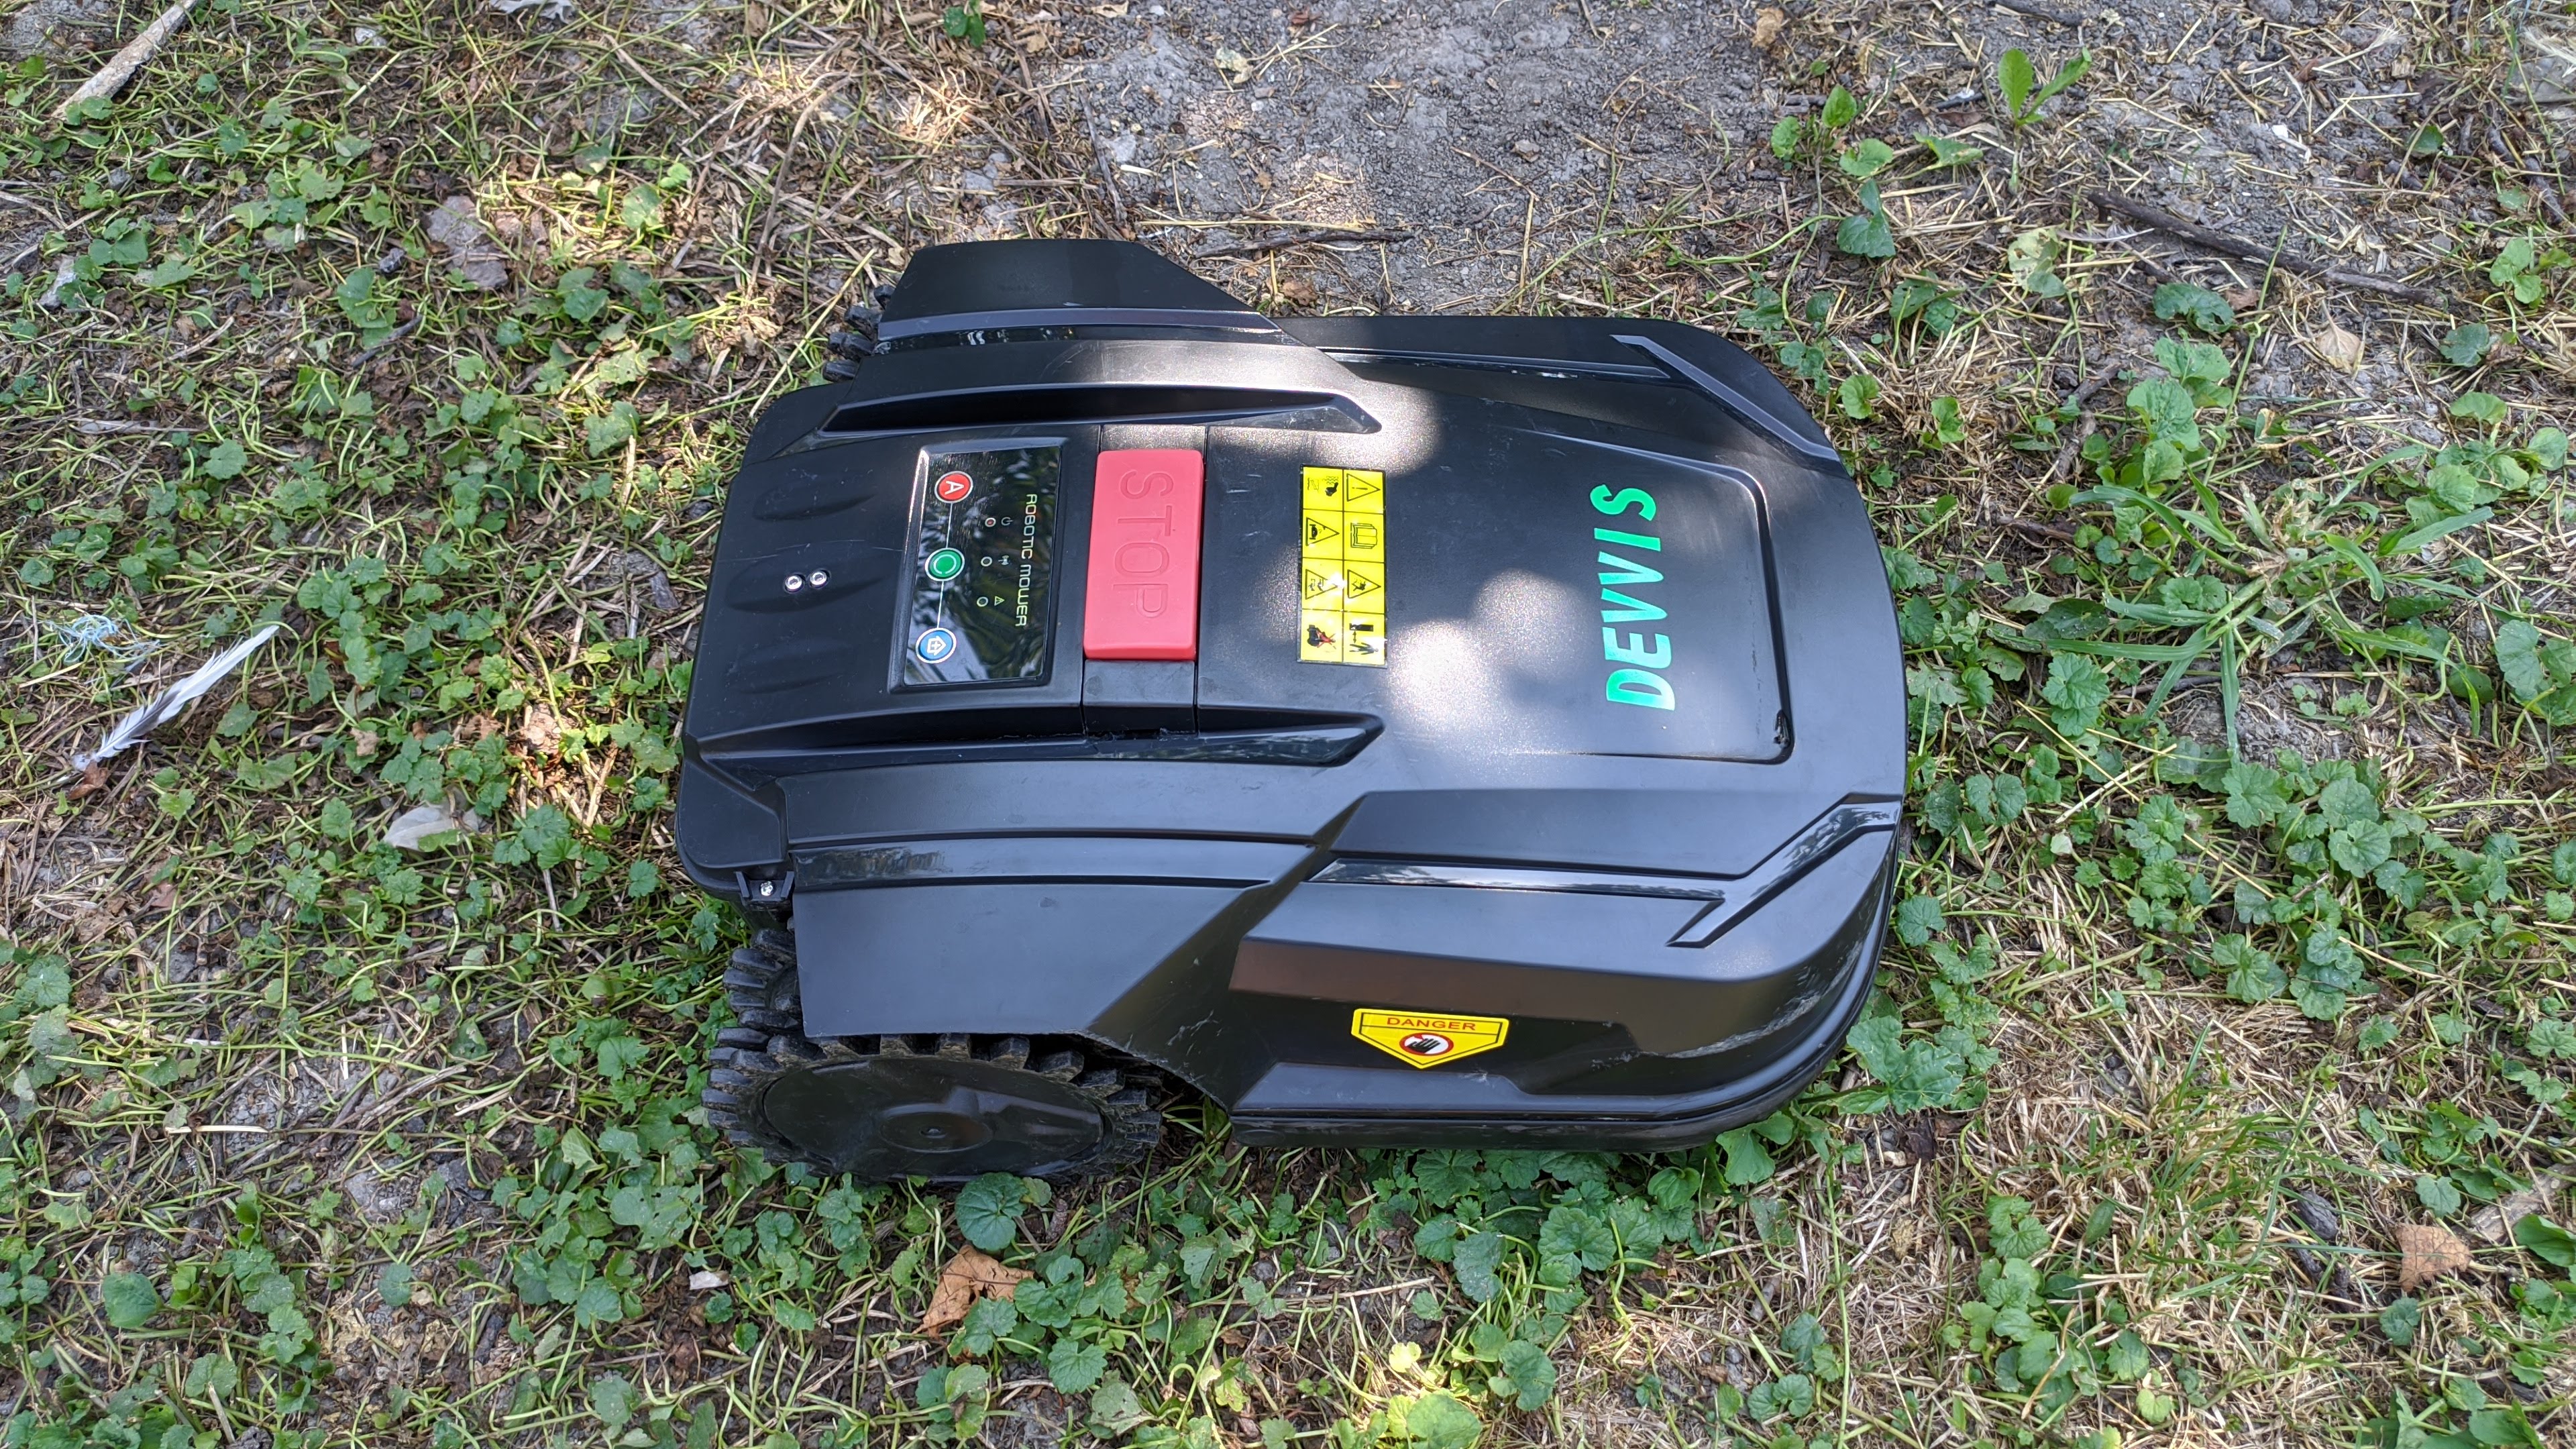
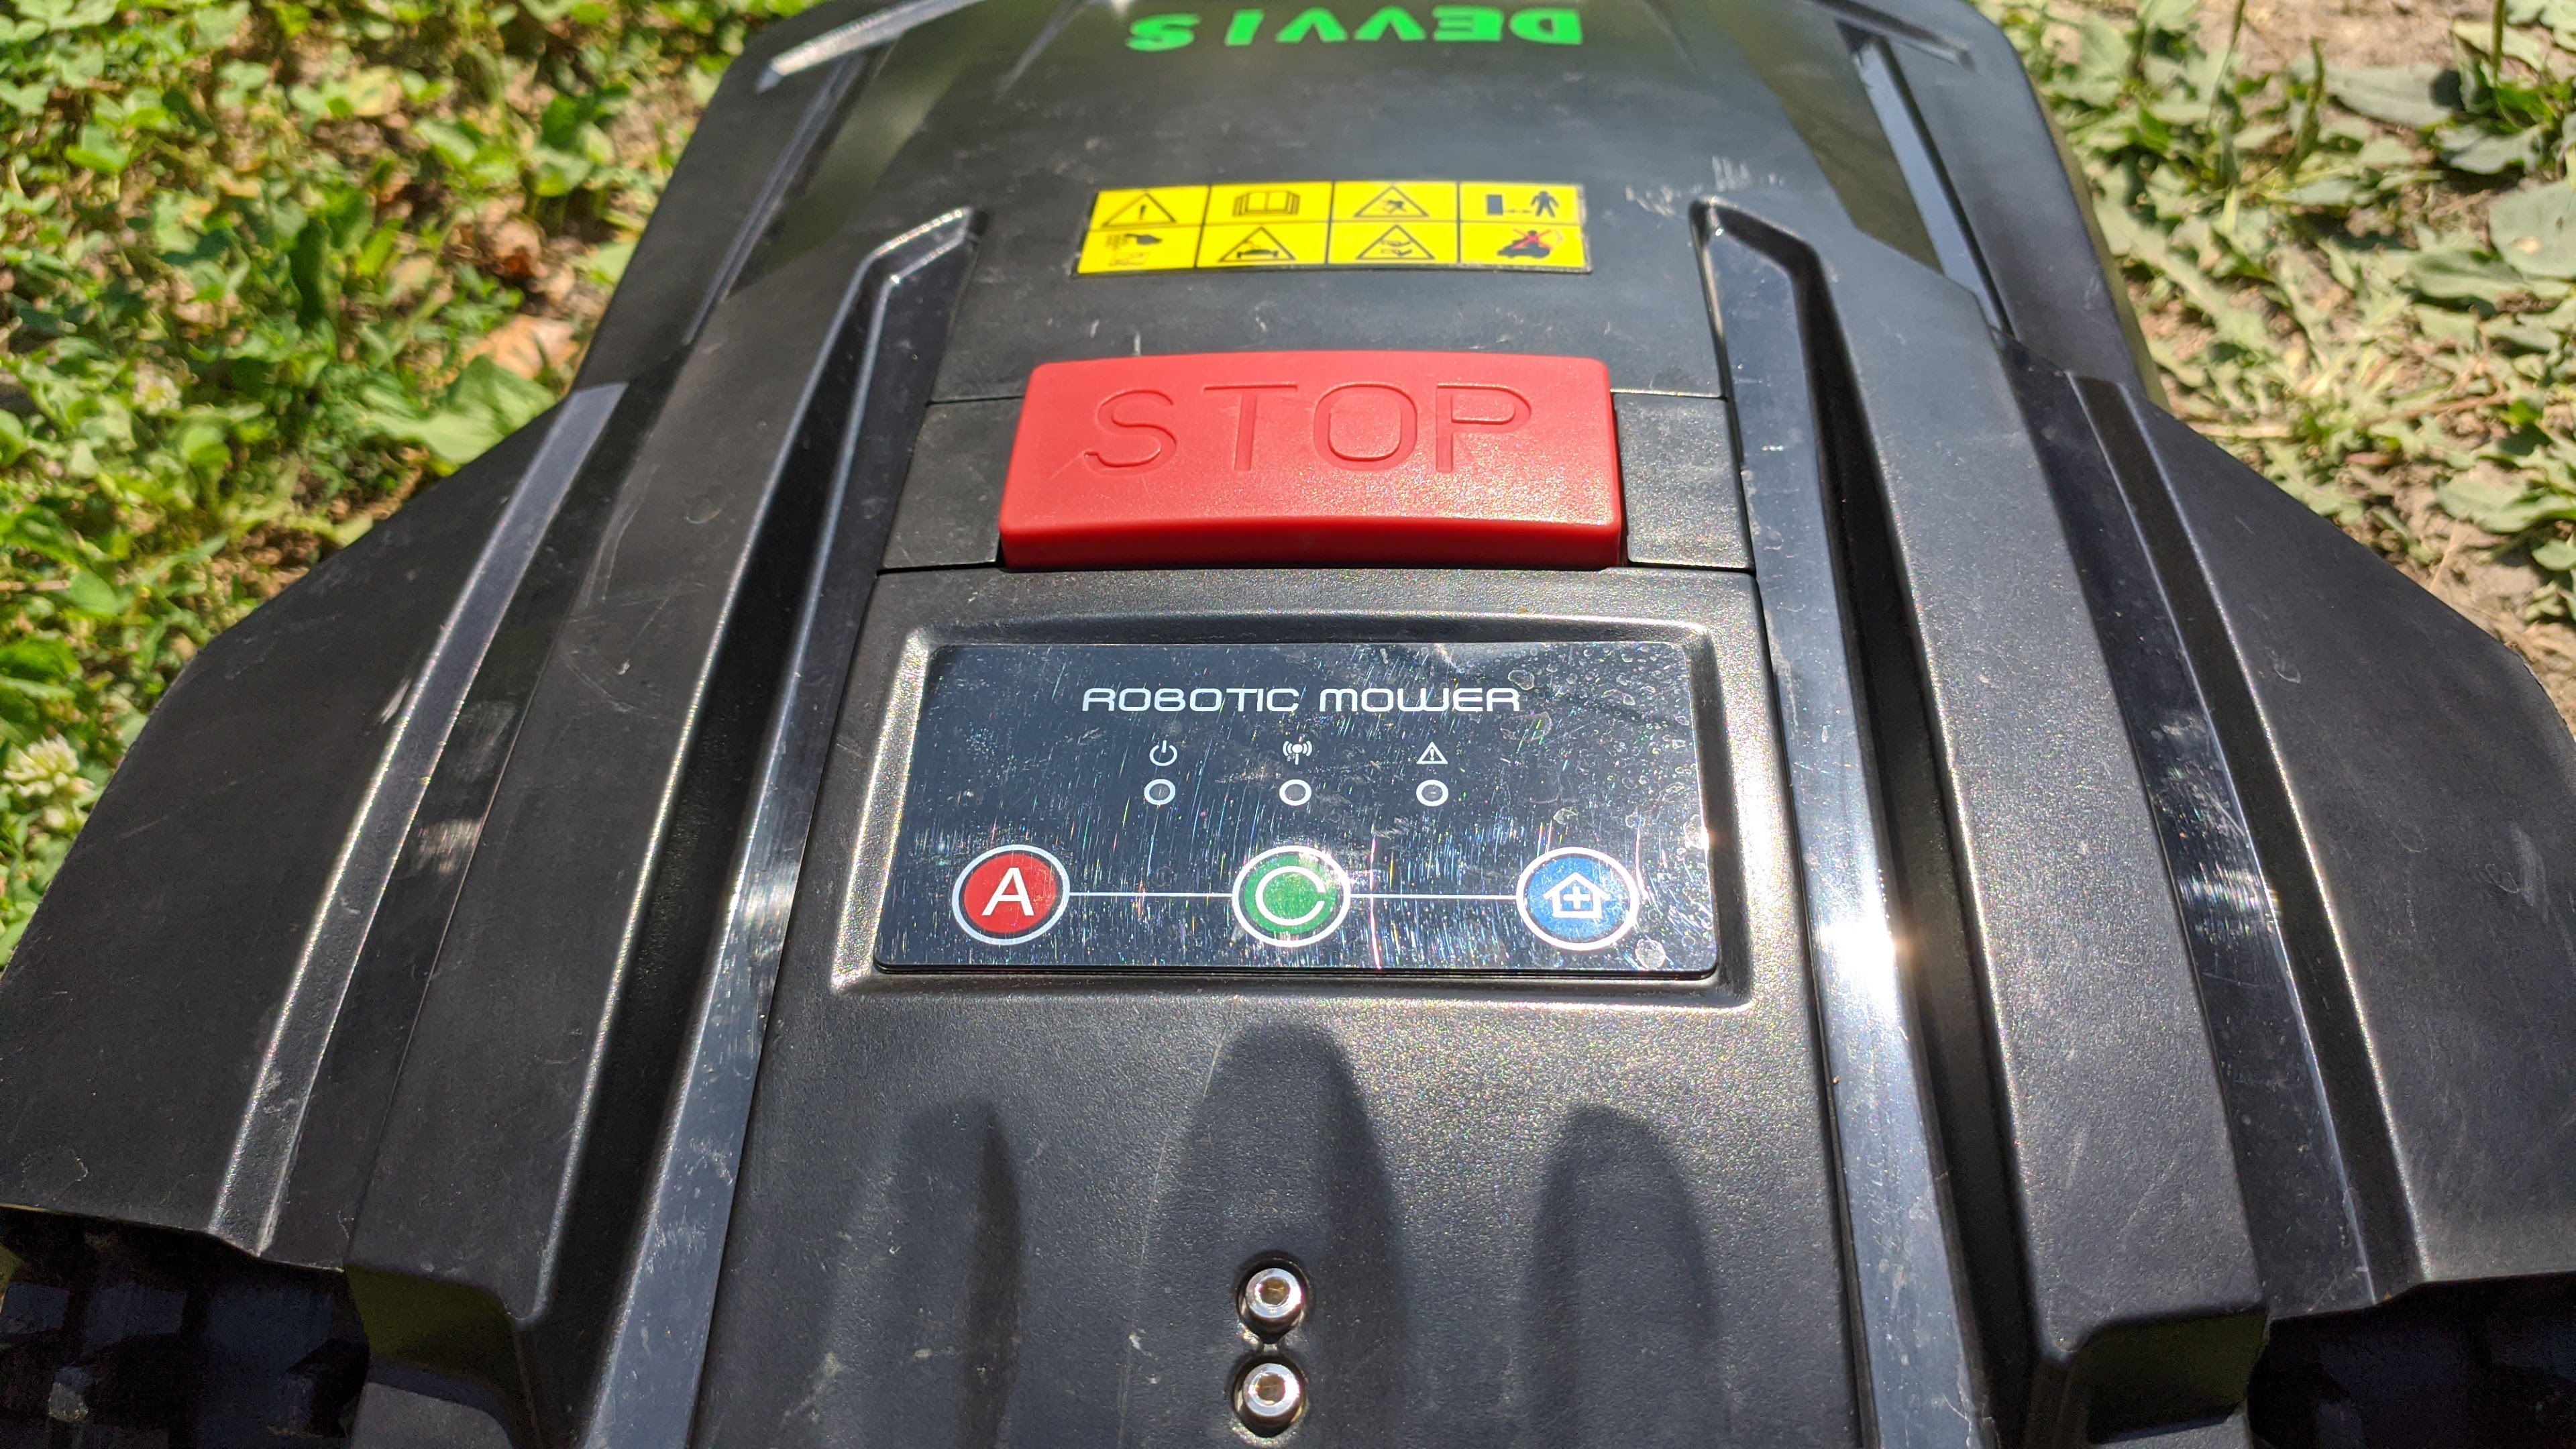
The big red button on top is for emergency stopping and powering off the mower. When powered off it serves as the power on button.
On top of that, it has WiFi allowing you to program or control it using the Android or iOS app.
Installation
To prepare your lawn for using the robot mower, first you have to figure out a good location for the charging station. It is best to find a covered and shaded location near an electrical outlet, of course. Charging station orientation has to be strictly followed according to manual instructions while keeping in mind wire polarity orientation. Then you need to plan out the wire path, taking into account having enough distance from obstacles for the mower to navigate and fencing out all no-go zones. The manual describes all the wire positioning do’s and don’t in detail.
Then you have to hammer in the pegs to hold the wire in place and close to the ground. It is recommended to bury the wire underground as the best permanent solution but you can’t know whether your wire placement is good off the bat. Thus you have to use the pegs and do a couple of test runs first to make sure everything is perfect.
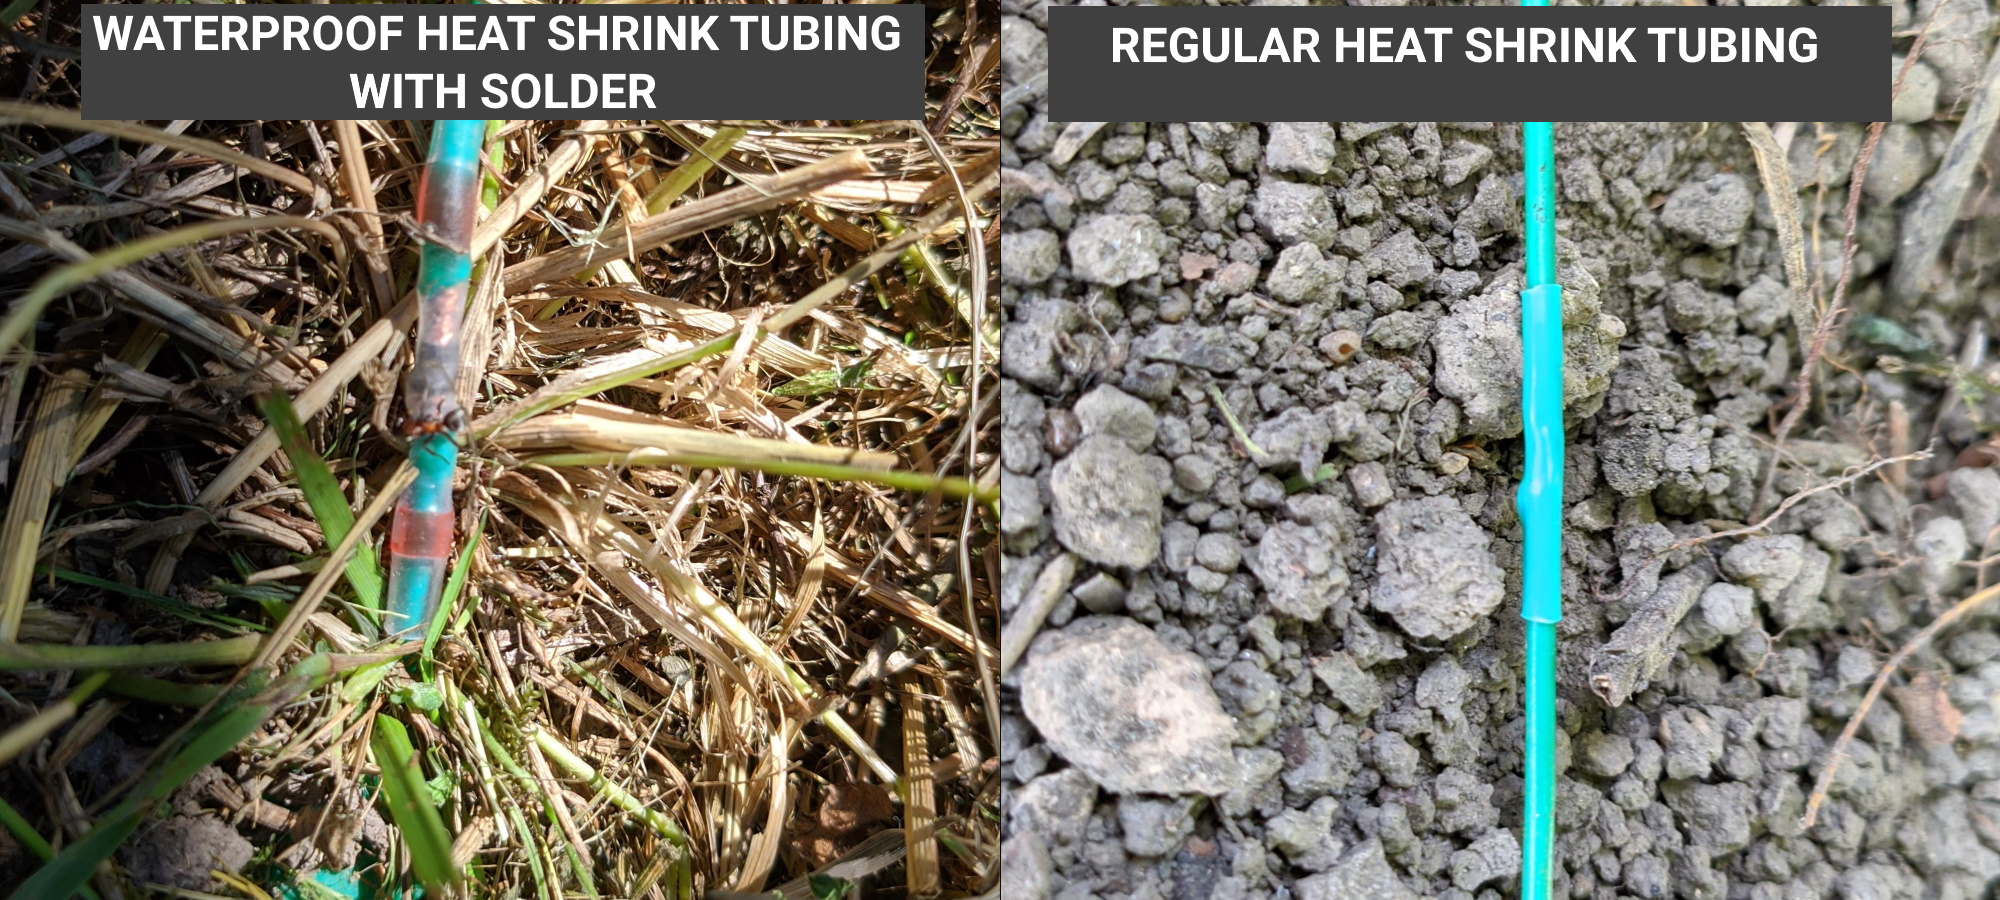
During testing I, or rather the robot mower, sliced the wire more than a couple of times, mostly due to laziness and ignoring the manual’s advice to use a peg at least every meter. When trying to mend it, I twisted the two cut end together and left the copper exposed. Not knowing at the time, how the wire fence even works, I had navigation issues and the mower was reporting wire errors. The trick is that the bare wire should not touch the ground which messes with the virtual fence signal. It’s best to use waterproof heat shrink tubing with solder in the middle. I had some for a previous project from AliExpress. In a pinch, regular heat shrink tubing or electrical tape will do.
Once the wire is installed and connected to the charging station you have to pair the mower to it using the manual instructions. Press the button on the charging station to signal to the robot mower to come home and charge.
Cutting height is adjusted manually using the provided wrench that has practical height markings on it to avoid any guesswork. It a quick twist to the right, adjust height, tighten to the left operation that takes less than a minute. More expensive models from Devvis have a knob for cutting height adjustment making the operation even easier

All in all, there’s a bit of work involved to set everything up, but it’ll save so much time in the long run once the mower gets going regularly. It’s just not easy to borrow the mower to your neighbor, which could actually be a feature, depending on circumstance.
Operation
You can manually start the mower in auto mode by pressing the A button on the mower and when the indicator light starts flickering confirm with the middle button or use the app.
In auto mode the mower will navigate in a zig-zag pattern between the perimeter wire or in a circular pattern if the grass is too high. It pays off to keep an eye on the mower on the first few runs to spot if there are obstacles (branches, rocks, etc) or holes in the ground and fix those issues to ensure smooth operation in the future.
The mower is incredibly quiet, miles away from the infernal noise of a gas powered mower and significantly quieter from an electrical mower because its using 3 smaller razor like blades instead of a one big mower blade.
And, boy, does it mow well!
On a regular lawn it exceeded my expectations and took care of the grass without any hiccups. All that’s left for you is to inspect the blades occasionally and clean the underside if there’s a grass buildup. After seeing it work, my neighbor has shown interest and I let it run on his lawn. Let’s just say he’s currently budgeting for one of his own.
On mixed backyard terrain with no lawn there were some small issues where the plastic wheels would slip on paved areas or dig themselves in bare ground with the spokes.
I tried it out on a meadow as well. It coped well with the tall growth of grass and weeds but it was big ask for such a machine. Best to keep it in residential areas.
App(s)
Not to beat around the bush: the apps are quite bad. What do you mean, “Apps”? Allow me to explain
Instructions tell you to download EGROBOT app which has a scary 1.9 star review. When you run the app you get an option to connect to robot mower’s Wi-Fi AP. Ok, standard procedure to set up connection to your network but, when connected to the mower there’s no option to connect it to your local network. An unorthodox way for sure but at least the control is all local, there are no cloud connections or need to create an account to use the app.
Only… Sometimes it simply does not work and it just gets stuck in the loop of connecting to the mower AP. Then you need to kill the app, connect to the mower AP from your phone’s Wi-Fi settings, start the app and connect to mower AP. Works almost every time, when it doesn’t, repeat the process. Sometimes the app just crashes or closes during connecting.
After a consultation with Devvis I was informed to download a different app called Lyfco robotgräsklippare and given a link to installation instructions. Don’t worry, despite the name the app can be used in English or 12 other languages, such as: German, Spanish, Italian, Polish, etc. Curiously, once I installed it I got another app named EGROBOT with an icon identical to the previous app.
Open the new EGROBOT app and you’ll be greeted with the similar outdated design and layout but with a new “+” icon at the top left that doesn’t exist in the first EGROBOT app. Selecting that will allow you to connect the mower to your home WiFi and then you can access and control it from the app without needing to connect to mower’s AP first. I’ve checked the network traffic from the mower and it looks like its all local and there are no connection requests to and from external IP addresses. Keep in mind, the mower needs to be in WiFi range all the time. If that’s not the case its best to use the AP mode connection.

The app’s design and layout is ancient, pre Material design Android. Could use some freshening up!
The UI is very user unfriendly, it pops out unnecessary confirmation dialogs or requires to click “Send” after changing options to actually transmit them to the mower instead of doing it automatically. Not to mention it still crashes sometimes or simply looses connection to the mower without any indication.
In spite all of that it does allow you to control the mower without a significant delay and program the mowing schedules precisely.
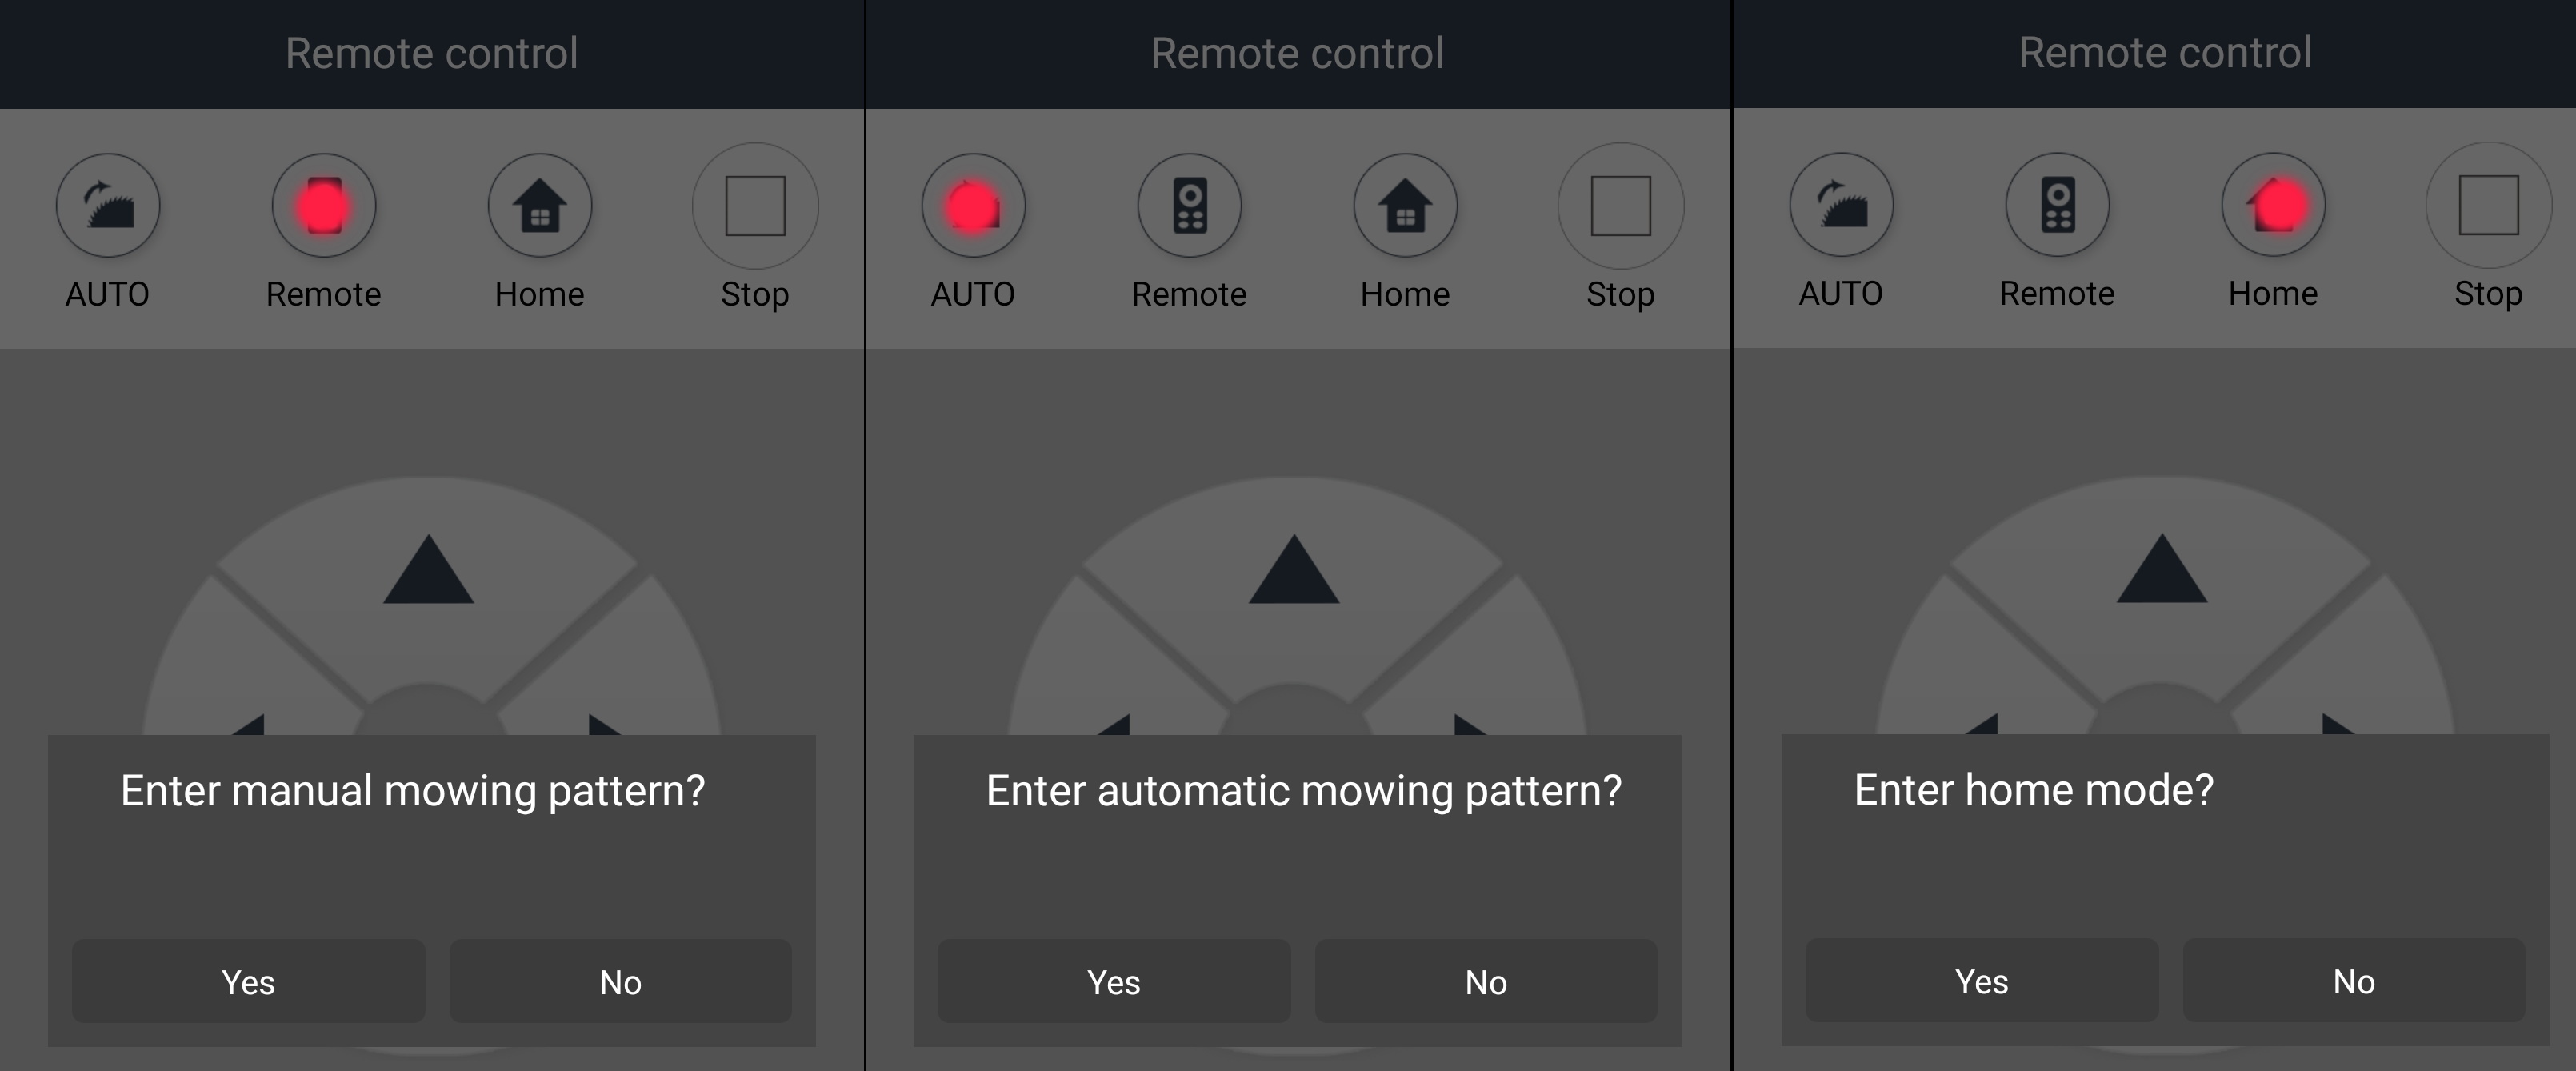
Remote Control
Acts as a remote control for your mower. You can run it in auto mow mode, stop the operation, send it home to the charging stations or, the best part, control it manually. Remote commands are responsive due to the local controls and you can navigate it well.
This is a way to use the mower without installing the perimeter wire installed but it needs your attention when it tries to leave the desired area. If you have a lawn walled in on all 4 sides this might work. I used it to quickly mow a small street side patch of grass and when showing the mower to my neighbors.
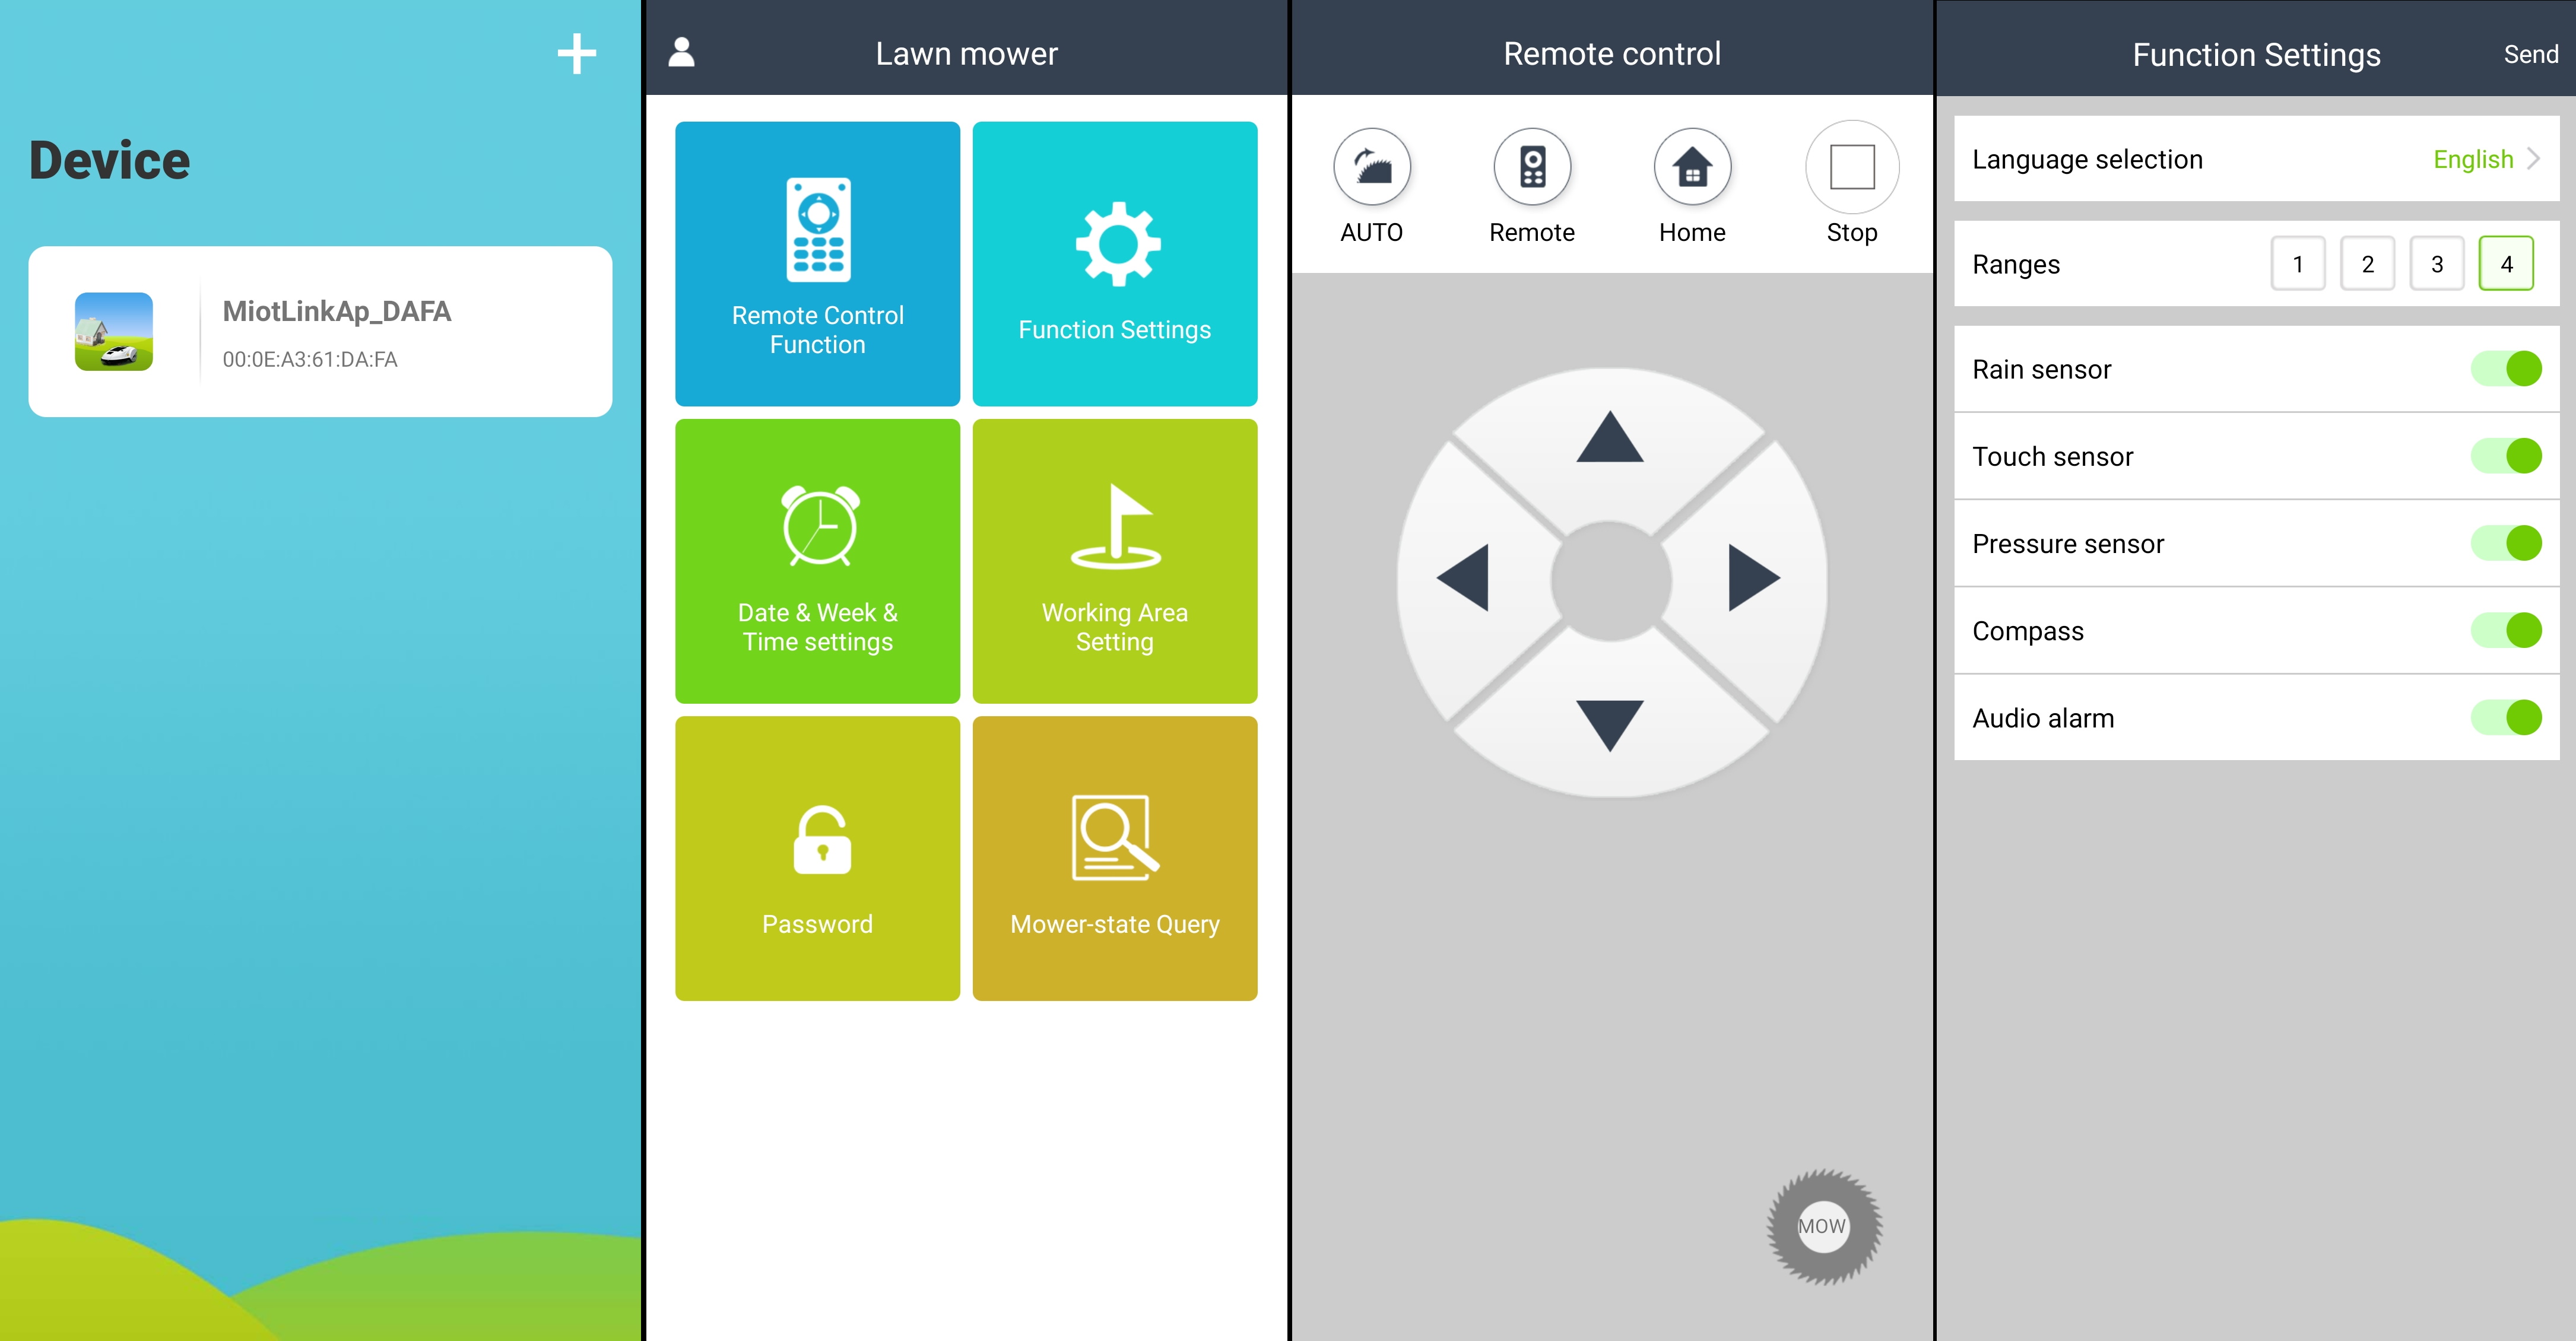
Function Settings
This menu is a bit of everything at once. Here you set the language of the app, depth to which the mower will go beyond the perimeter wire and control various functions of the mower. Continuing on the theme of the app, “Audio alarm” setting doesn’t control the mower beeping notifications but mutes the annoying dings in the app instead. I’ll take it
Date & Week & Time Settings
This simply sends the date and time settings to the mower. This is required for the scheduled mowing to work correctly.
Working Area Setting
Using “Area location setting” you can divide the yard in multiple zones that can be mown separately which is a great feature to have on an entry level device. The way it works is, the mower runs on the perimeter wire measuring the distance travelled, when you mark the start of a new zone it will memorize the distance to the point. Definitely not as precise as a robot vacuum but it does the job considering the limitation of the technology used.

You can schedule each day in the week with the start time and different mowing times for each zone. If you want to skip a zone in that days schedule set the mowing time to 0 minutes. This should cover most lawn owners with different grass types and watering schedules.
In the same menu you can disable or enable edge mowing. I’m wondering why this isn’t an option in the Remote control or Functions Setting but that’s par for the course considering the overall design and logic of the app.
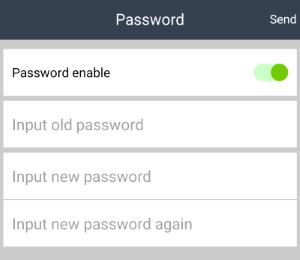
Password
The AP initially broadcast by the mower is open and unprotected. To prevent someone randomly connecting to your mower you can password protect it but only with a 4 digit password. It’s not
Mower-State Query
Battery status is shown in Ah so you’ll need to gauge how full the battery is from the voltage. During testing I noticed below 24 aH would be low battery and 28 aH and more is a full battery.
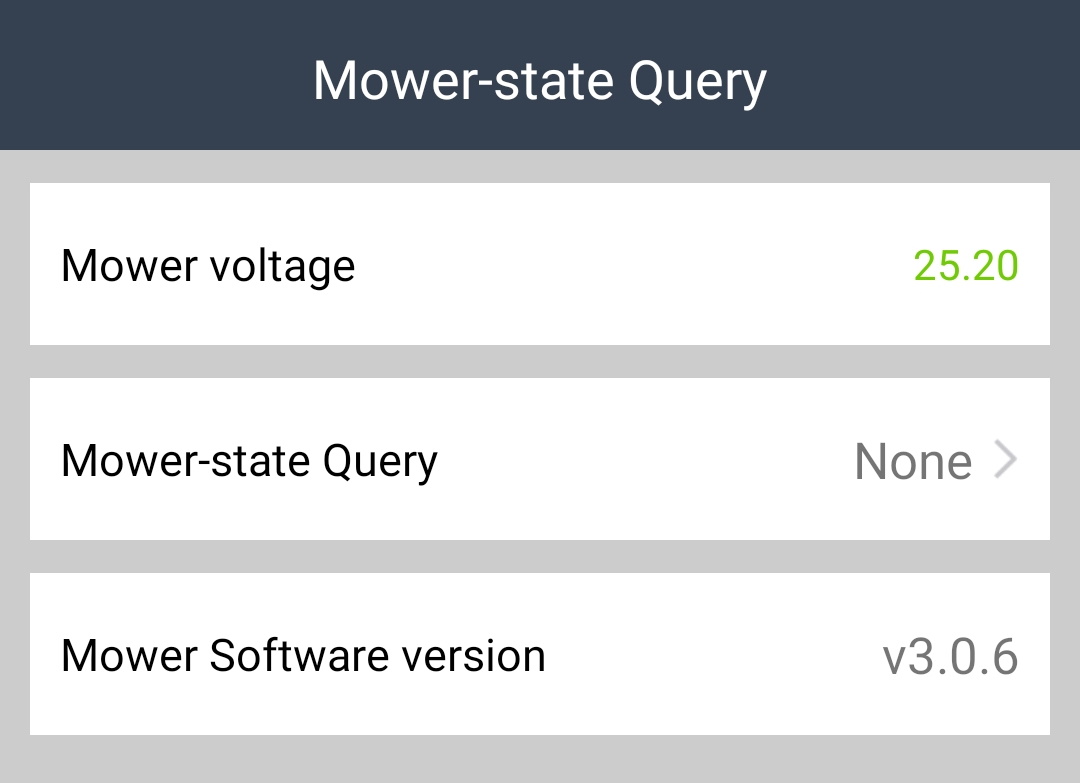
This menu selection also displays the error messages from the mower in cryptic numbers, most of the time it was 1 regardless of the error message sent. After you tap the selection the true error message will be revealed.

Lack of Notifications
The mower itself has a few LEDs and the super loud beeper as well as an equally loud beeper on the charging station. Any wiring error will be accompanied by incessant beeping from the station which is hard to miss. On the opposite side, the navigation errors will be only a beep or two from the mower and a blinking LED. I was hoping the app would provide an additional channel for notifications, but alas…
The biggest mistake with the app is that there’s no notification system at all which is to be expecter from a Wi-Fi connected device in this day and age. If the mower errors out for any reason you will not get any notification of that unless you open the app and check the mower status yourself. Why would they not include a feature like that? It would make this robot mower user experience better by a huge margin.
Smart Home Integration
There is no standardized API to help integrating it with our smart home. Wireshark sniffing revealed TCP communication on port 50934. I have zero knowledge on analyzing that traffic or disassembling an app to see how its done but I can open the mower to see how it ticks. And that’s exactly what I did.
The mower was simple to open with only 4 screws holding the top cover.
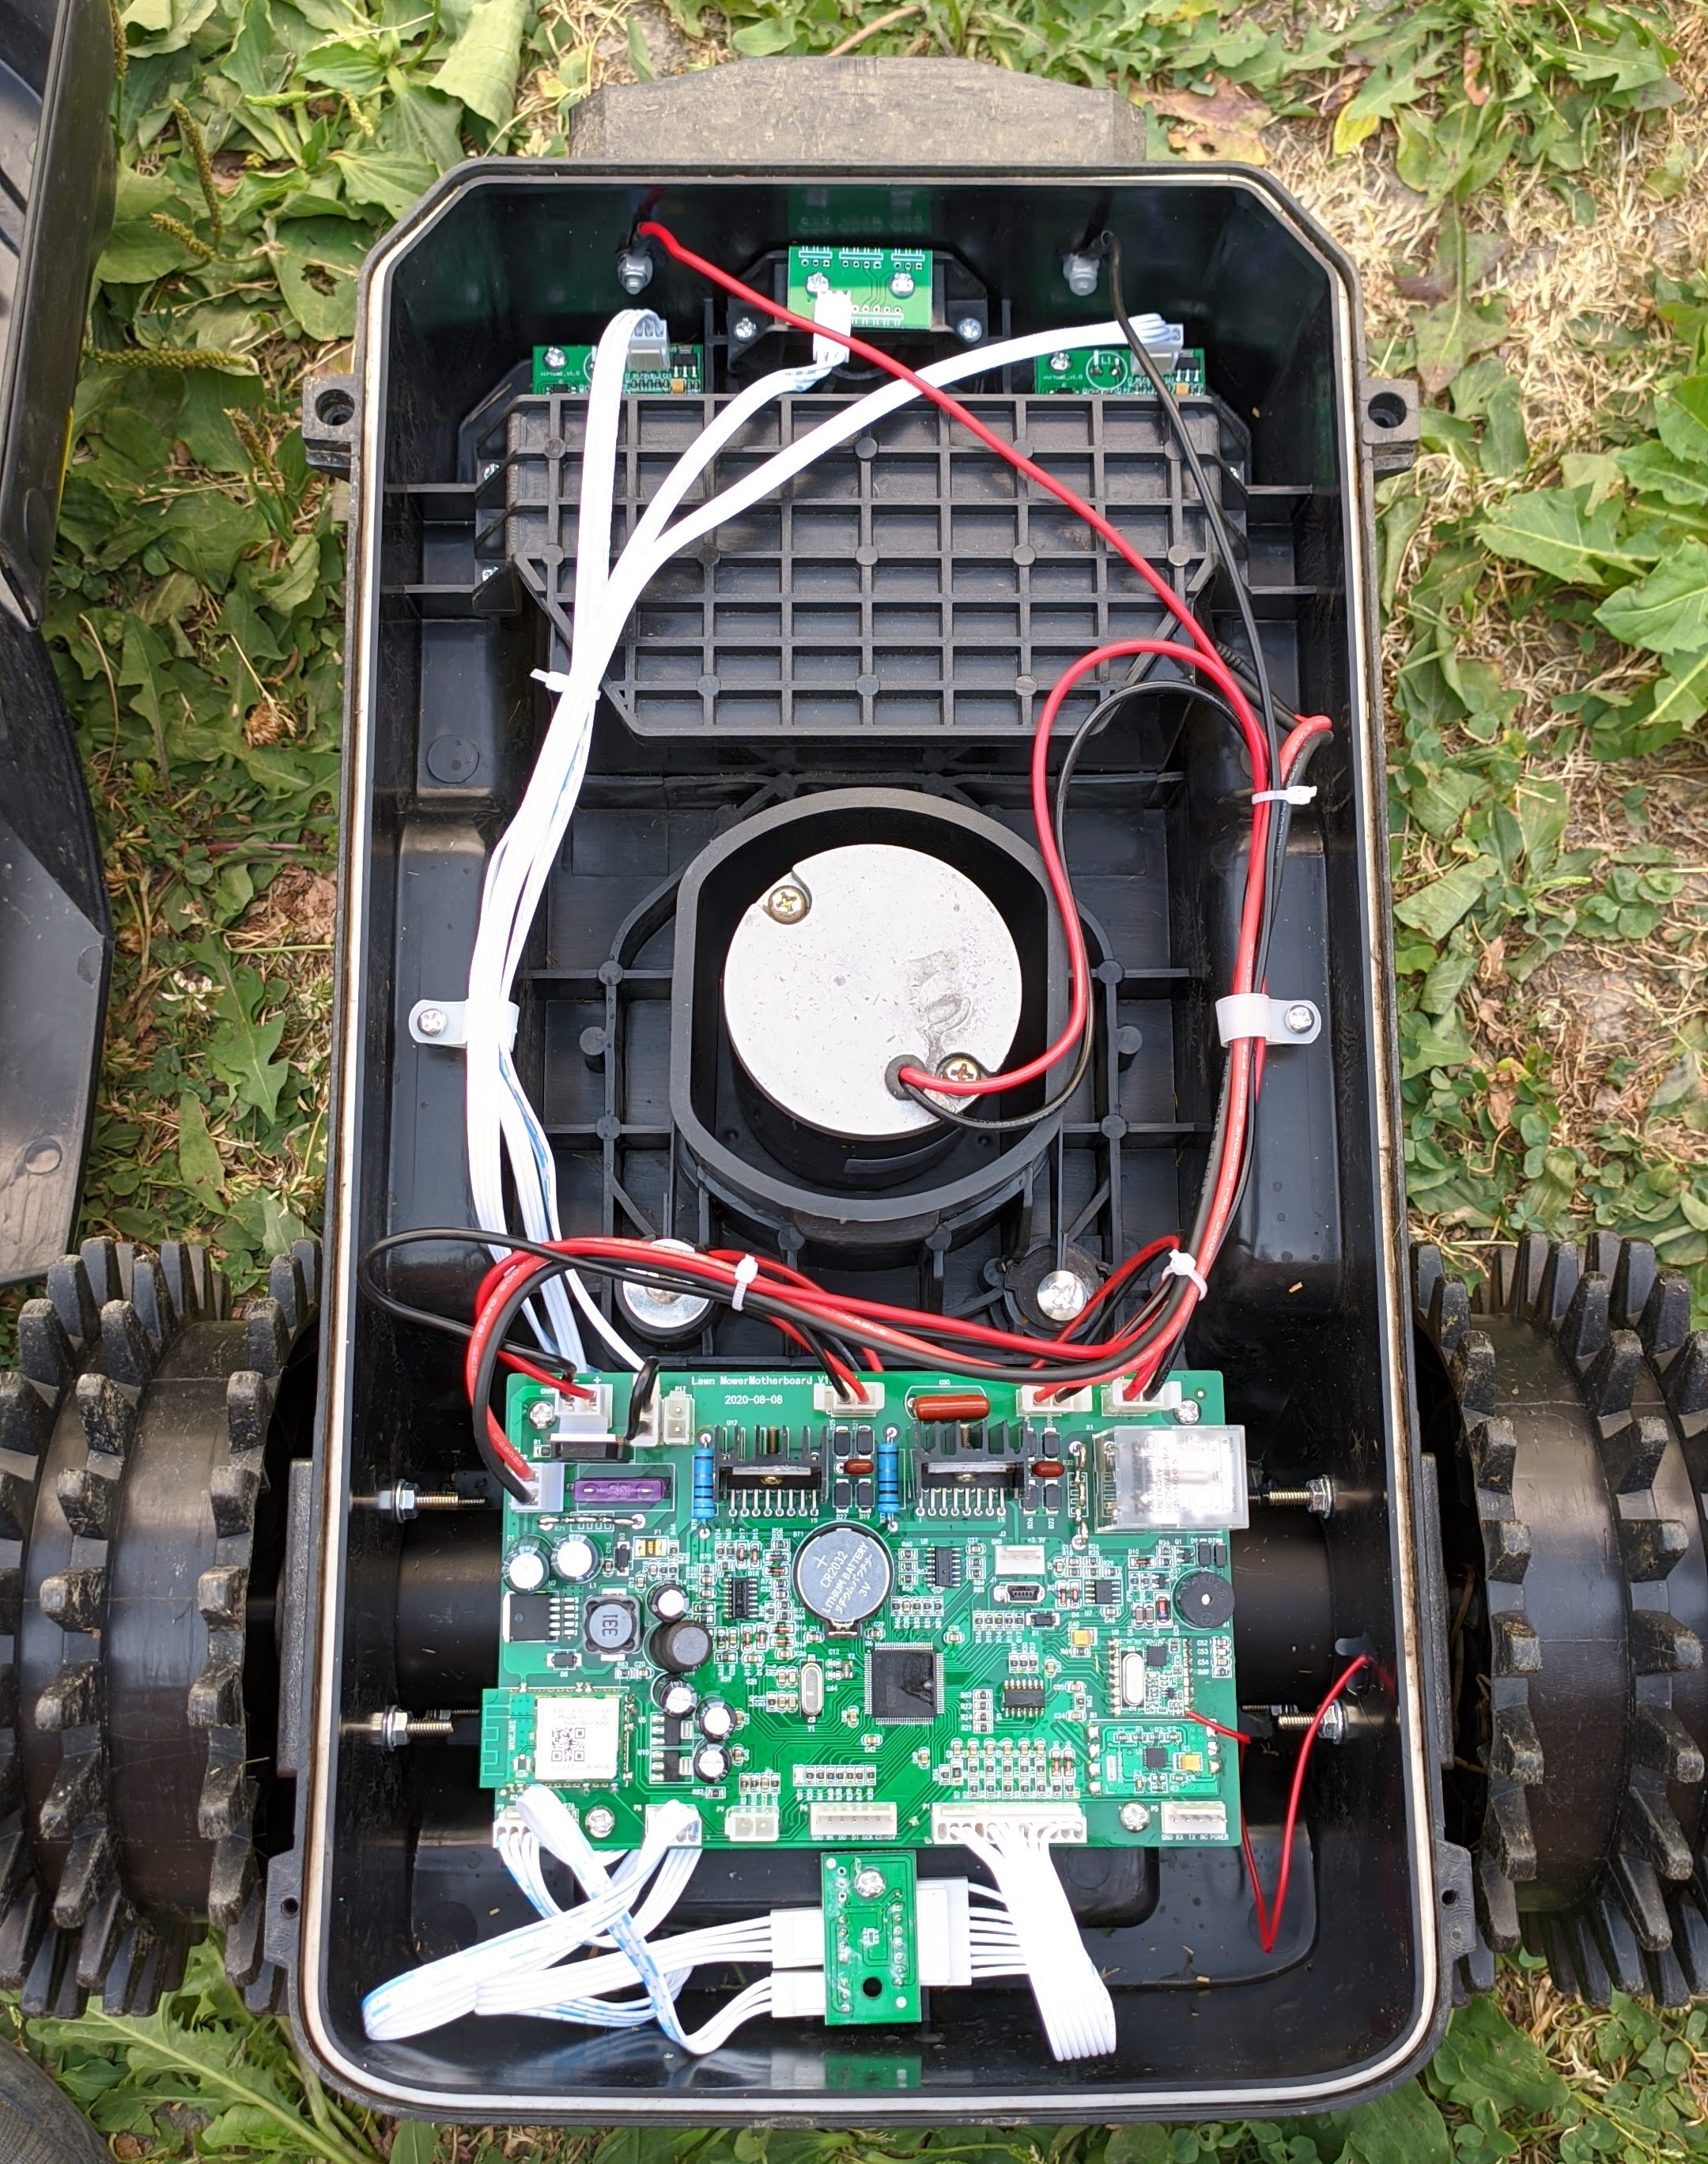
The interior reveals an STM microcontroller and an obscure Wi-Fi module M11T-2001 215 by Hangzhou Miaolian Internet of Things Technology based on Realtek 8710BN.
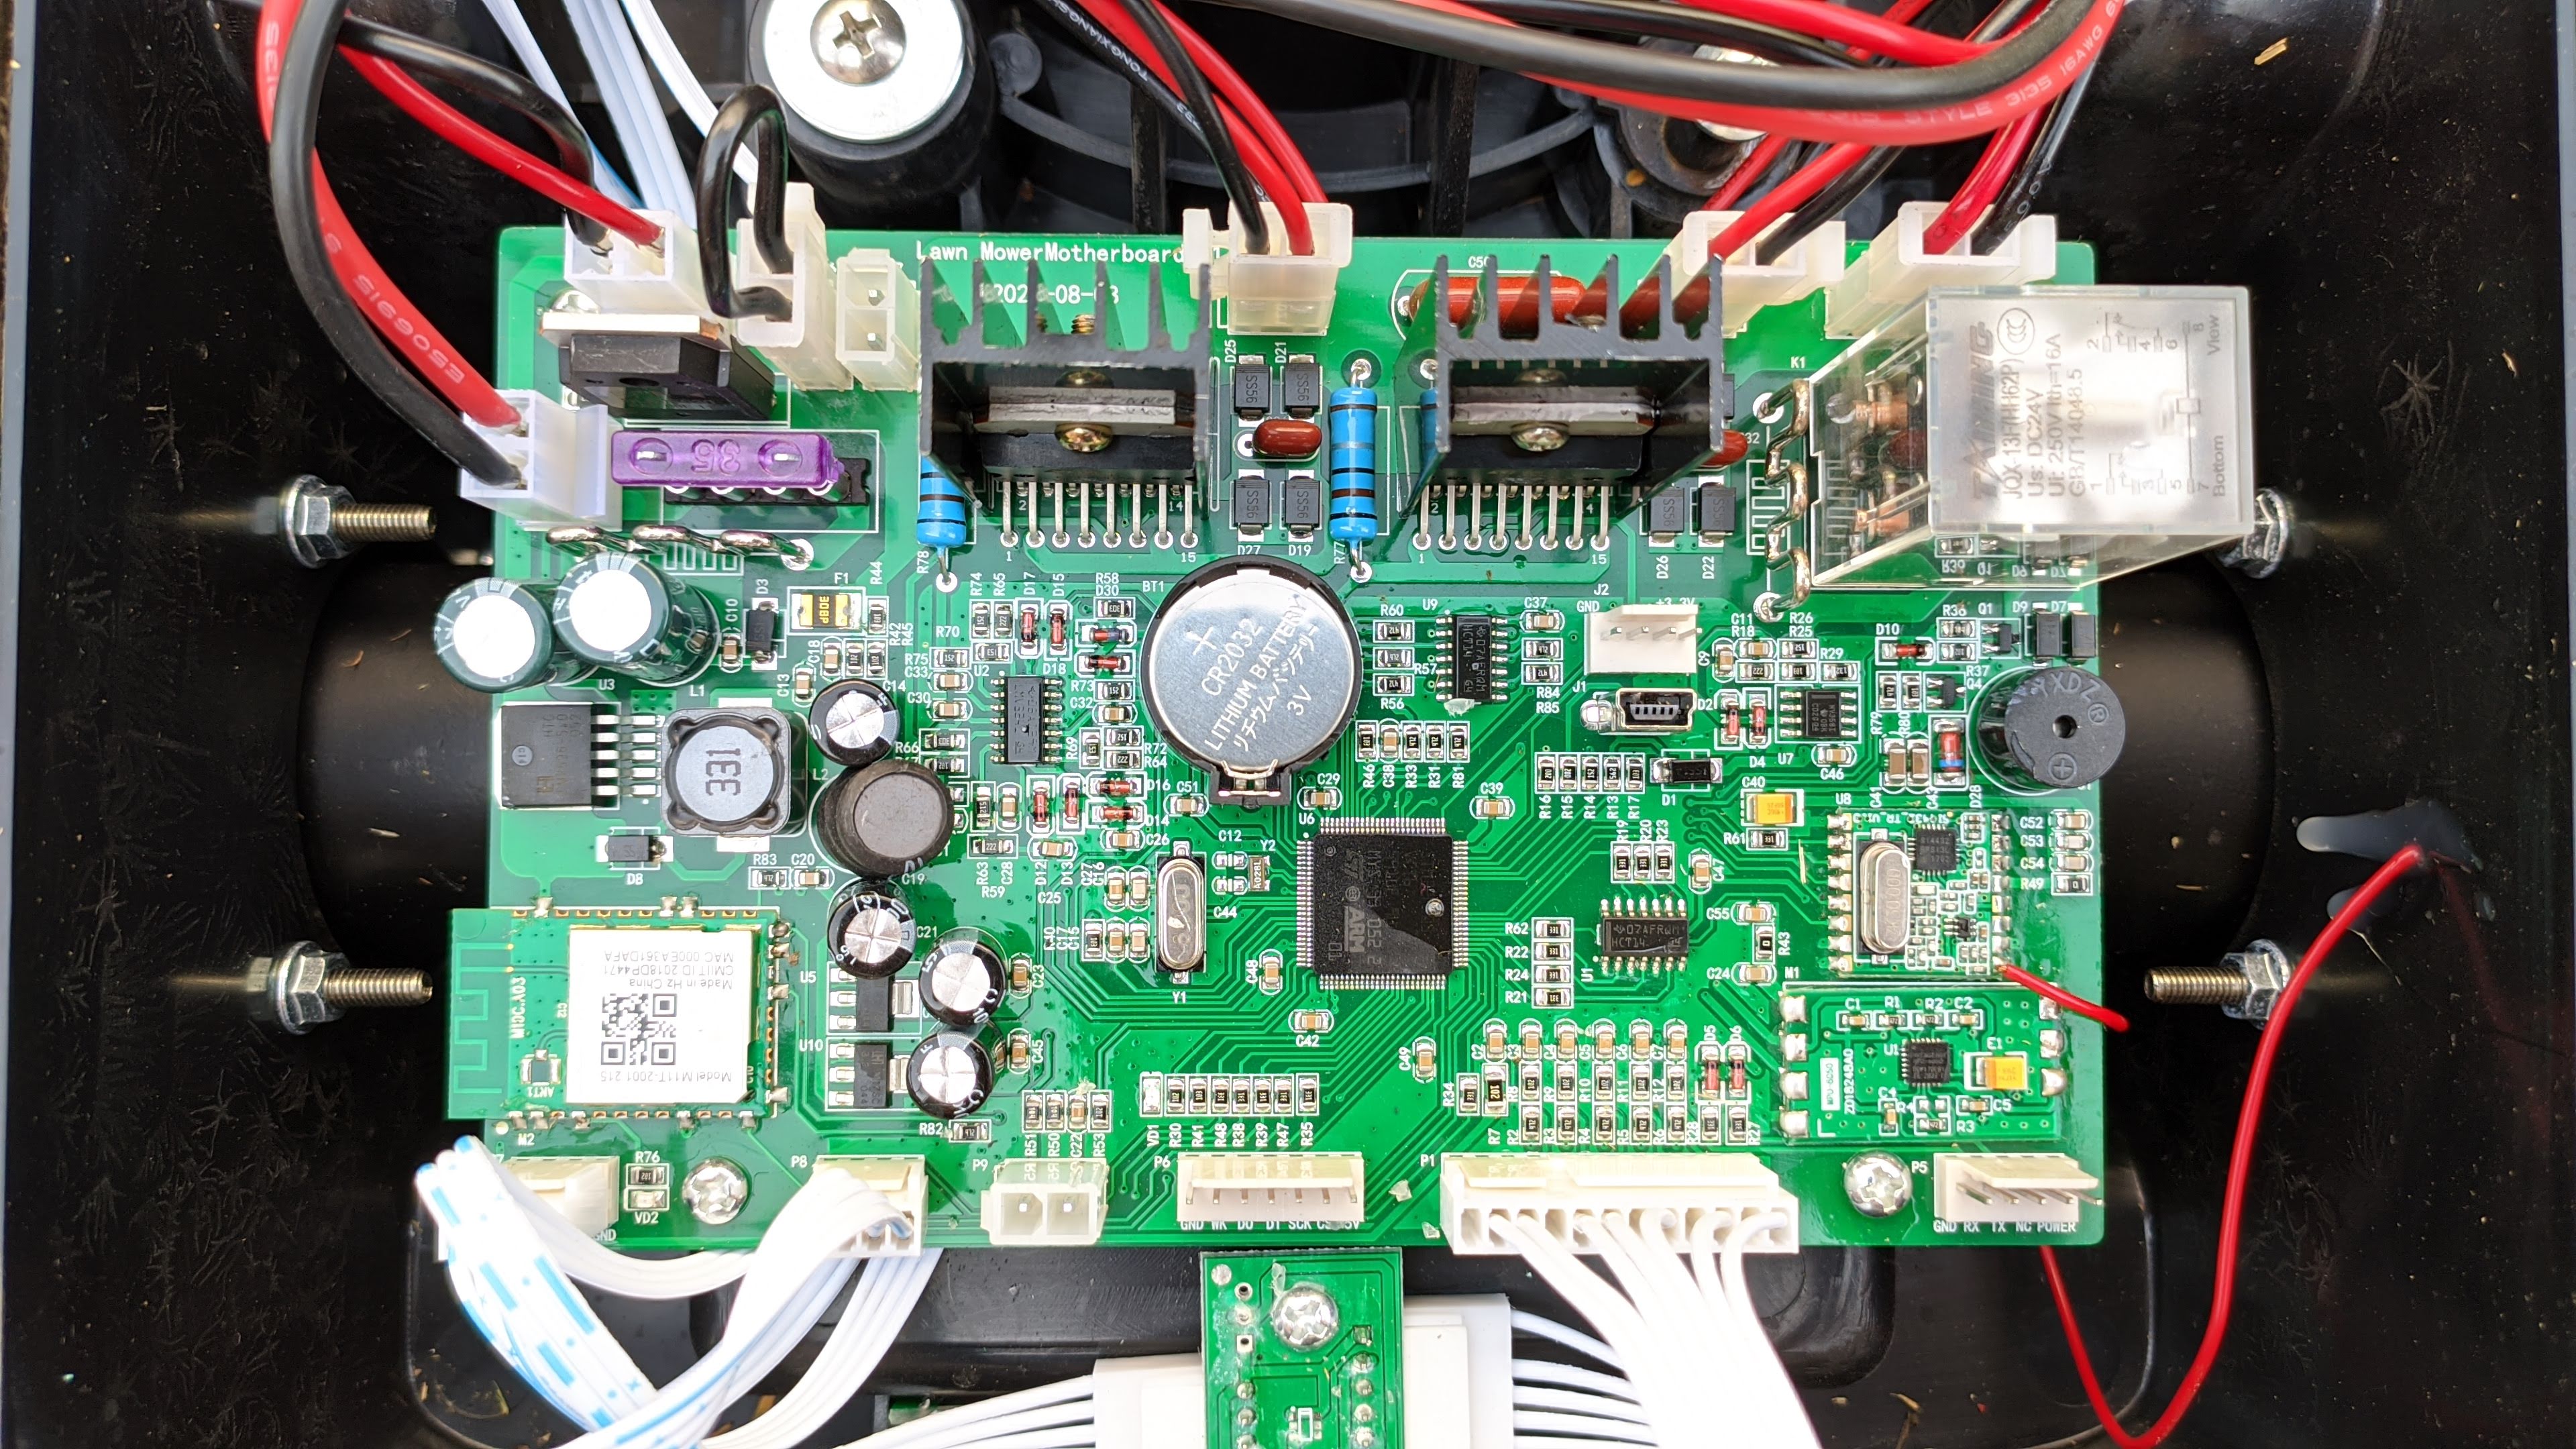
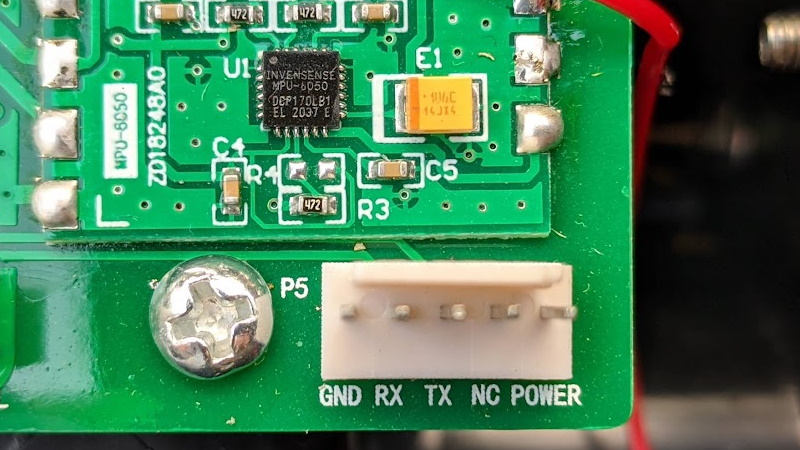
There are some debugging ports on the PCB visible which I’ll explore in the future.
Final Thoughts
This is the cheapest robot lawn mower I could find online. In the month that it has been with me, the mower did its job really, really well and saved me from sweating under the scorching sun plenty of times. On the other hand, the app experience was mediocre at best and infuriating at times. On the bright side again, once the mowing schedules were set in the app there was no real reason to use it unless I wanted to control it remotely. At such a low price its expected to have quite a few cons and the app is usually the biggest one.
The main question: Is it worth the money?
In my opinion its a firm YES!. The robot lawn mower market is still small and majority of them use the same guide wire technology but the price is usually double what Devvis H750T costs. Pricewise it comes very close to a decent battery powered push lawn mower and if given the choice I’d go for the robot. Don’t forget a 2 year warranty and high availability of spare parts.

Explore more like this

Moes ES1 (ZSS-LP-HP02) Zigbee Human Presence Sensor Review
It was hard to resist the new Moes labelled sensor on AliExpress because it looked identical to the Linptech ES1 sensor which works with Xiaomi’s Mijia ecosystem but I avoided...
Comments