SwitchBot Lock in Home Assistant
Summary
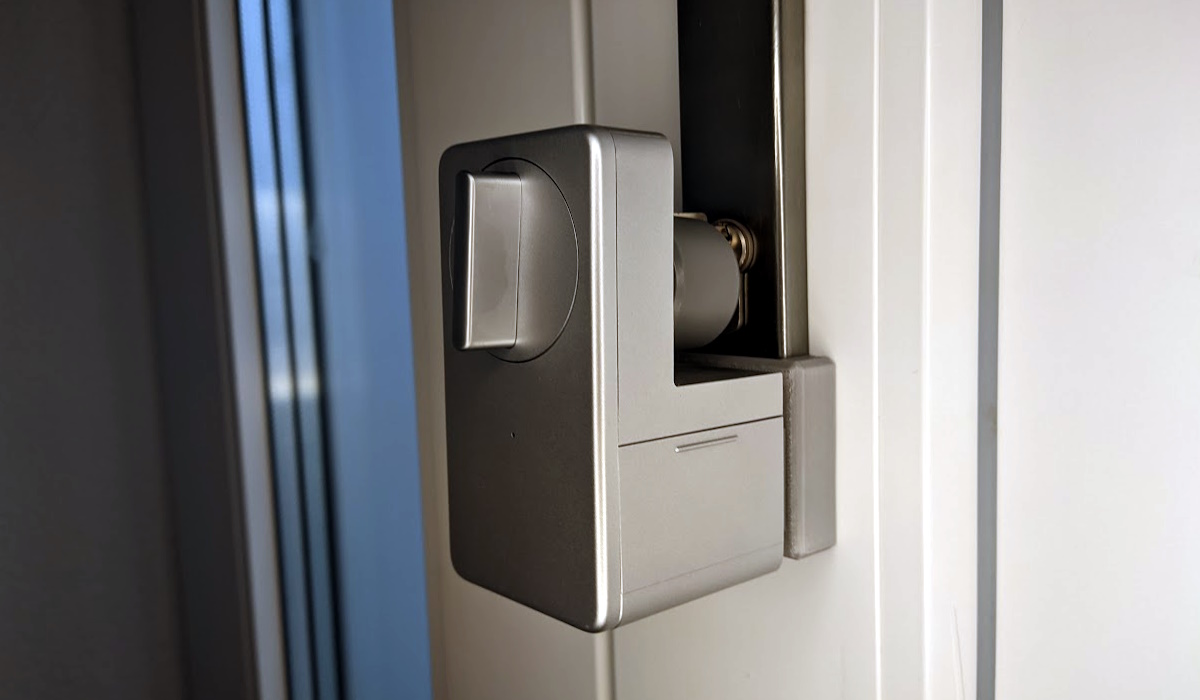
Finding a good lock that fits your door is not an easy task and mine was made extra difficult by having multi-point lock doors. SwitchBot’s Lock (their product naming team really outdid themselves this time) is designed to be a removable retrofit solution to your existing lock. This takes out a lot of the guesswork out of equation with their compatibility page and customer service will help you determine if it will fit your door and lock. Mind you, SwitchBot claims multi-point locks are not supported but lets not get hung up on that detail for now.
Full disclosure: This is a review sample sent to me free of charge by SwitchBot. Review is not influenced by that fact and is solely my opinion. Shopping links in this article are affiliate links and I earn a small commission when you buy through them which helps support my work.
SwitchBot Lock is available from:
- SwitchBot Store - 30% off with code UP40BF0
- Amazon DE
- Amazon FR - 30% OFF during Black Friday sales
- Amazon NL - 30% OFF during Black Friday sales
- Amazon ES
- Amazon UK - 30% OFF during Black Friday sales
- Amazon US - also 30% off but US price is only 69.99$ which is an awesome deal
- Amazon CA - 30% off as well

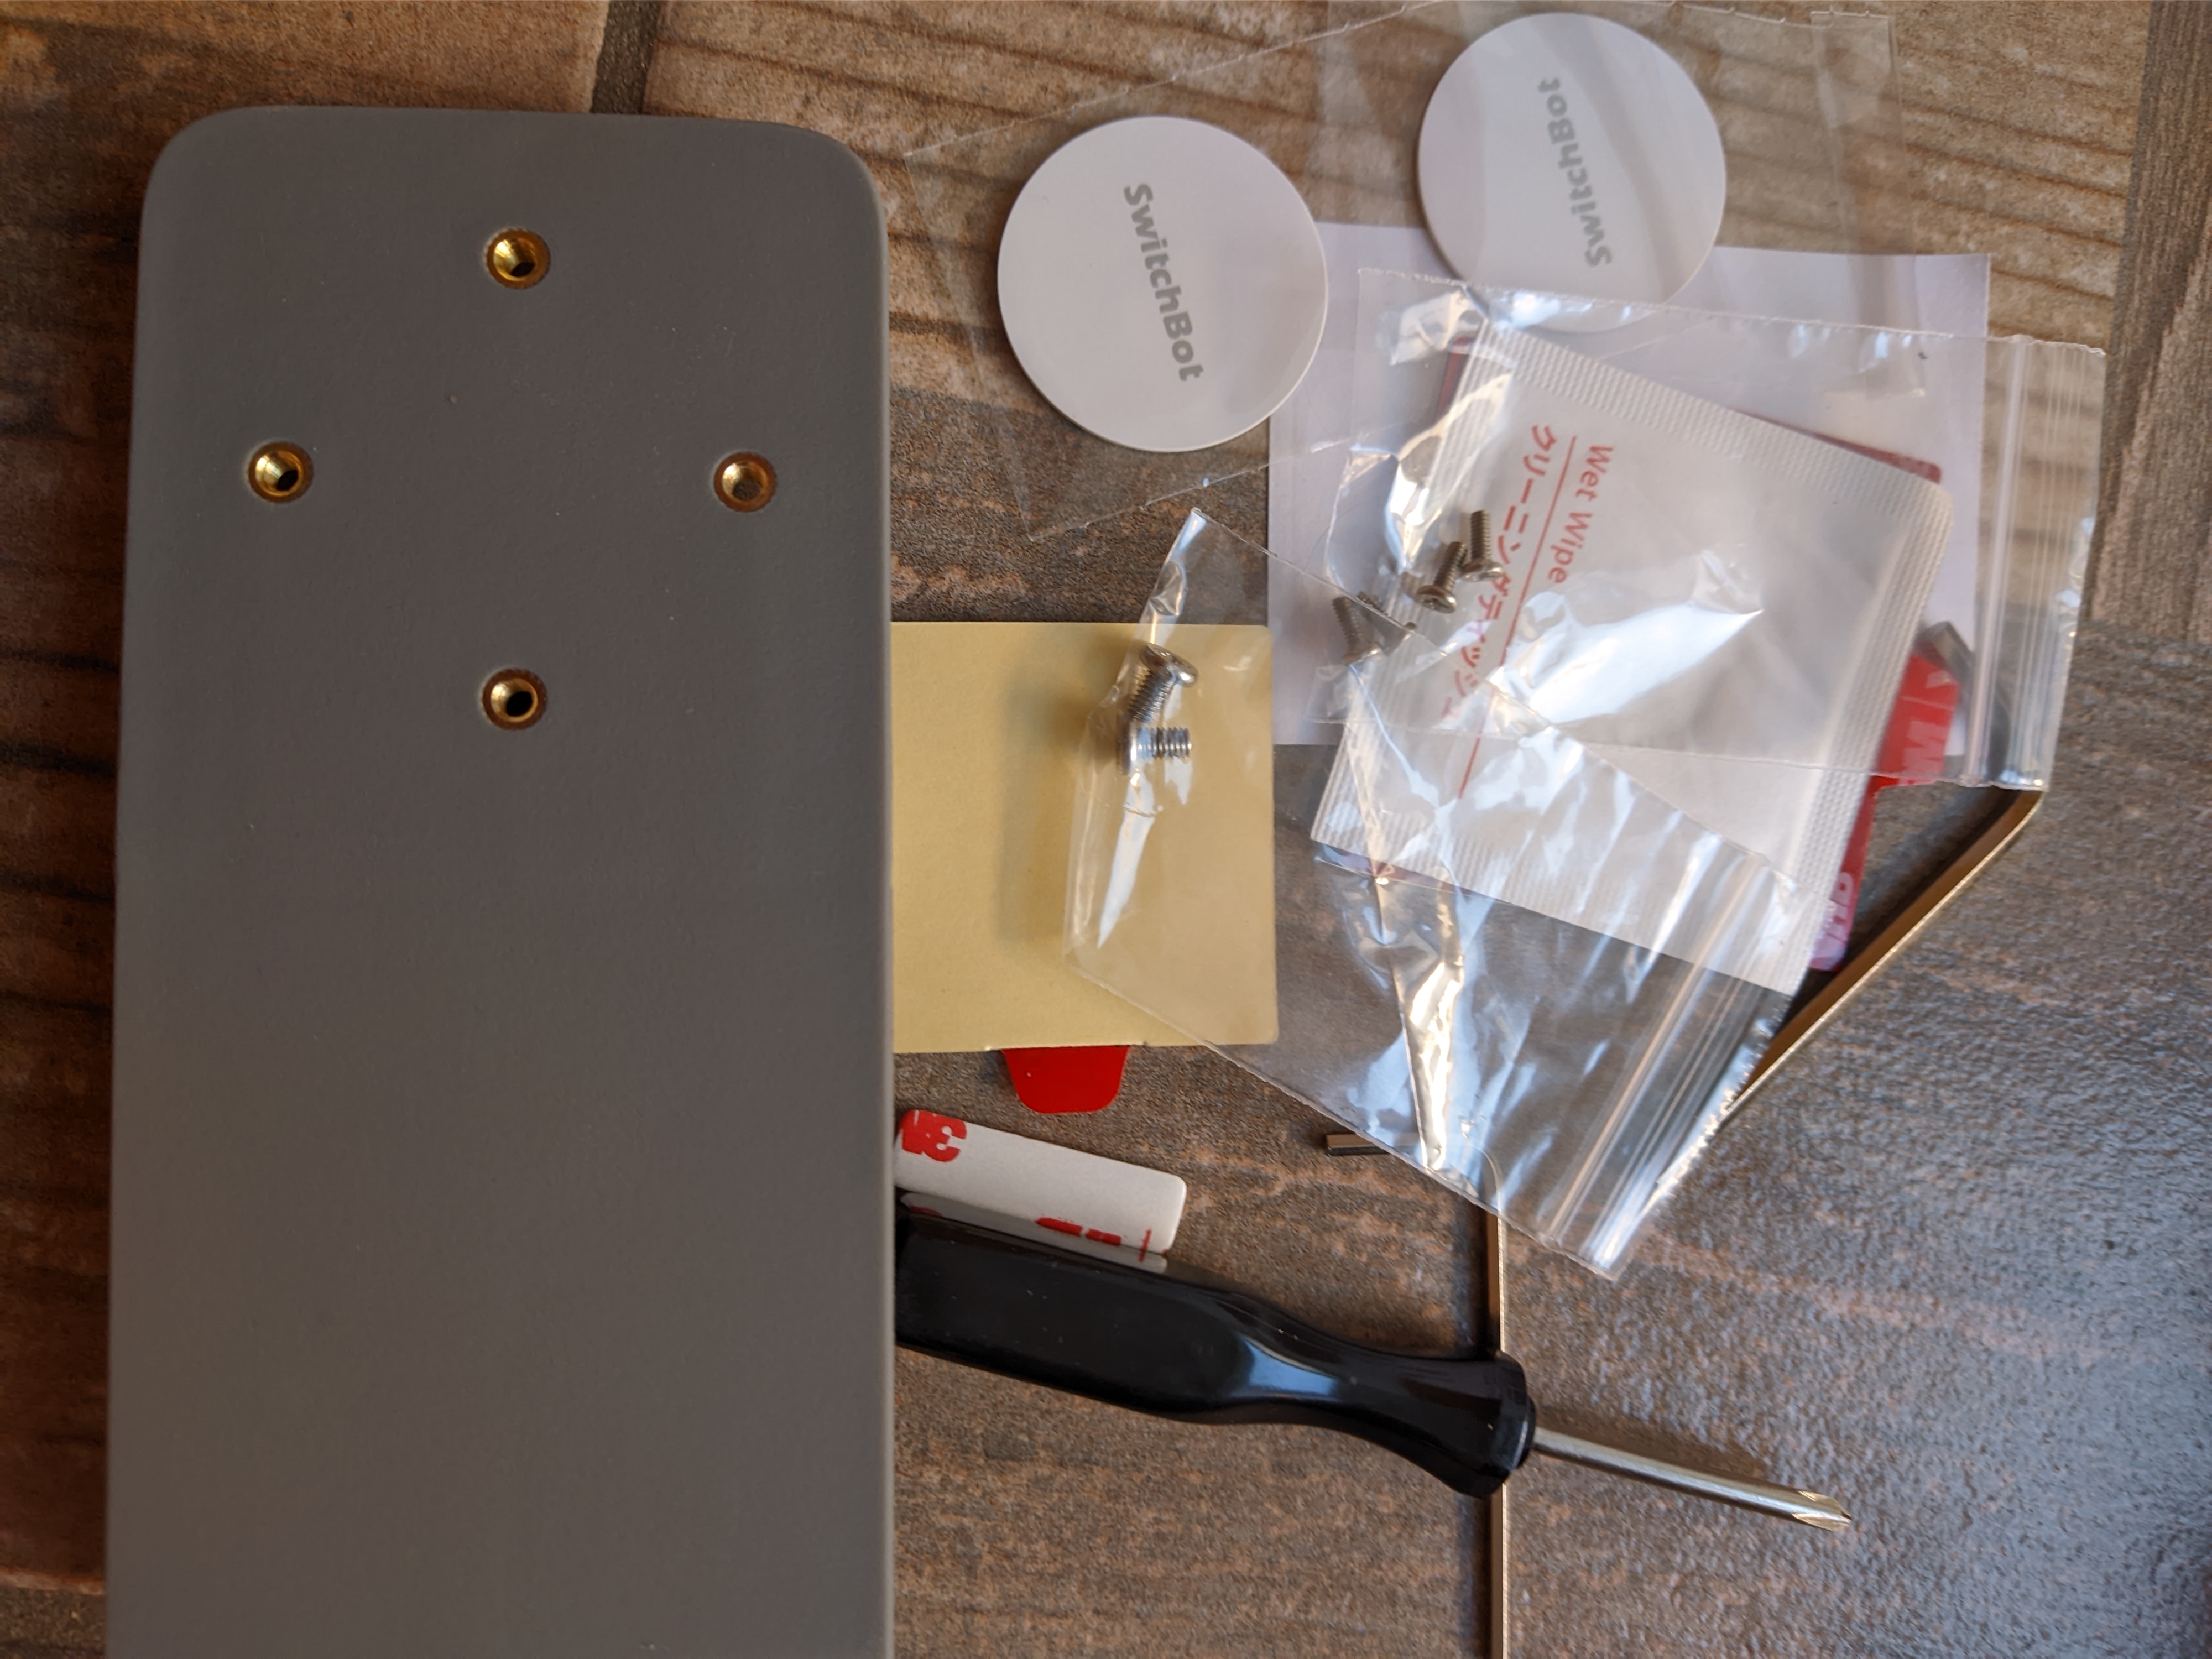
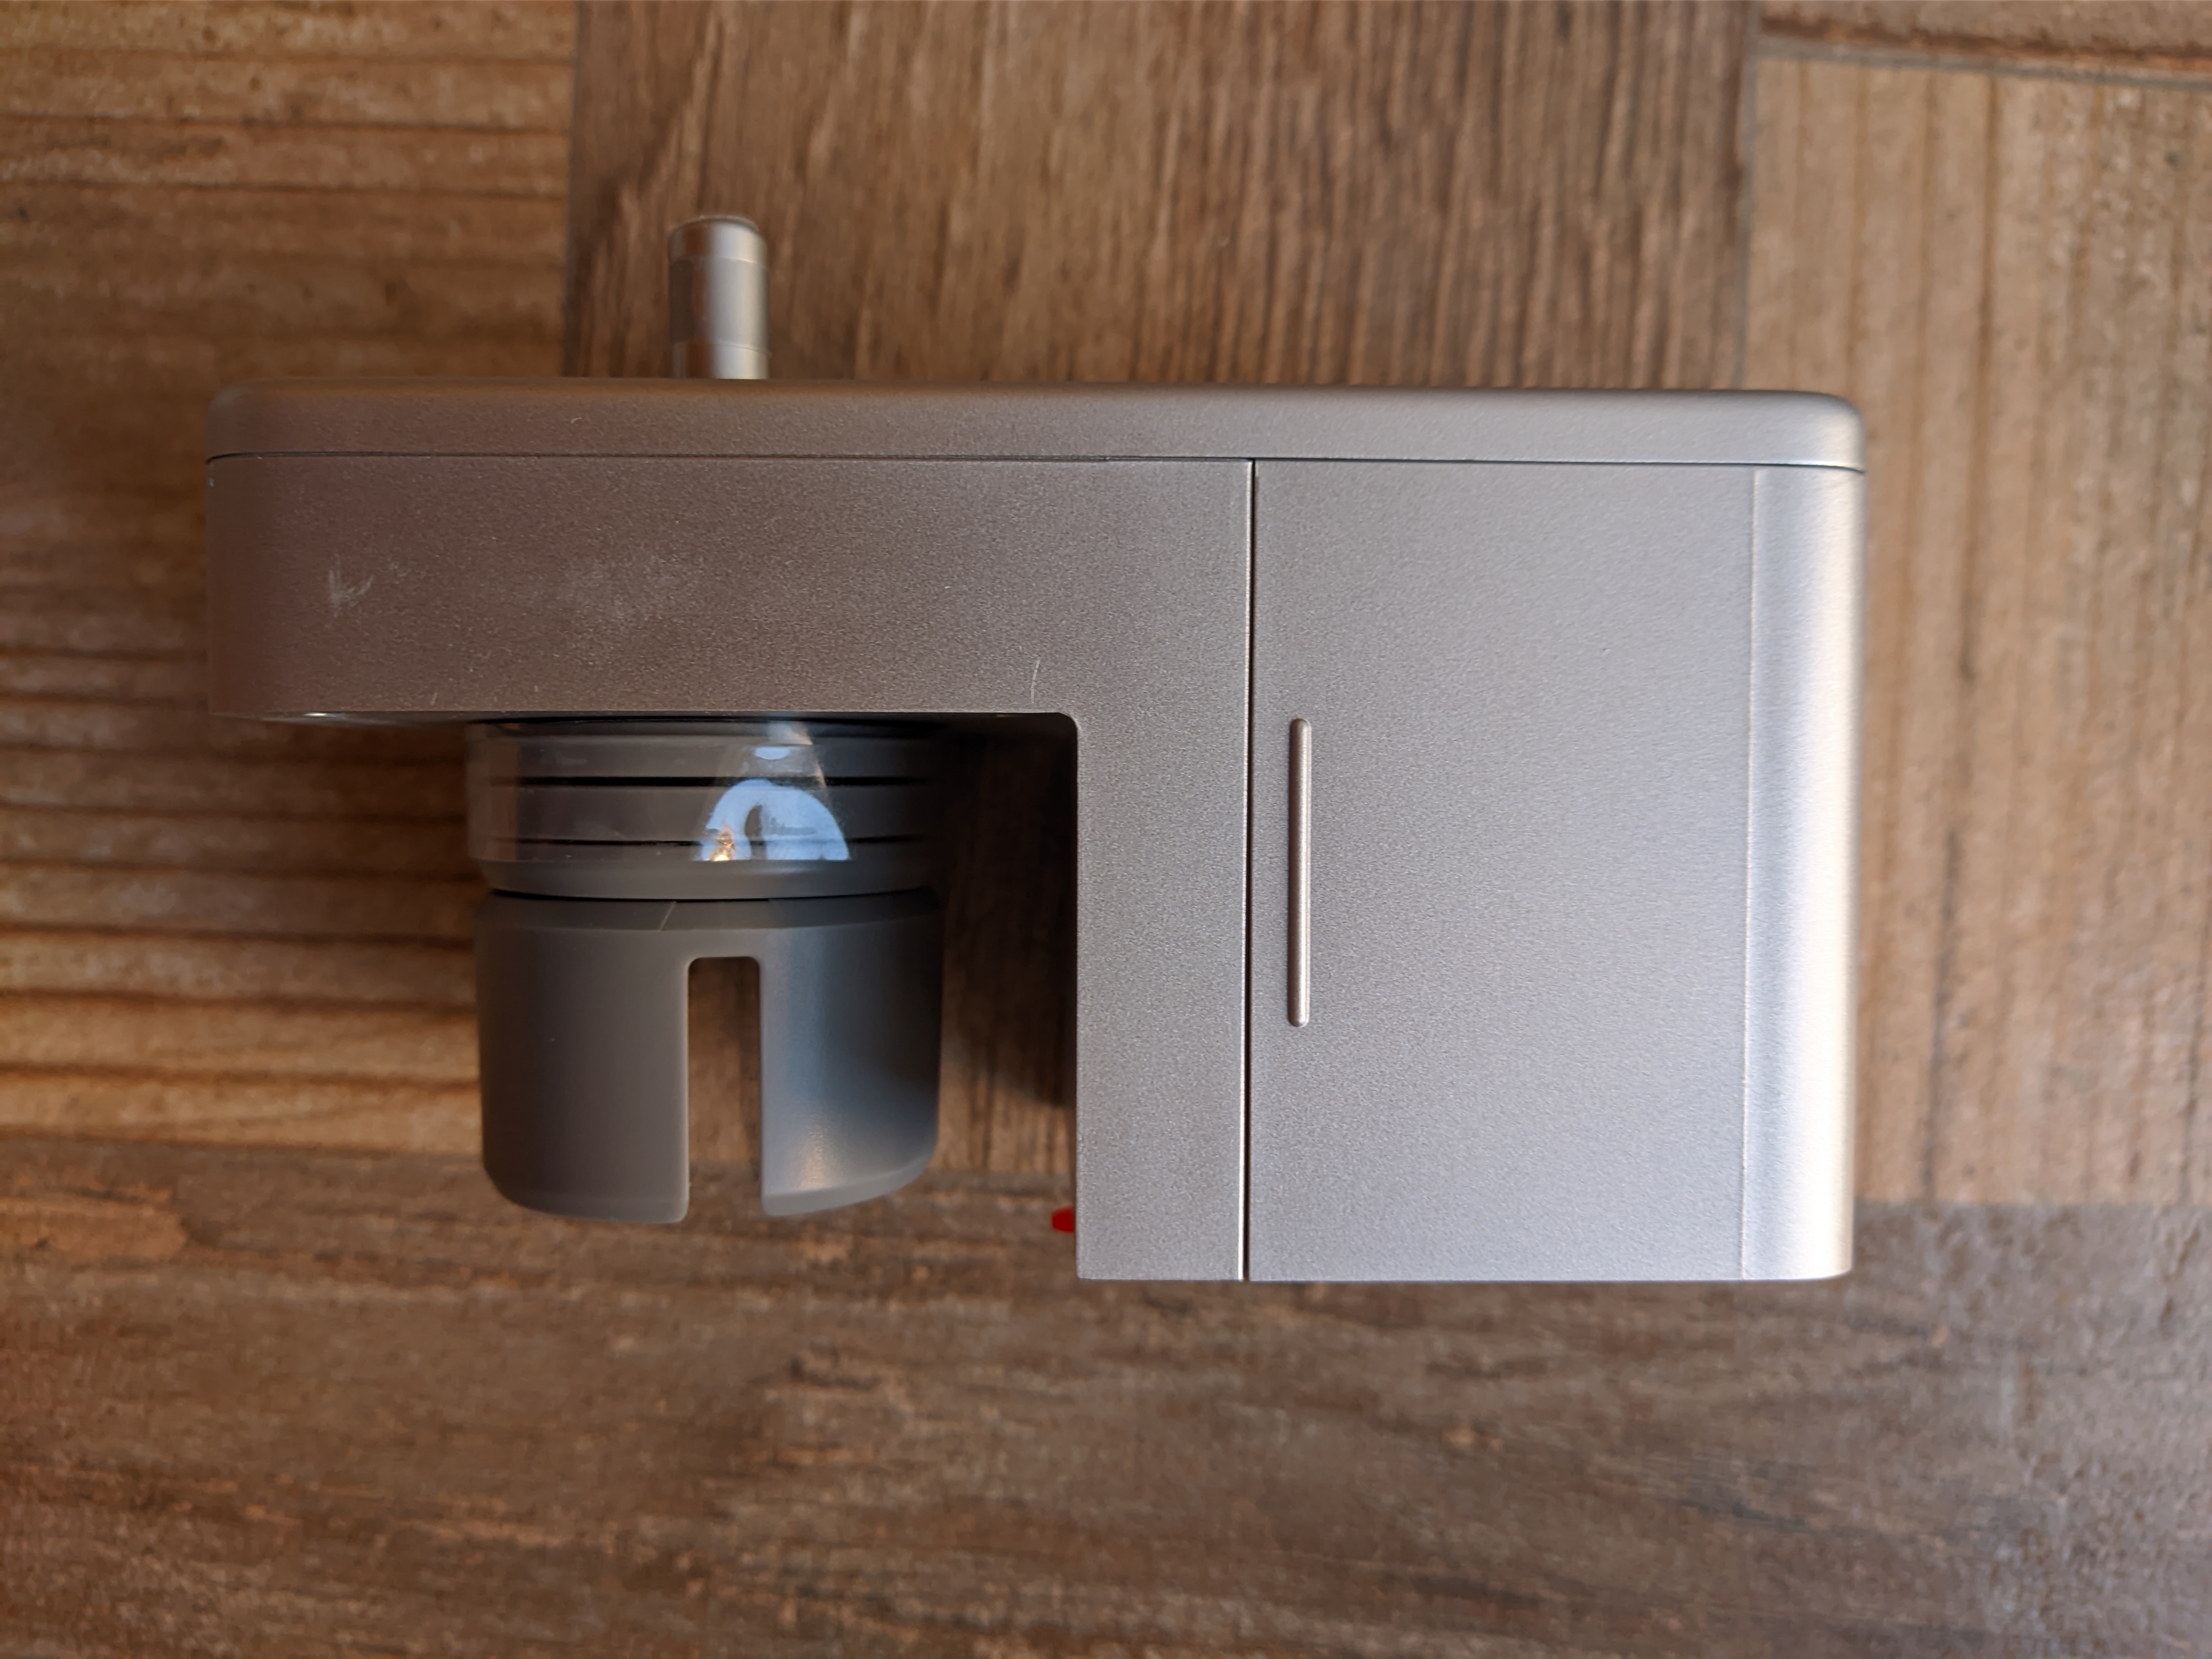
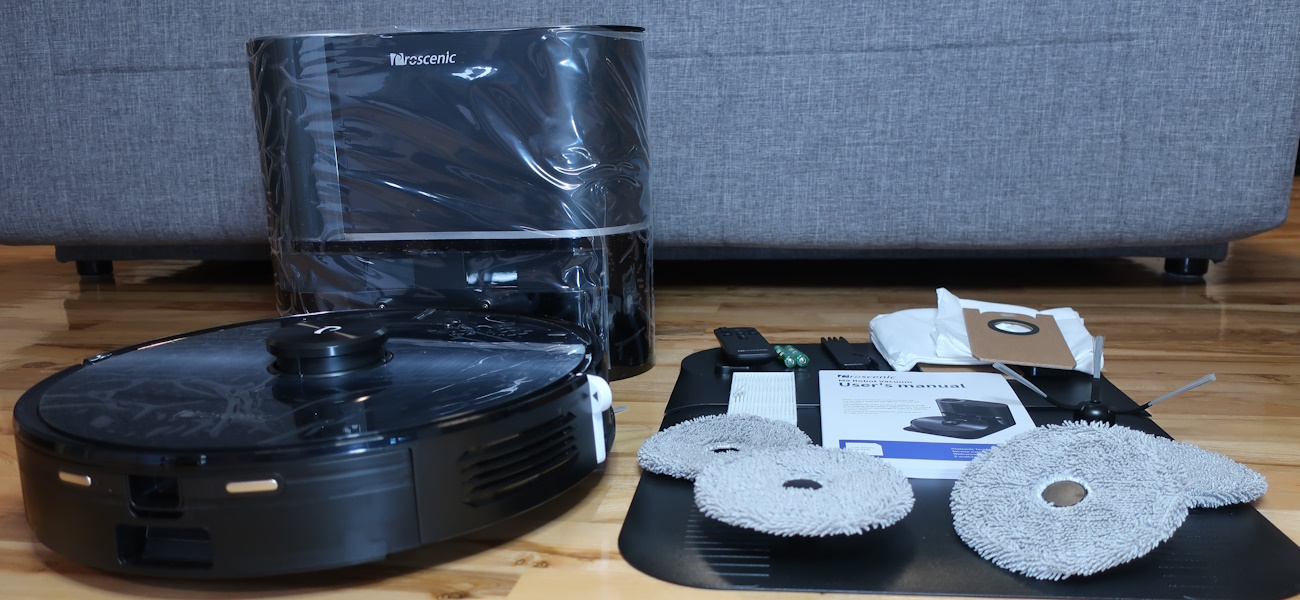
SwitchBot Lock comes in a box with a multitude of adapters for all kinds of keys and locking systems, a mount adapter, set of batteries, all the tools required for mounting and two NFC tags. Its surprisingly light but that’s because most of the parts are made out of plastic.
The instructions for mounting are very clear and every step is laid out with notes on what to pay attention to. Mounting it was incredibly easy and doesn’t require any special skills.
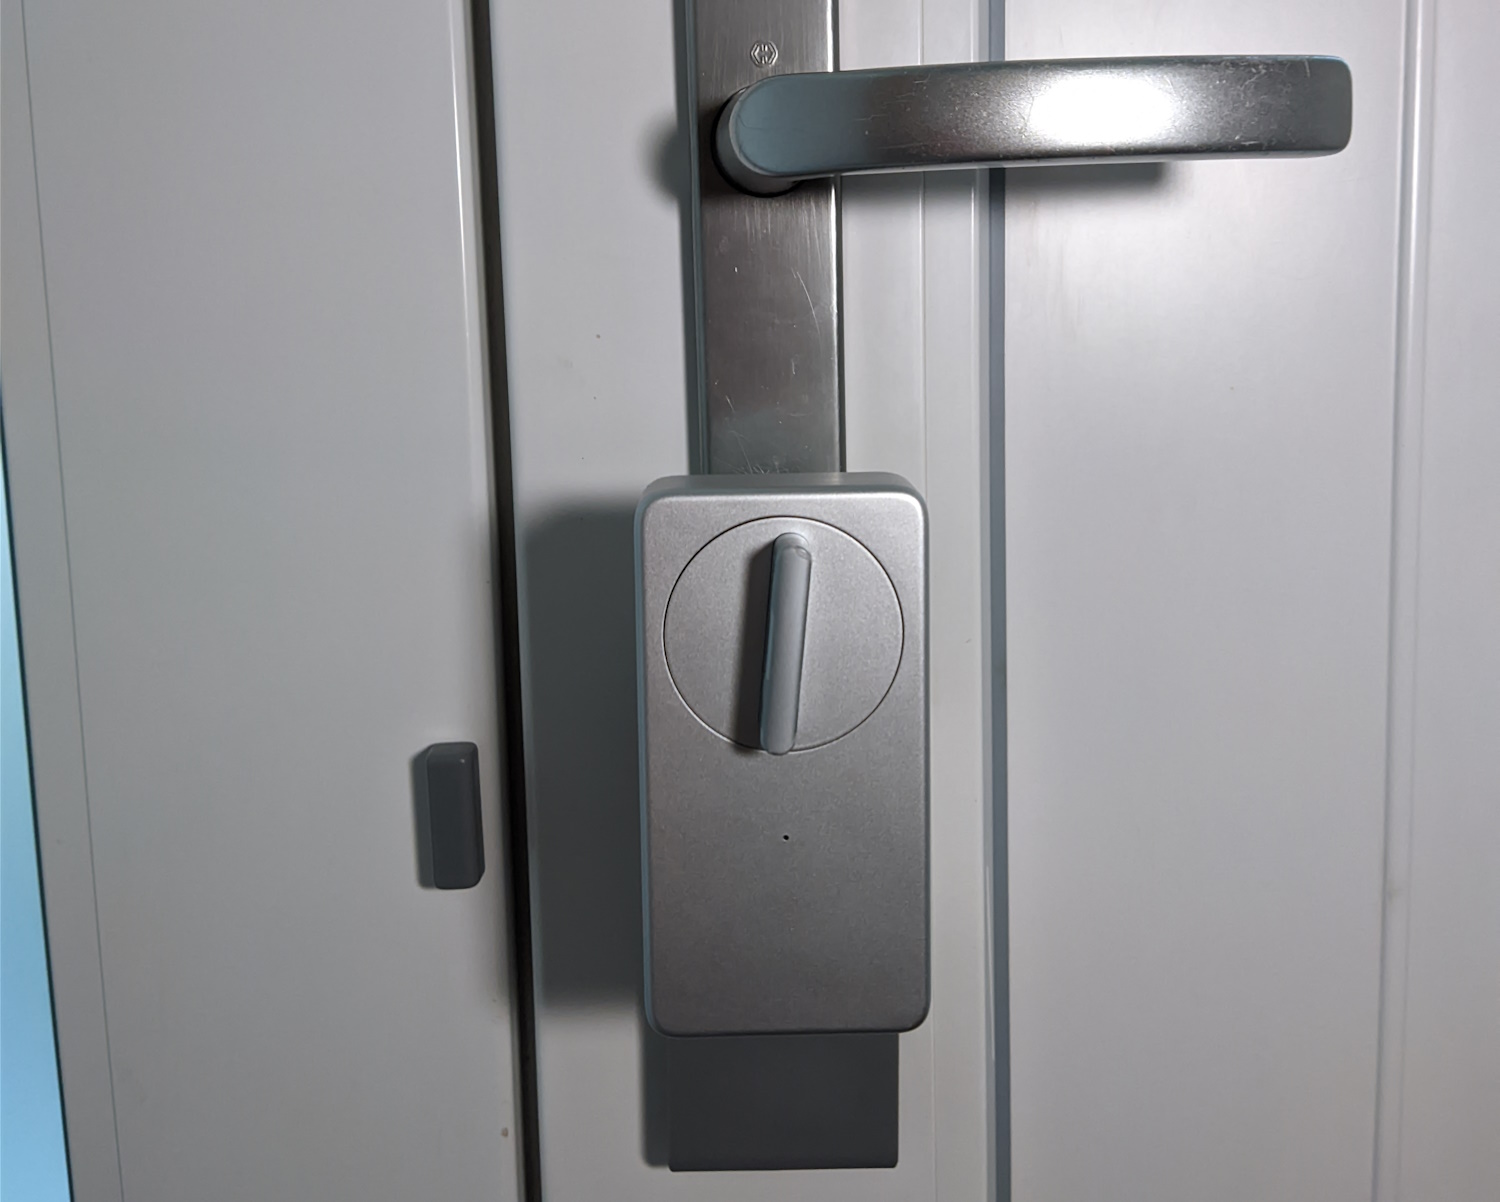
The lock mounts to the doors with VHB tape and if you have a big door lock like me you will need to use the supplied mount adapter too. This did make the lock incredibly bulky but there’s a solution for that, more on that later. Besides having a, insert air quotes, incompatible door type my lock cylinder was not recommended for installation either because the other side of the lock cannot turn the key if a key is already inserted in the opposite hole. Off to the hardware store to order an N+G lock cylinder. This is important since it allows you to use the key in case something goes wrong with the lock, which it won’t but it might.
The App
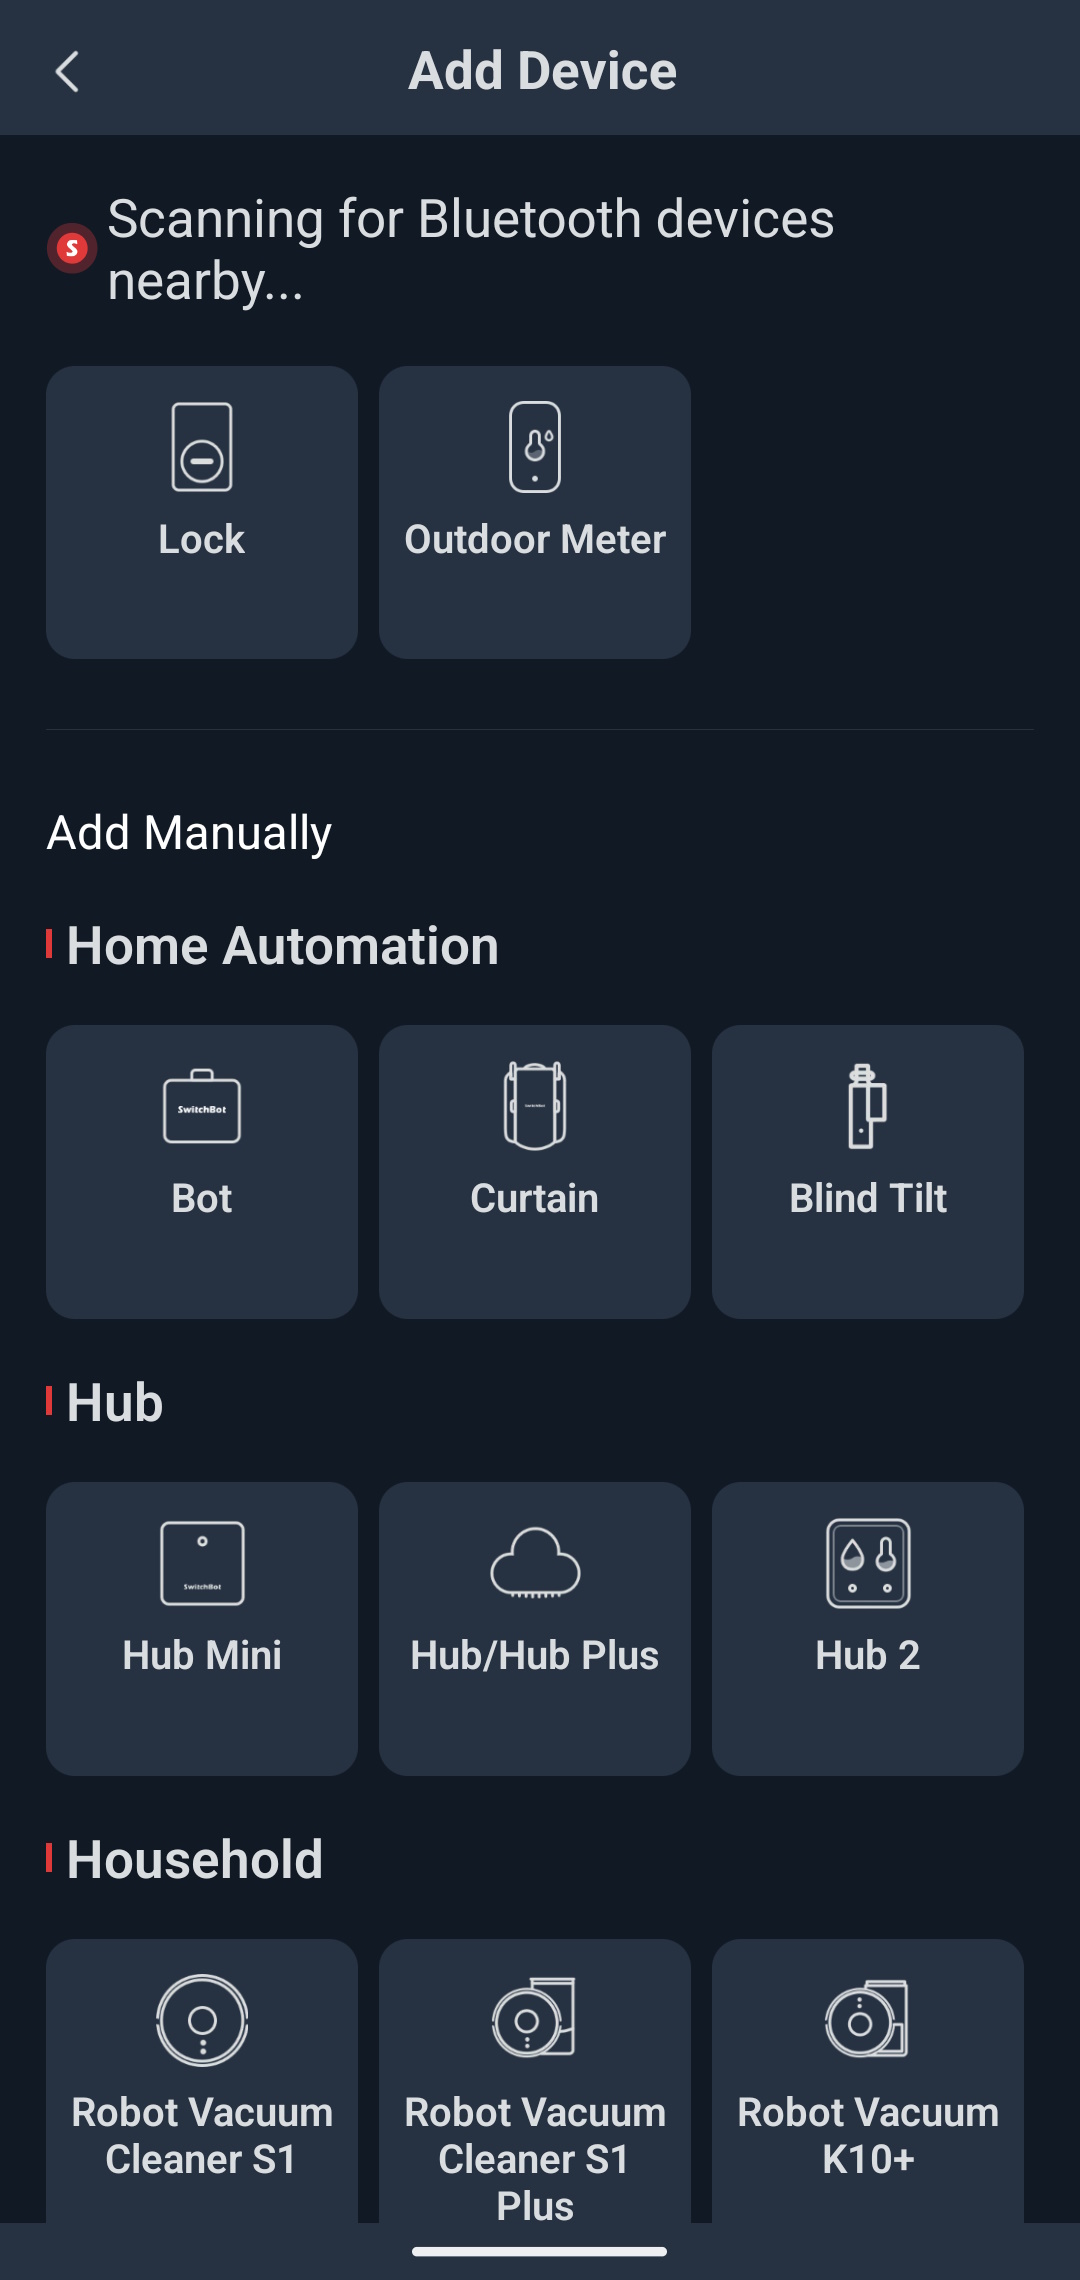
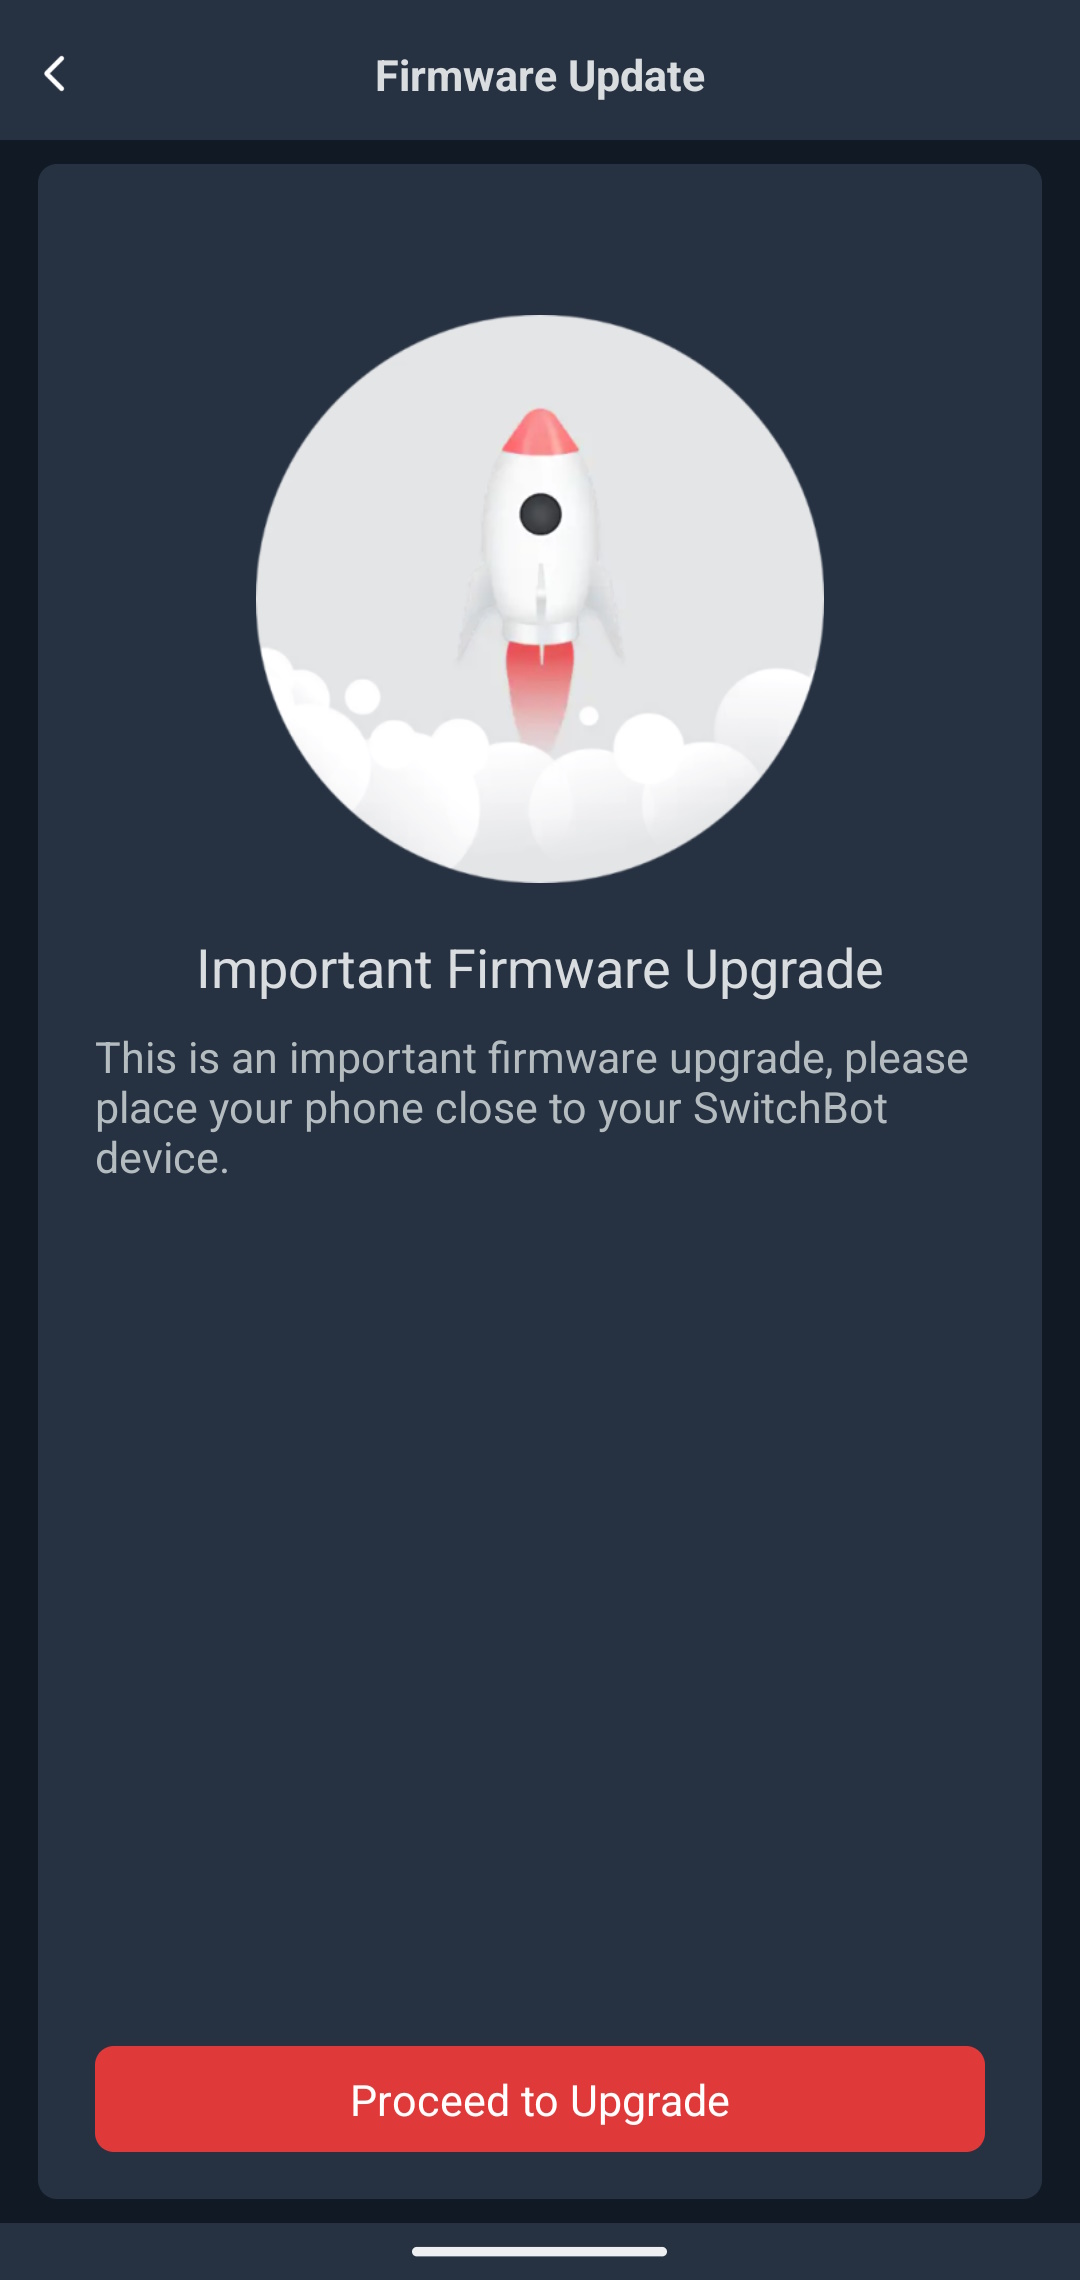
The lock communicates via Bluetooth and you can connect to it directly from you phone using the SwitchBot app. The app is required to calibrate the lock and configure its options. It will discover the lock and guide you through the calibration process with well illustrated and explained steps. Immediately after adding my lock to the I was offered a firmware upgrade.
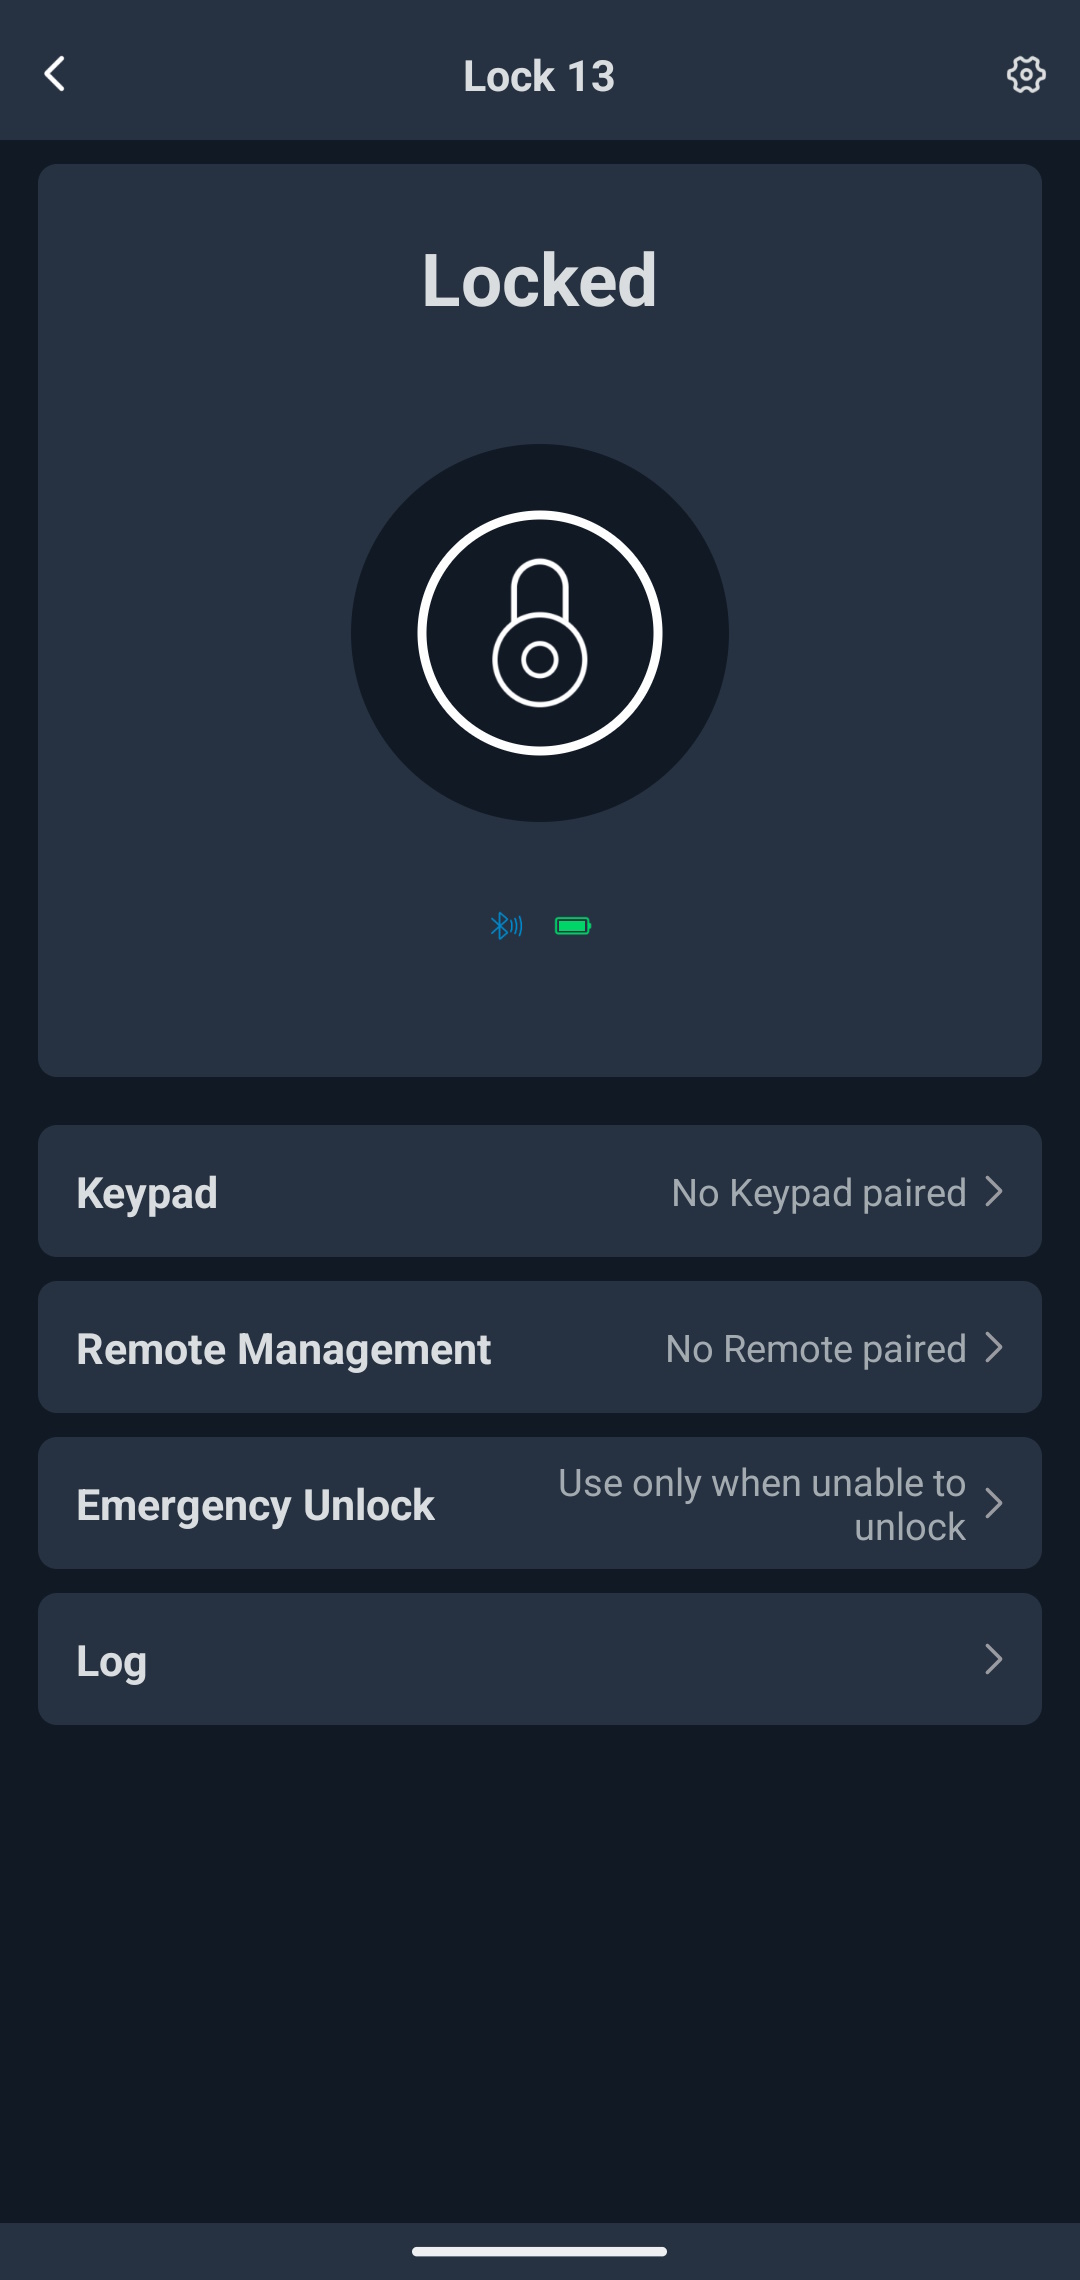
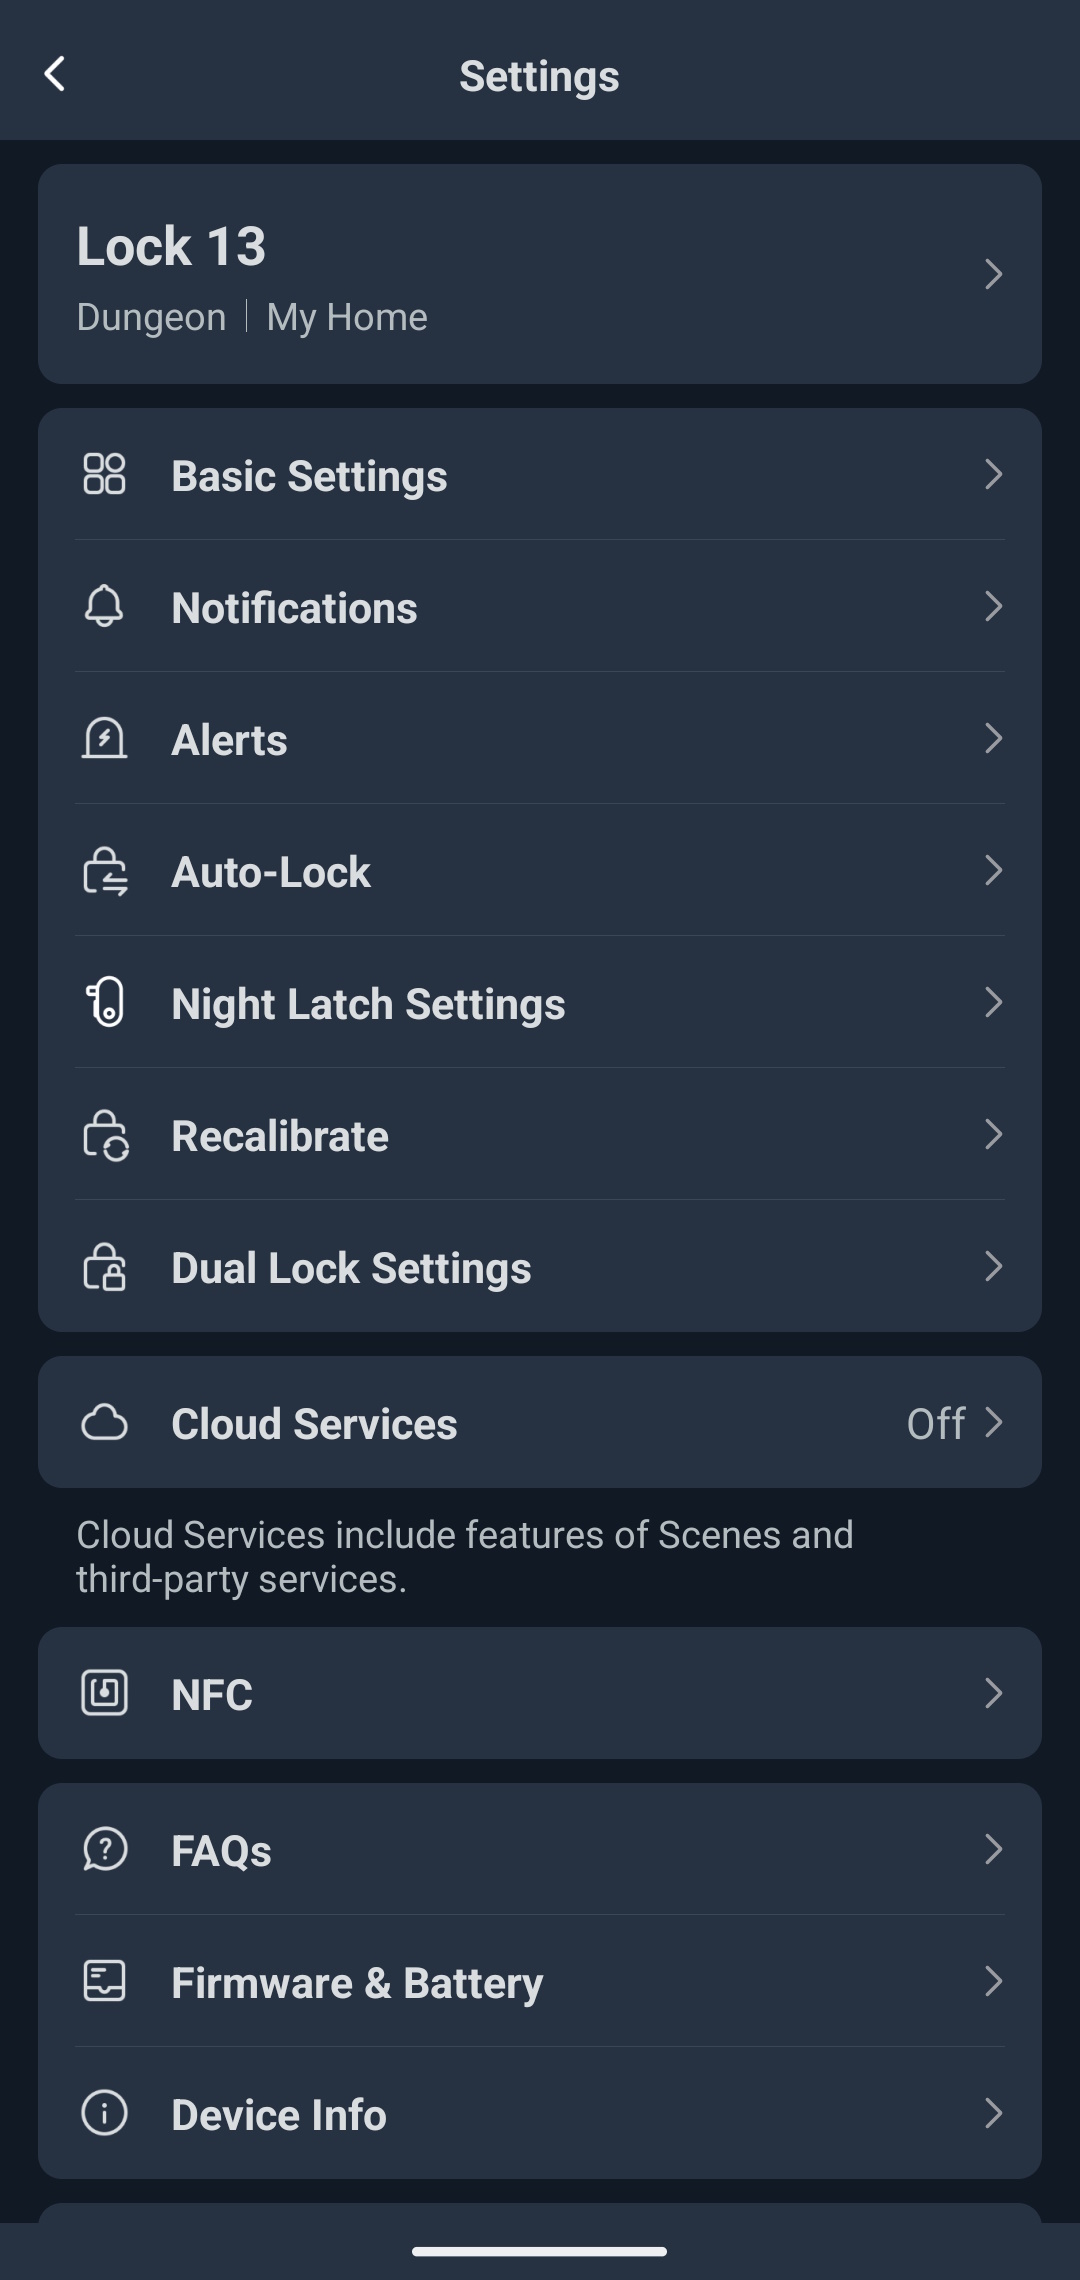
The Lock has lots of options in the settings such as alerts for leaving the doors open, auto locking at certain time, night latch support and turning off the LED indicator on the lock. You can even synchronize two SwitchBot Locks to operate as one. You can pair an optional keypad with fingerprint or a remote to control the lock. For remote unlocking and Google/Alexa integration you will need to use a SwitchBot Hub… or… just use Home Assistant with a Bluetooth Proxy.
Home Assistant
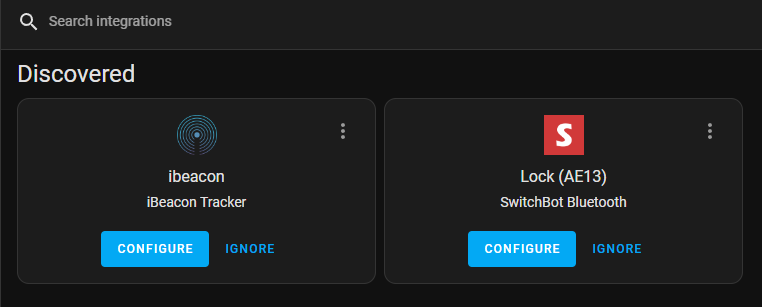
Since I already have a Bluetooth proxy running I’ve opened my HA dashboard and, quelle surpise, there was a notification a SwitchBot Lock is discovered.
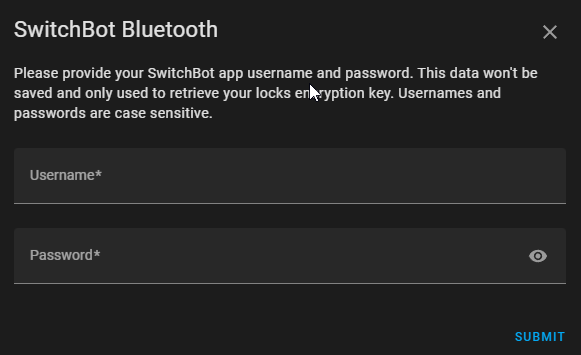
Clicking on configure opens a configuration dialog where you enter your SwitchBot account credentials. This is required only to grab the lock key from SwitchBot, the control of the lock will be all local. Unfortunately this part works only with a SwitchBot account created with an email address and not with a Google login so I had to recreate the account and repeat the pairing process. As the old Latin saying goes: “Repetition is the mother of learning”.
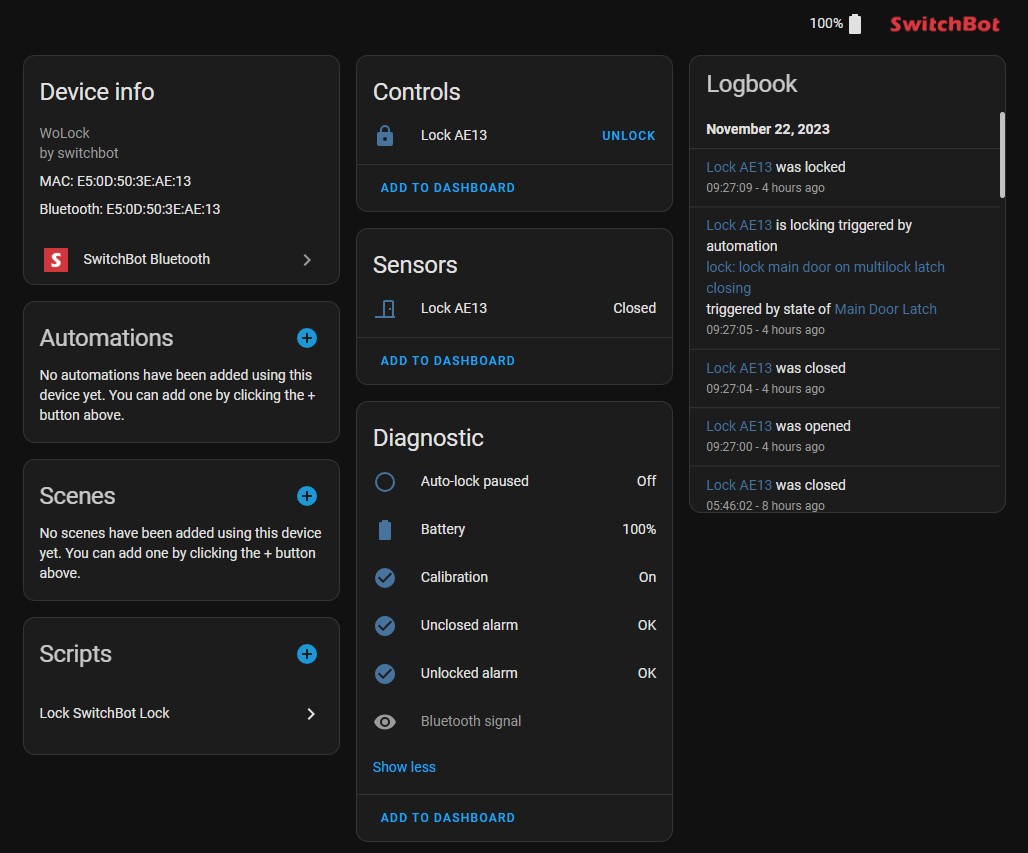
Now I can integrate the Lock and it’s glorious. There’s even a door sensor! Everything is fast and responsive but that’s to be expected for fully local communication. I’m loving this!
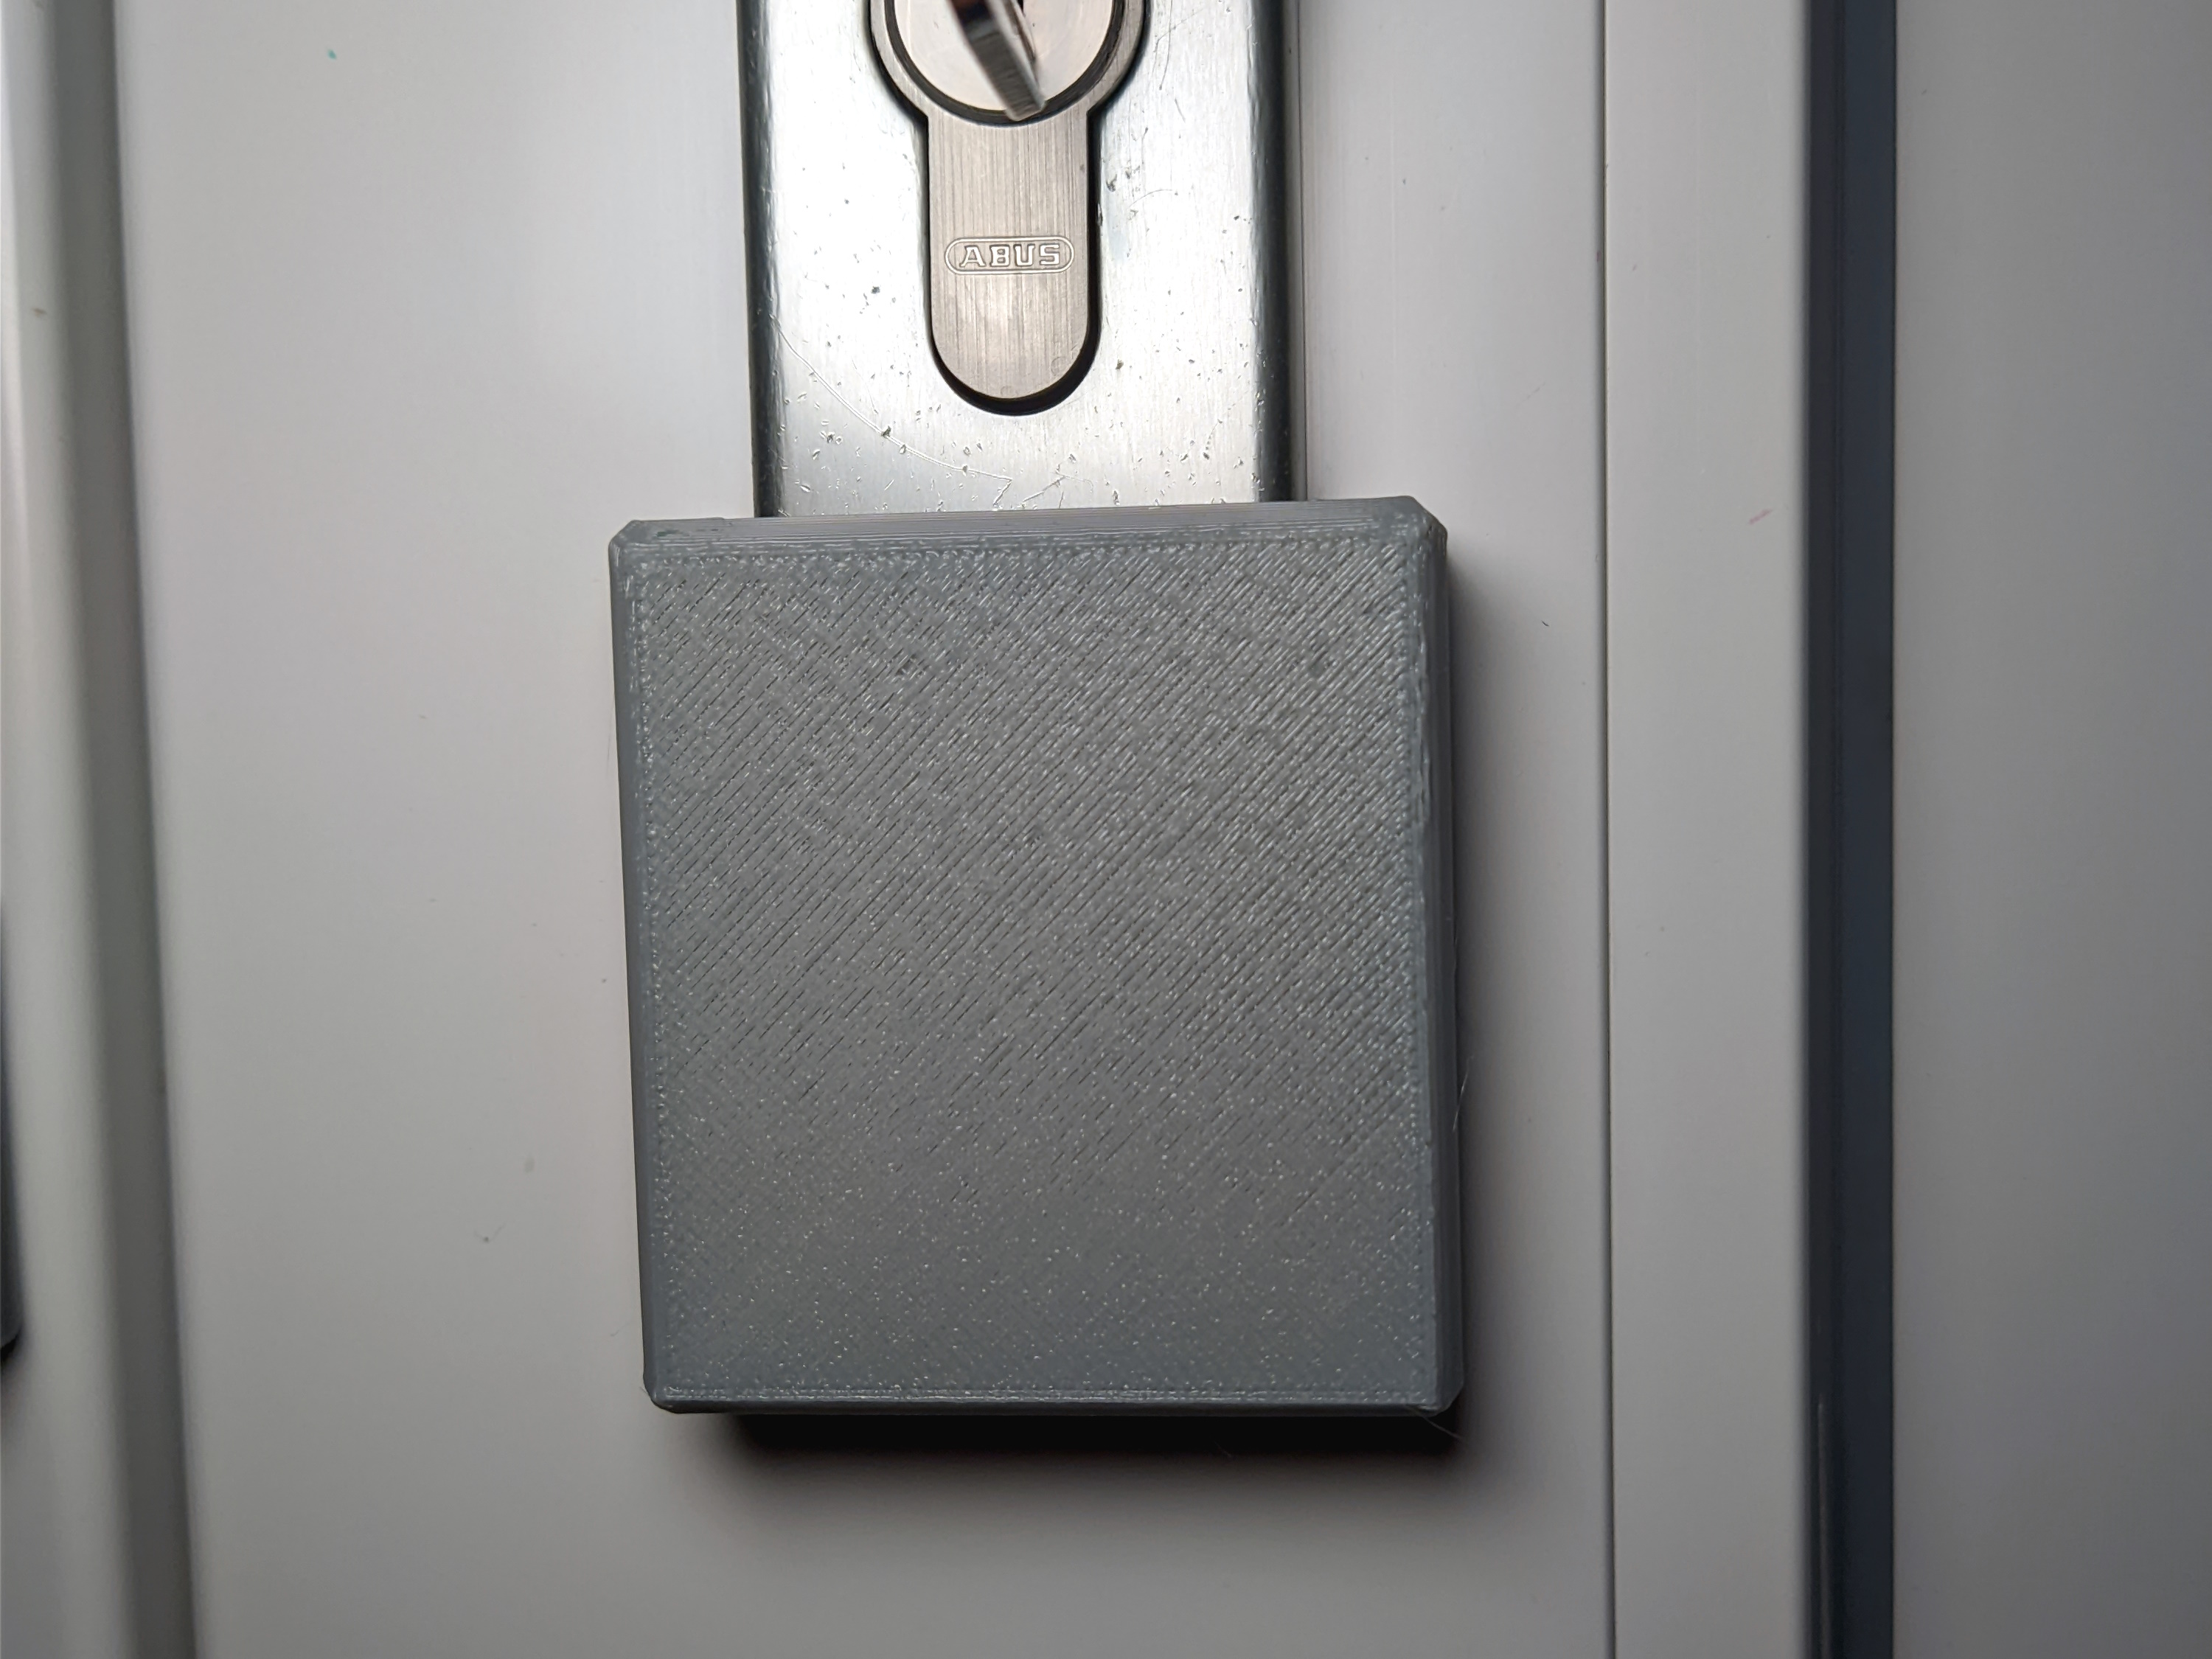
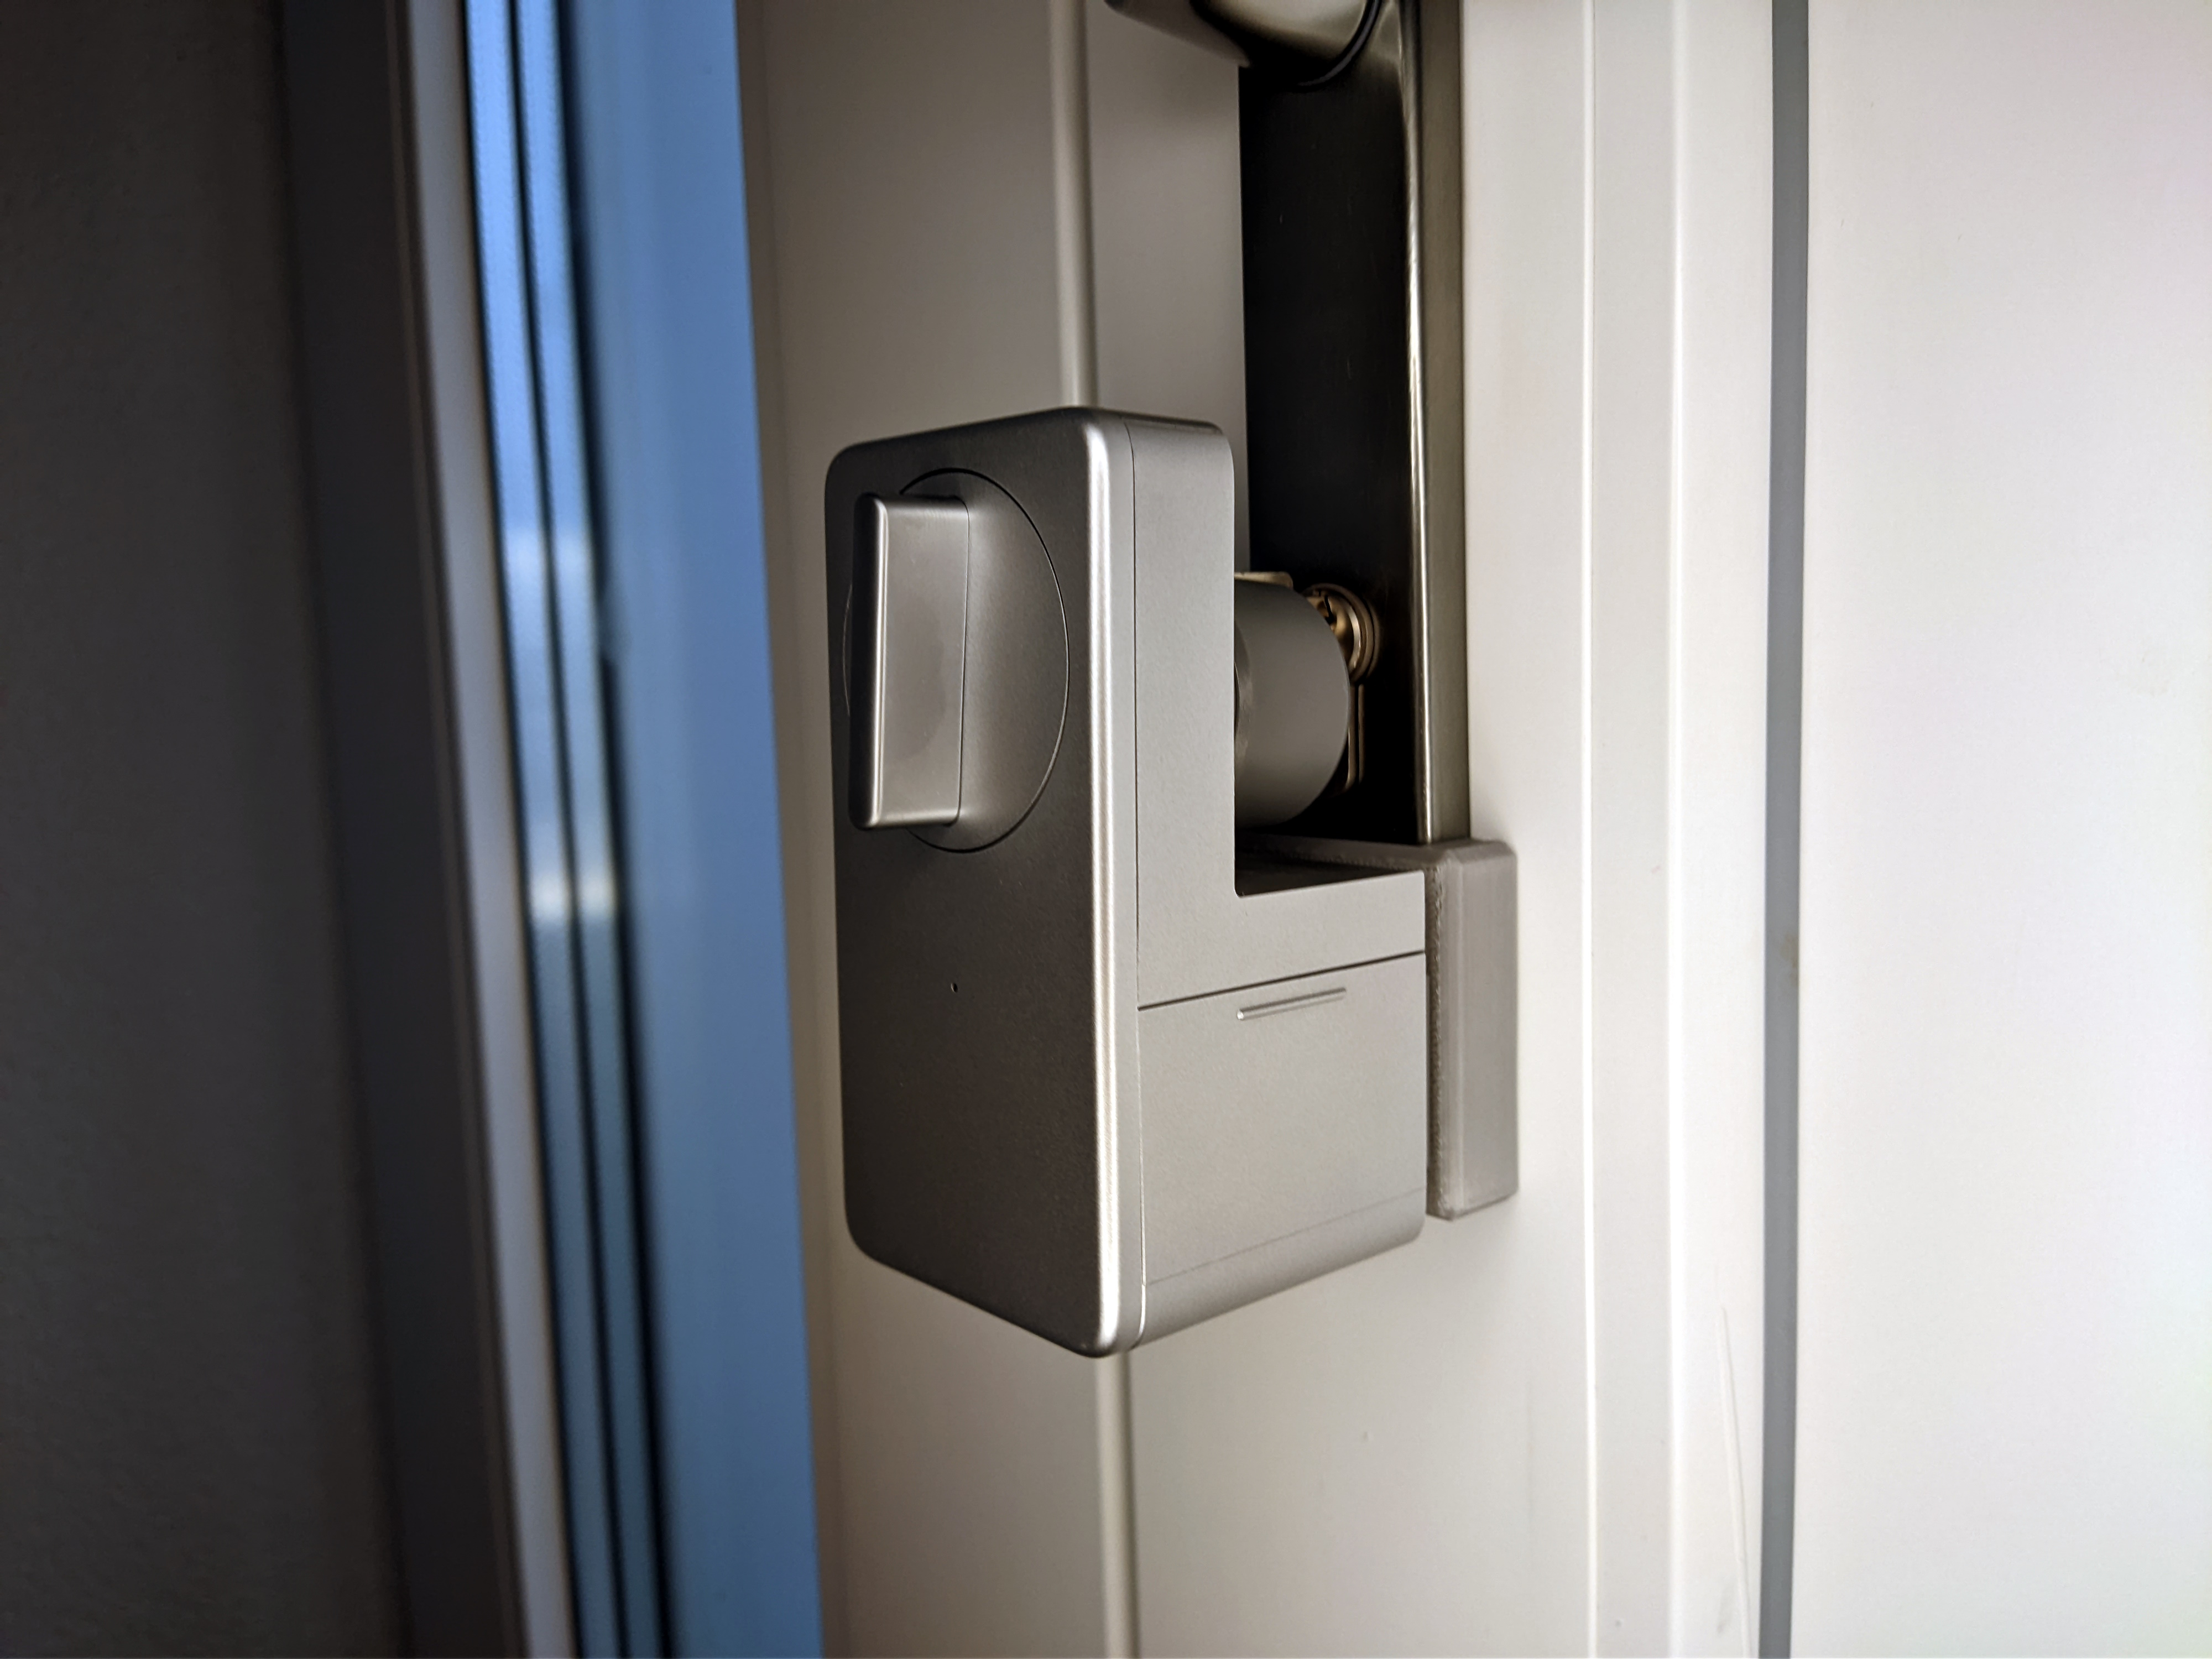
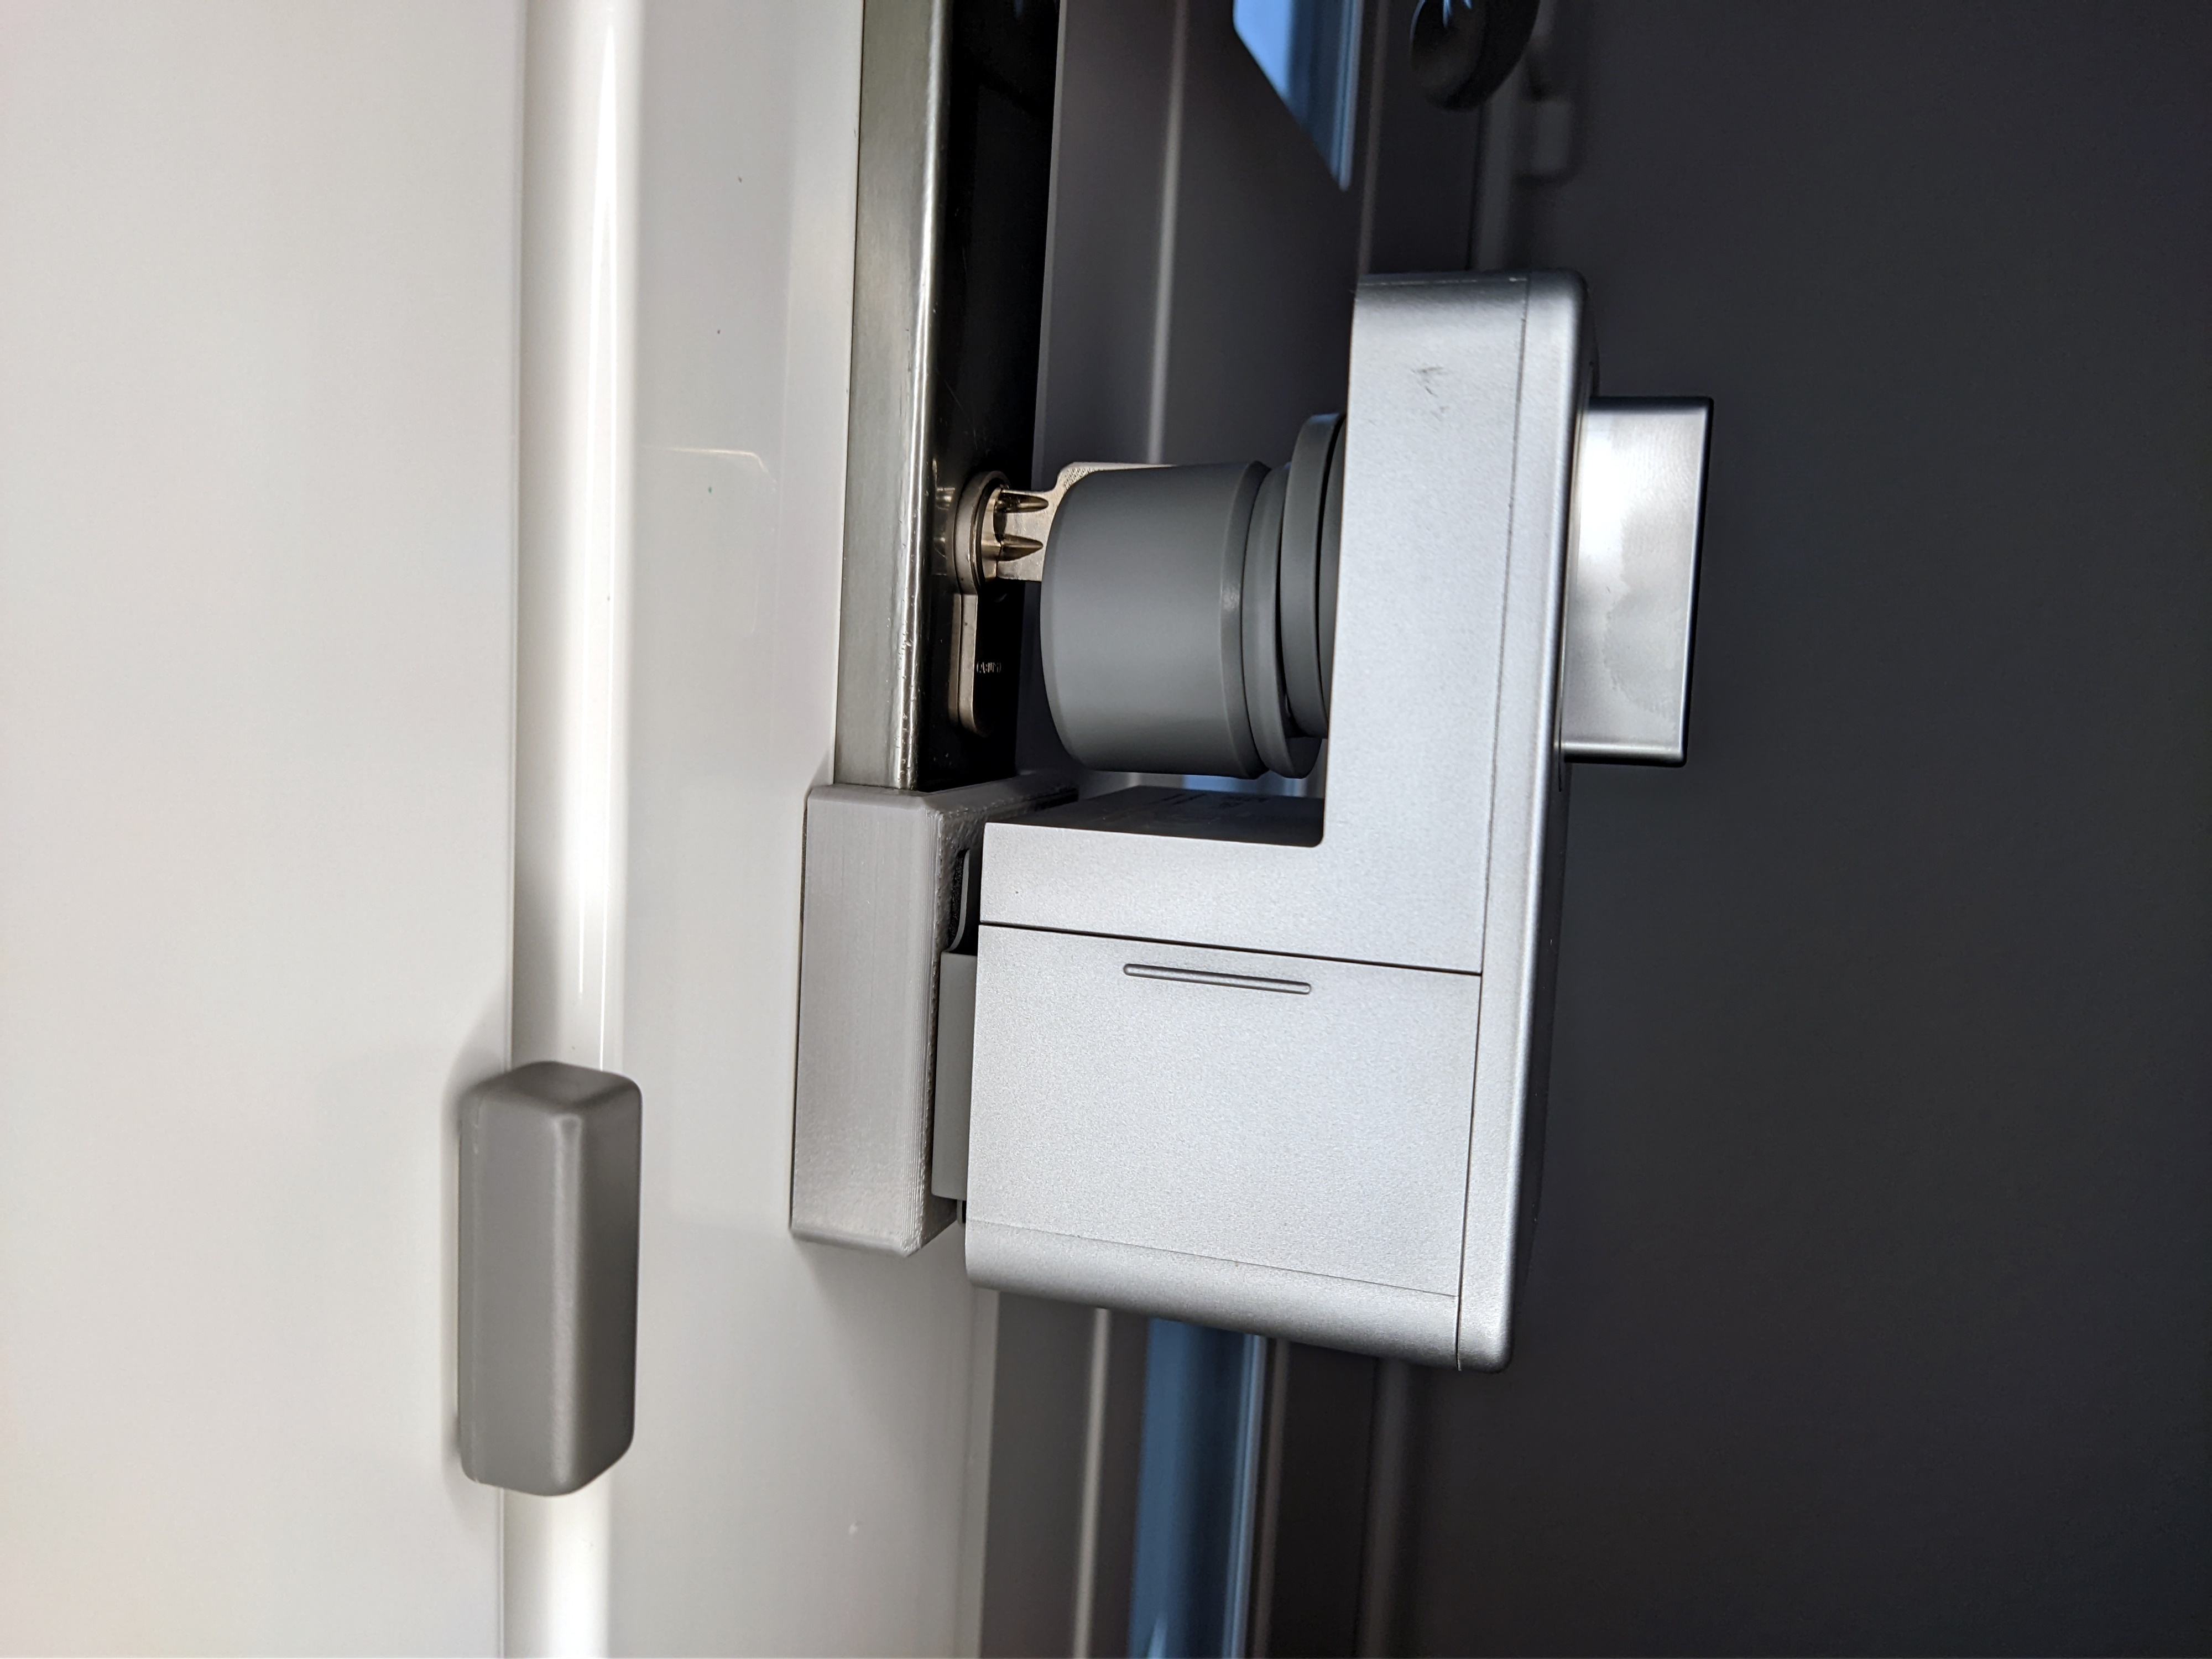
Reducing bulkiness
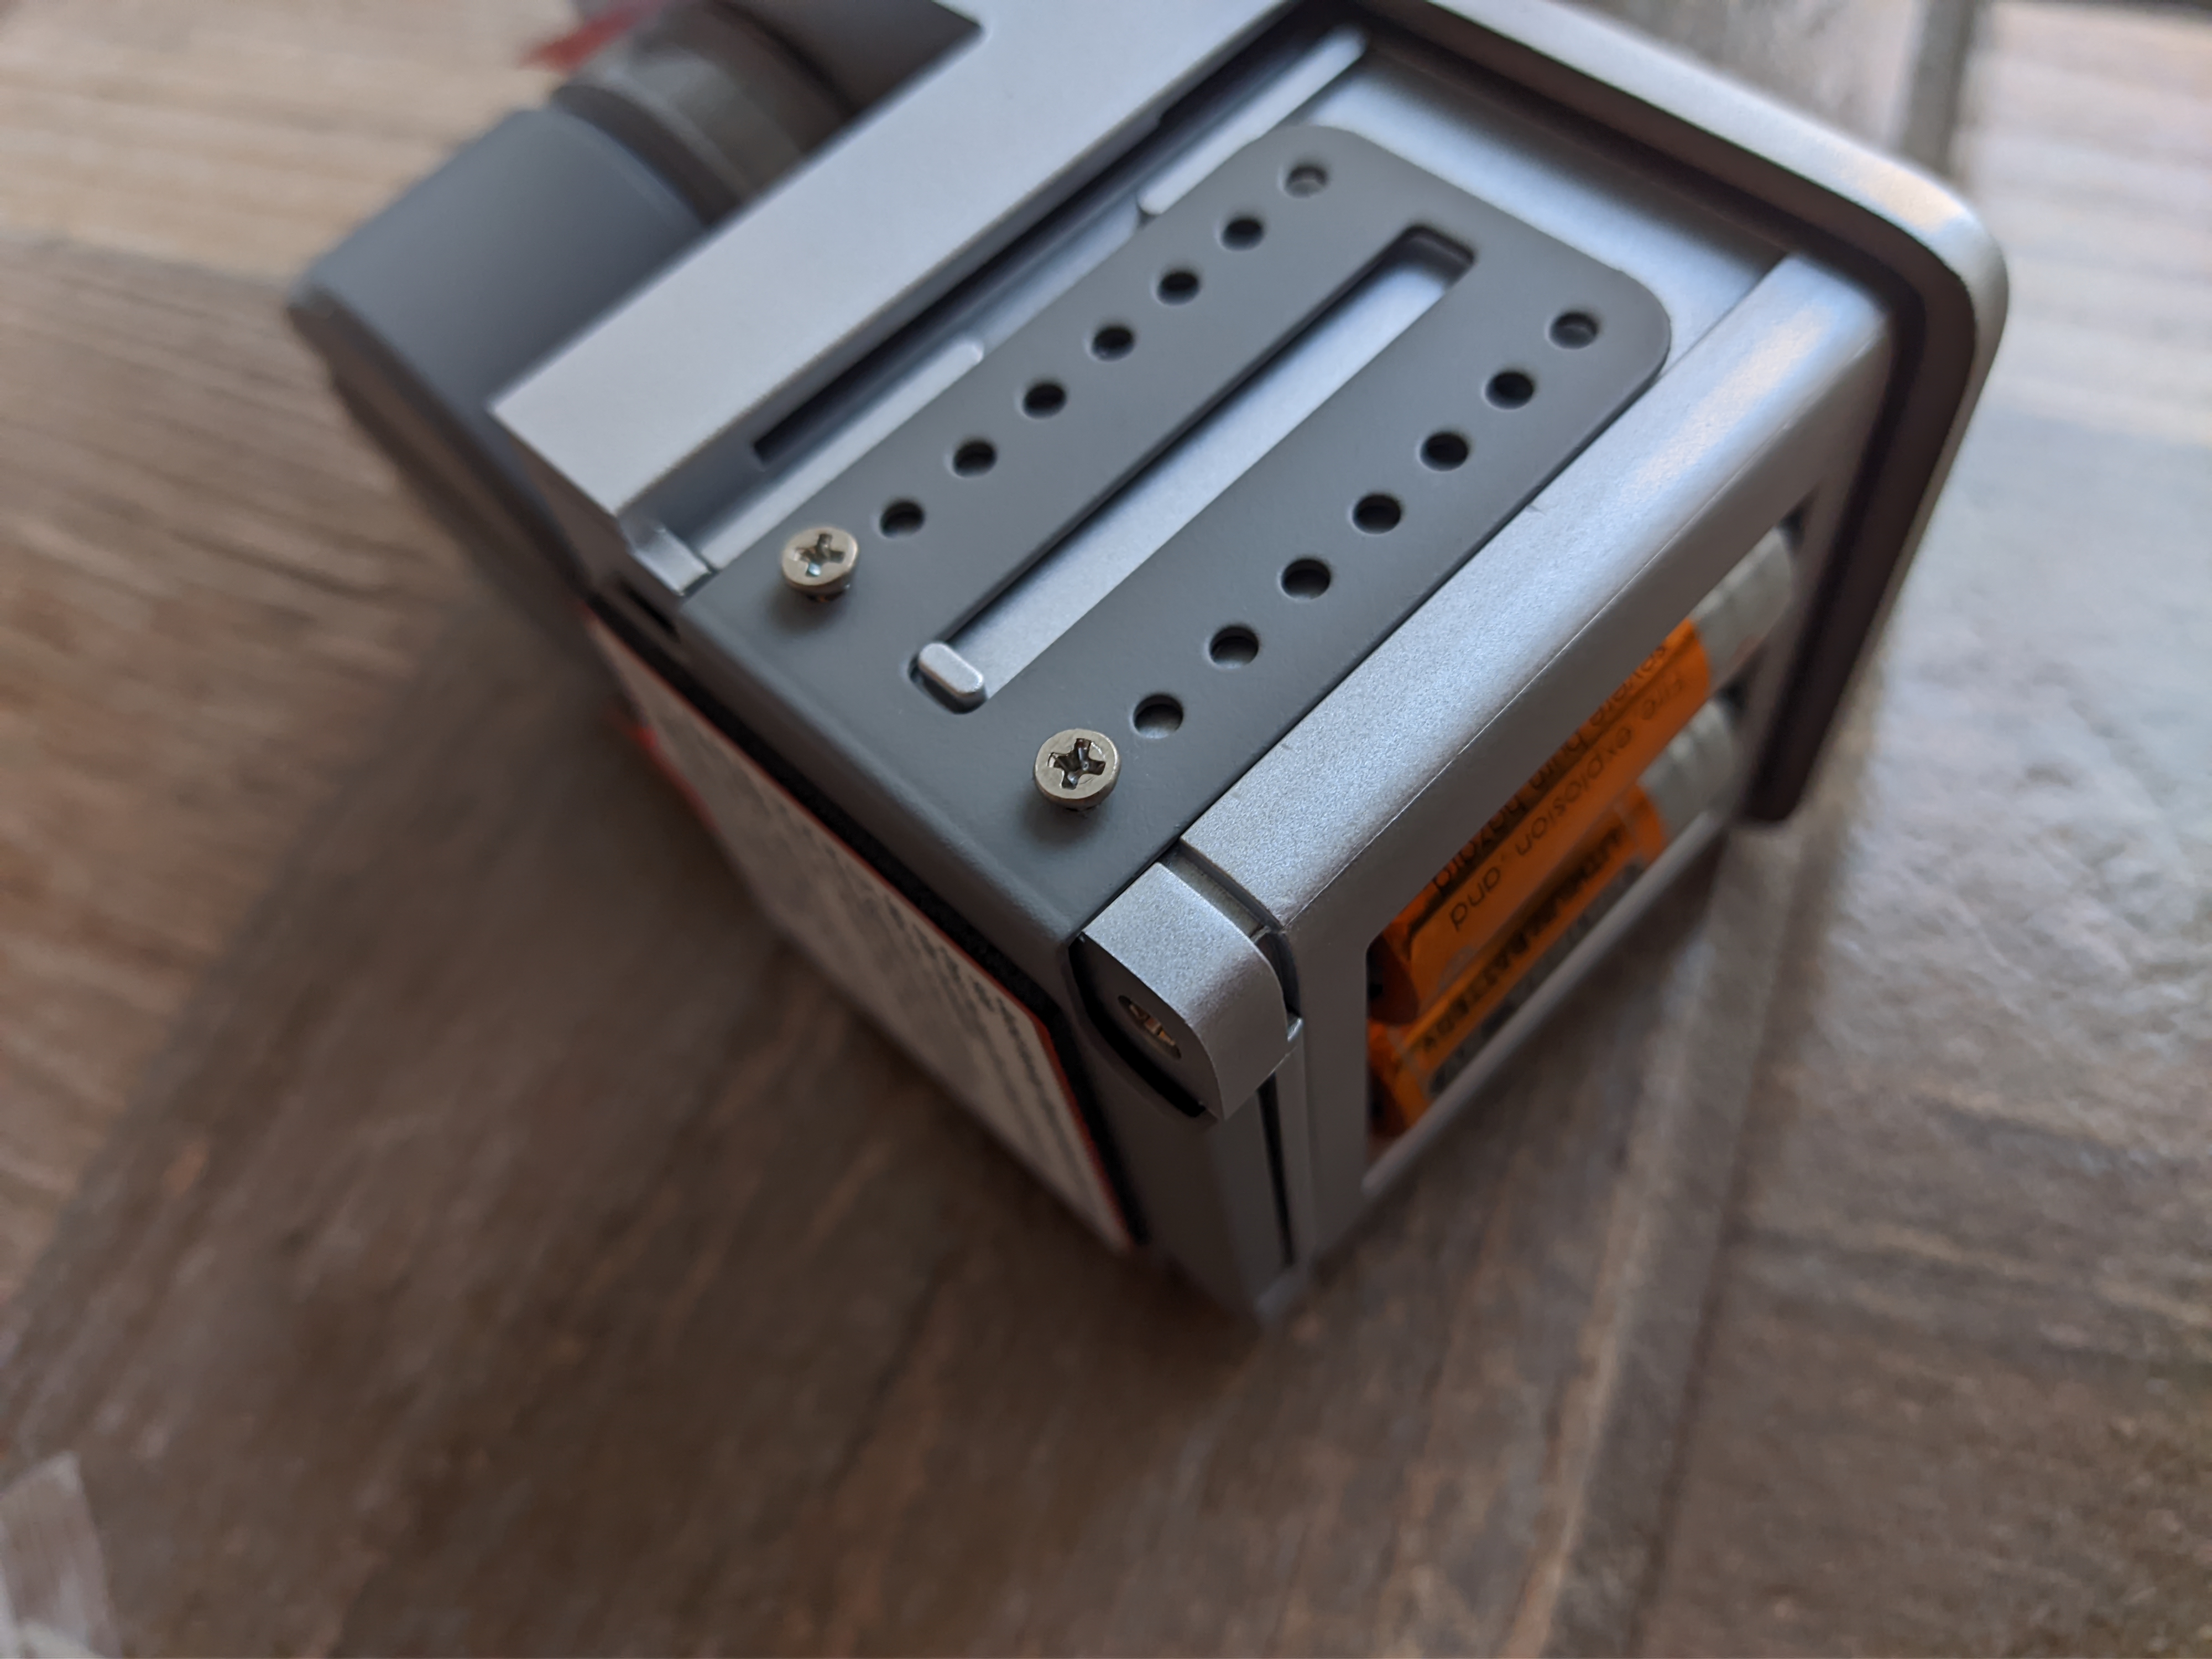
To address the bulkiness issue with 3D printing. As luck would have it someone had the same problem and put their adapter design on Printables. This didn’t fit my lock but using the resize tool and negative space object in PrusaSlicer I managed to make something that fits my lock better which I printed in gray PETG. I mounted the adapter to the doors with and extra VHB tape pad provided with the Lock. To make the mount more secure I stole two of the heat set inserts from the original mount adapter and inserted them in my 3D printed one. I screwed the metal bracket of the lock to my adapter and everything looks a lot better. It’s still bulky but not obnoxiously bulky and the new mounting system is super solid. The lock has some wobble when turning the key with the original adapter but now it’s not budging a single millimeter.
SwitchBot Lock seems to be popular in the 3D printing world and there are a few adapters available for systems not covered out of the box.
Making It Work with Multi-point Locks
One issue remains and it’s a big one. The multi-point lock works by latching the doors to the door frame at multiple points when (in my case) you pull the handle up which requires significant force. When the doors aren’t latched the key cannot turn which means the SwitchBot Lock will stop turning and report as jammed and that’s not cool.
The solution turned out to be simple enough after some brainstorming. All I had to know is whether the doors are latched and the easiest way to achieve that is with a battery powered door/window (contact) sensor.
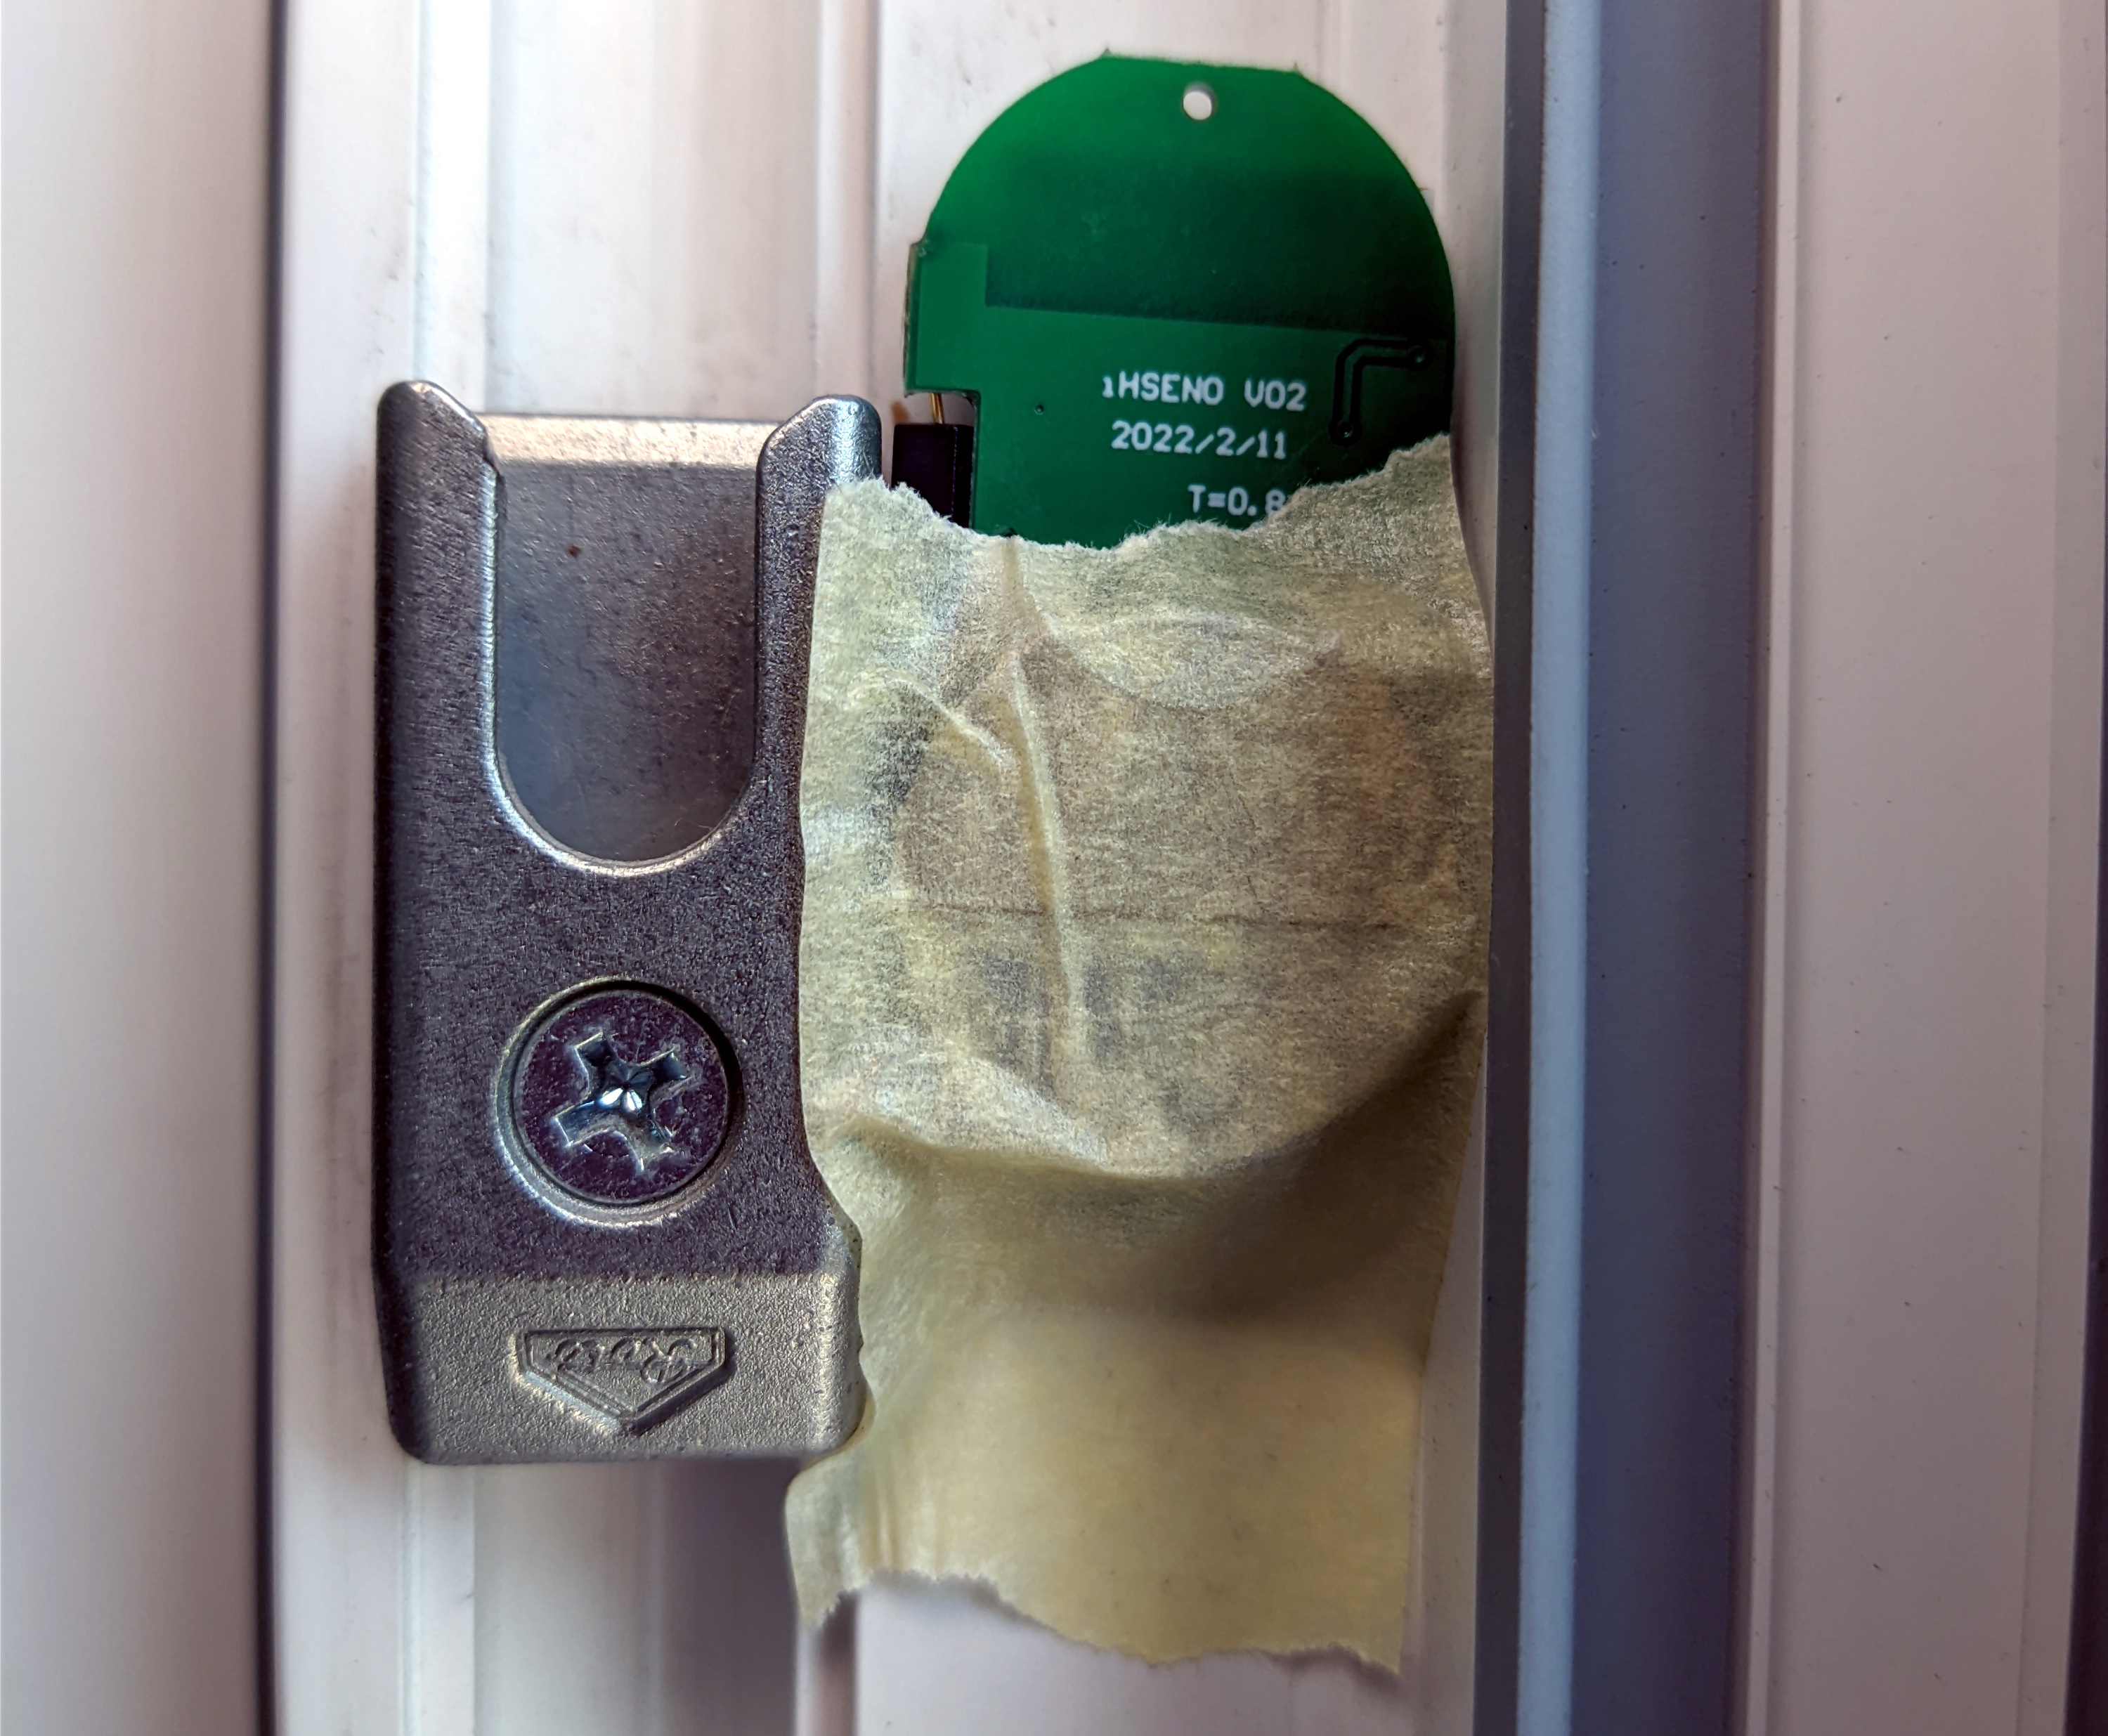
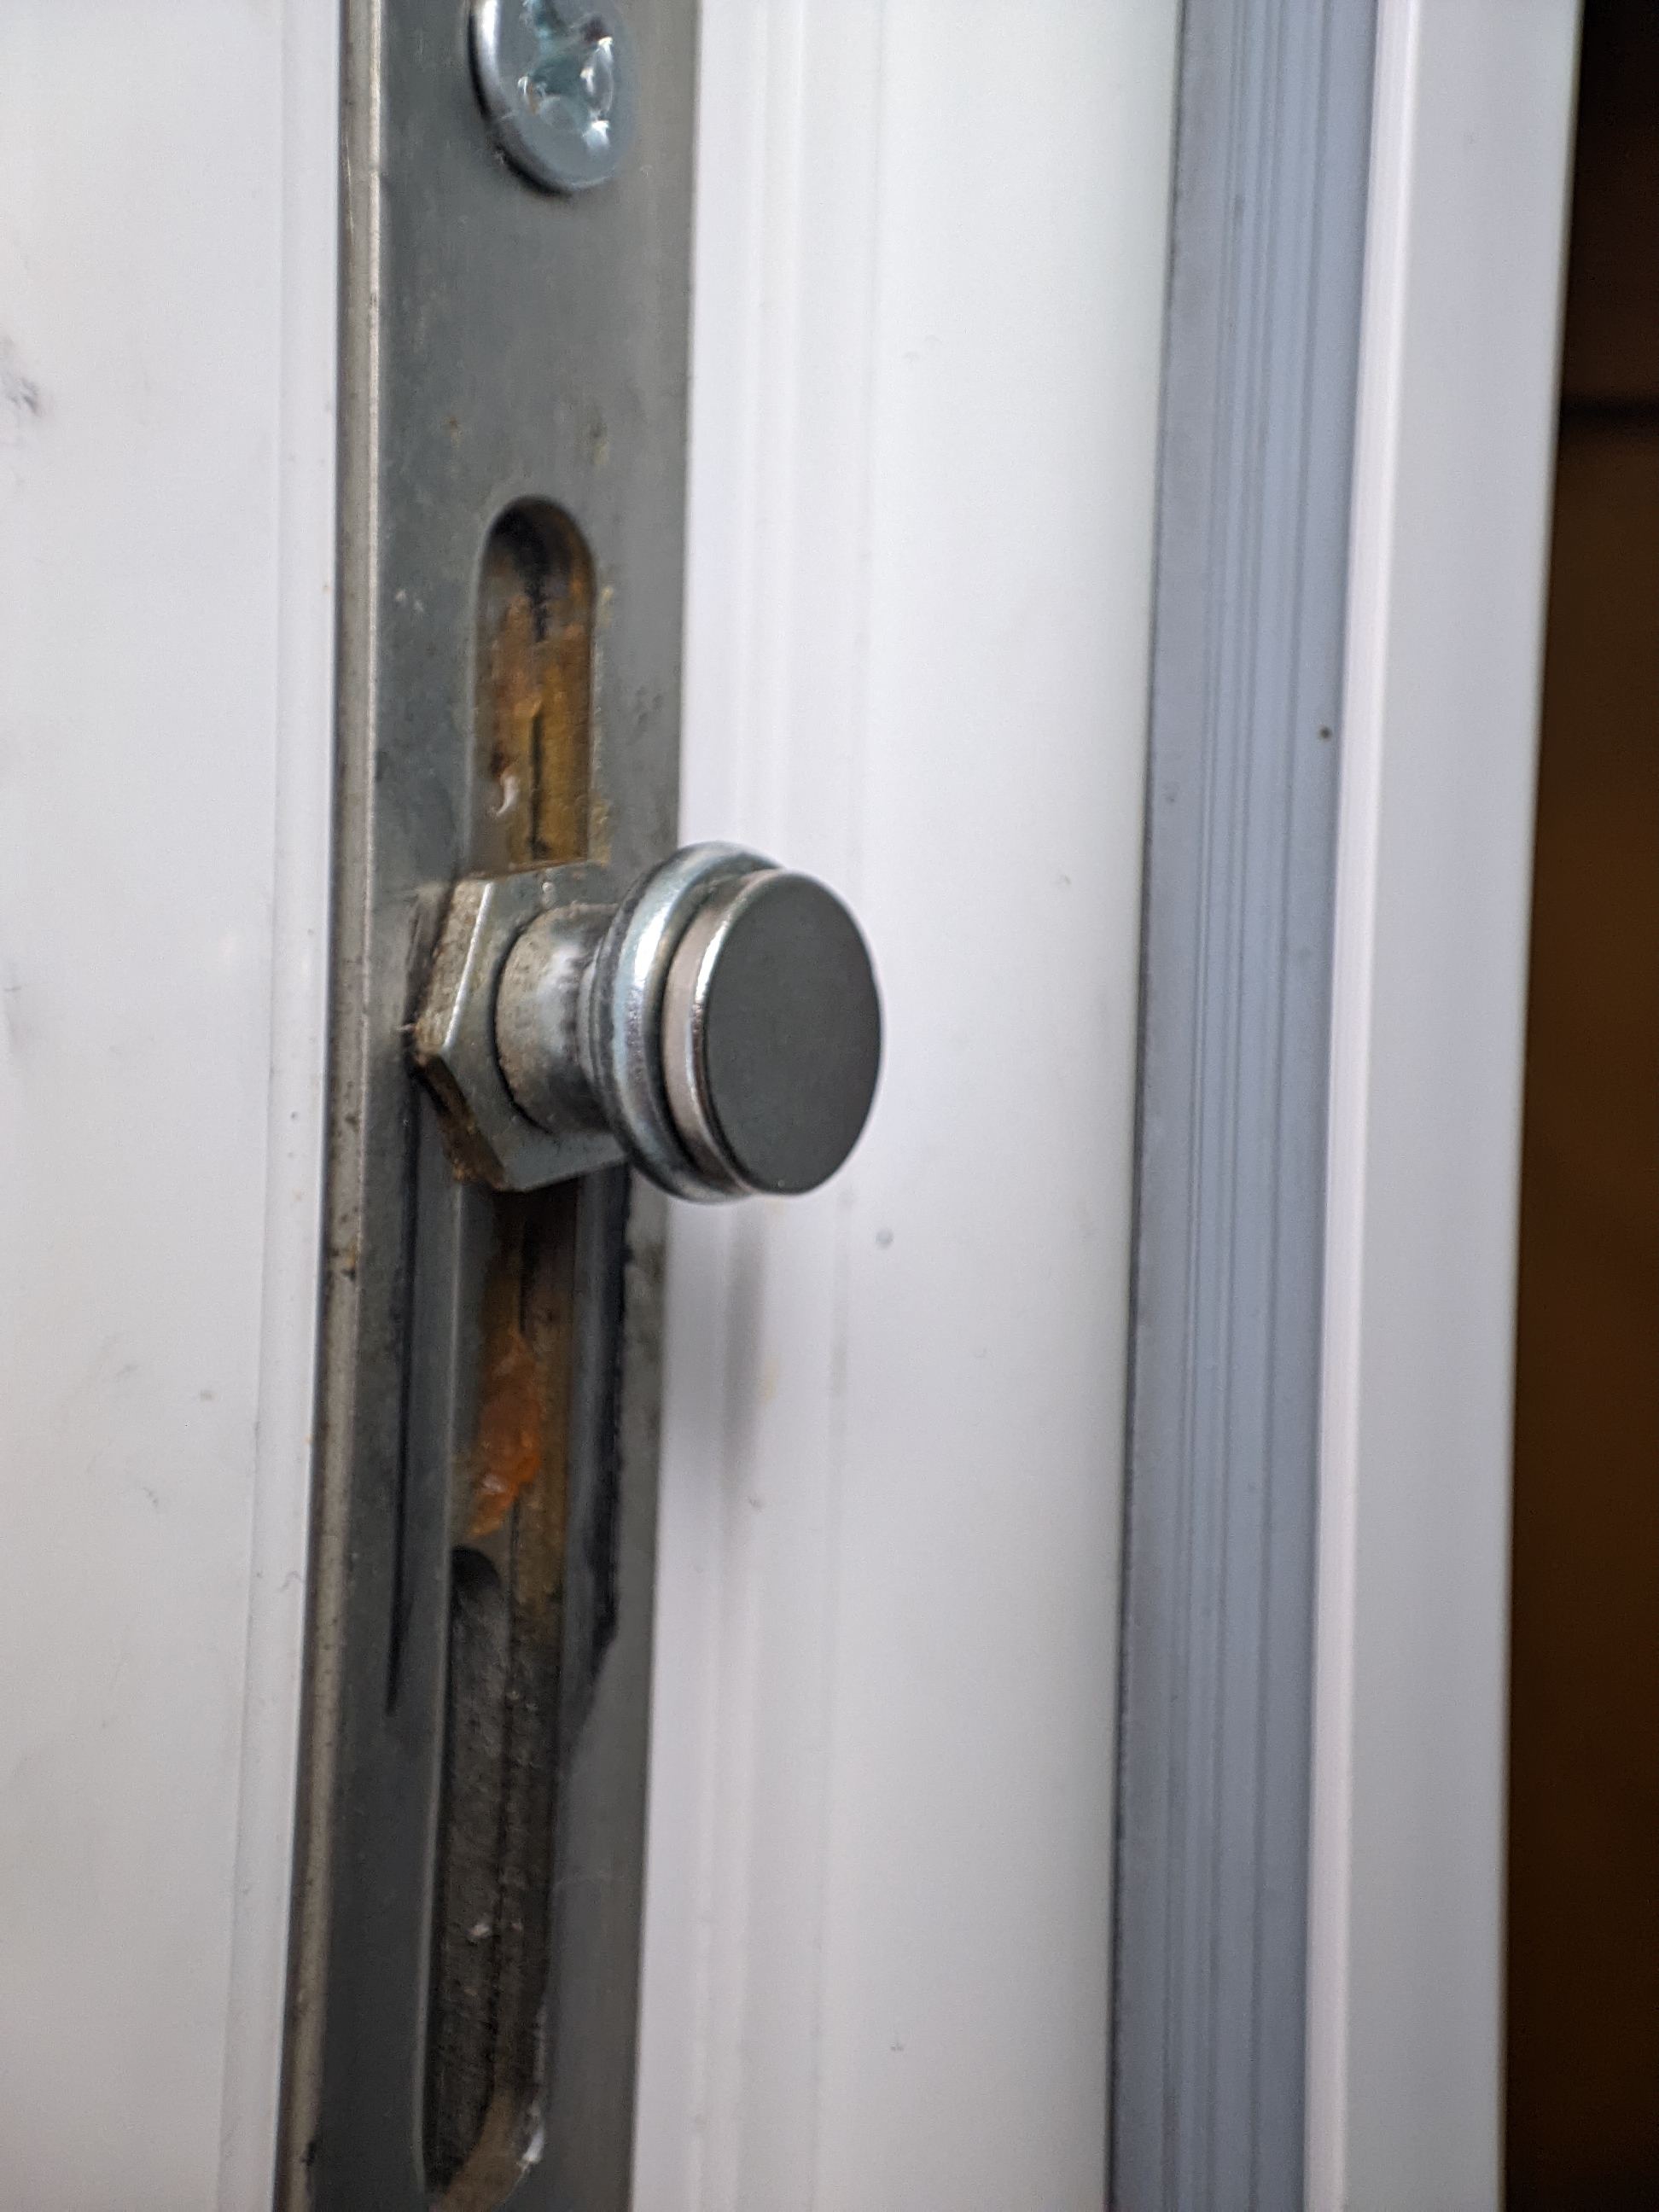
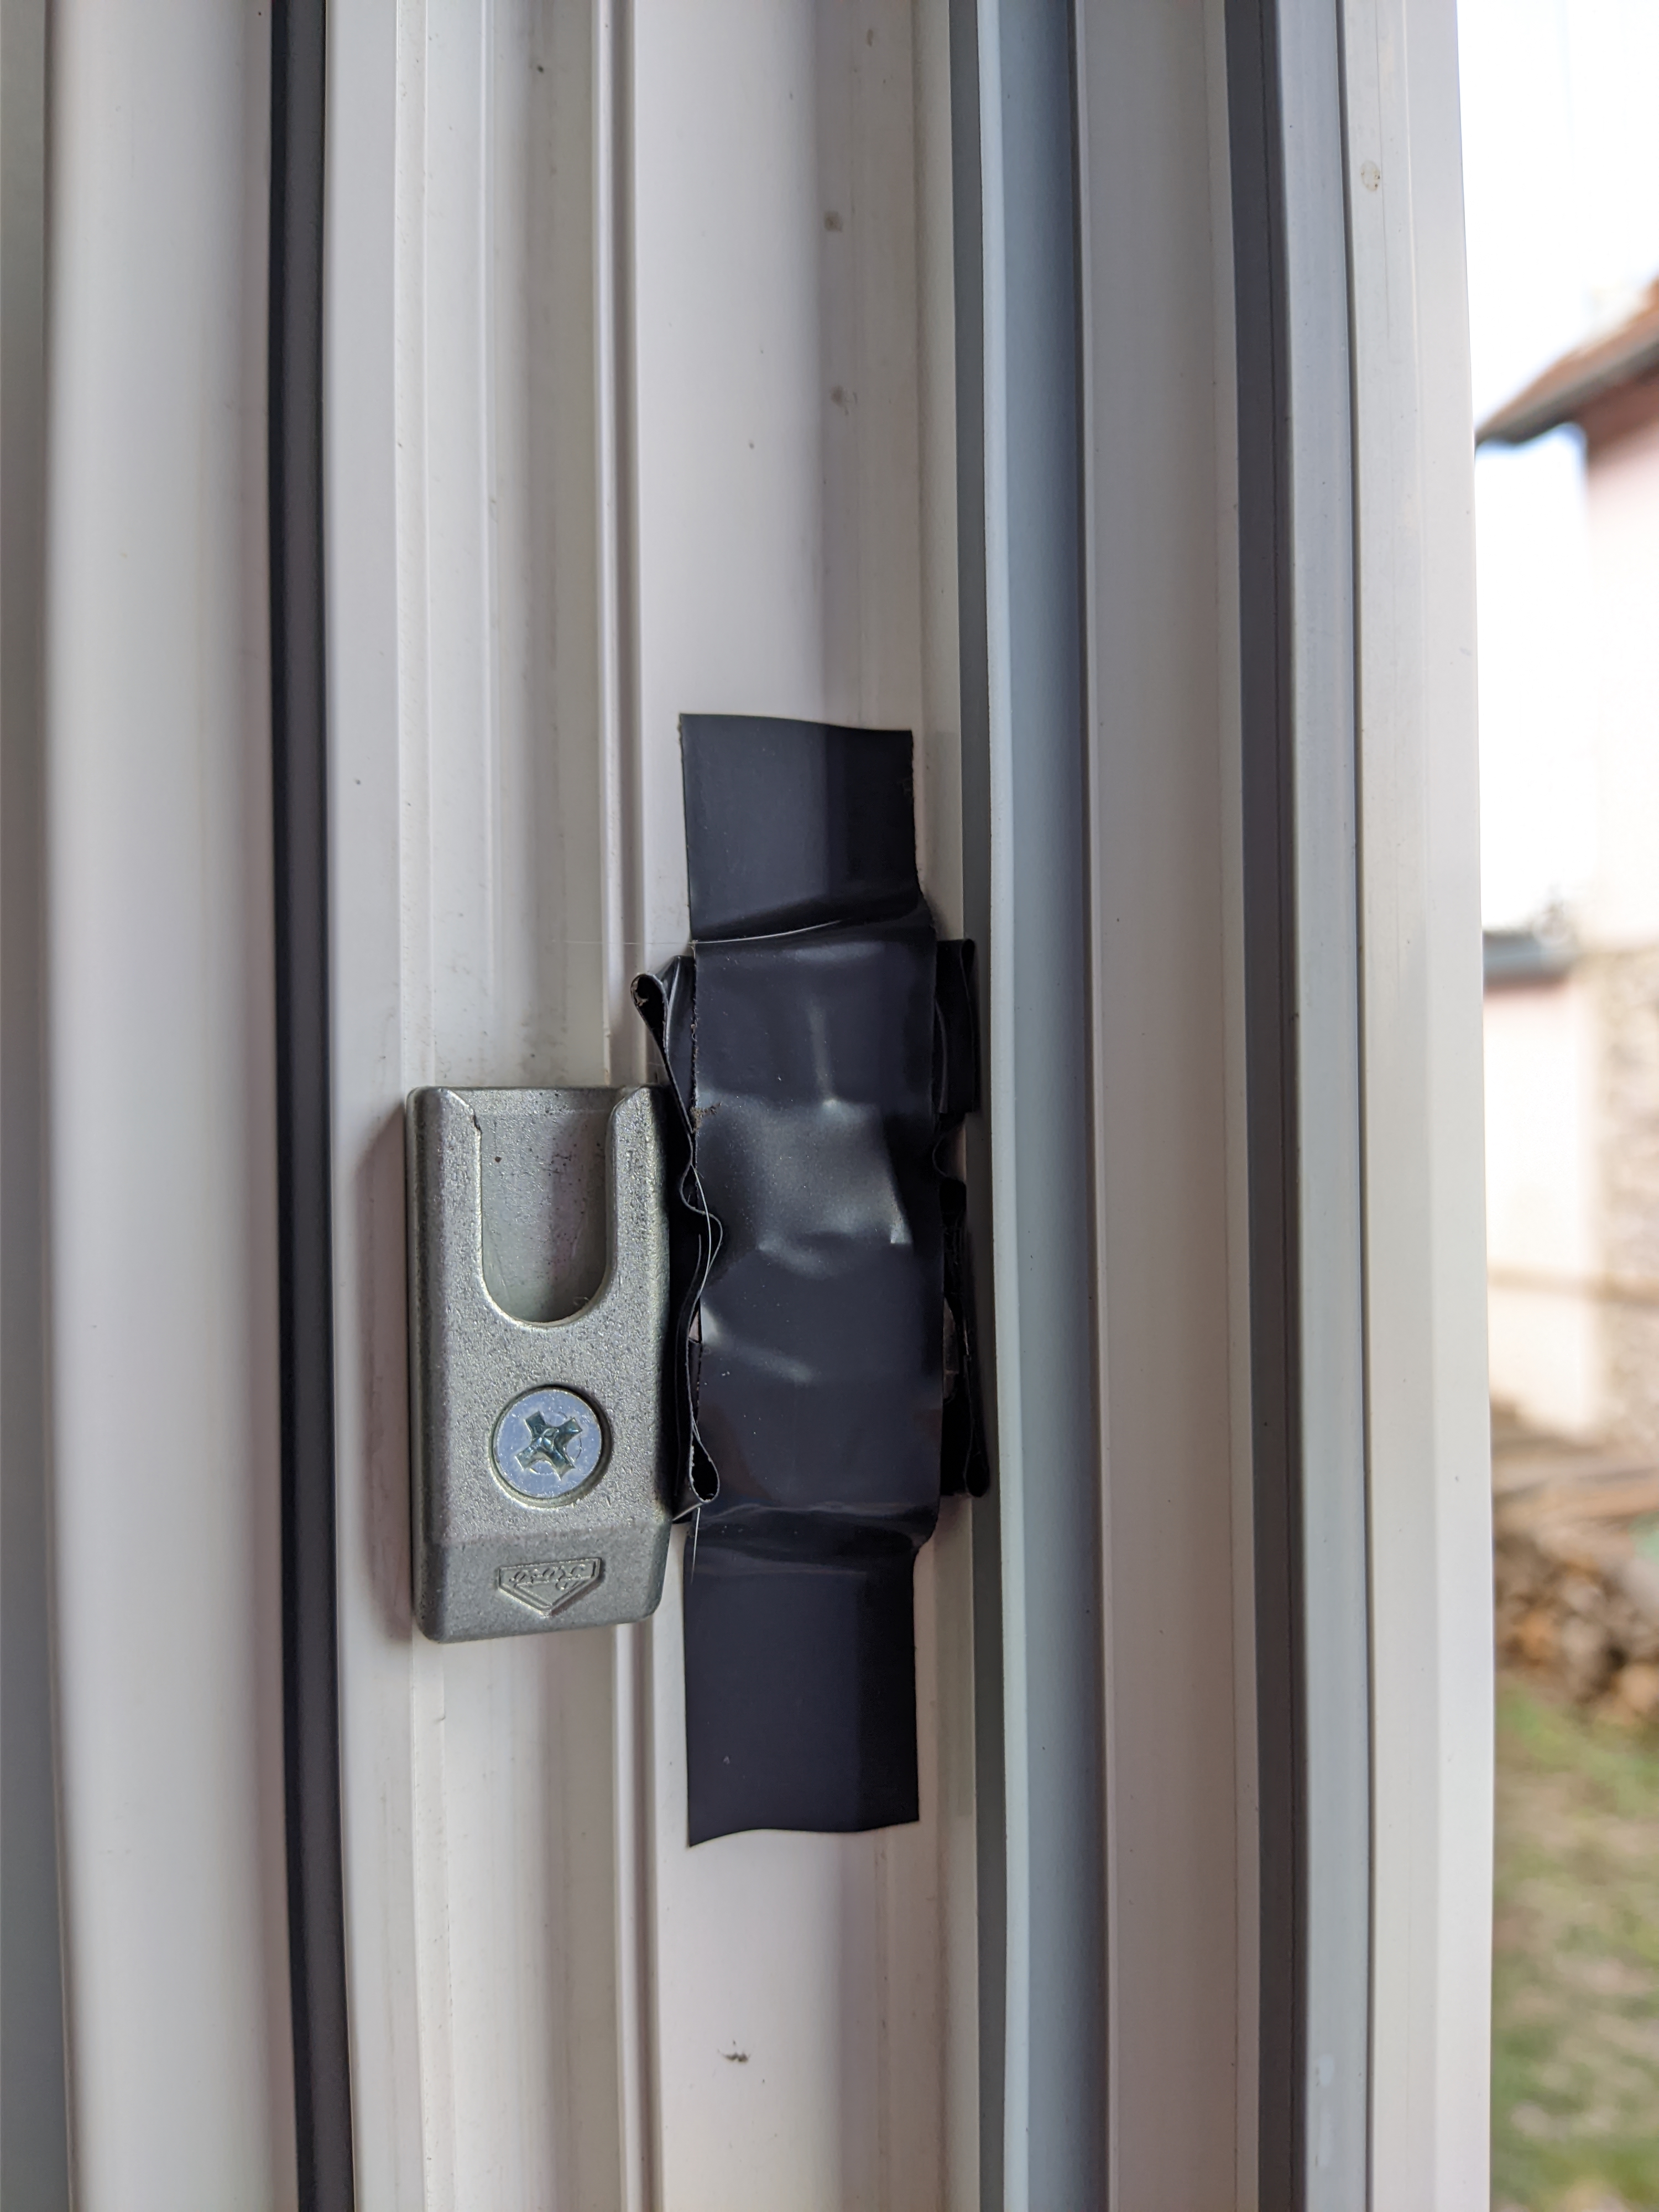
My doors had enough room to fit the PCB of an Ihseno iH-F001 Zigbee sensor but an Aqara or Xiaomi are small enough and will fit as well. The reed switch is placed next to the latch and then I used a small 6x2 strong magnet at the door part. When the latch drops into the slot the magnet will activate the reed switch and the sensor will report as closed. The magnet is strong enough to hold itself but you can drop in some glue to secure it. You might need to weather proof the PCB. I just used a cheap clear nail polish making sure not to cover the battery contacts then secured it to the doors with electrical tape. You can heat shrink wrap the whole thing but that will make battery swaps more difficult.
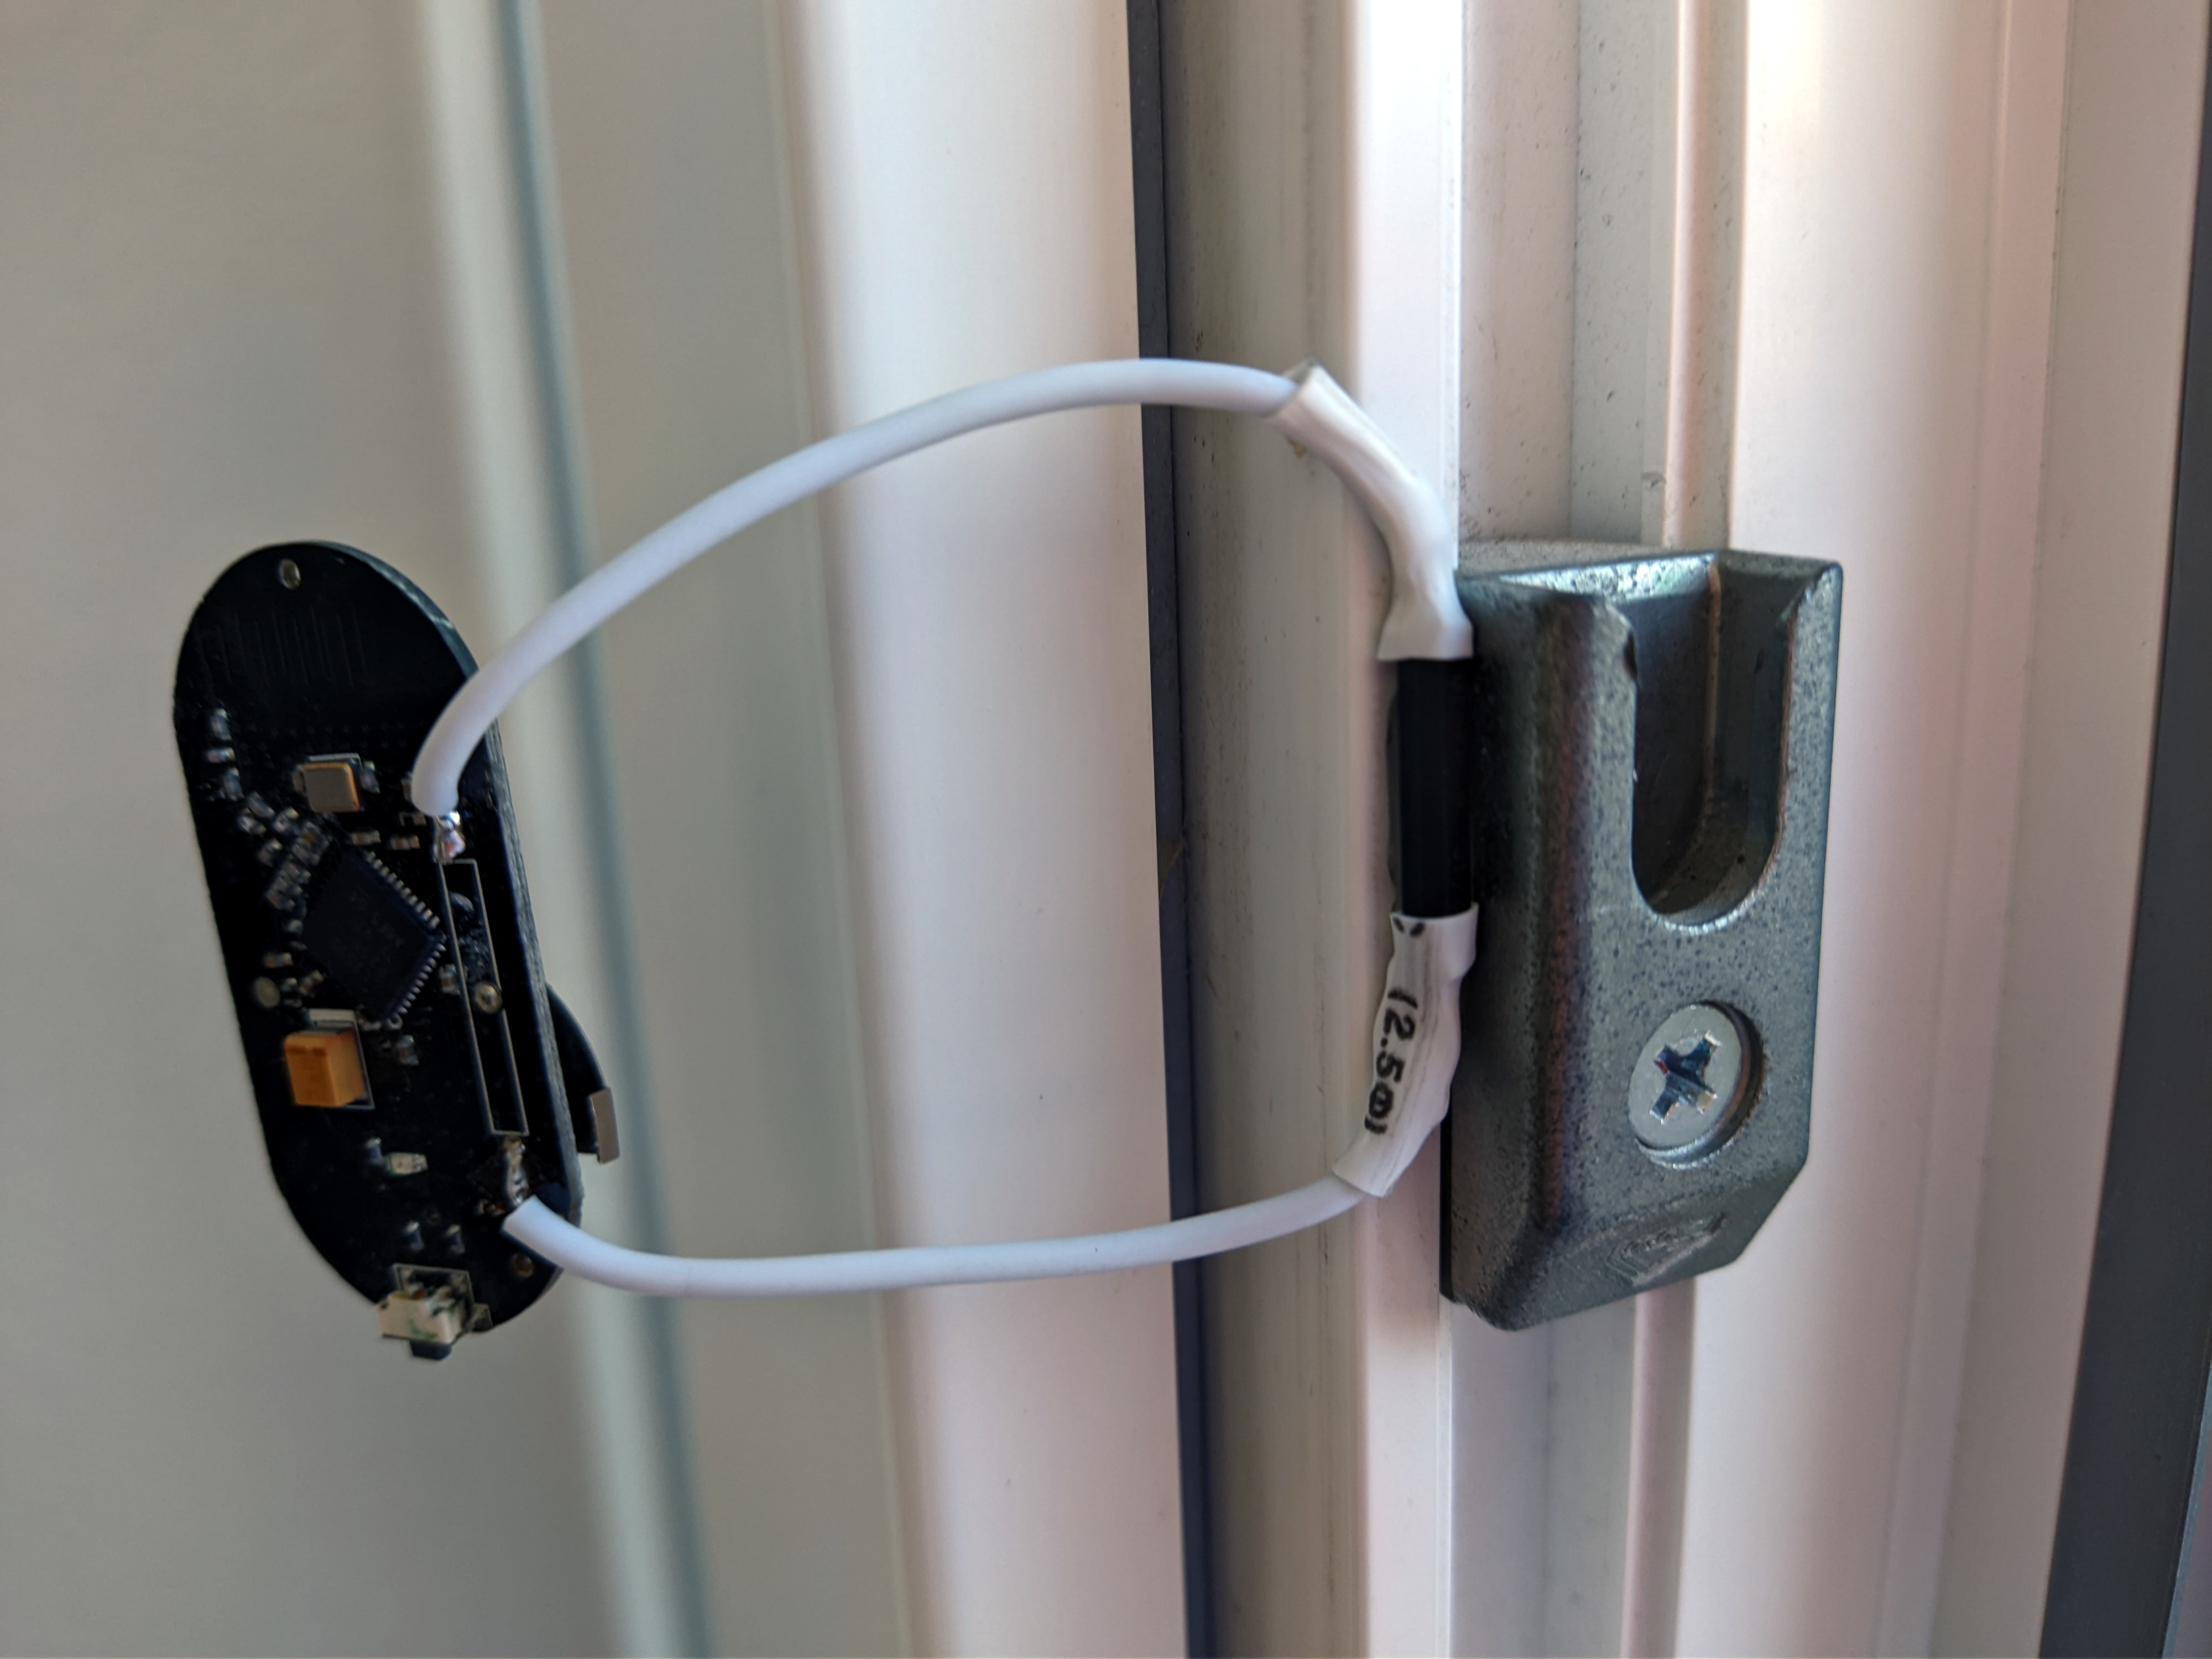
If you don’t have enough space inside your doors your best bet is to desolder the reed switch from the sensor, add thin wires and route them to the latch poisition where you will install the reed switch.
Home Assistant Configuration
For the next part you need both the Lock and the door sensor integrated in Home Assistant and a small script to control the Lock. Click the link

alias: SwitchBot Lock helper
sequence:
  - choose:
      - conditions:
          - condition: state
            entity_id: binary_sensor.main_door_latch_contact
            state: "off"
        sequence:
          - service: lock.lock
            target:
              entity_id: lock.lock_ae13
      - conditions:
          - condition: state
            entity_id: binary_sensor.main_door_latch_contact
            state: "on"
        sequence:
          - service: tts.cloud_say
            data:
              cache: true
              entity_id: media_player.google_display
              message: "Please lift the handle to lock doors"
          - service: light.turn_on
            data:
              flash: short
            target:
              entity_id:
                - light.hall_light
mode: single
icon: mdi:lock-smart
The conditions entity_id is the id of the contact sensor. If the sensor reports closed/off the script starts locking the door. If the sensor is opened/on it will do another action instead of locking. I’ve chosen to send a TTS notification to the closest media player and flash the hall lights.
This script adds a completely new feature to your doors, lifting the handle lock the doors automatically since latching will trigger.
When you save the script note down its entity id. Now you need to make a template lock which is only possible by editing configuration.yaml at the time of writing.
Add the following in configuration.yaml:
lock:
  - platform: template
      name: Main Door
      unique_id: main_door_lock
      value_template: "{{ states('lock.lock_ae13') }}"
      lock:
      service: script.lock_switchbot_lock_helper
      unlock:
      service: lock.unlock
      target:
        entity_id: lock.lock_ae13
The value_template and target entities are the entity id of the SwitchBot Lock. Now, when you go to lock the new entity from Home Assistant it will call the service we created and check whether the multi-point latch is engaged or not then execute the appropriate action.
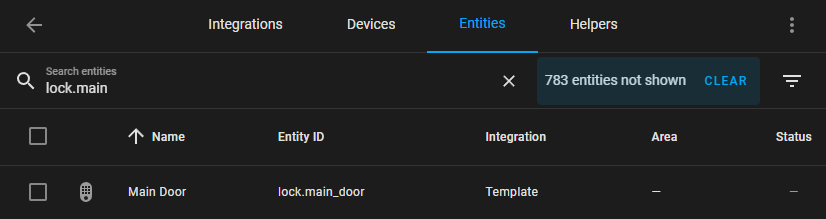
The new lock entity will not be part of the SwitchBot Lock device card but it can be found if your search for it in Entities.
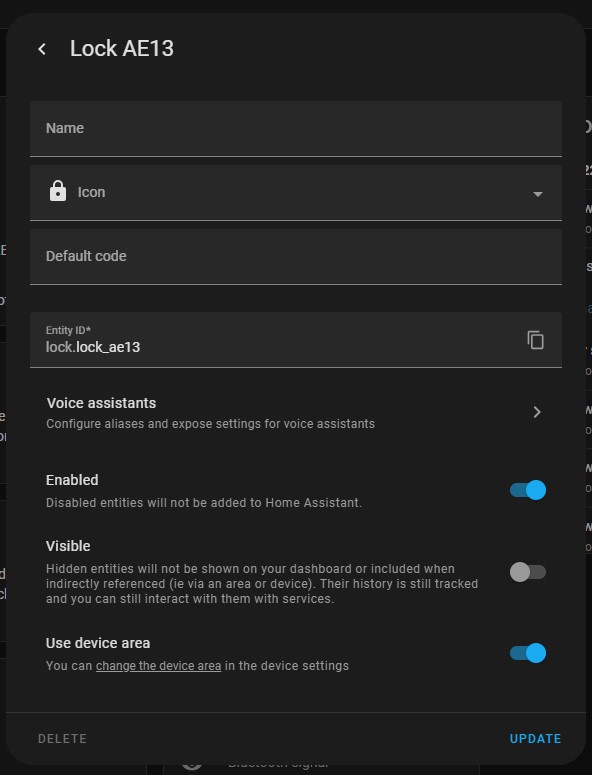
It is best to hide the original SwitchBot lock entity to avoid accidentally triggering it. Click on the SwitchBot Lock entity, click on the cog icon to open settings where you will turn off off the Visible option.
Auto-locking Doors
This setup allows for a new trick your doors can do: lock automatically when the handle is lifted. Just a simple automation that will trigger the lock service when the latch contact sensor is closed.
alias: "lock main door on multilock latch closing"
description: "Locks main doors using SwitchBot lock when multi-point lock latch is engaged"
trigger:
  - platform: state
    entity_id:
      - binary_sensor.main_door_latch_contact
    from: "on"
    to: "off"
action:
  - service: lock.lock
    target:
      entity_id: lock.main_door_lock
mode: single
NFC Tag Unlock
If you have an NFC enabled phone with Home Assistant Companion you can reuse the NFC tag provided with the lock and unlock the doors with your phone through Home Assistant.
alias: "SwitchBot tag scanned > unlock door"
description: "Unlock main door when switchbot tag is scanned"
trigger:
  - platform: tag
    tag_id: 359bcba6-694d-4b2b-9f55-0a9bf678bcce
action:
  - service: lock.unlock
    target:
      entity_id: lock.main_door
mode: single
It Just Works
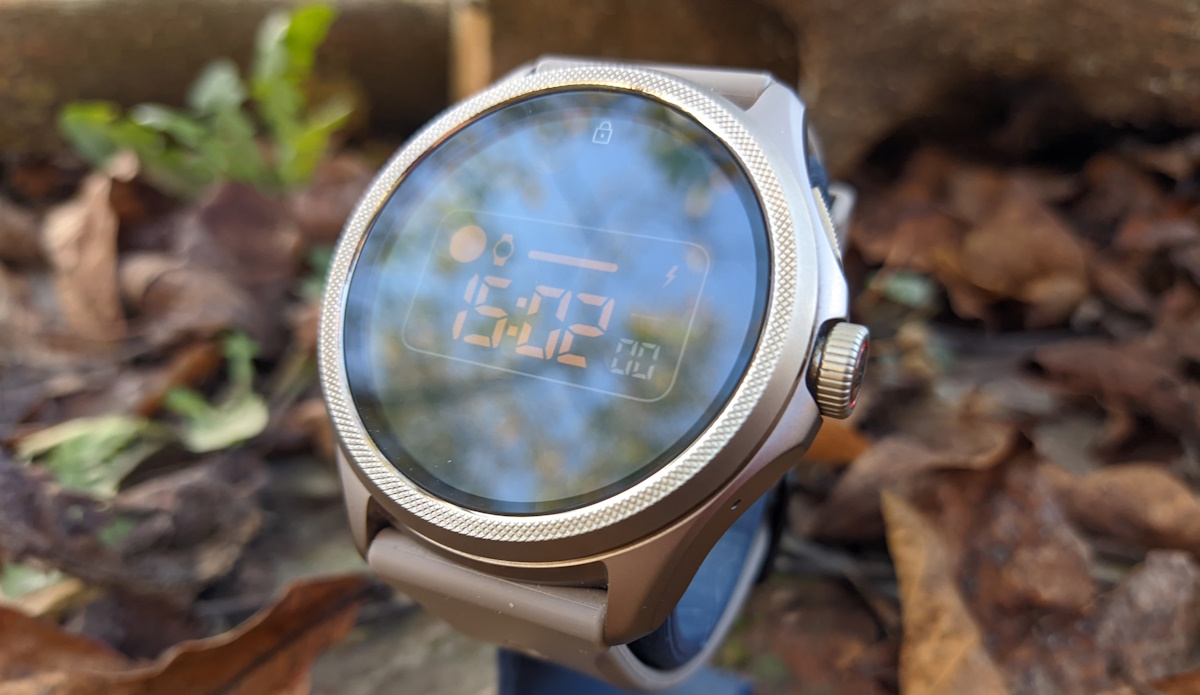
I trusted SwitchBot so much that I left my door key at home and, luckily, haven’t had to use it once since I installed the Lock. I usually unlock the doors while walking up to them with my smartwatch or with my phone NFC. I’m still a bit leery about unlocking on location detection but it is possible. I haven’t used the SwitchBot after I did the calibration.
Everything has been working for almost 3 months now and the battery is still showing 100%. The lock motor is used a couple of times a day and the doors get opened more than a dozen times so it seems the two CR123A batteries will last a while unless the percentage is misreported. I’m not a fan of the type of batteries used and would like to see a Lock 2 with integrated rechargeable batteries instead. This version requires 1500mAh specifically and available rechargeable ones are much weaker or wrong voltage. If you try to use those they will mess with the calibration and motor operation and the lock just won’t work reliably.
Conclusion
SwitchBot Lock is a unique type of a smart lock that happened to fit my situation perfectly and it might fit yours.
If you have multi-point lock doors like I do, this is a solution that might appeal to you. You still won’t be able to lock the doors remotely due to the design of the multi-point lock doors but that would not be possible with any other lock. There is a decent compromise of automatically locking the doors in exchange of not being able to lock remotely. I know I love it and so do other house denizens. Everyone really enjoys the auto-locking feature and the Blaklings completely appreciate phone unlocking.
SwitchBot Lock is available from:
- SwitchBot Store - 30% off with code UP40BF0
- Amazon DE
- Amazon FR - 30% OFF during Black Friday sales
- Amazon NL - 30% OFF during Black Friday sales
- Amazon ES
- Amazon UK - 30% OFF during Black Friday sales
- Amazon US - also 30% off but US price is only 69.99$ which is an awesome deal
- Amazon CA - 30% off as well

Explore more like this

Moes ES1 (ZSS-LP-HP02) Zigbee Human Presence Sensor Review
It was hard to resist the new Moes labelled sensor on AliExpress because it looked identical to the Linptech ES1 sensor which works with Xiaomi’s Mijia ecosystem but I avoided...
Comments