The Best Home Assistant Bluetooth Proxy: GL.iNet GL-S10

Everything you need to have for a reliable Bluetooth proxy in Home Assistant.
Links in this article marked with a * are affiliate links. By purchasing through them I get a small commission that funds future projects!
Home Assistant introduced an amazing new feature in 2022.9 - Bluetooth proxies. It turns any ESP32 device into a remote Bluetooth receiver for Home Assistant’s Bluetooth integrations. While any ESP32 development board does the job, it is recommended to use a board with Ethernet so the ESP32 wireless radio will be dedicated to receiving BLE only.
GL-iNet, widely known for their amazing line of hackable routers (like the Mango travel router) also makes the GL-S10, a “Bluetooth IoT Gateway”.
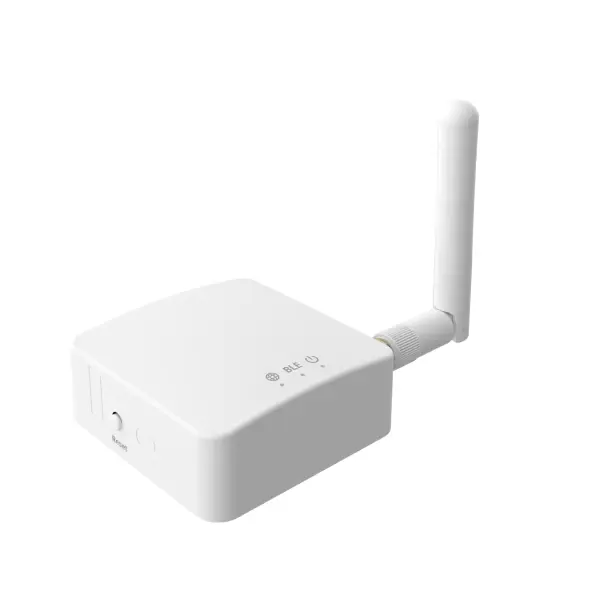
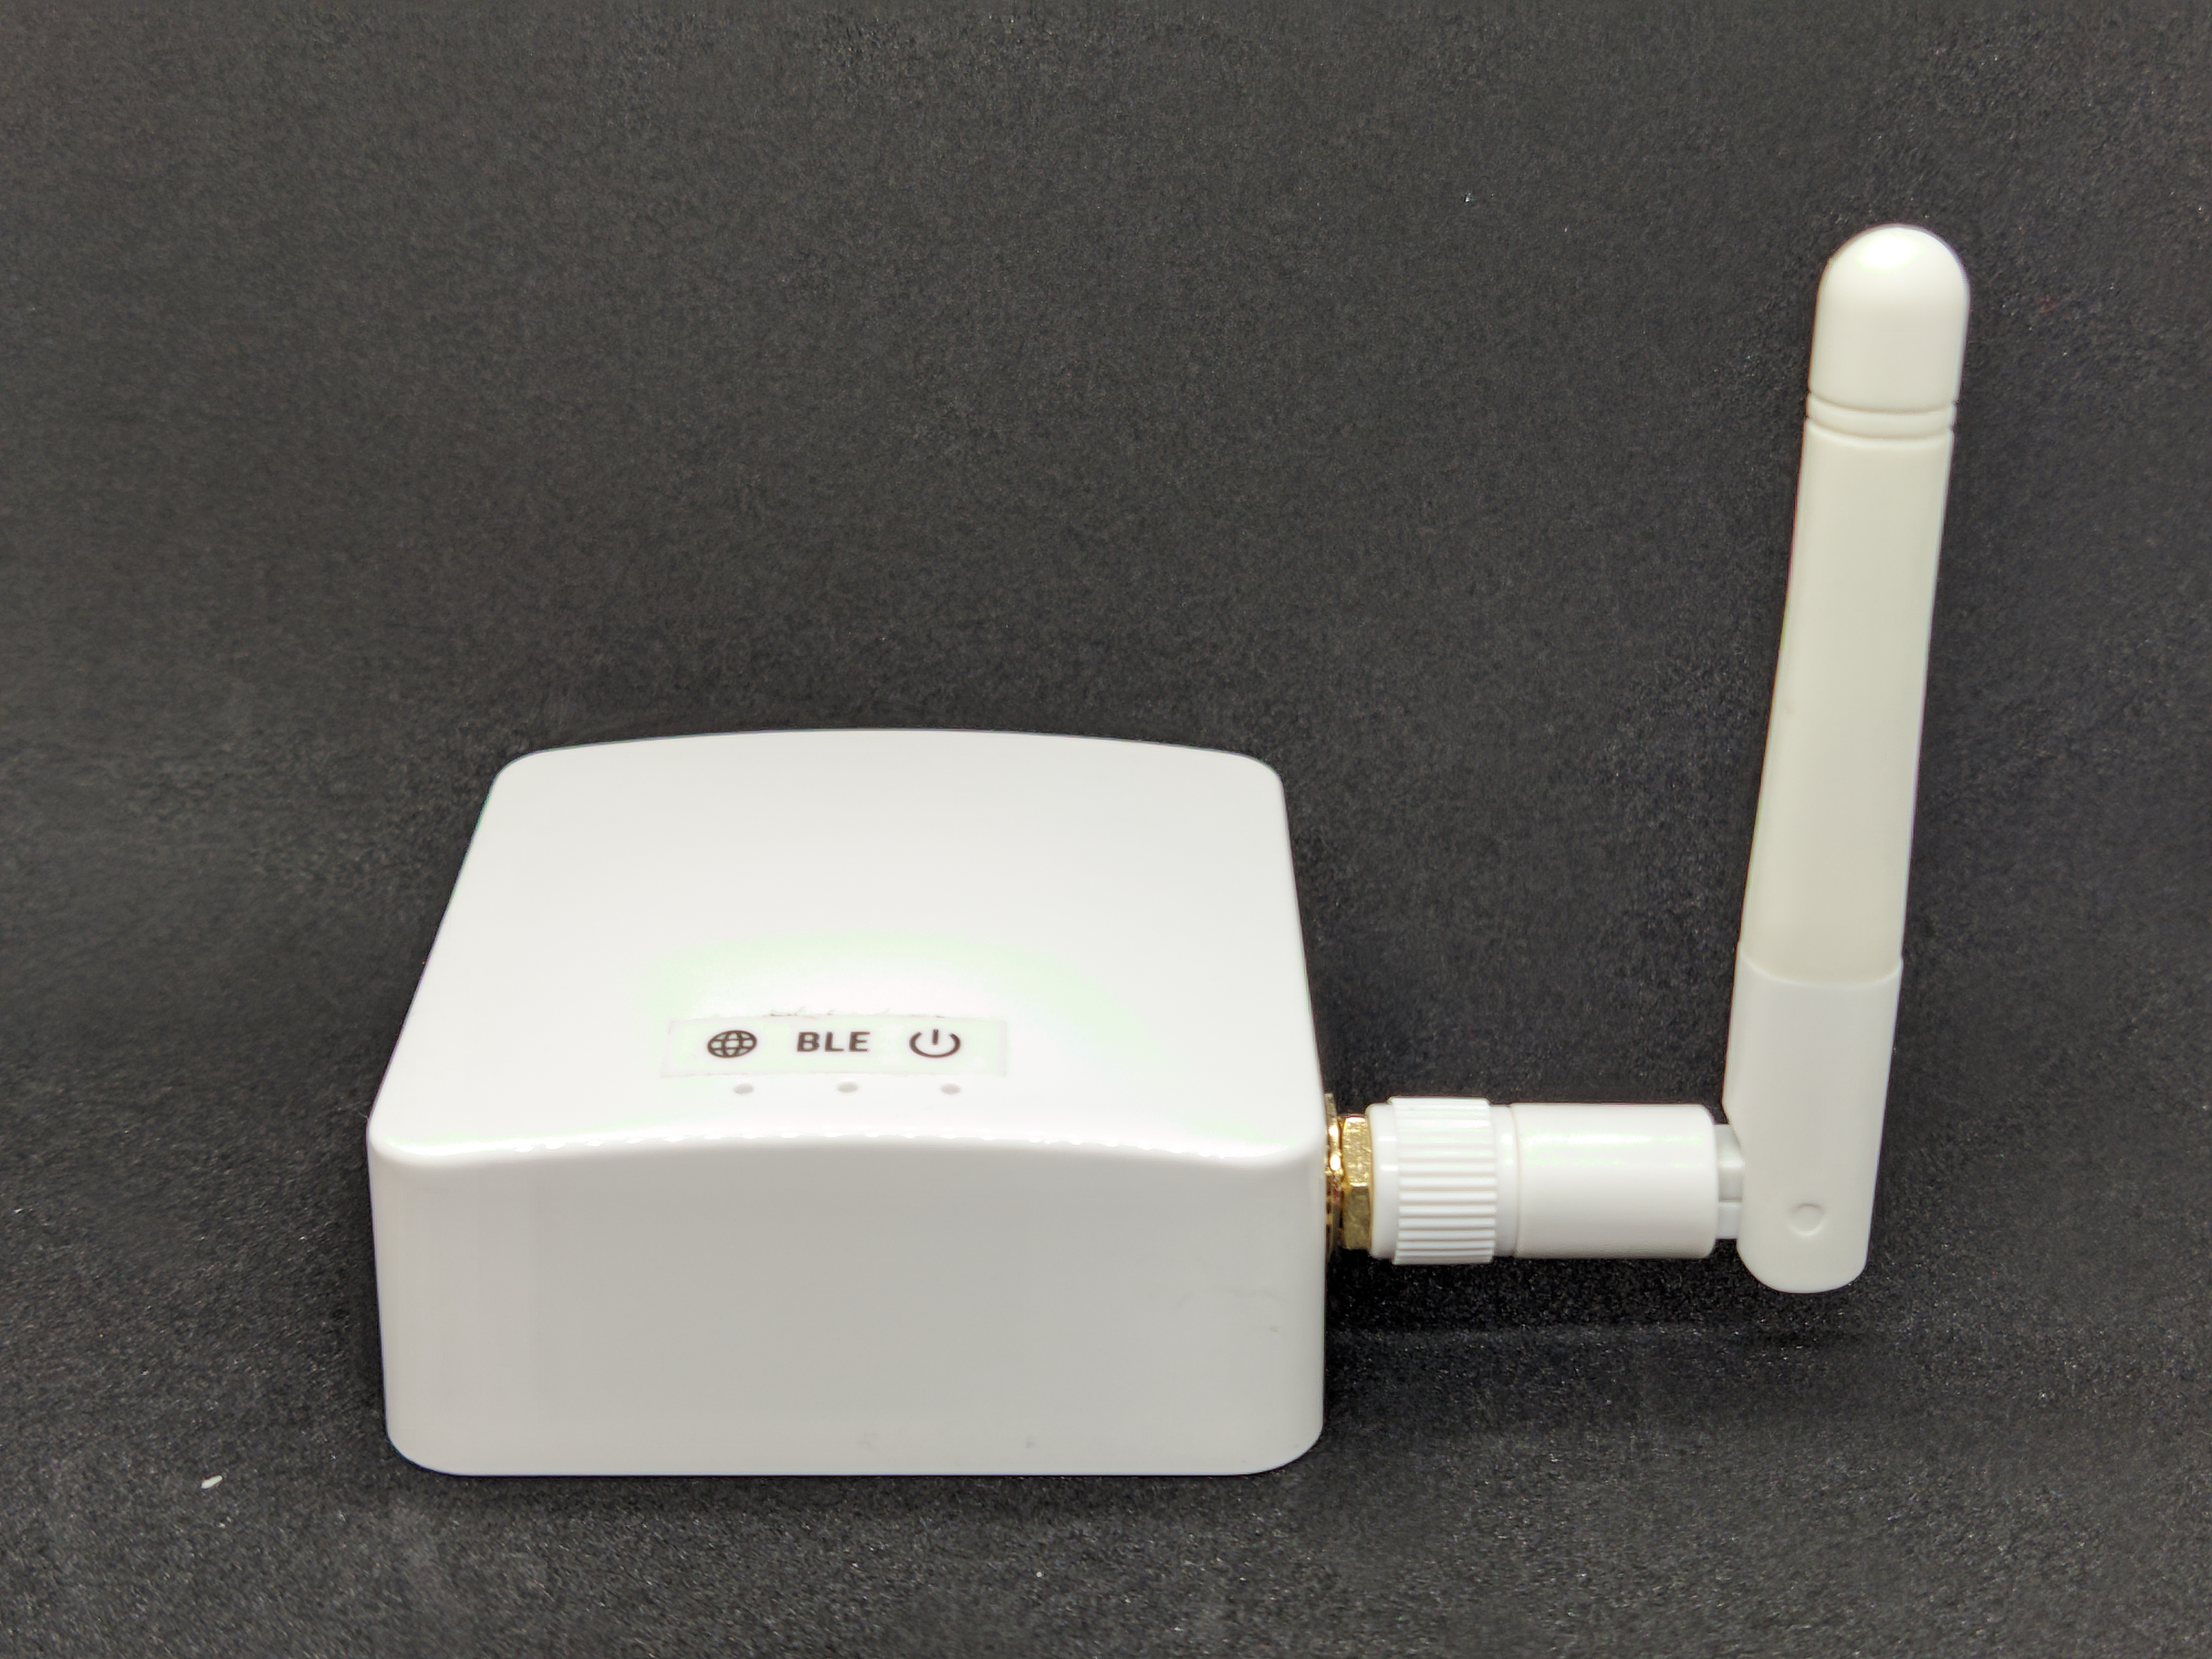
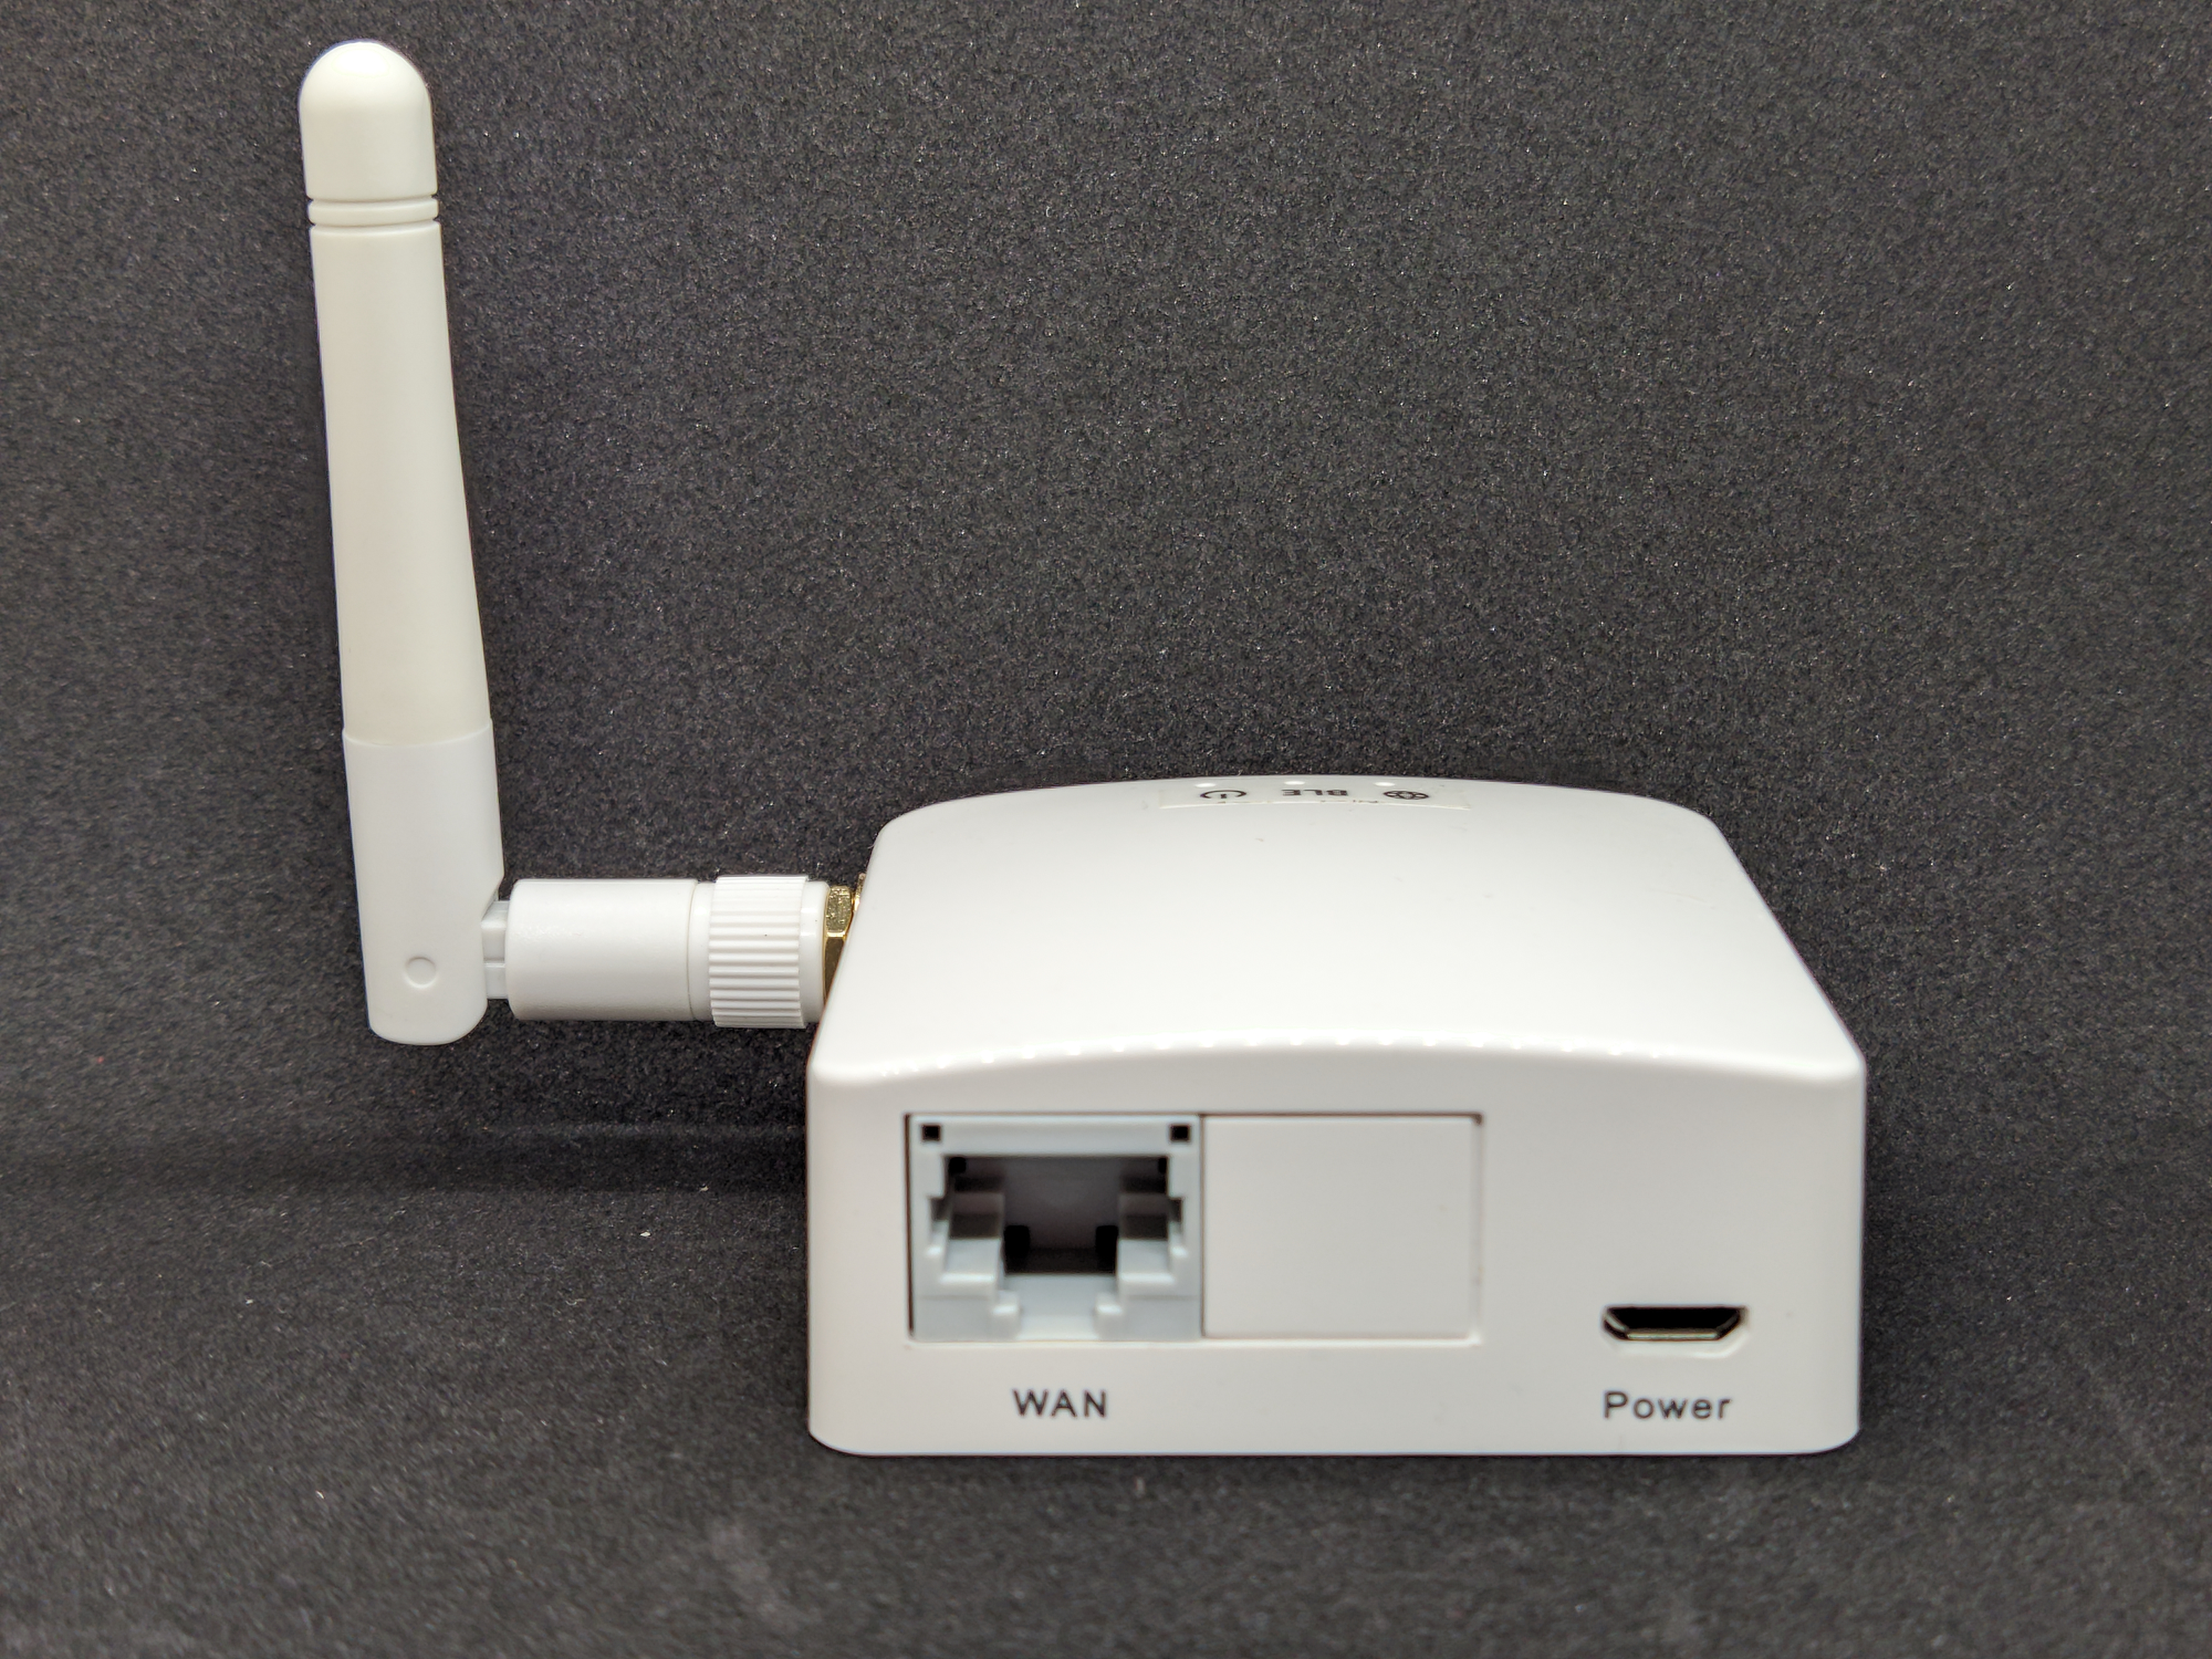
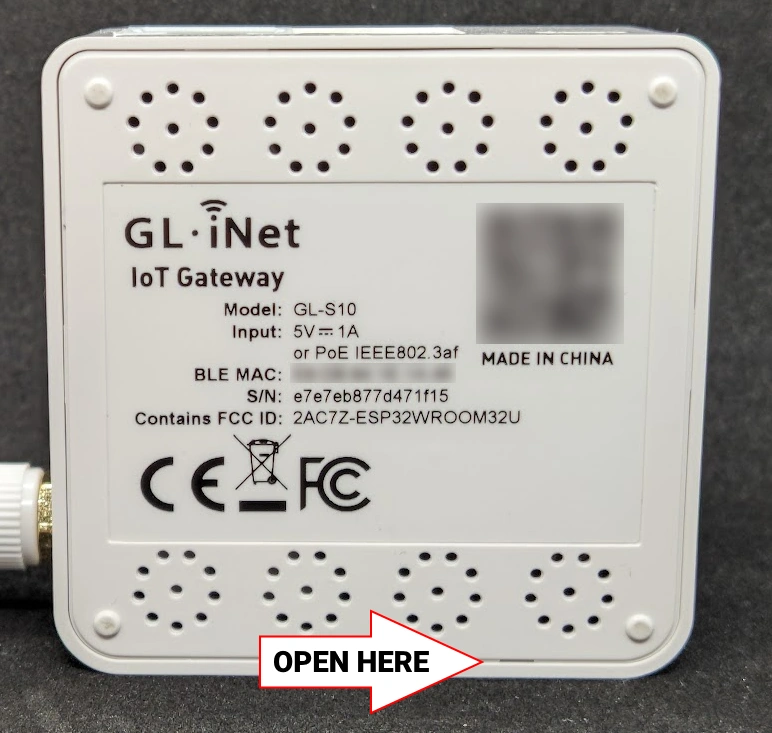
Its a perfect little device in a small sized case of 57x57x25mm (not counting the antenna). It runs on an ESP32 with 4MB flash and 8MB PSRAM and sports Ethernet with PoE and an external antenna for better range. Gl.iNet claims coverage of 80m in an open and non-interference environment which is a bit too much, but if it can cover a quarter of that it’ll be great.
The sugar on top is that it costs only 24.90$ on their website, AliExpress* or Alibaba*. There’s even an optional wall mount (purchased separately).
Disassembly
While you don’t need to have many tools to flash this device you will need an USB to serial adapter and I recommend the very cheap “golden CH340G”* that I’ve been using for years. You will also need some female-to-female Dupont wires* and 2.54 pin headers*.
If you want to go the solderless route you will only need male-to-female Dupont wires*.
There are no screws or glue stopping you from opening this case. GL.iNet even left a little notch in the back plate where you will start.
Once opened disconnect the external antenna from the IPEX connector on the ESP32 module.
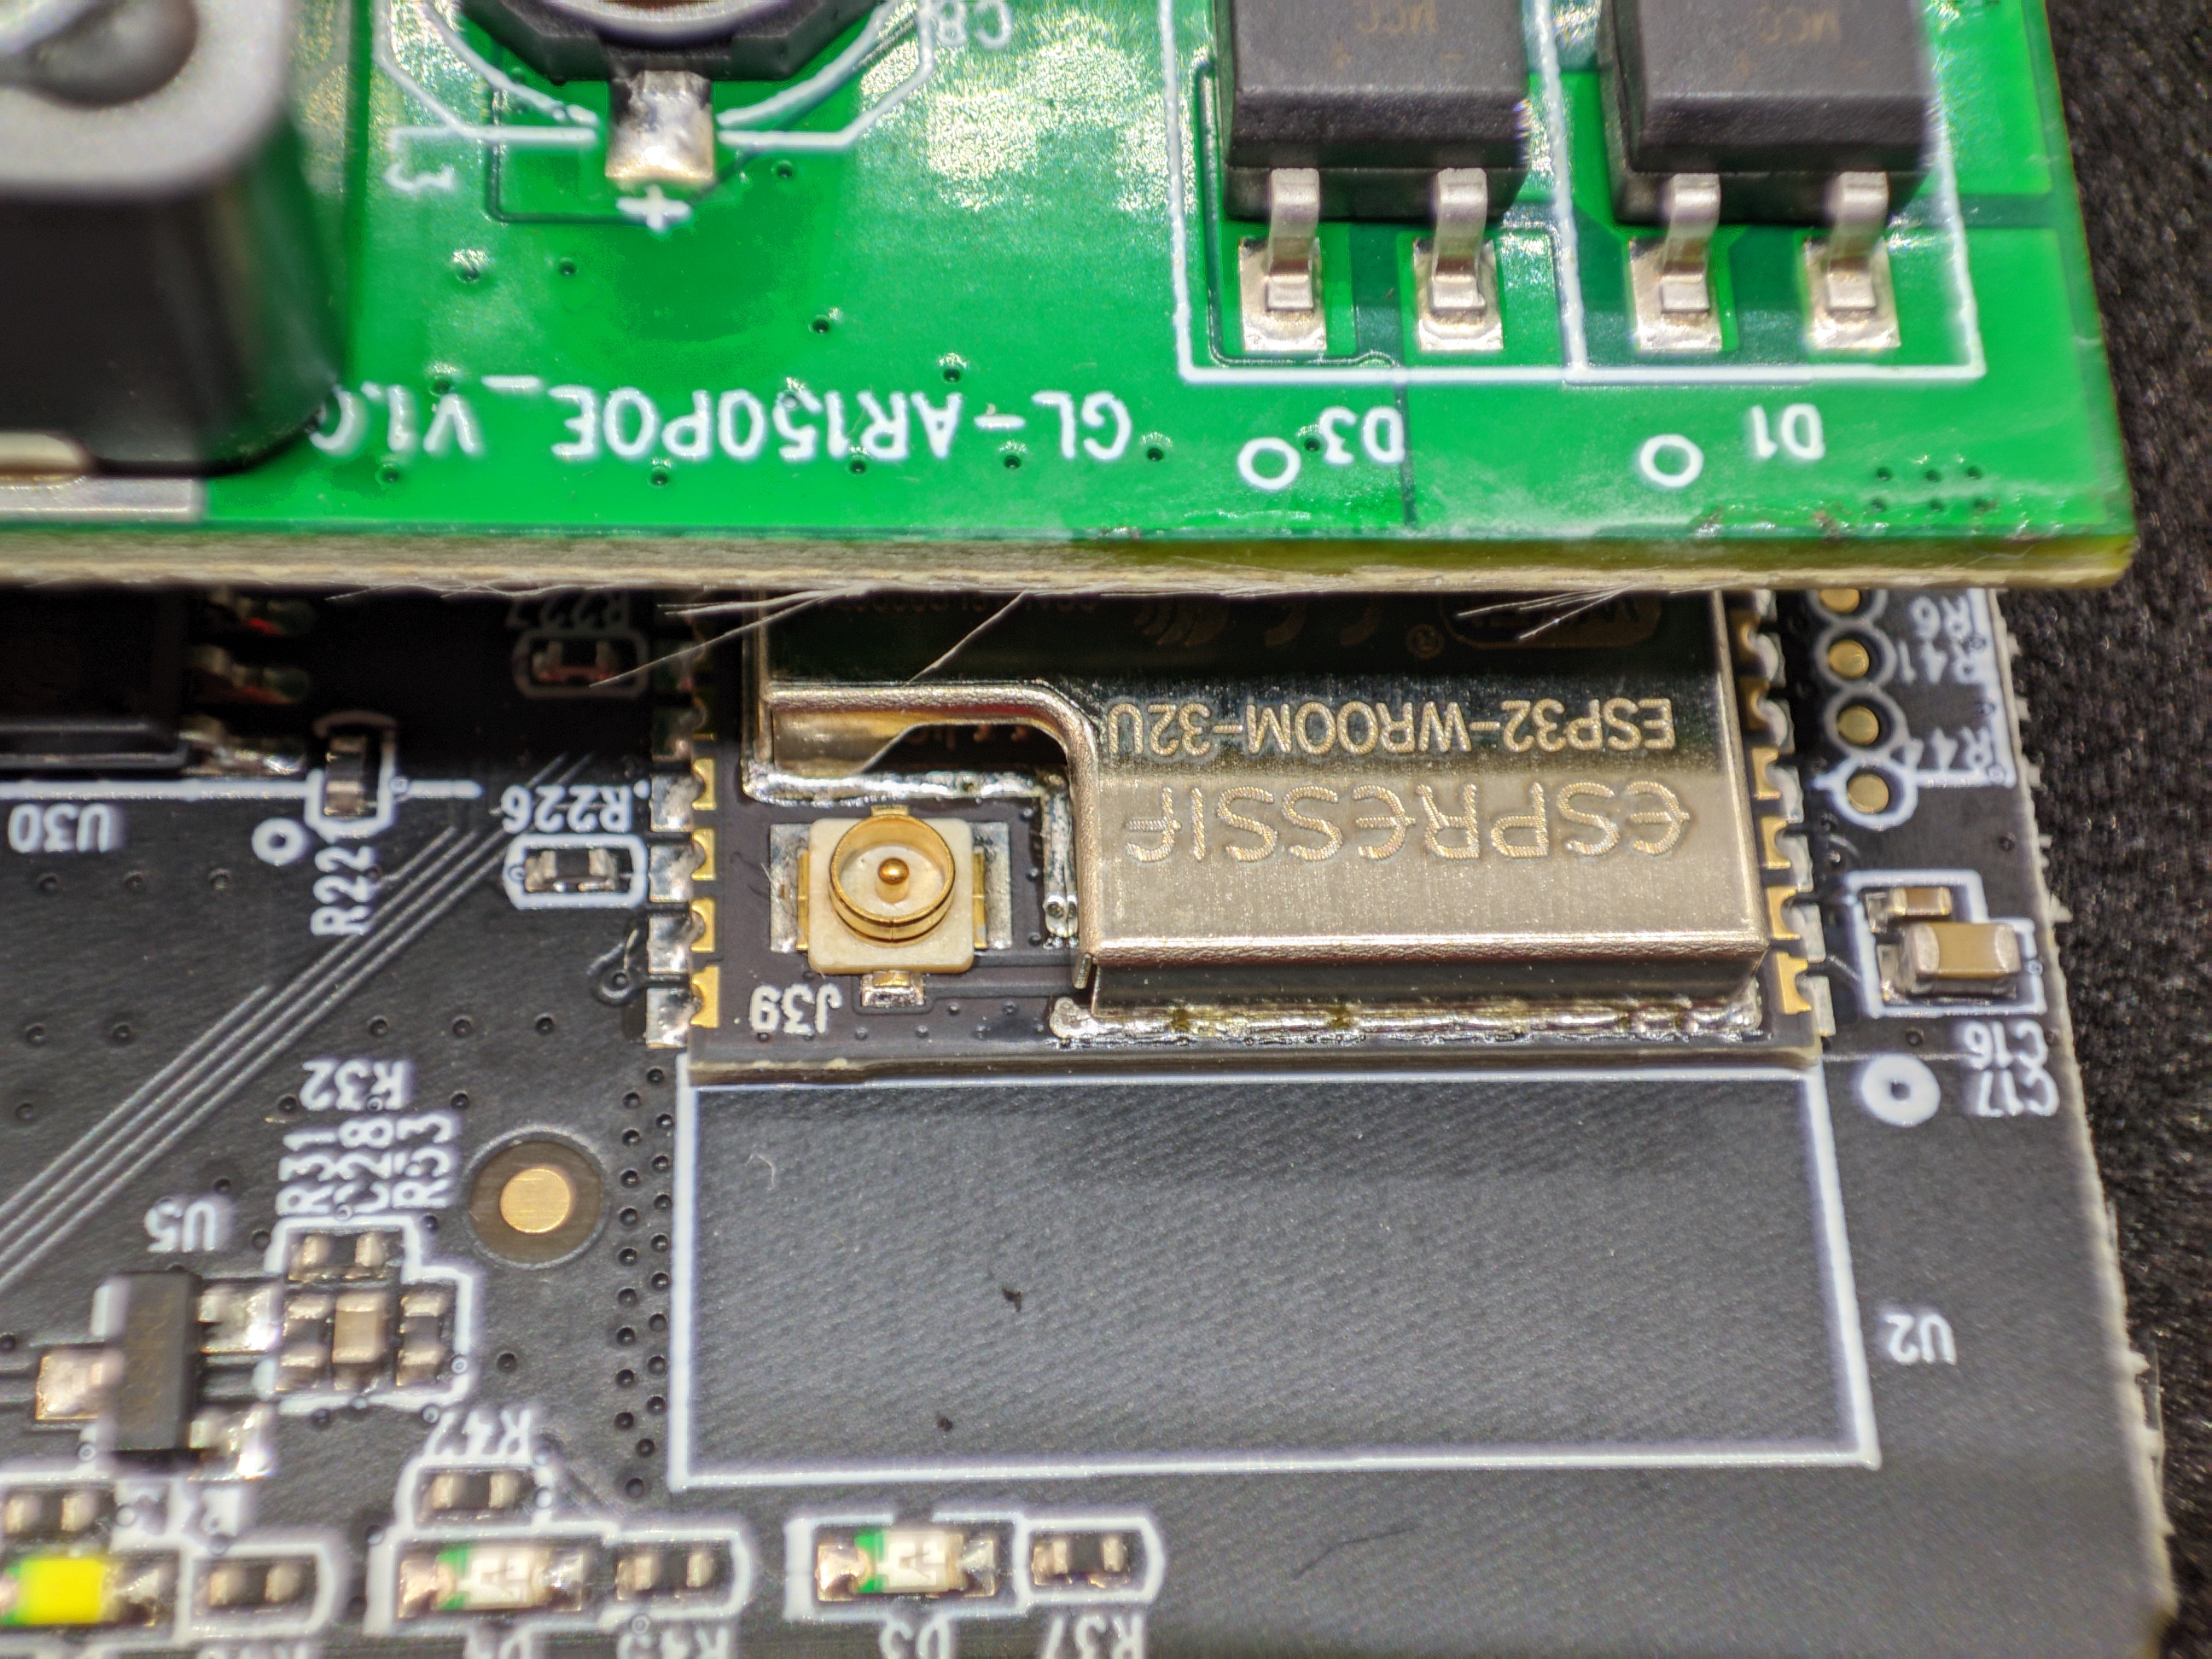
Take the out PCB and prepare it for flashing.

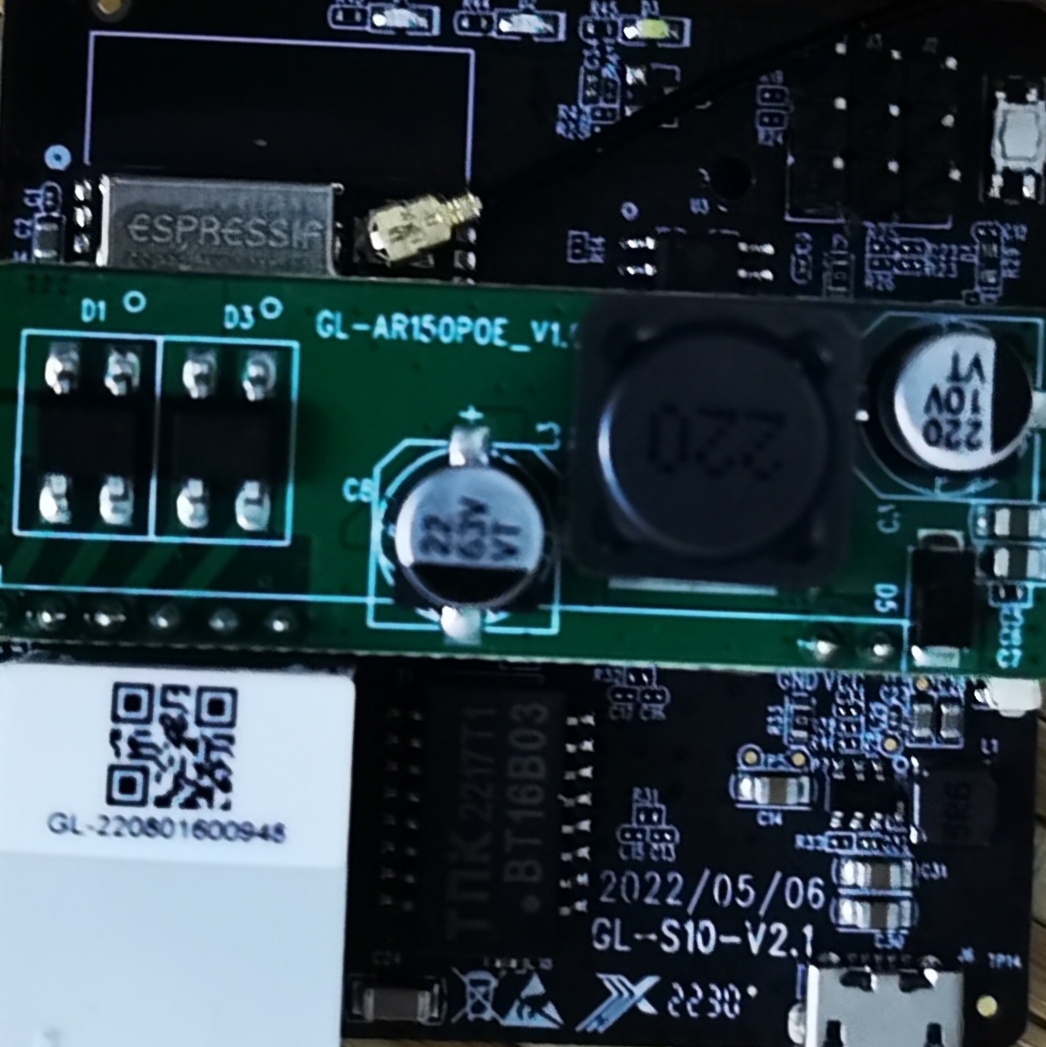
WARNING There are a few hardware revisions of GL-S10. This tutorial uses images of the v1.0 version but applies to all revisions, only the ESPHome configuration is different due to a new Ethernet chip.
Newer revisions using the IP101PHY chip have issues with severe packet loss and will likely not be reliable enough for your use.
Flashing
There is a cluster of 9 pin holes which have the TX, RX and GND pins required for flashing. It is best to solder in some pin headers but you can do it solderless.
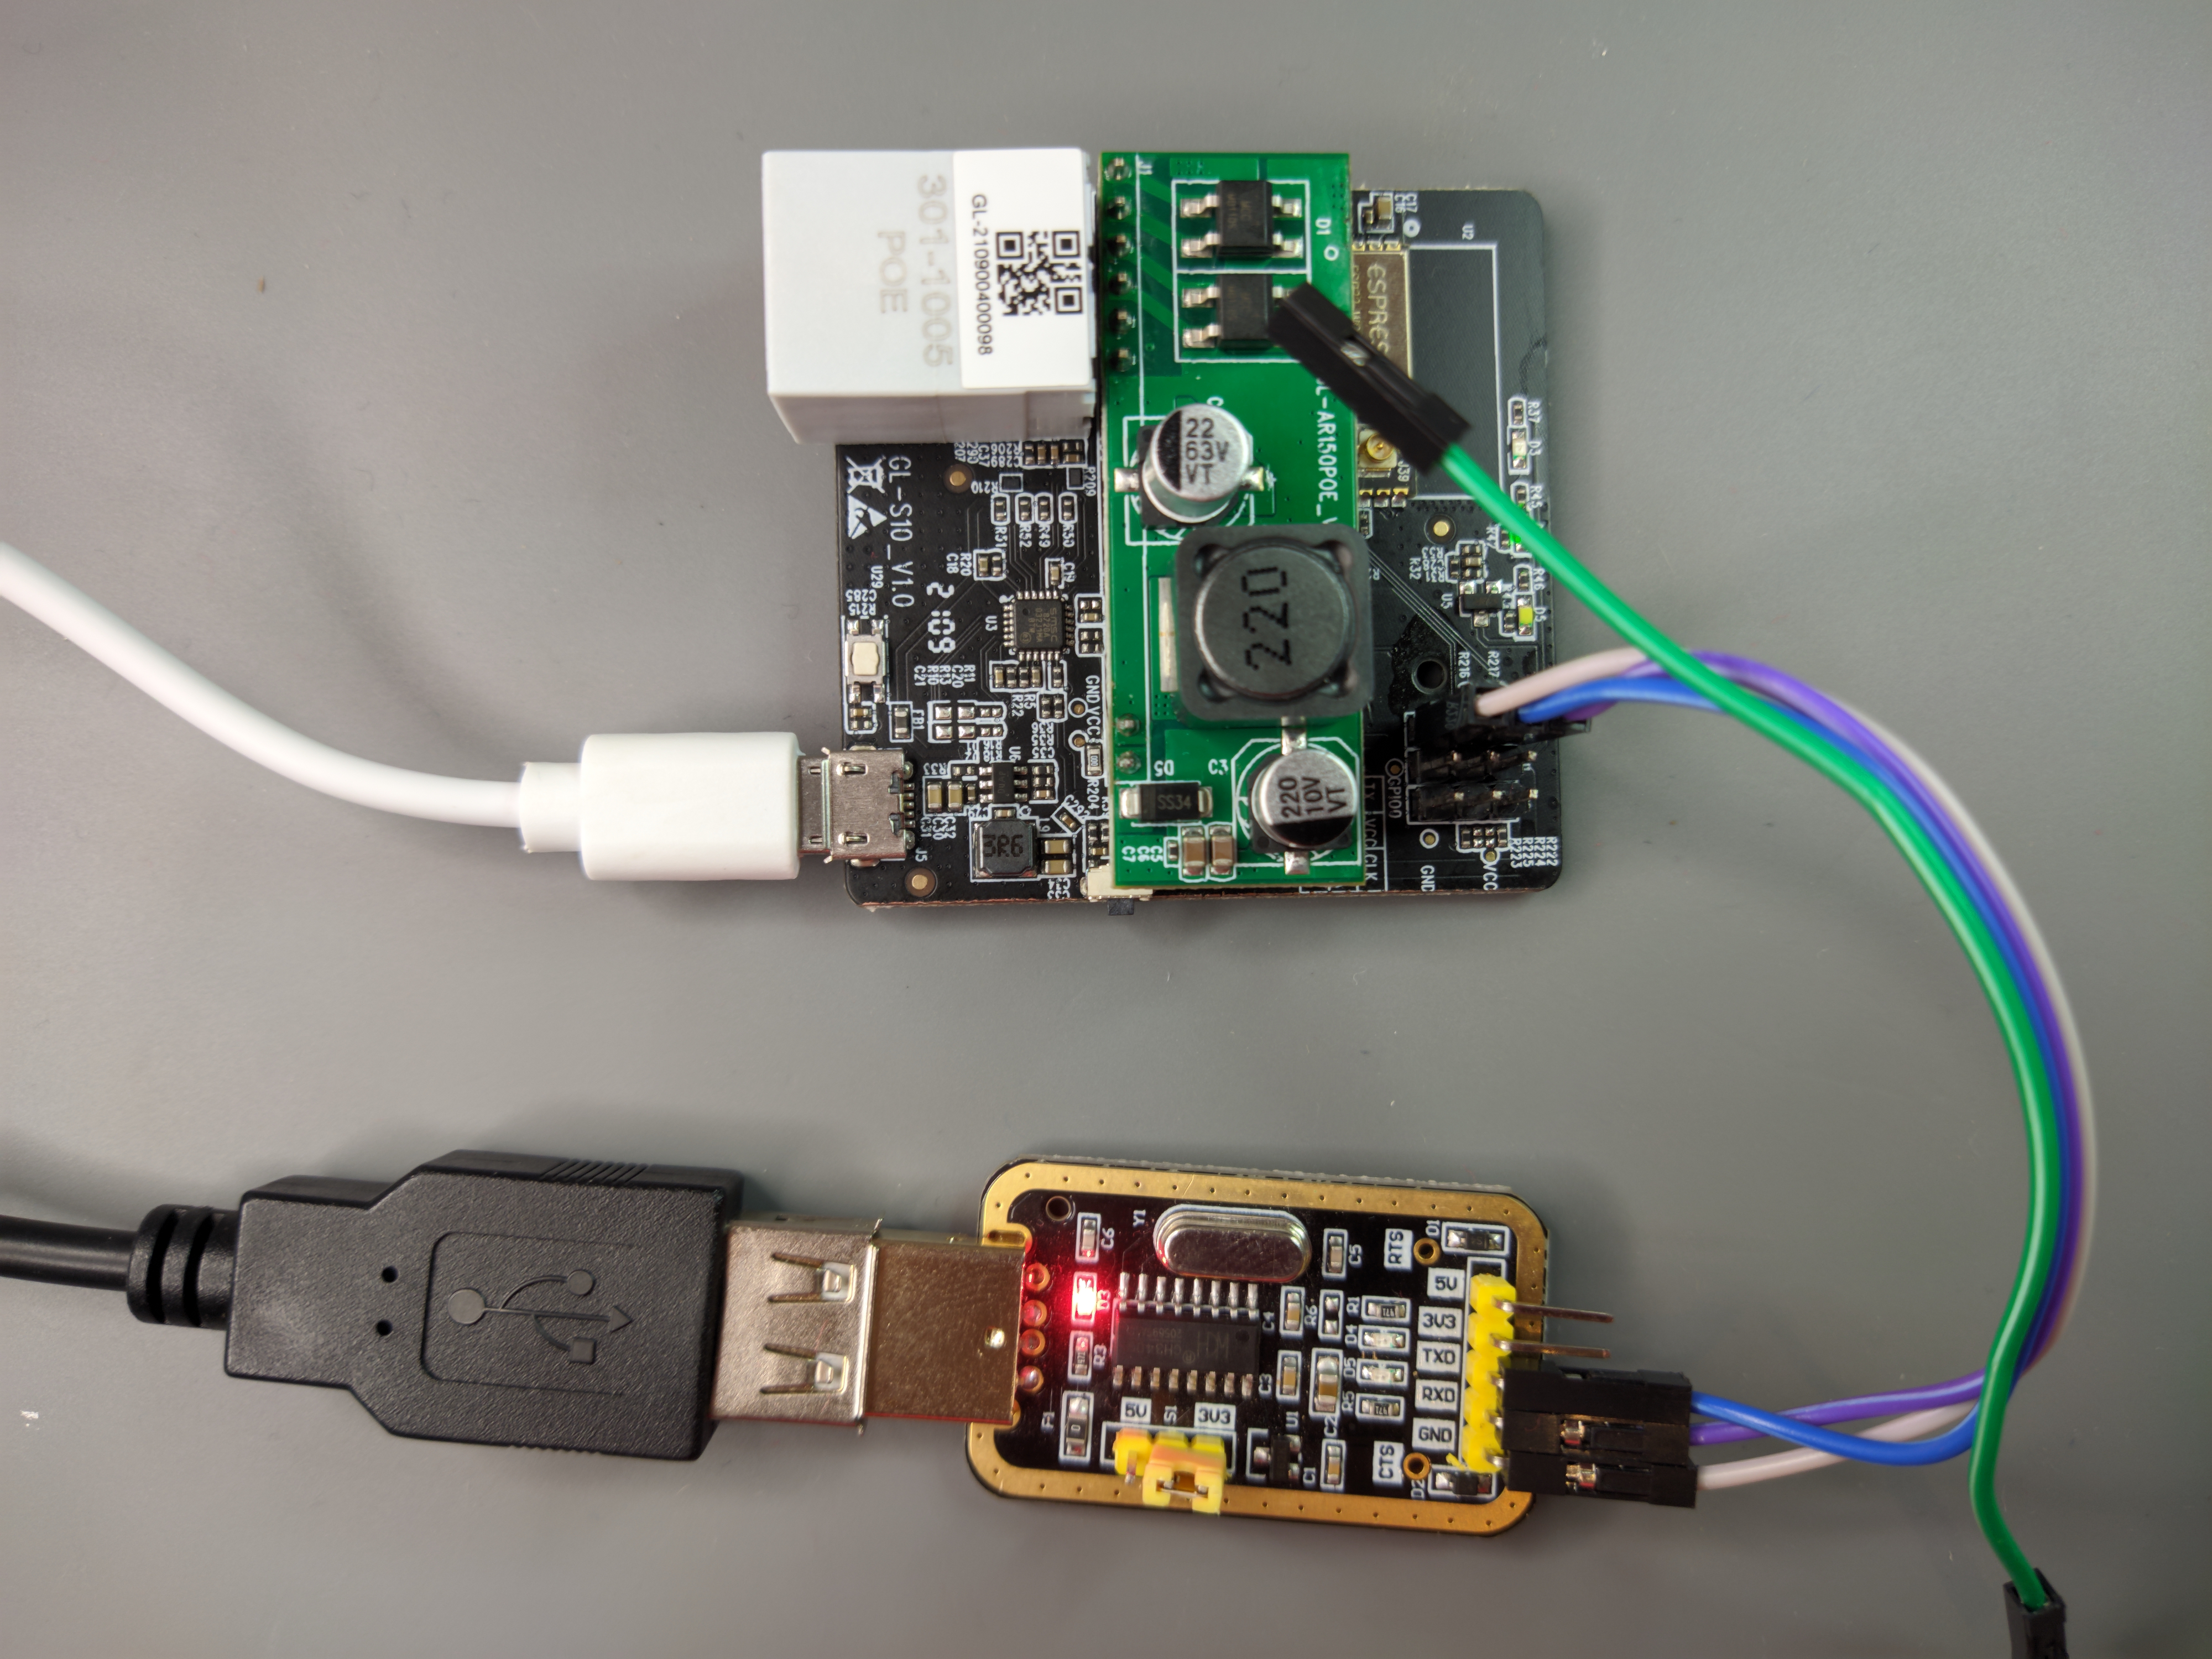
If you are going solderless, make very sure to constantly apply some pressure to the pins during the flashing process to establish good contact between the pads and Dupont connectors. An extra pair of hands will be helpful.

Connect the wires as pictured. Do NOT connect VCC from the adapter. You will use the device’s USB power port for powering it up.
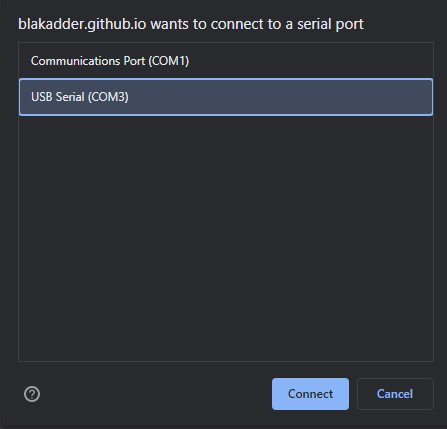
Install using my web installer for GL-S10. Select your hardware version of GL-S10 and click “CONNECT”.
Hold down the button next to the USB port while plugging the power in to put the device in flash mode.

Select the COM port to your USB to serial adapter and click “Connect”.
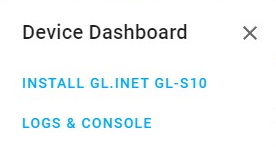
Once the installer has connected to GL-S10 you need to click “INSTALL GL.INET GL-S10”. Confirm the installation.
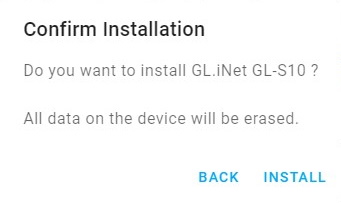
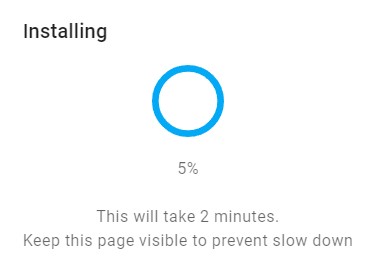
Wait until the device is erased, Bluetooth proxy is installed and finally the installation complete message is displayed.


Clicking on “NEXT” brings you back to the initial dialogue. Now is the time to plug in the Ethernet cable. If you’re using PoE Ethernet DO NOT plug both the USB and Ethernet at once. There will be smoke and sadness! If you’re not using PoE unplug the power USB cable and plug it back.
GL-S10 will now boot in its working mode.
Click “LOGS & CONSOLE” to check if the Bluetooth proxy starts properly. It should look something like this:

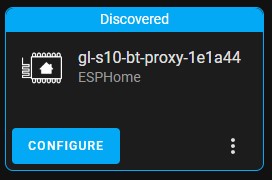
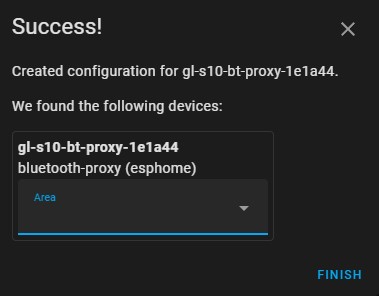
While this is happening, your Home Assistant will discover the new device and all you need to do is confirm the configuration and assign it to an area (optional).

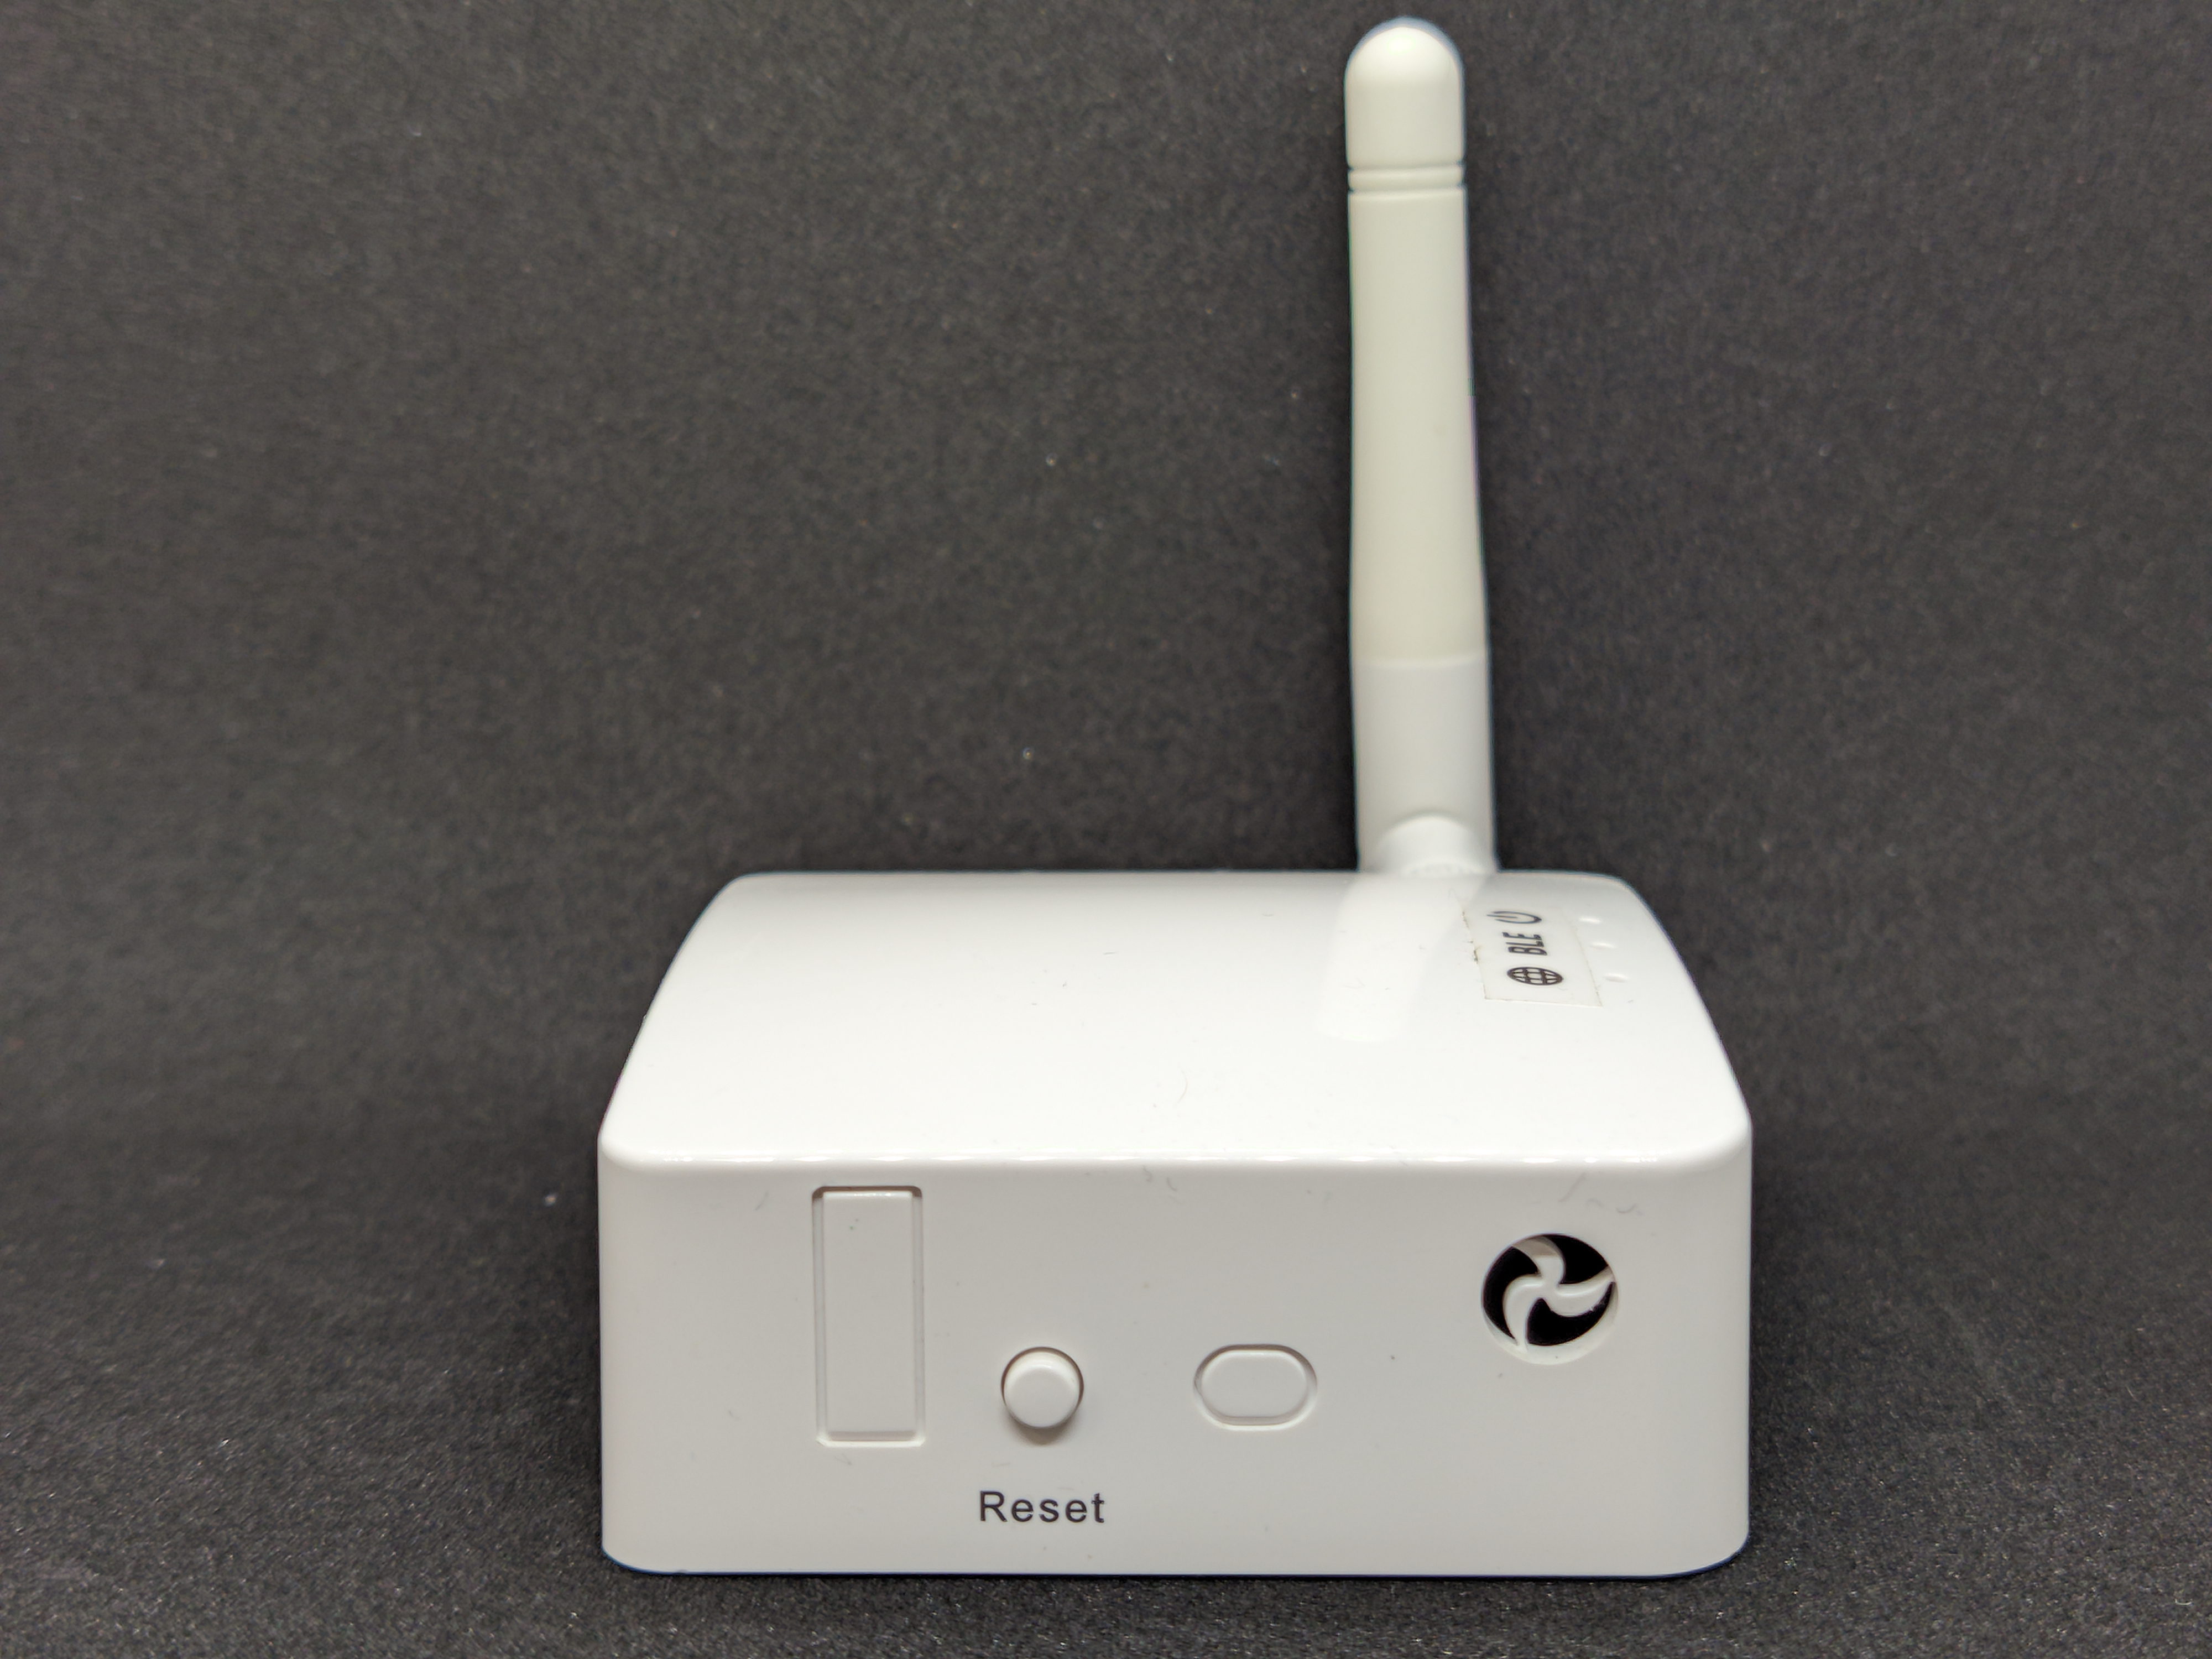
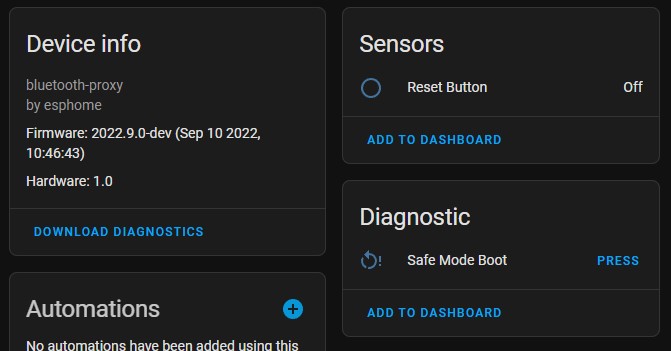
The GL-S10 device will have only a button sensor used for the button on the case labeled “Reset”. You can use it in automations if you want to, it will not actually reset anything anymore.
Supported BLE devices should slowly become discovered and Home Assistant will notify you of them. You will configure those devices using their own integrations.
Here are some of the devices in my home

First is the extremely cheap Xiaomi LYWSD03MMC* running on custom ATC firmware supporting the open source standard BTHome.
Qingping integration unexpectedly discovered the Xiaomi CGD1* alarm clock and temperature and humidity sensor. I wasn’t even aware there was such and integration. By the way, it is 12 meters and 3 thick brick walls away from the proxy and it shows -88 dBm. The range on the GL-S10 is something.
The same device is also discovered in Xiaomi BLE integration.
Finally the Xiaomi LYWSD02* E-Ink clock and temperature and humidity sensor.
Not a lot but the number will surely grow now that Bluetooth proxies make it so simple and Bluetooth development in Home Assistant has ramped up.
ESPHome Configuration
Configuration file was made to mimic the original functions as close as possible. That means the Power LED will always be on and Bluetooth LED turns on when connected to Home Assistant or other API endpoint. Network LED serves as a status LED.
I2C ports are preconfigured to the CLK and DAT pin holes on the PCB which makes the GL-S10 expandable. During my testing I connected a BH1750 illumination sensor and it just worked, zero problems. I would warn against putting any temperature sensors inside the case due the the heat generated from the ESP32 and power supply.
I chose to make the Reset button not reset the device but just serve as a normal button sensor in HA.
# Instructions on opening and wiring for flashing on https://blakadder.com/gl-s10

substitutions:
  name: gl-s10-bt-proxy

esphome:
  name: ${name}
  name_add_mac_suffix: true
  project:
    name: esphome.bluetooth-proxy
    version: "1.0"
# turn on Power LED when esphome boots
  on_boot:
    then:
      - output.turn_on: power_led

esp32:
  board: esp32doit-devkit-v1
  framework:
    type: arduino

## Configuration fo V2.x hardware revision
ethernet:
  type: IP101
  mdc_pin: GPIO23
  mdio_pin: GPIO18
  clk_mode: GPIO17_OUT
  phy_addr: 1
  power_pin: GPIO5

## Delete the above and use this instead for V1.x revision of the hardware
# ethernet:
#   type: LAN8720
#   mdc_pin: GPIO23
#   mdio_pin: GPIO18
#   clk_mode: GPIO17_OUT
#   phy_addr: 1

api:
logger:
ota:

dashboard_import:
  package_import_url: github://blakadder/bluetooth-proxies/gl-s10.yaml@main

esp32_ble_tracker:
  scan_parameters:
    interval: 1100ms
    window: 1100ms
    active: true

bluetooth_proxy:

button:
- platform: safe_mode
  name: Safe Mode Boot
  entity_category: diagnostic

## DEVICE SPECIFIC CONFIGURATION
# network LED (white one) configured as status led
status_led:
  pin:
    number: GPIO32
    inverted: true

# button on the side labeled RESET
binary_sensor:
  - platform: gpio
    pin:
      number: GPIO33
      inverted: true
    name: "Reset Button"
# Bluetooth LED on when connected to Home Assistant
  - platform: status
    name: "${name} Status"
    internal: true
    on_press:
      - output.turn_on: bluetooth_led
    on_release:
      - output.turn_off: bluetooth_led

# output settings for LED's marked Power and Bluetooth
# power LED use: see code line 12
# bluetooth LED use: see code line 63
output:
  - platform: gpio
    pin: GPIO14
    inverted: true
    id: power_led
  - platform: gpio
    pin: GPIO12
    inverted: true
    id: bluetooth_led

# since these pins are broken out inside and labeled as I2C pins they're configured here
i2c:
  sda: 15
  scl: 13
  scan: true
Buy it now!
I strongly recommend the GL-S10, it is at the perfect price point and offers you all the features to be the ultimate Bluetooth gateway for your home. Ethernet with PoE is a rarity in development board form so getting it in a case with LEDs and external antenna was mind blowing to me. And all that for only 24.90$!
I only touched on its expandability but if you want to make a project of it the case has a small round cutout through which you can route a cable to an external sensor cluster and connect it to the I2C pins.
Besides the broken out I2C pins there are several test pads sprinkled on the PCB which can be used if necessary.
Available on:

Explore more like this

Moes ES1 (ZSS-LP-HP02) Zigbee Human Presence Sensor Review
It was hard to resist the new Moes labelled sensor on AliExpress because it looked identical to the Linptech ES1 sensor which works with Xiaomi’s Mijia ecosystem but I avoided...


Comments