Lanbon L8 LCD Touch Switch Review
Summary
Smart switch with a view!
Full disclosure: This is a review sample sent to me free of charge by Safetycorner and Lanbon DE. Review is not influenced by that fact and is solely my opinion.
Lanbon, a chinese company smart home tech company has released a series of Wi-Fi mesh connected touch switches with an LCD screen and some other accompanying devices.
They are available in Europe from Lanbon’s German branch at lanbon.de or worldwide from Lanbon’s Alibaba store
2020-12-23 update:
They can also be found on Aliexpress and on Amazon.com
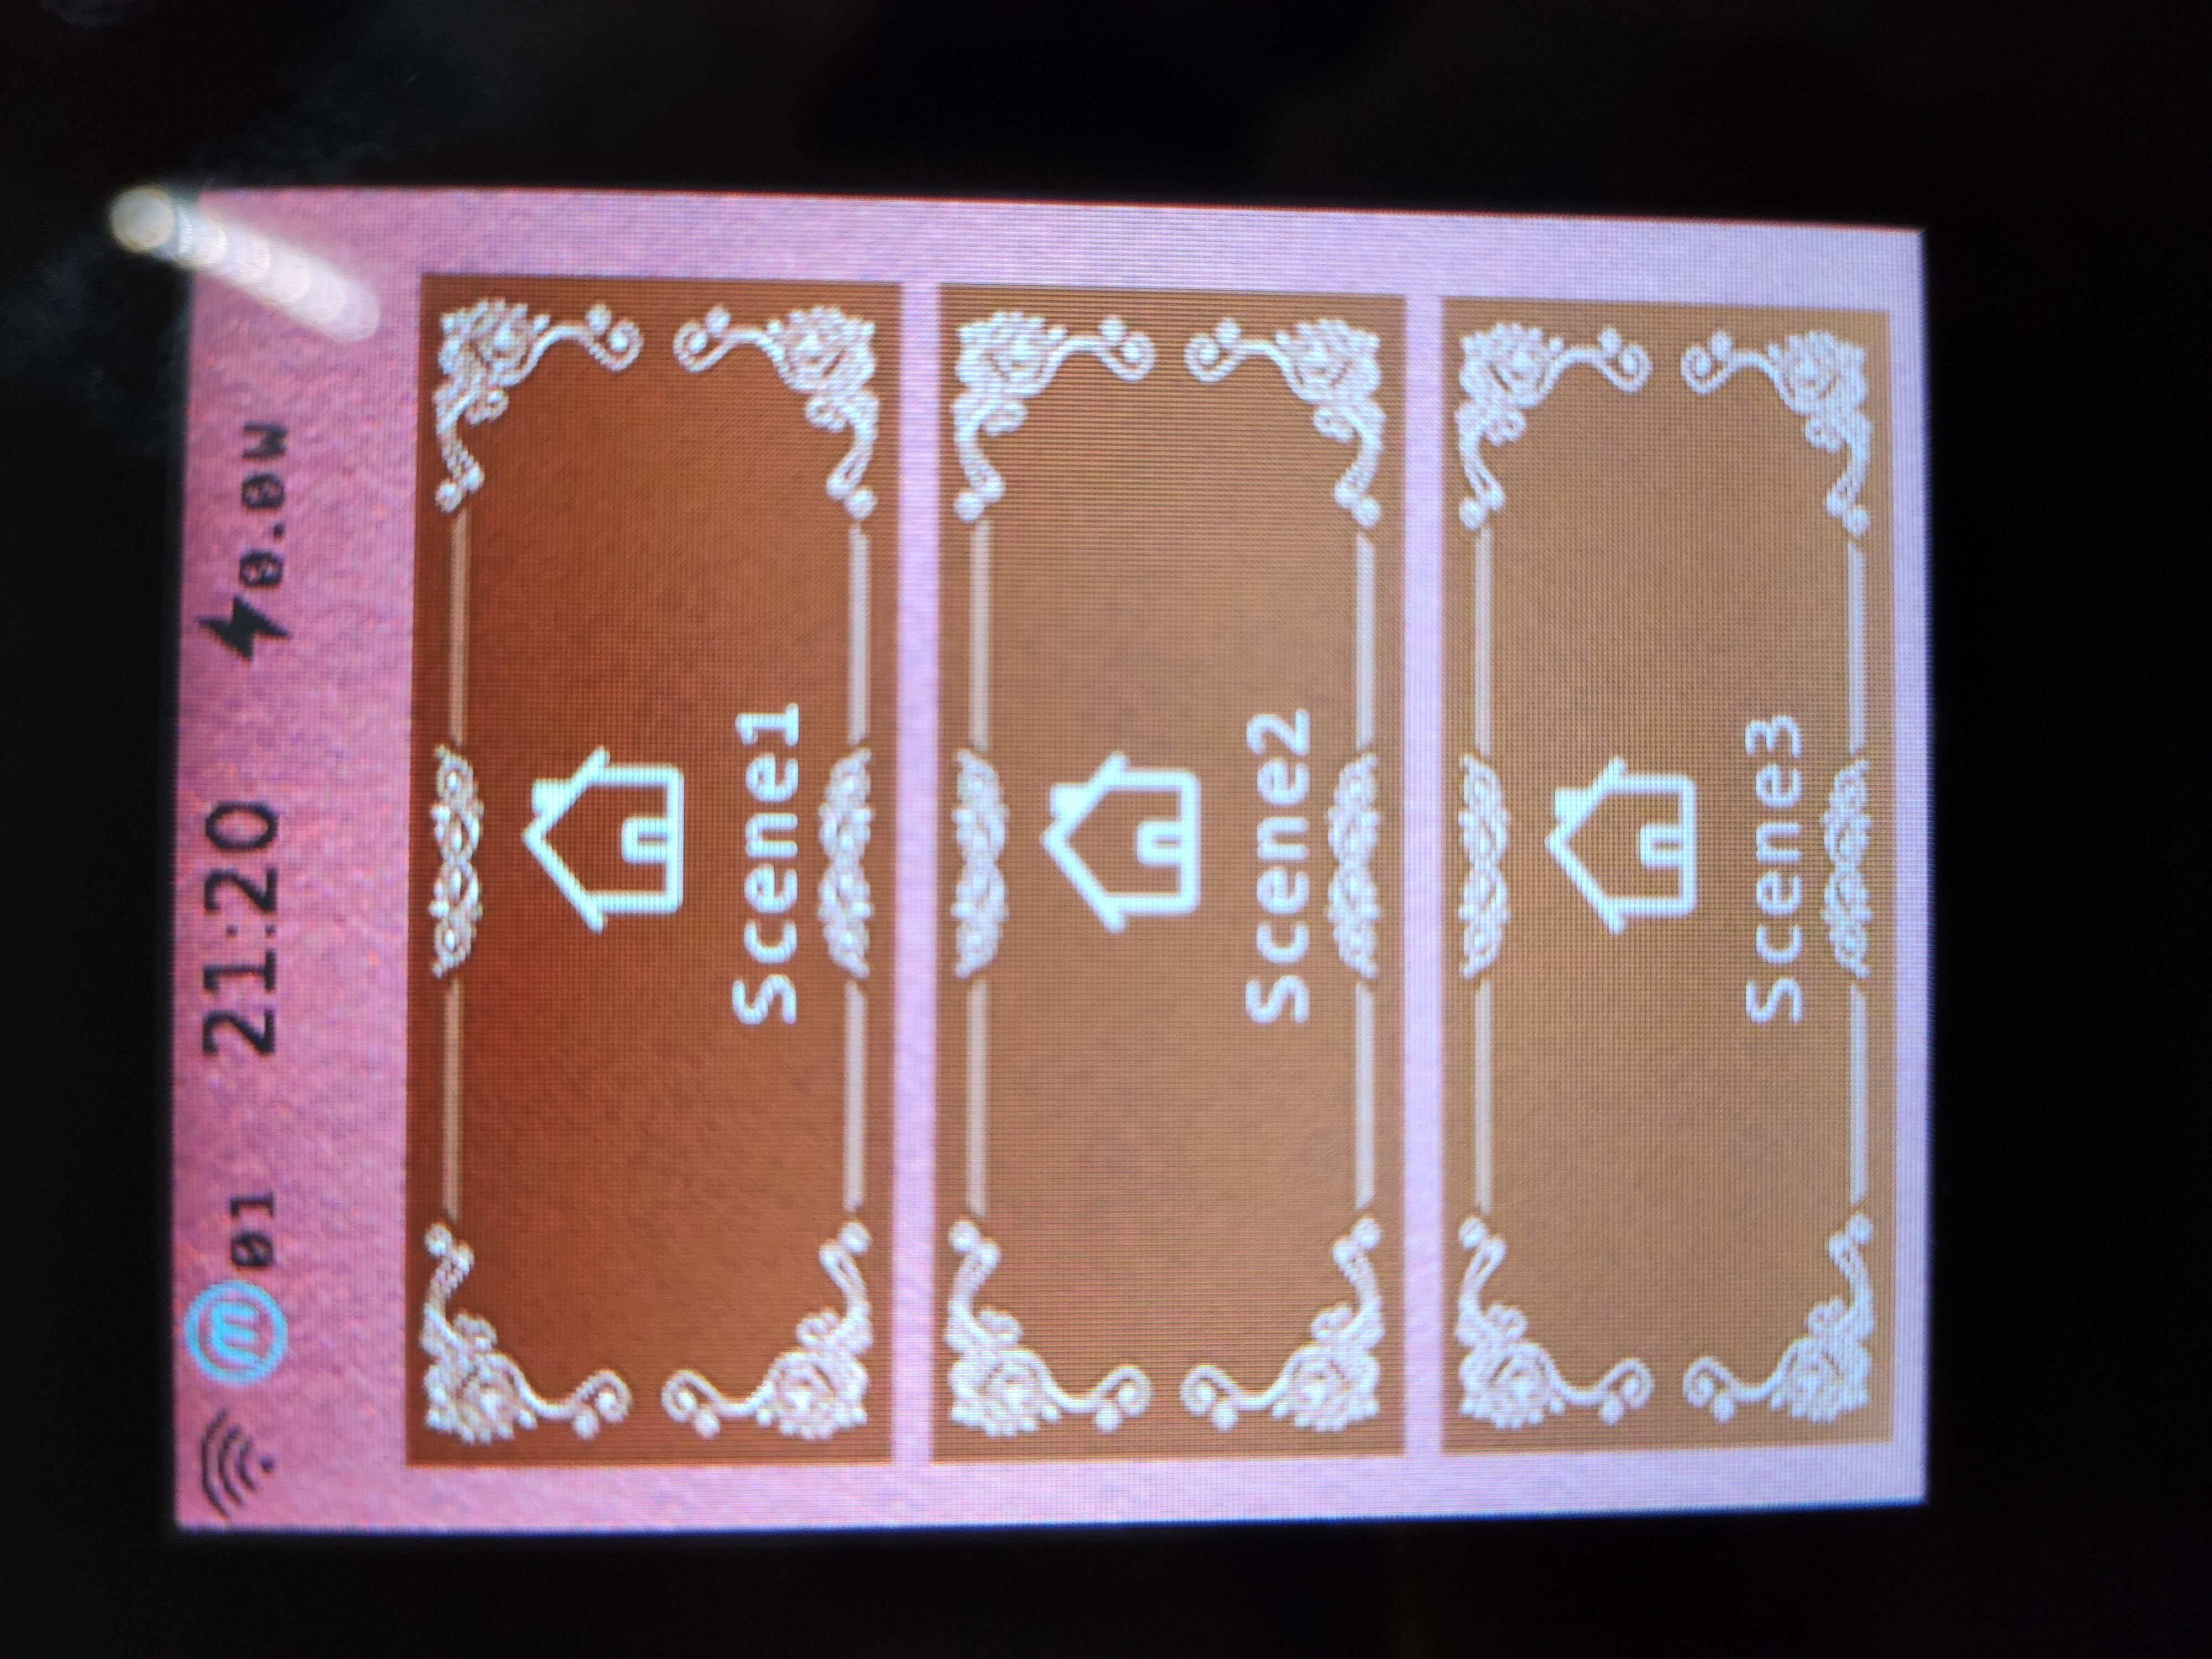
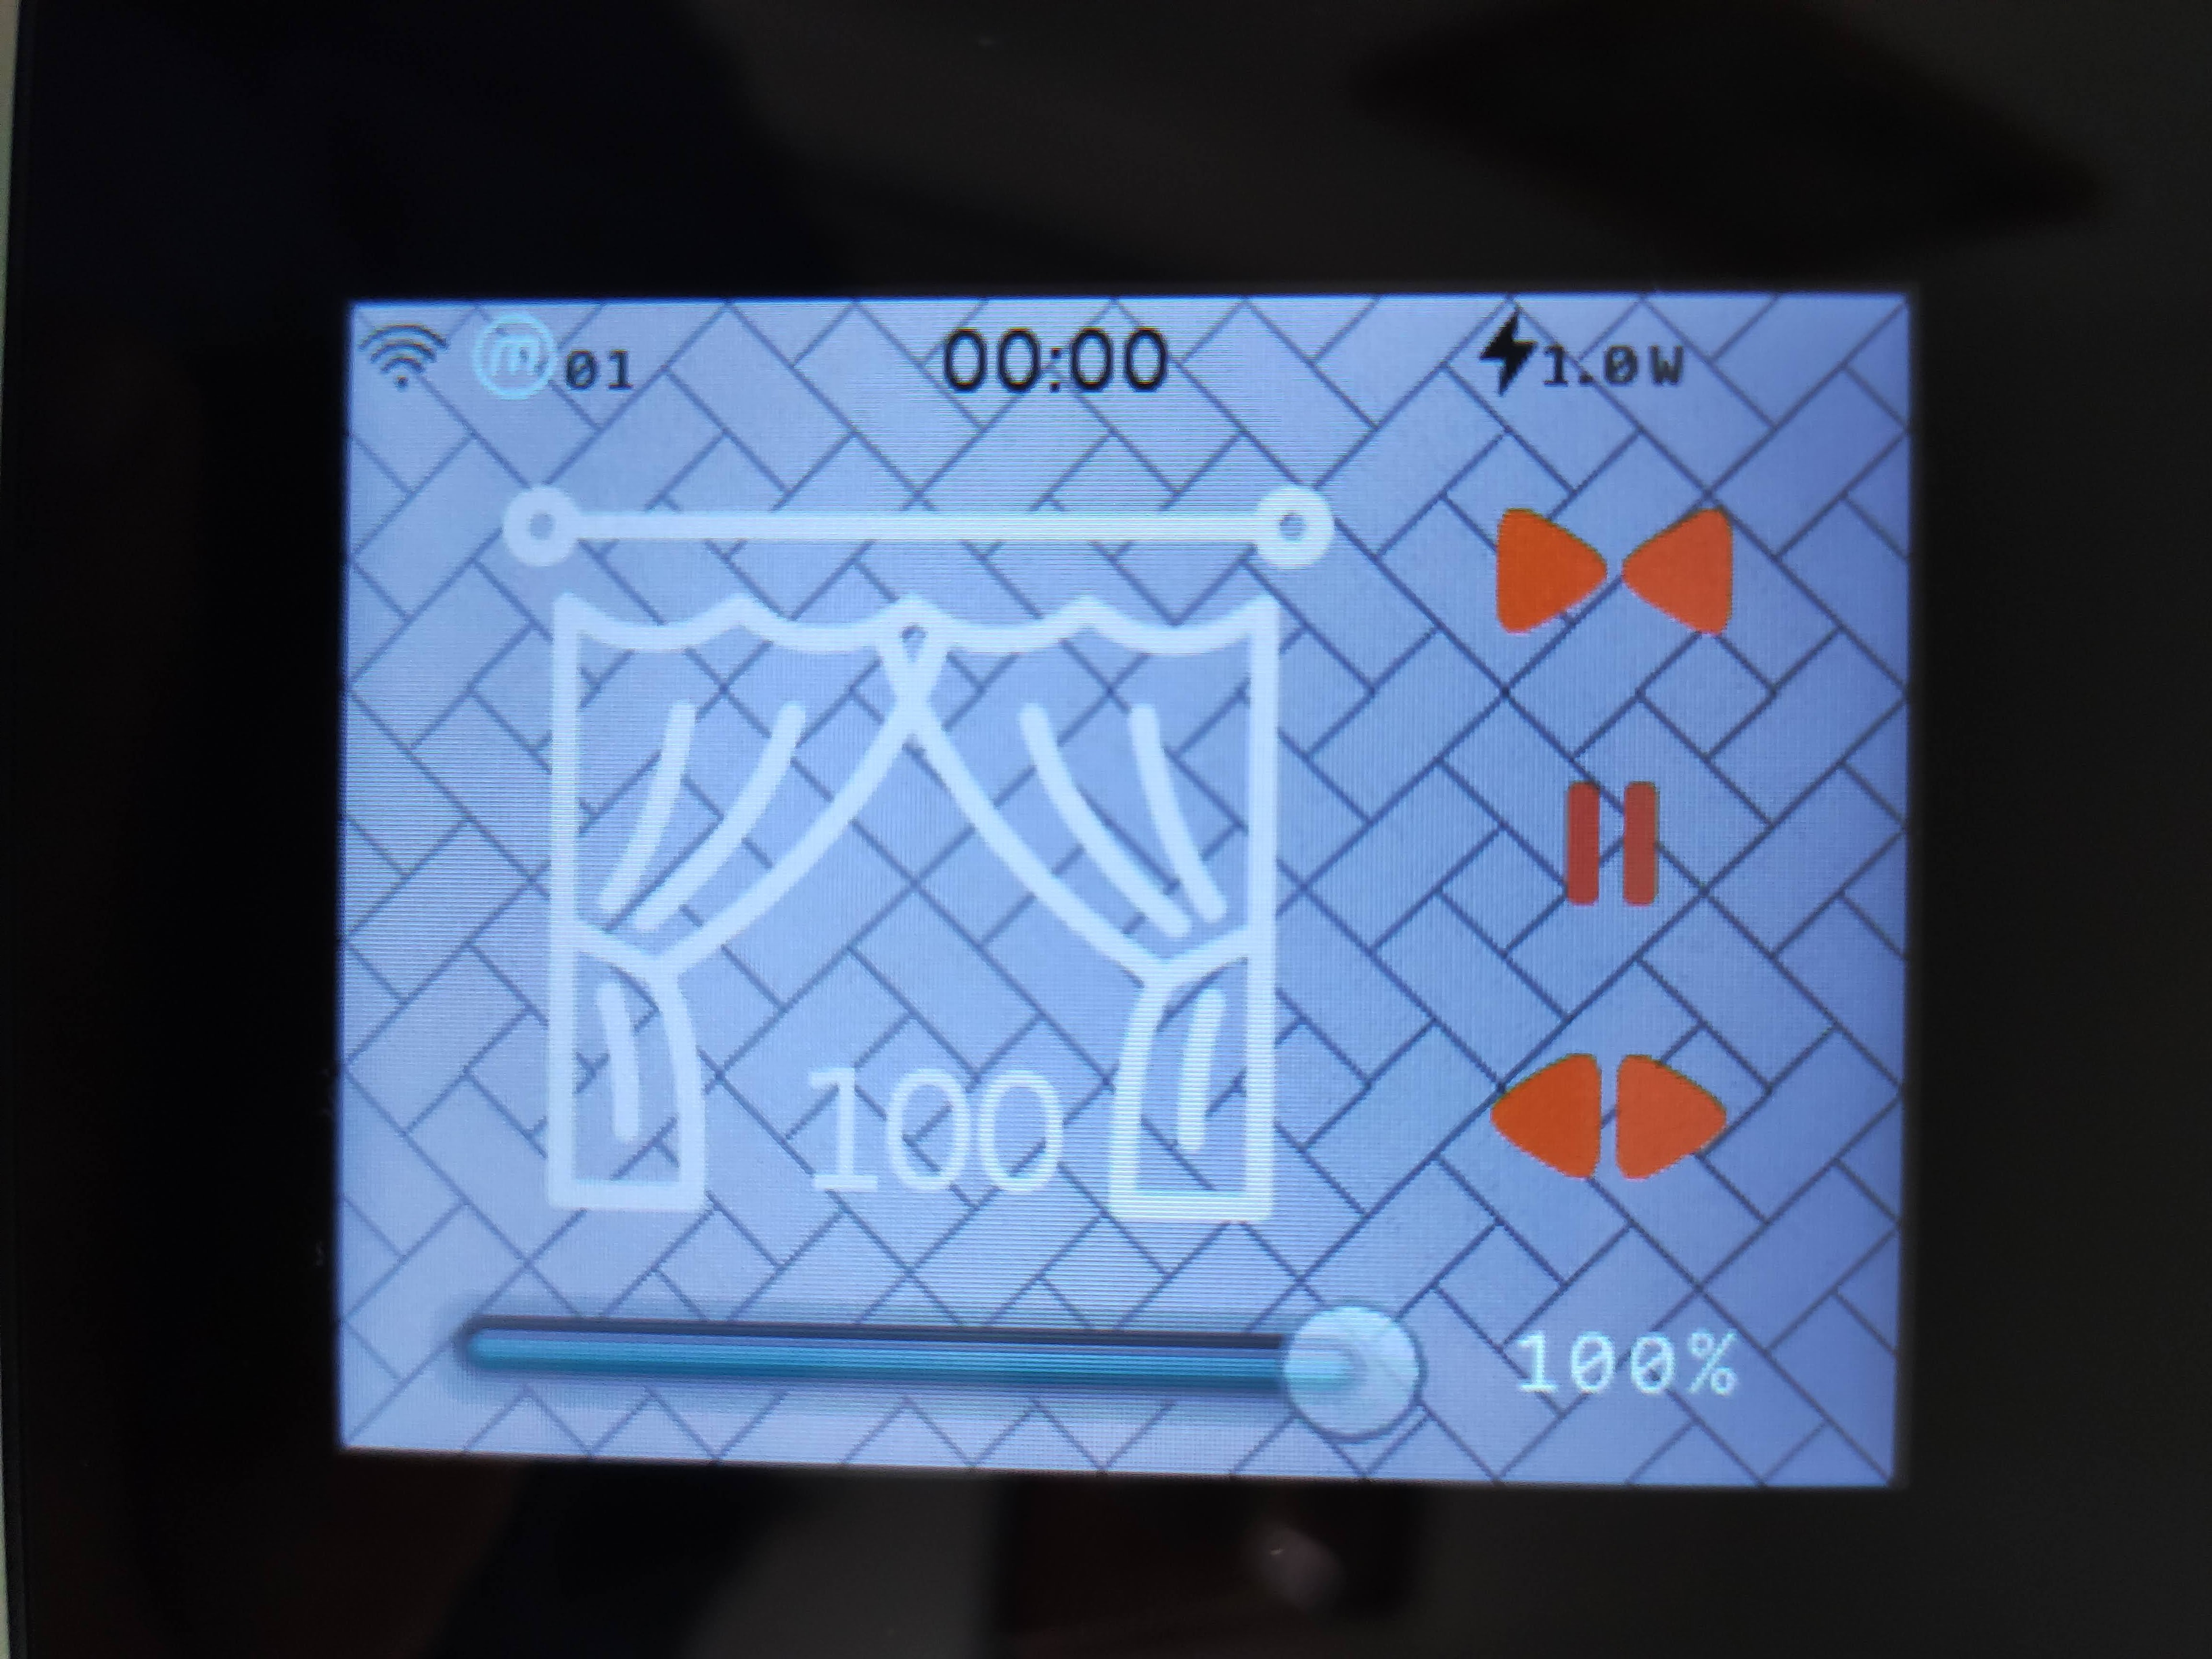
I have received the L8-HS 5 in 1 LCD smart switch. 5 in 1 meaning you can choose between 5 existing modes and adapt the switch to your current needs. You can choose between a 1, 2 or 3 gang light switch with a max load of 200W per gang or completely switch it up and use it as a curtain switch for any kinds of motorised covers. Lastly you can forego using the relays completely and use it as a scene switch to remotely control other Lanbon devices.
Each mode will change the buttons displayed on the screen accordingly. With that you also have the option to modify the labels and icons for your switches as well as change the theming of the UI.
Lanbon has also added a Wi-Fi mesh networking feature for the L8 line of devices to increase their reliability and network stability. Sadly I will not get to test it because I have only one review sample.
Apart from L8-HS they’re also offering an LCD touch dimmer switch (L8-HD) and an LCD thermostat (L8-HT)
Unboxing
Here is what came in the package:
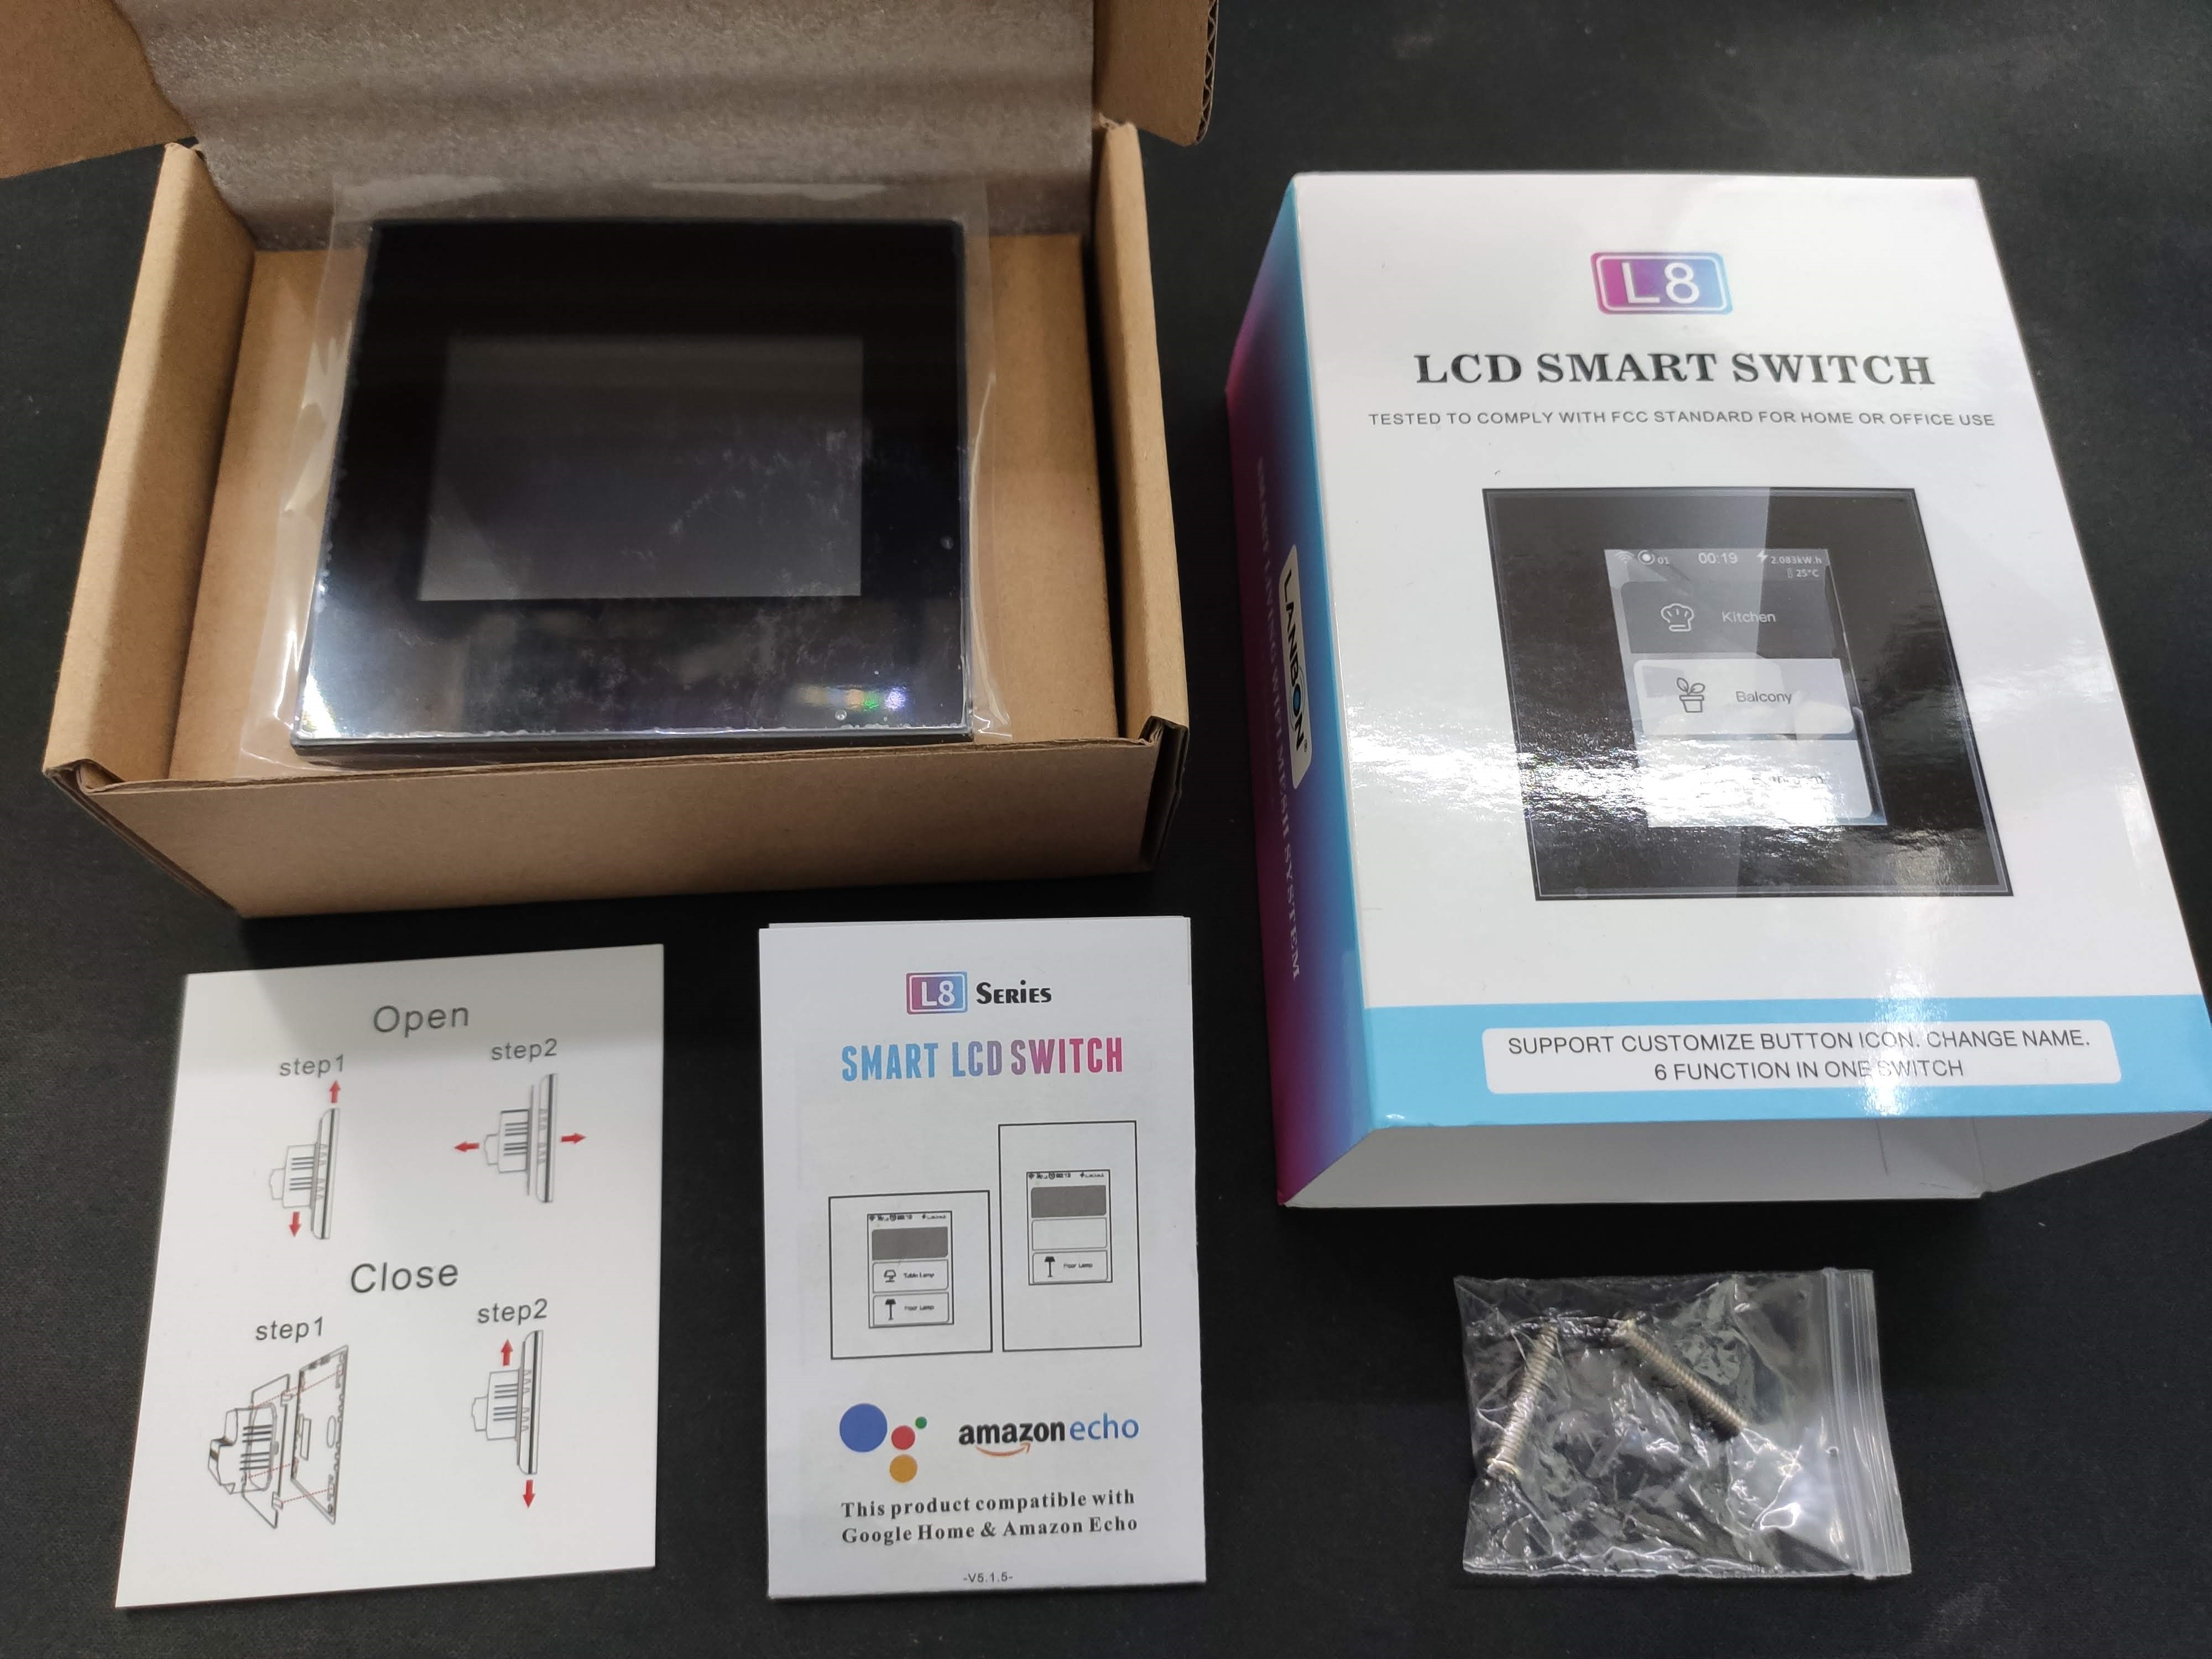
European version of the switch has an 86mm by 86mm front plate inside which is a 49mm by 59mm color LCD touch screen protected by a, I assume, acrylic plate. The front plate contains all the brains of the switch while the mains switching relays and power supply are in the back of the switch. There’s a thin white strip running through the middle of the front plate sides.
The LCD touch portion of the switch is attached to a metal plate with a slide and lock system. You simply slide it out to install the switch in your electrical box.
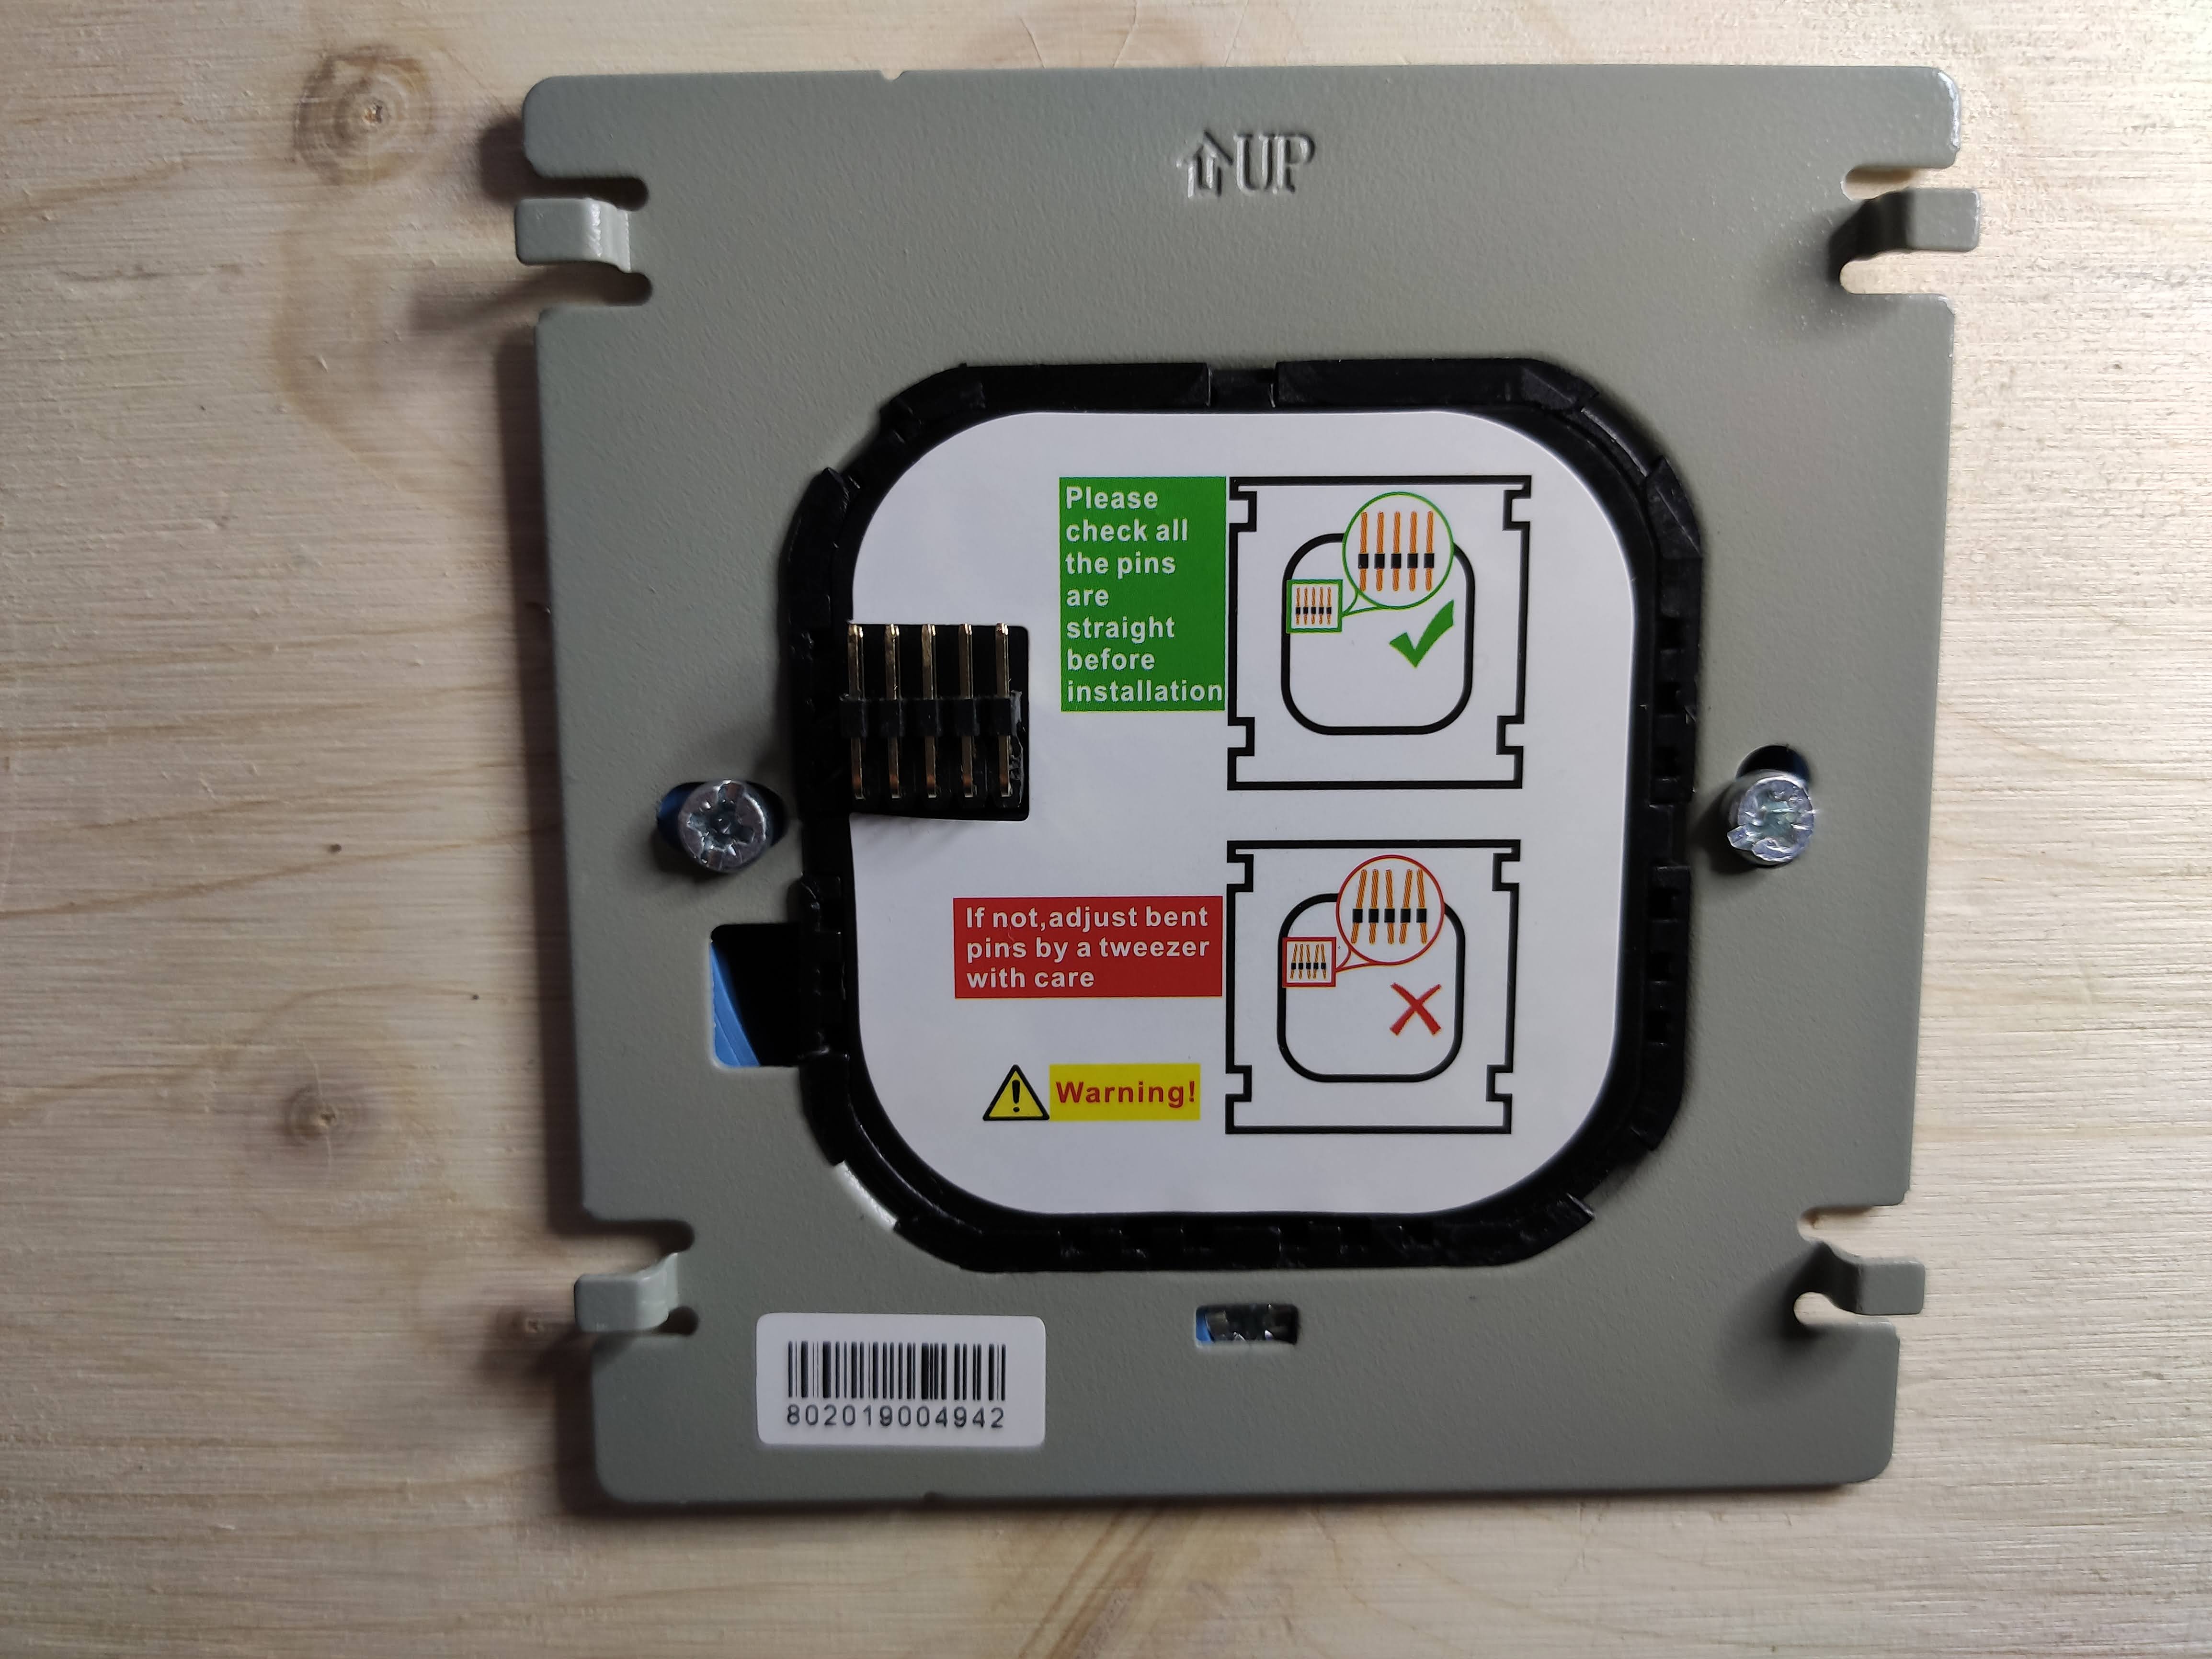
Installation
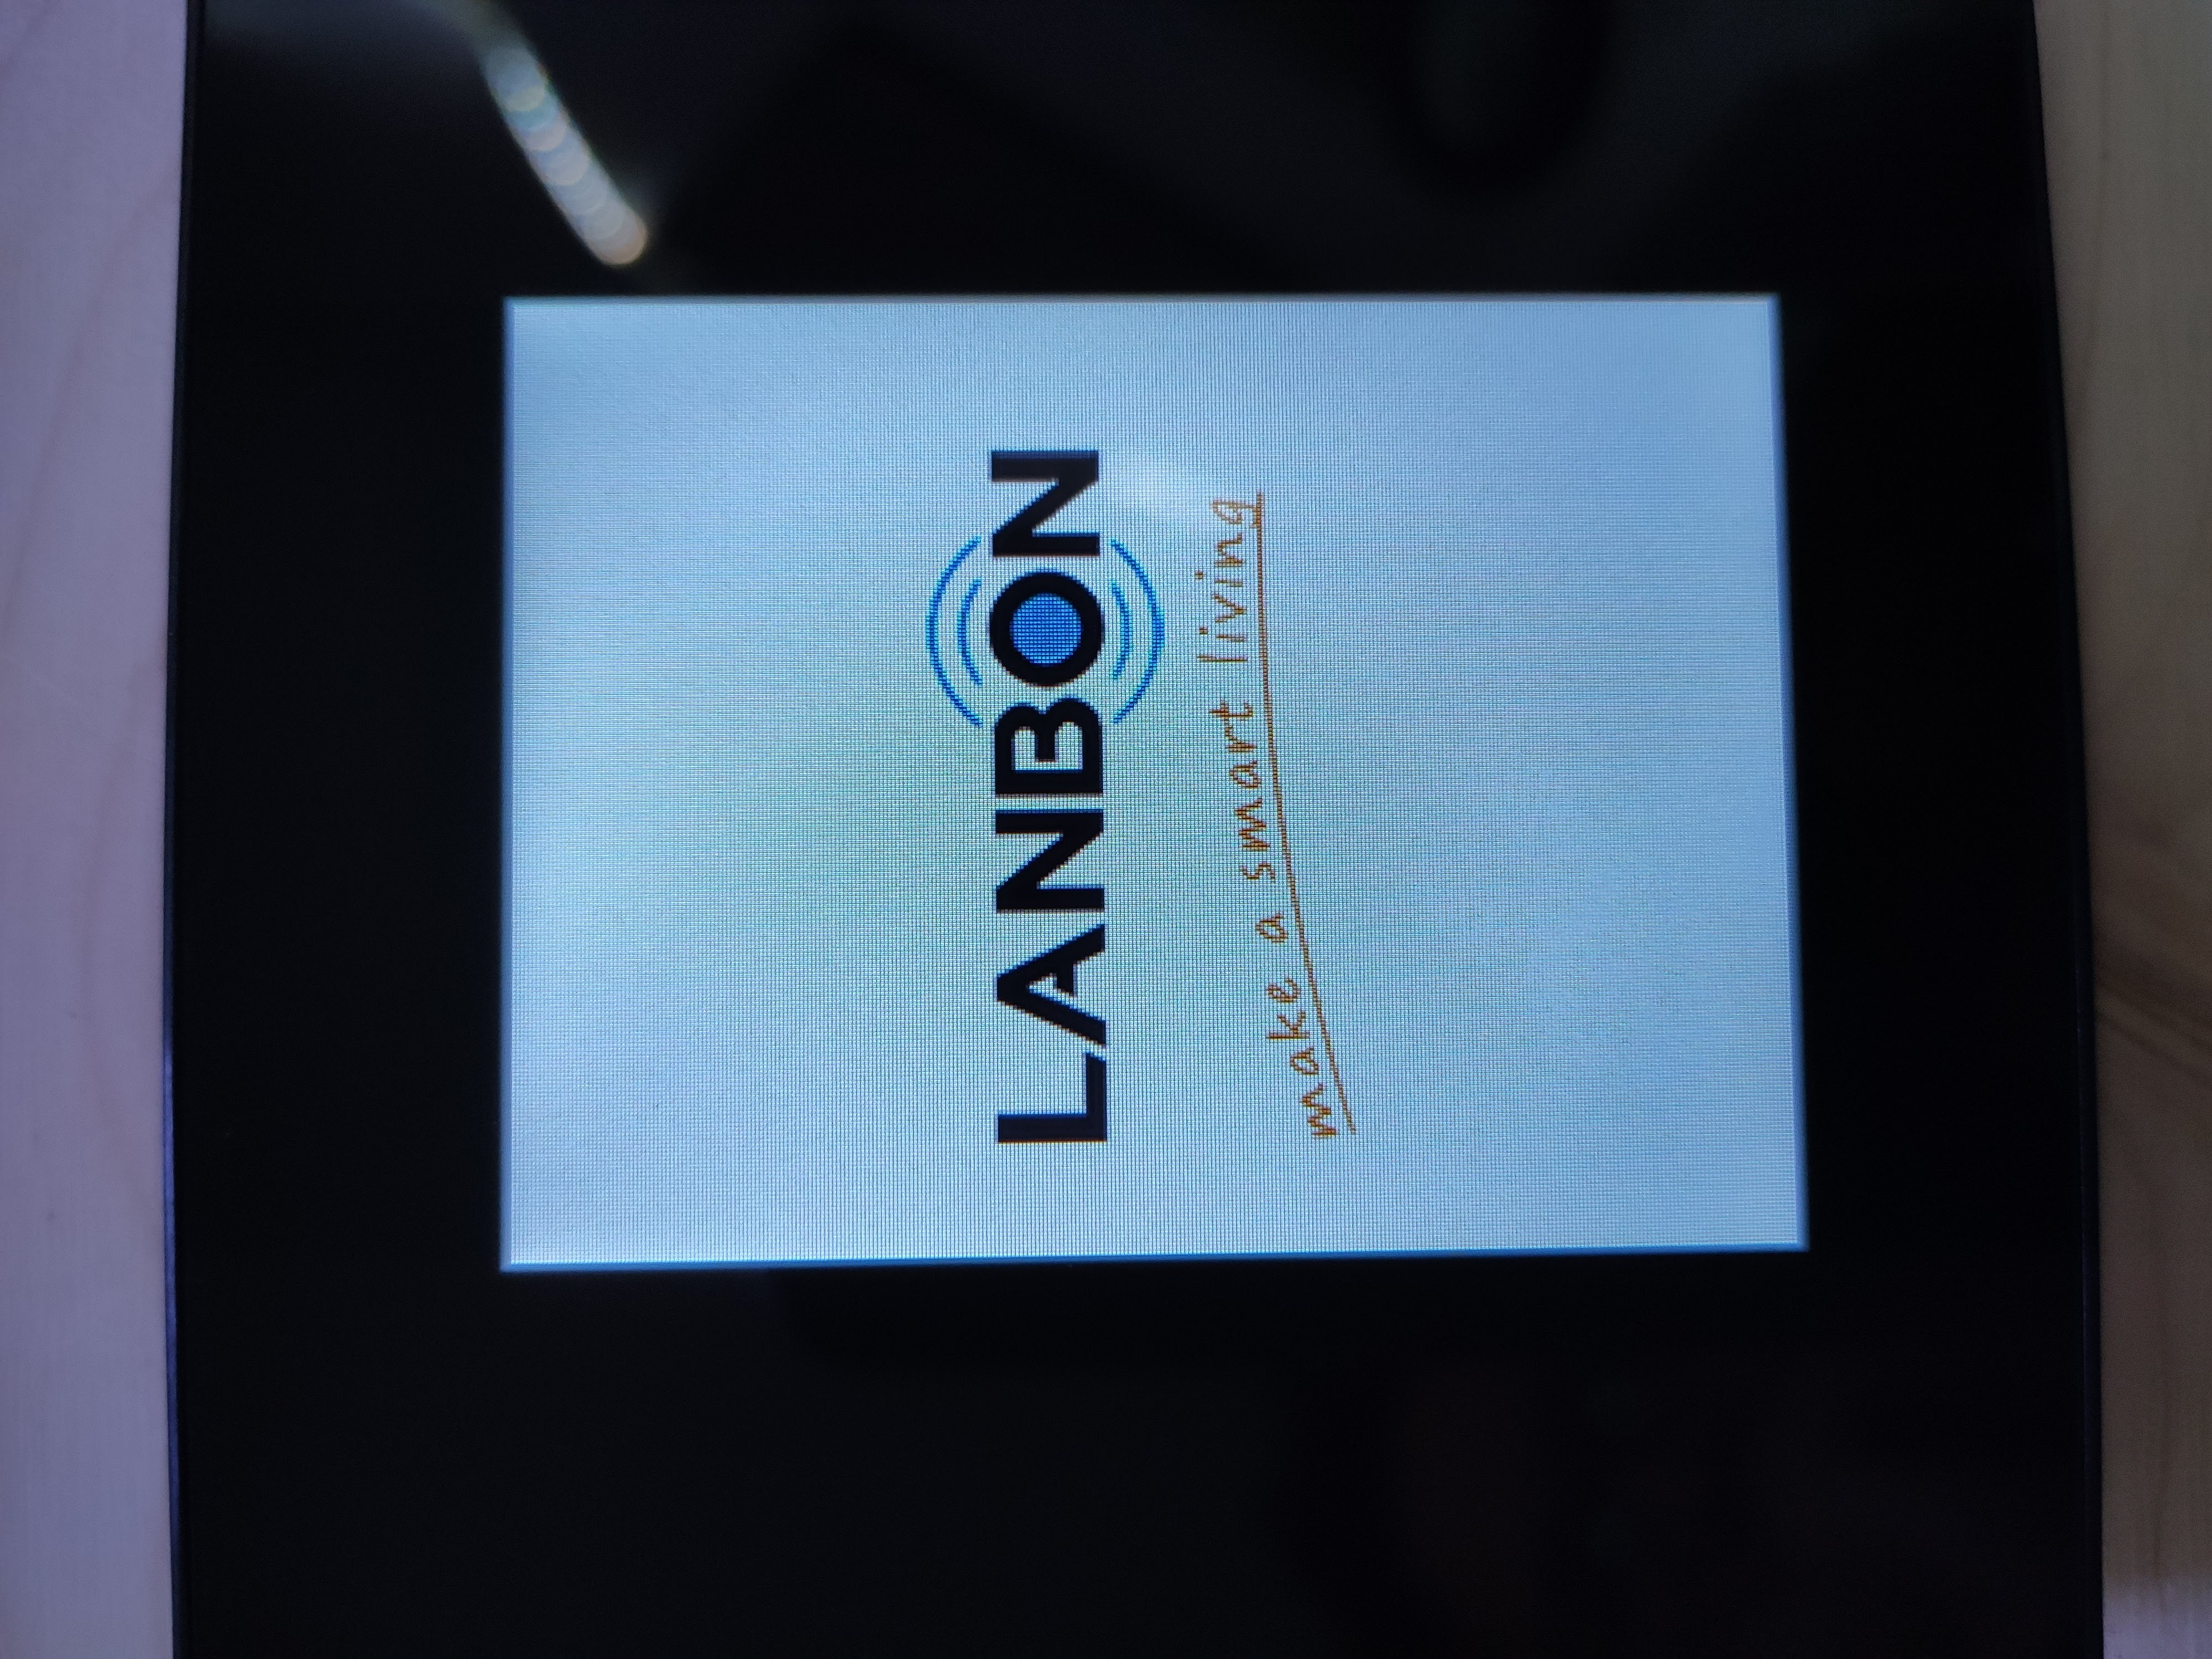
Everything needed for installation is neatly labelled and explained in the instruction booklet. I hooked it up in my testing board as a 3 gang switch and slid the front plate back on. After giving it power, the screen lit up and started booting with a Lanbon logo displayed. The thin white strips around the switch also lit up, seems they are some sort of status RGB LEDs and they color cycle while booting.
After a few seconds I was greeted with a changelog for the firmware version I received (v1.0.28). First one listed is “Homeassistant supported”. I wonder what they mean by that…
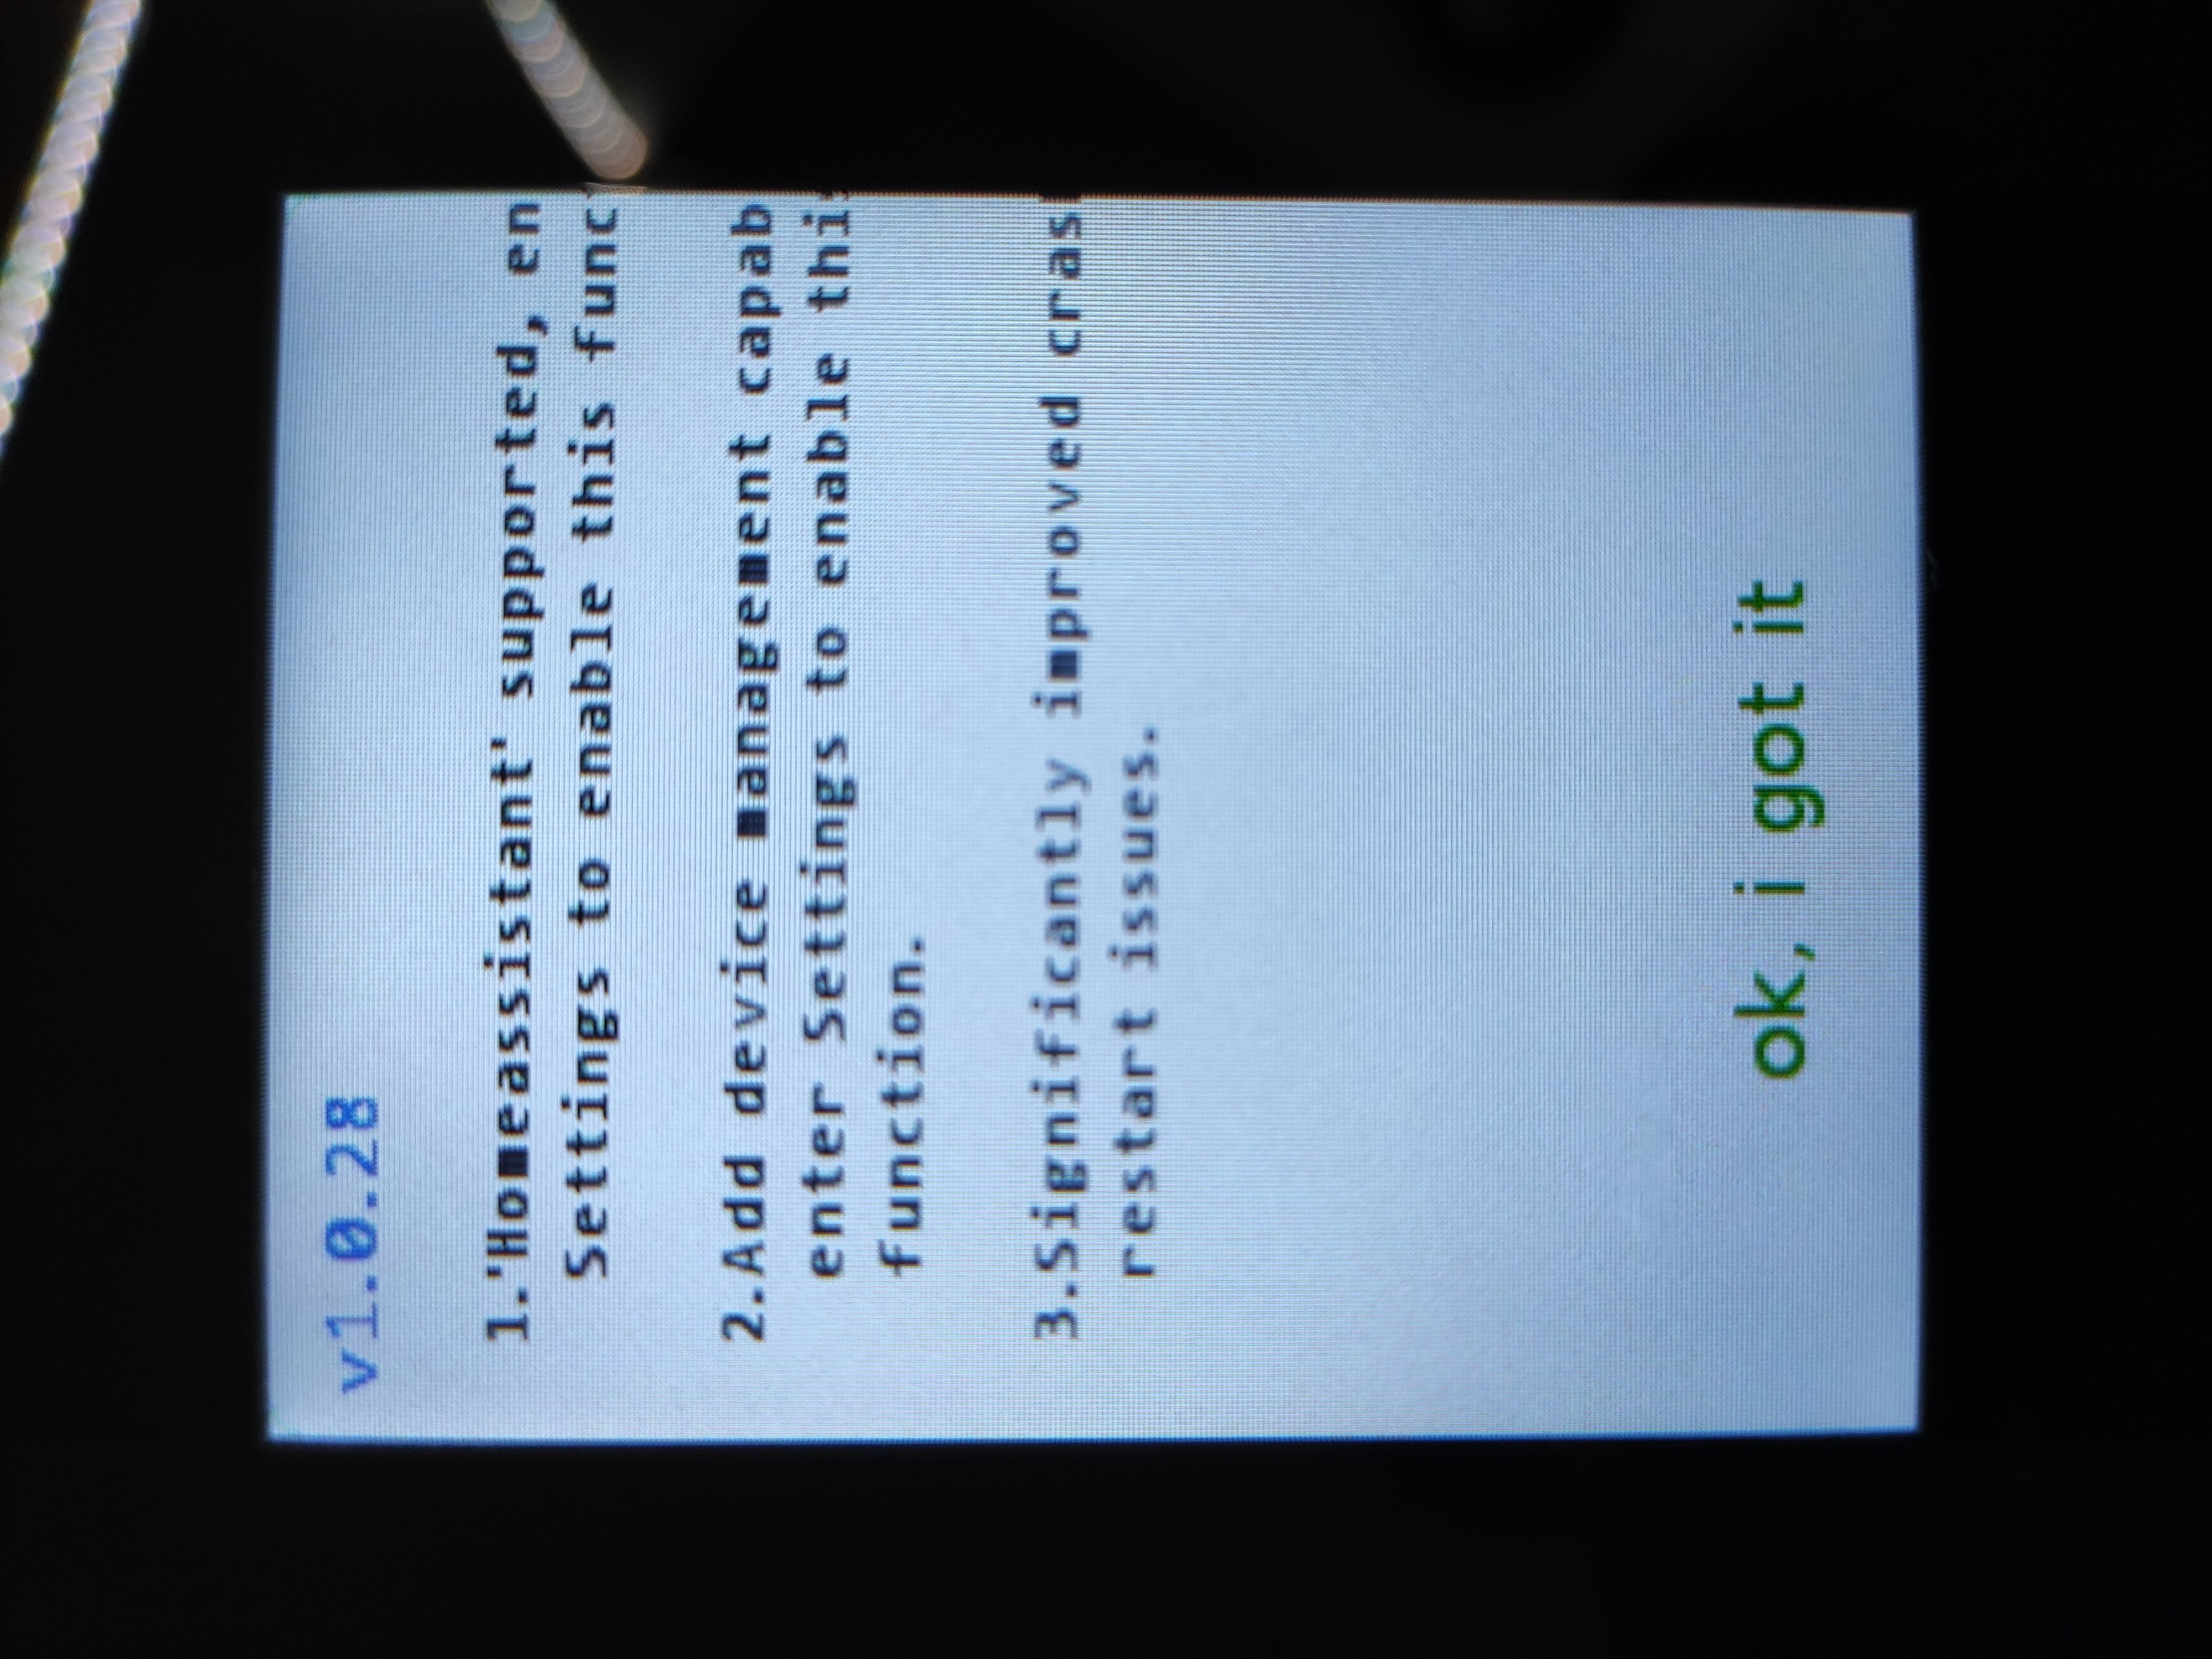
After clicking on “ok, i got it” the main screen appeared:

Switching worked out of the box but the Wi-Fi icon is red, which probably means I have to connect it to my Wi-Fi. Good ole instruction booklet tells me to long press on the Wi-Fi icon to get to the settings menu.
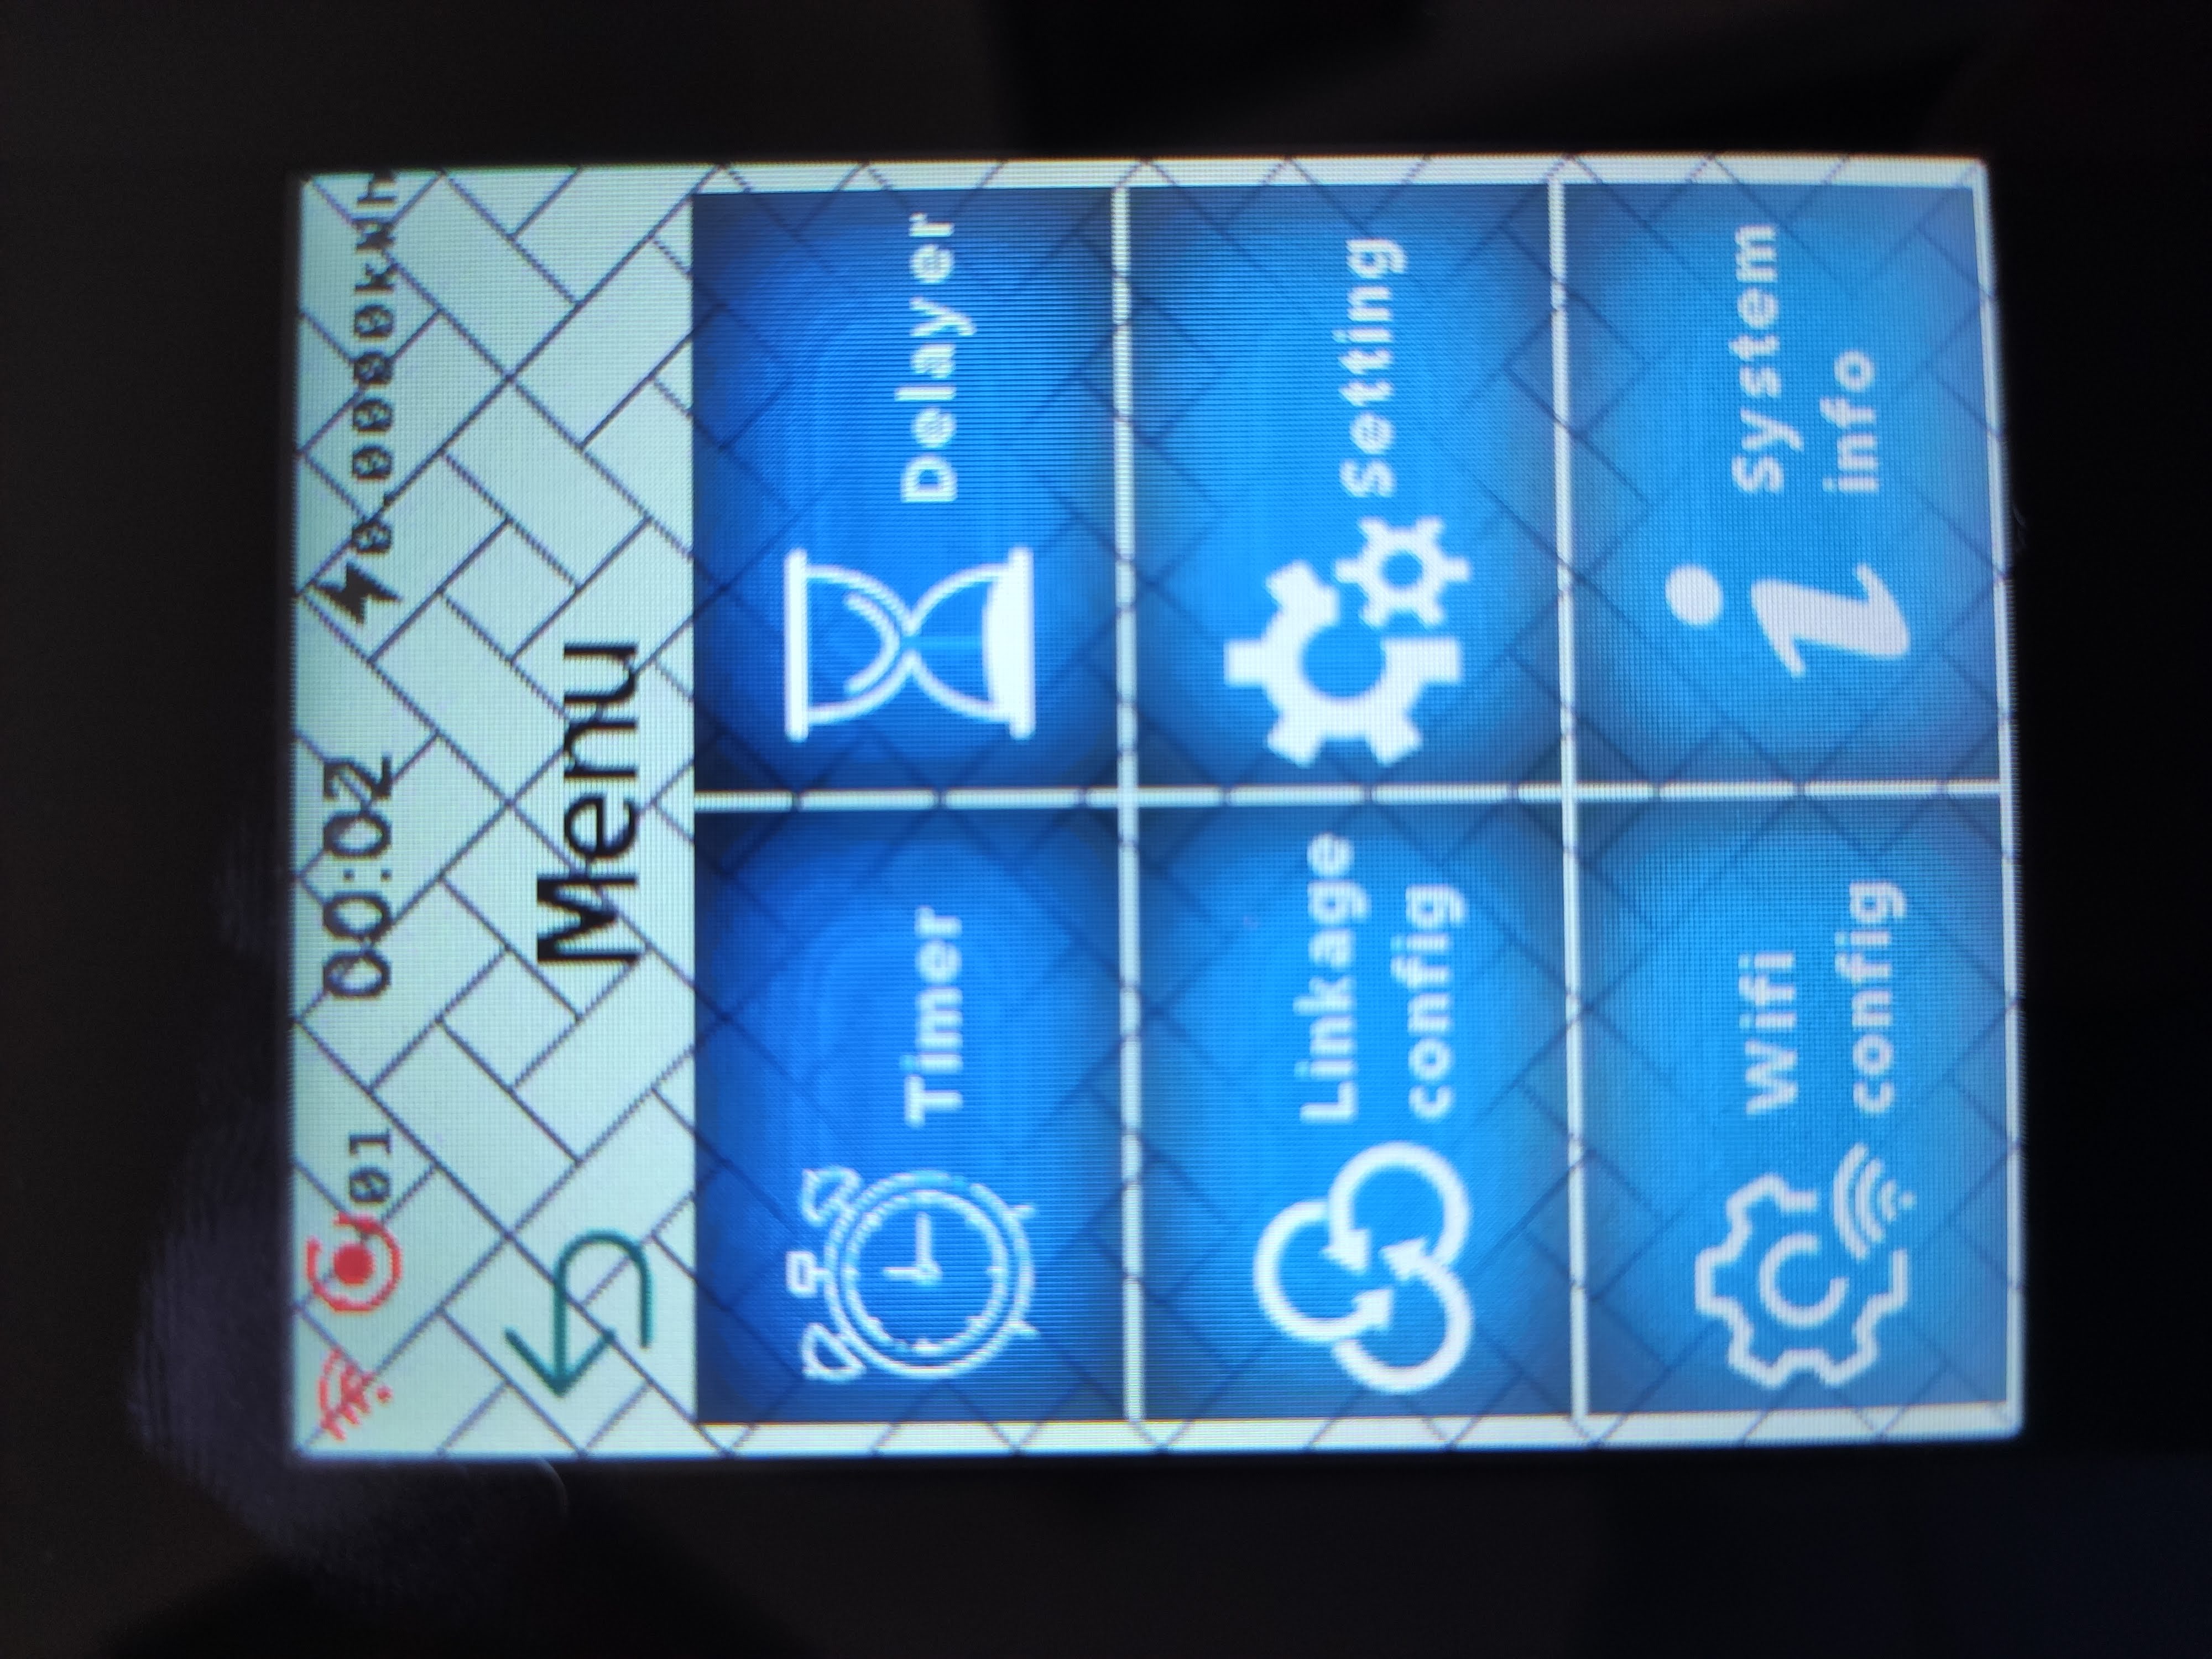
There are some interesting options but for now we’re only interested about “Wifi config”.
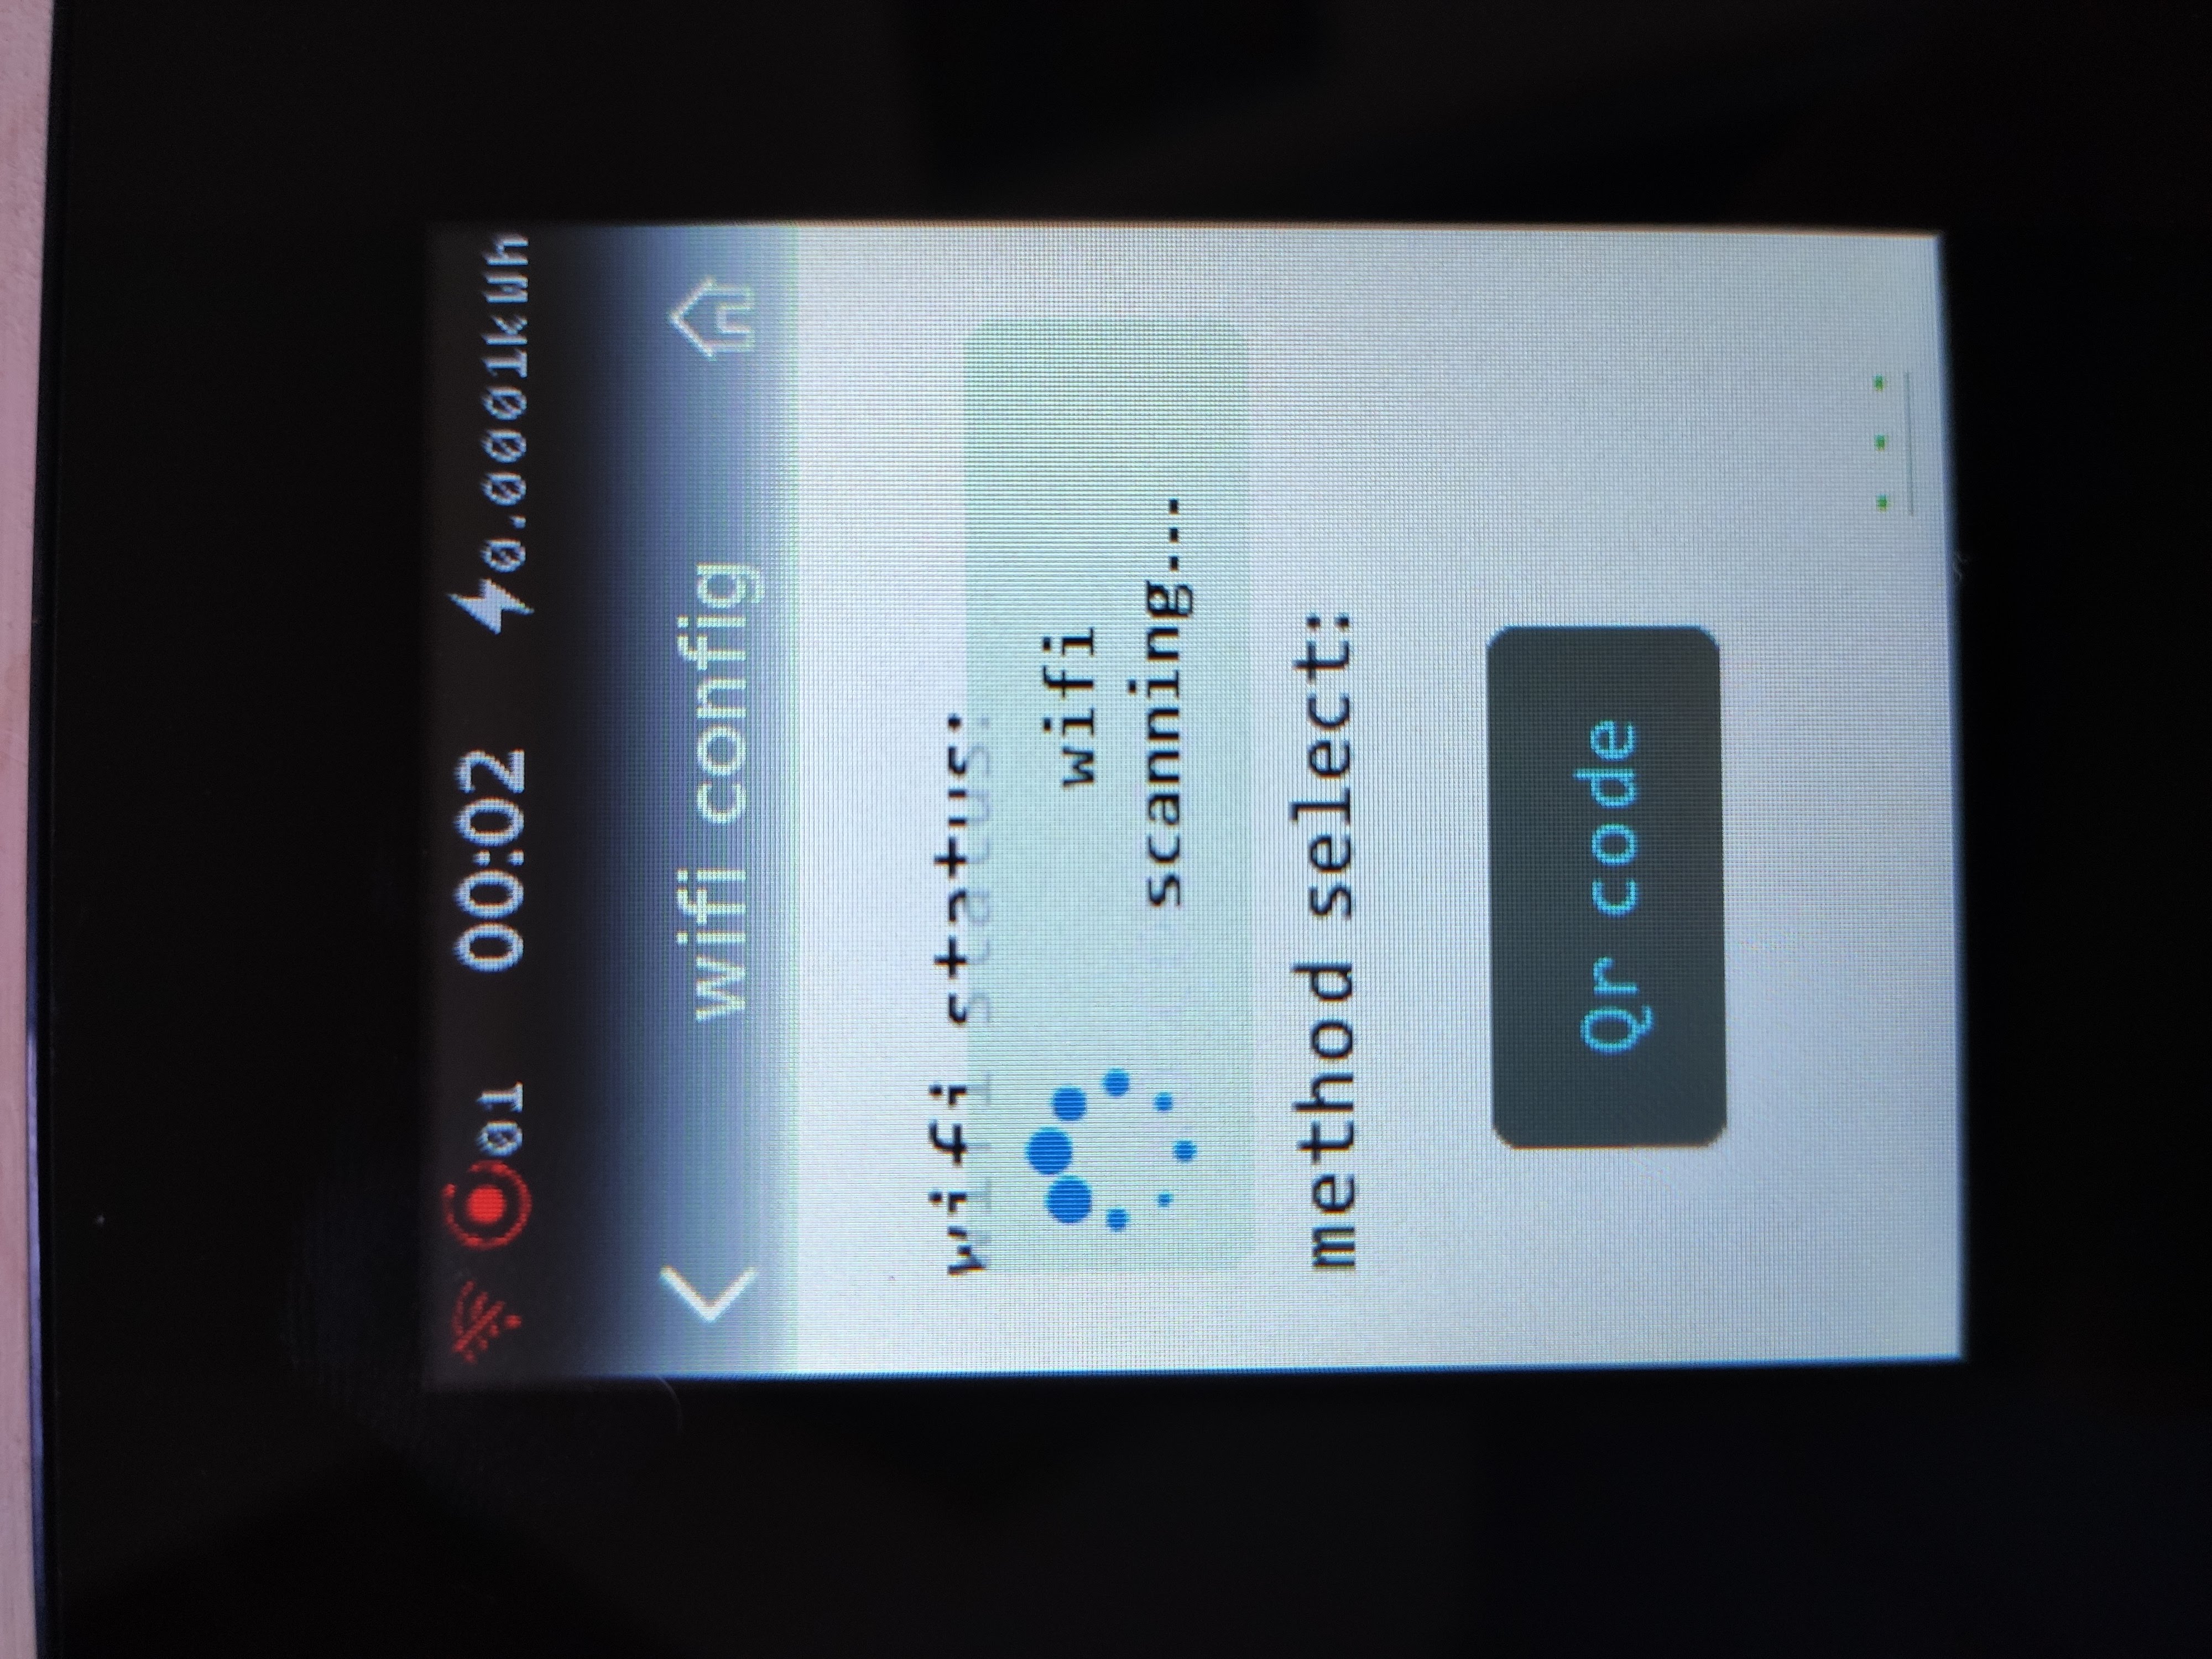
At this point, you could pull out your mobile phone, install the Lanbon app, scan the QR code displayed on the switch and pair it that way.
But there’s a different way, straight through the switch! There are three green dots at the bottom of the screen that are barely visible. Tapping there will start a Wi-Fi AP scan.
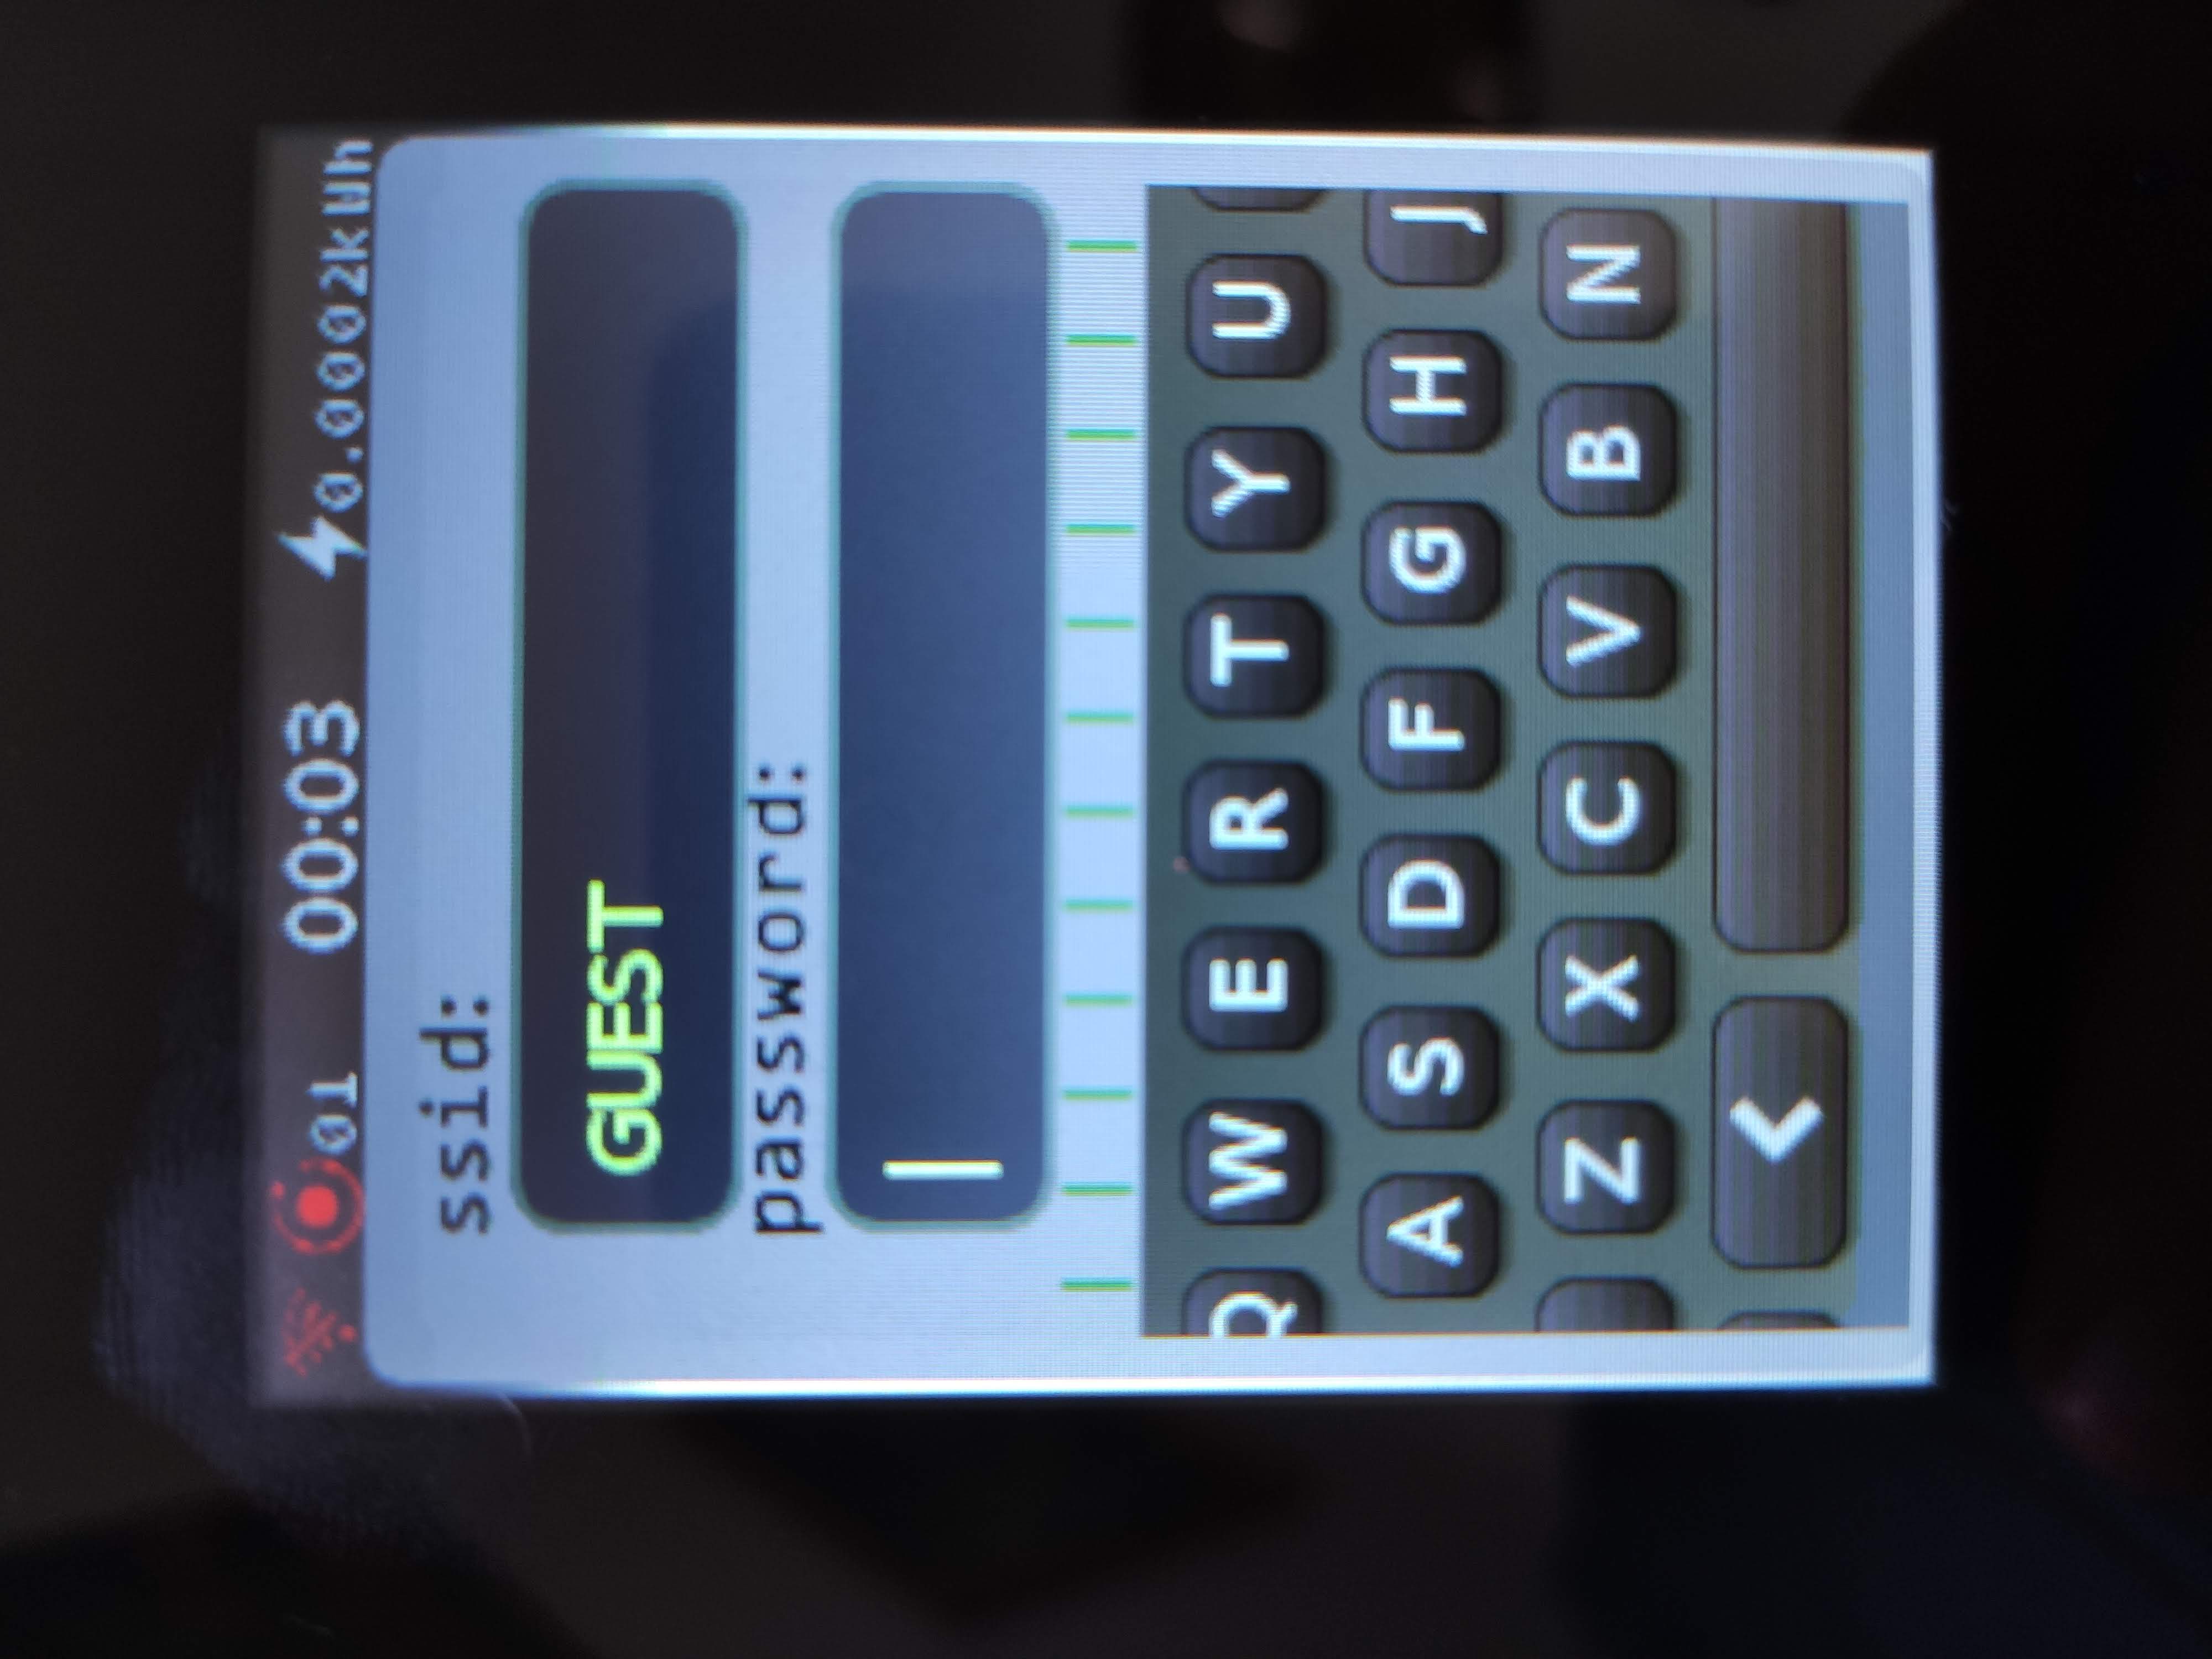
Click on your AP and enter the password using the full fledged on-screen keyboard. Entering the password isn’t that elegant since you need to scroll left and right on the keyboard but it works.
Main Screen
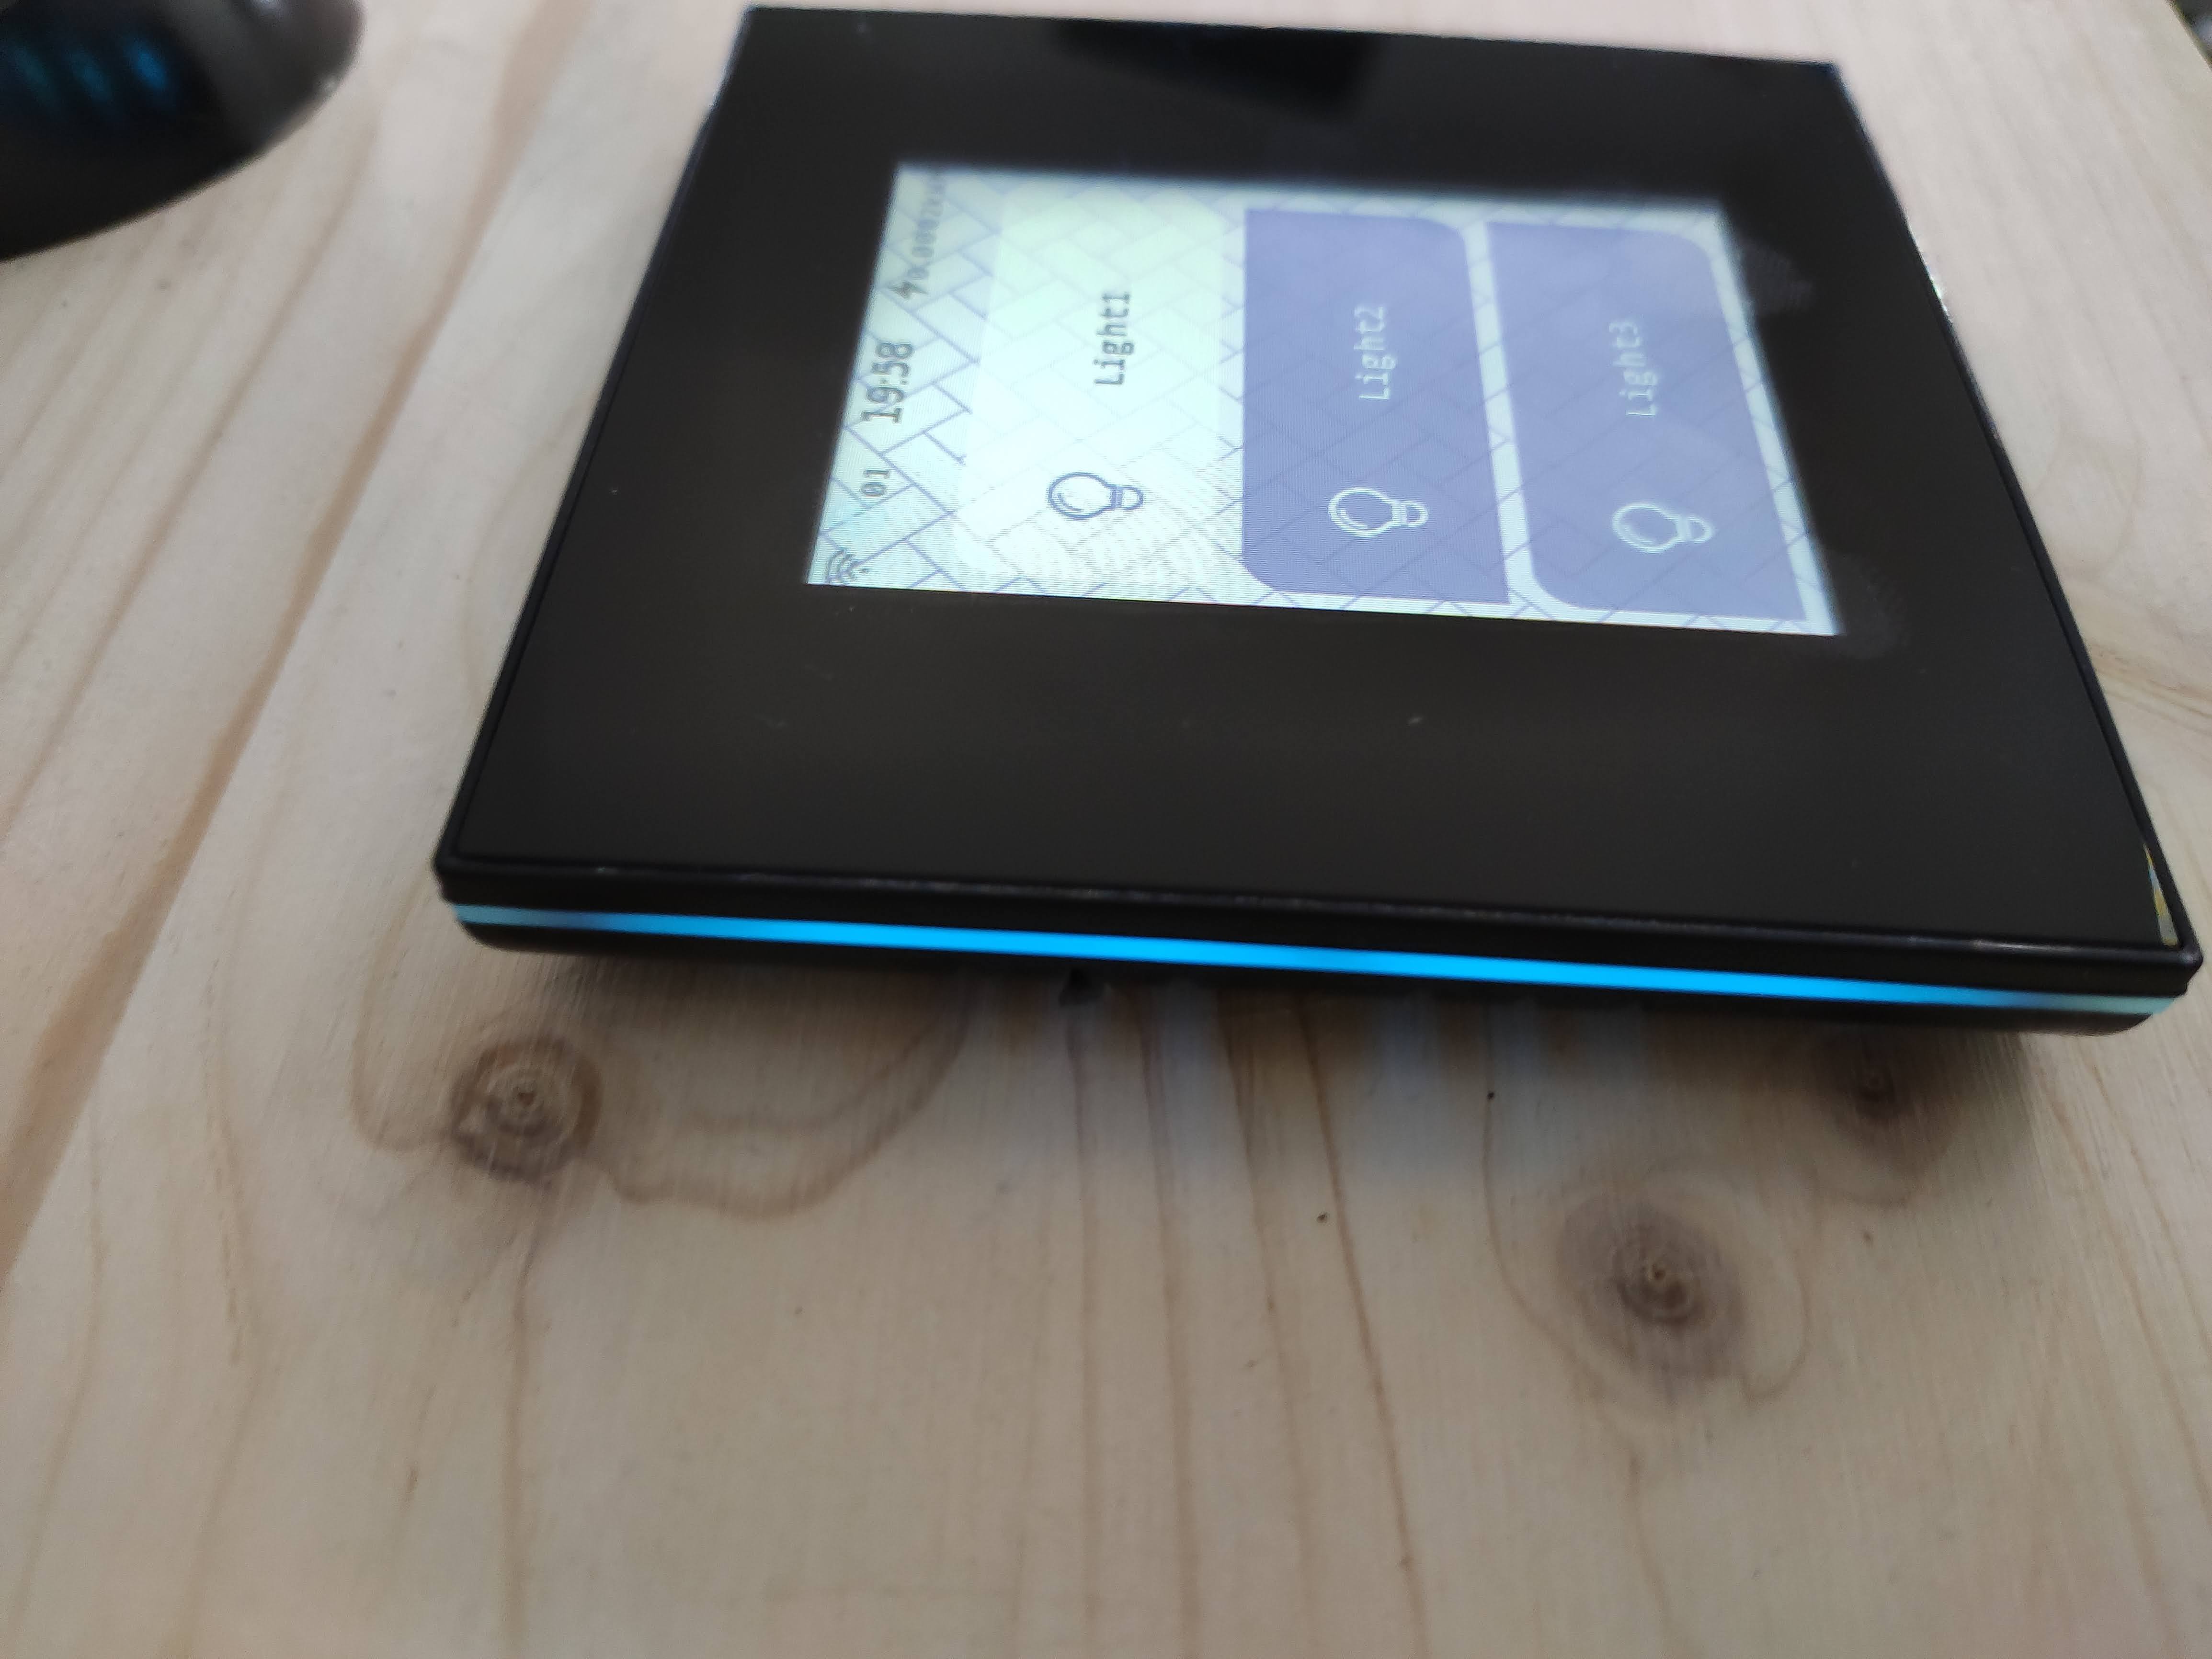
Main screen displays a certain number of buttons or the curtain switch screen, depending on the mode of the switch selected in settings.
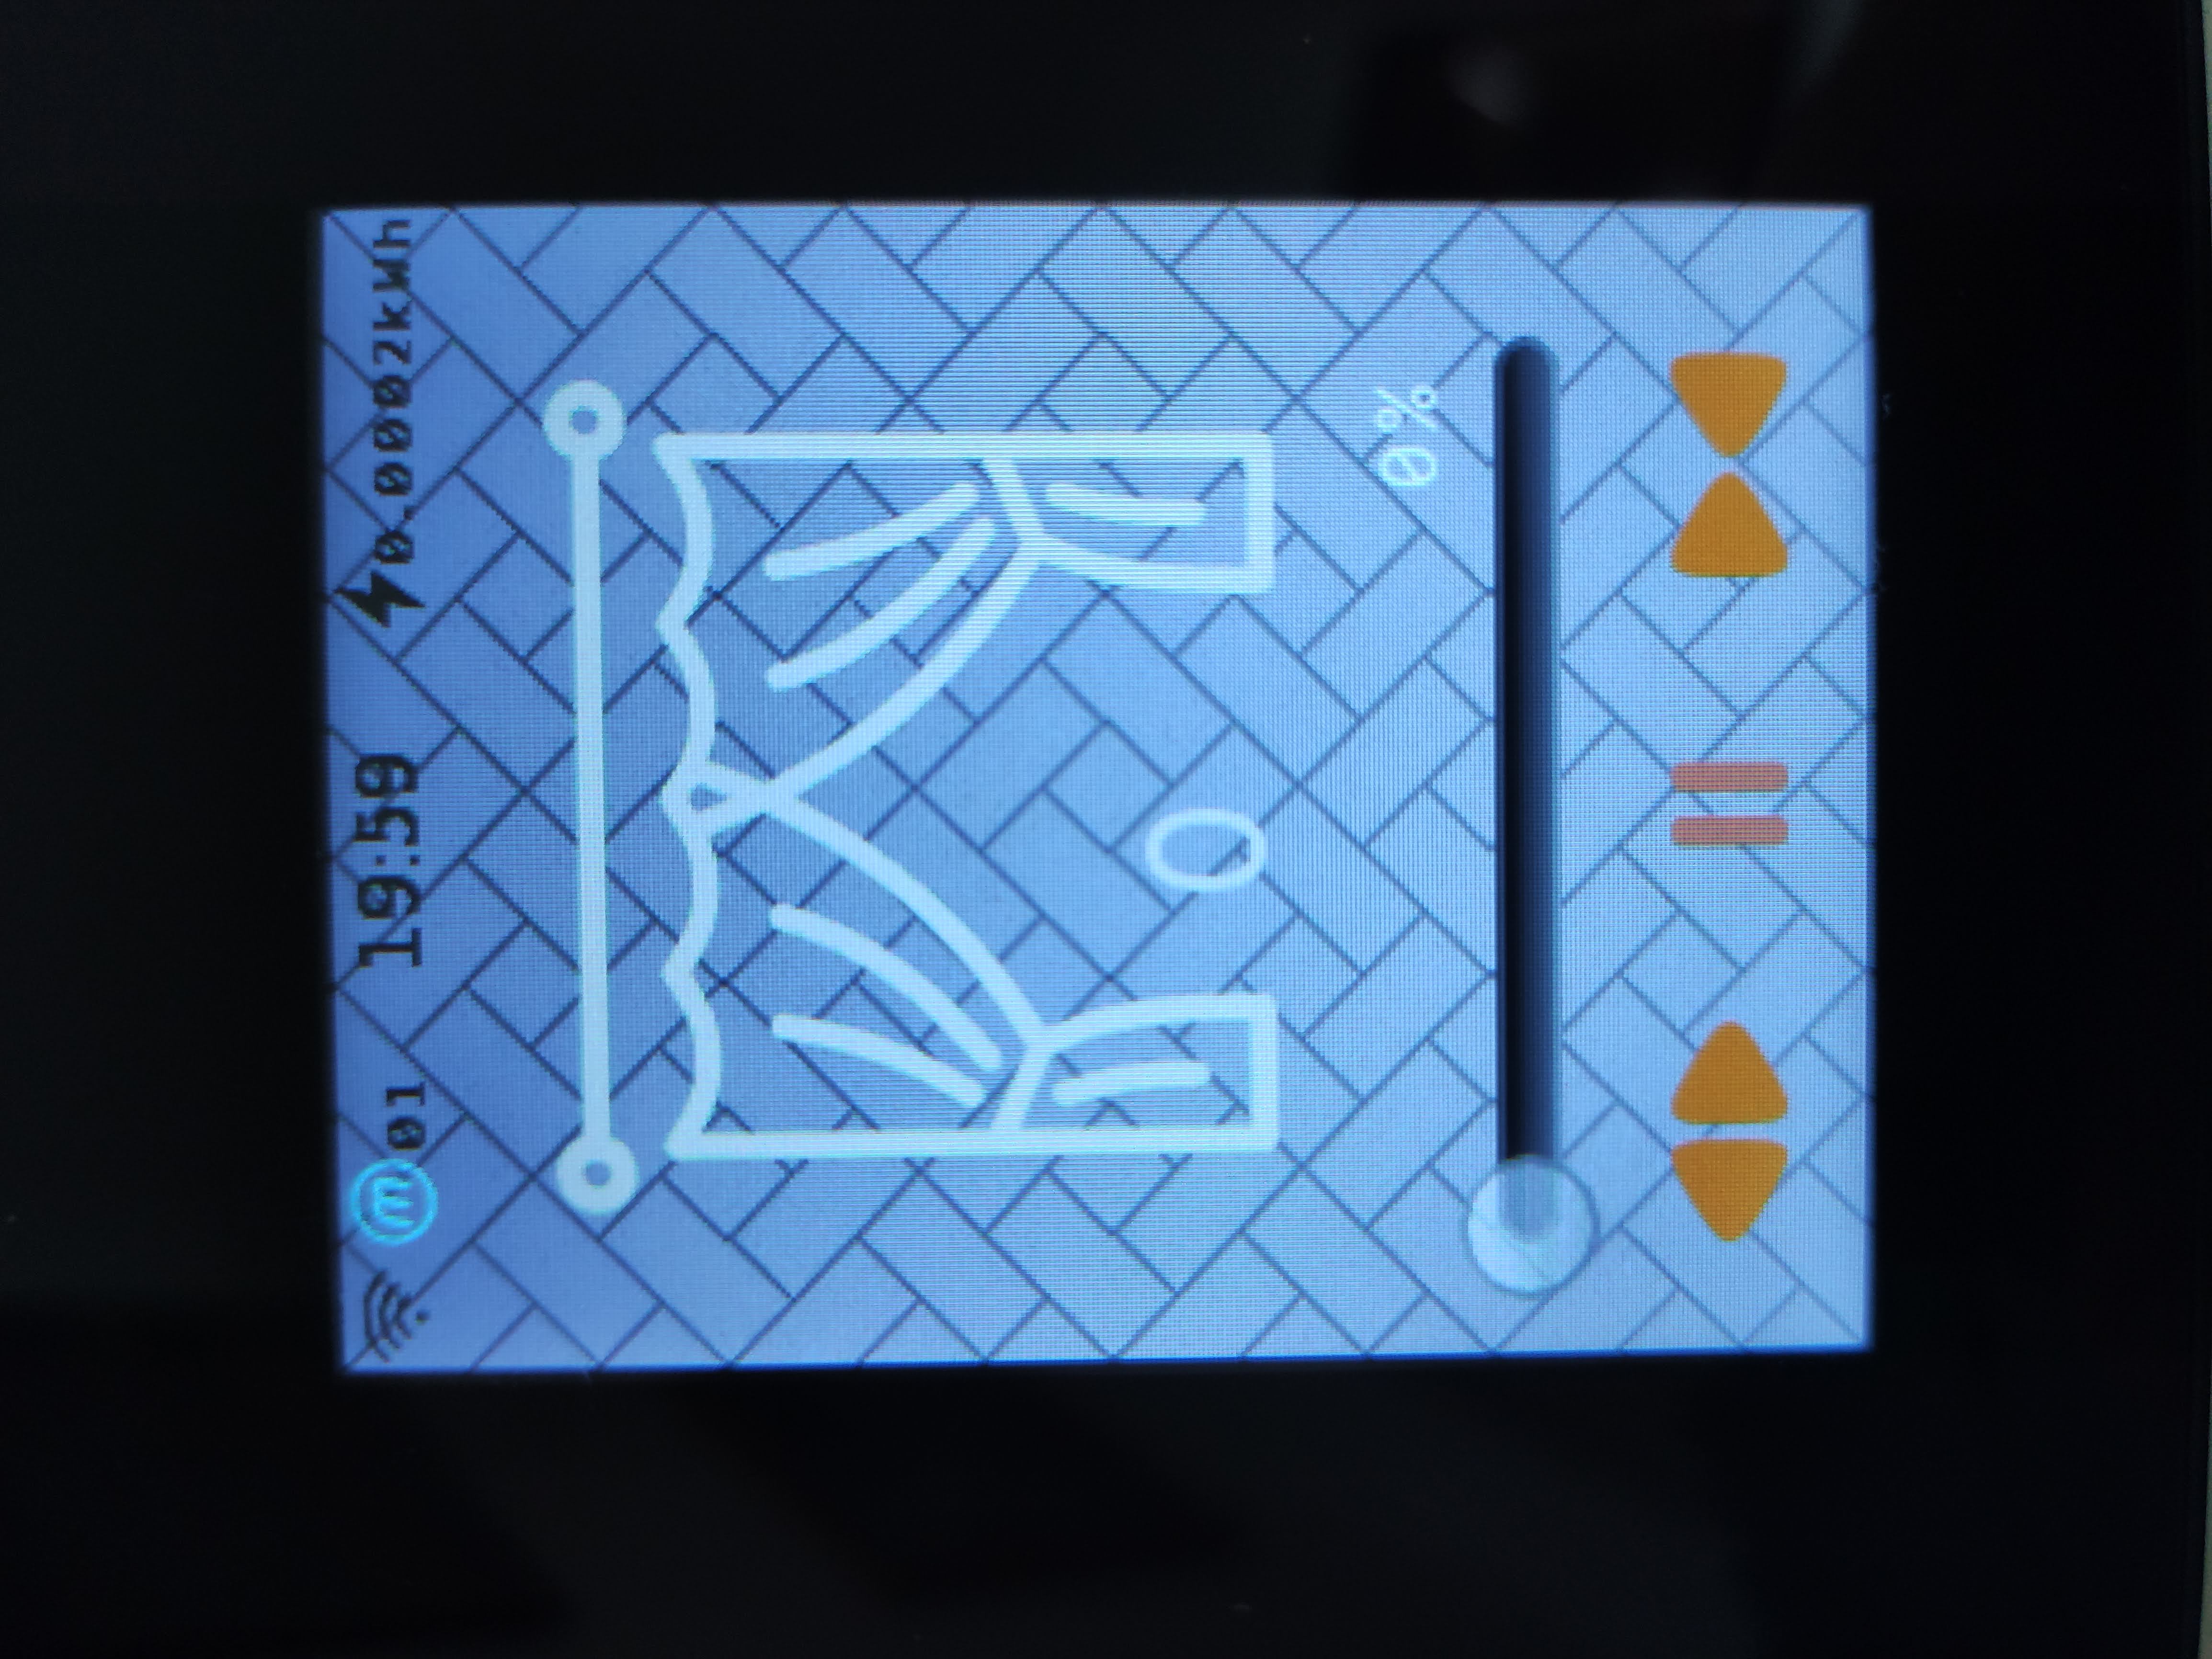
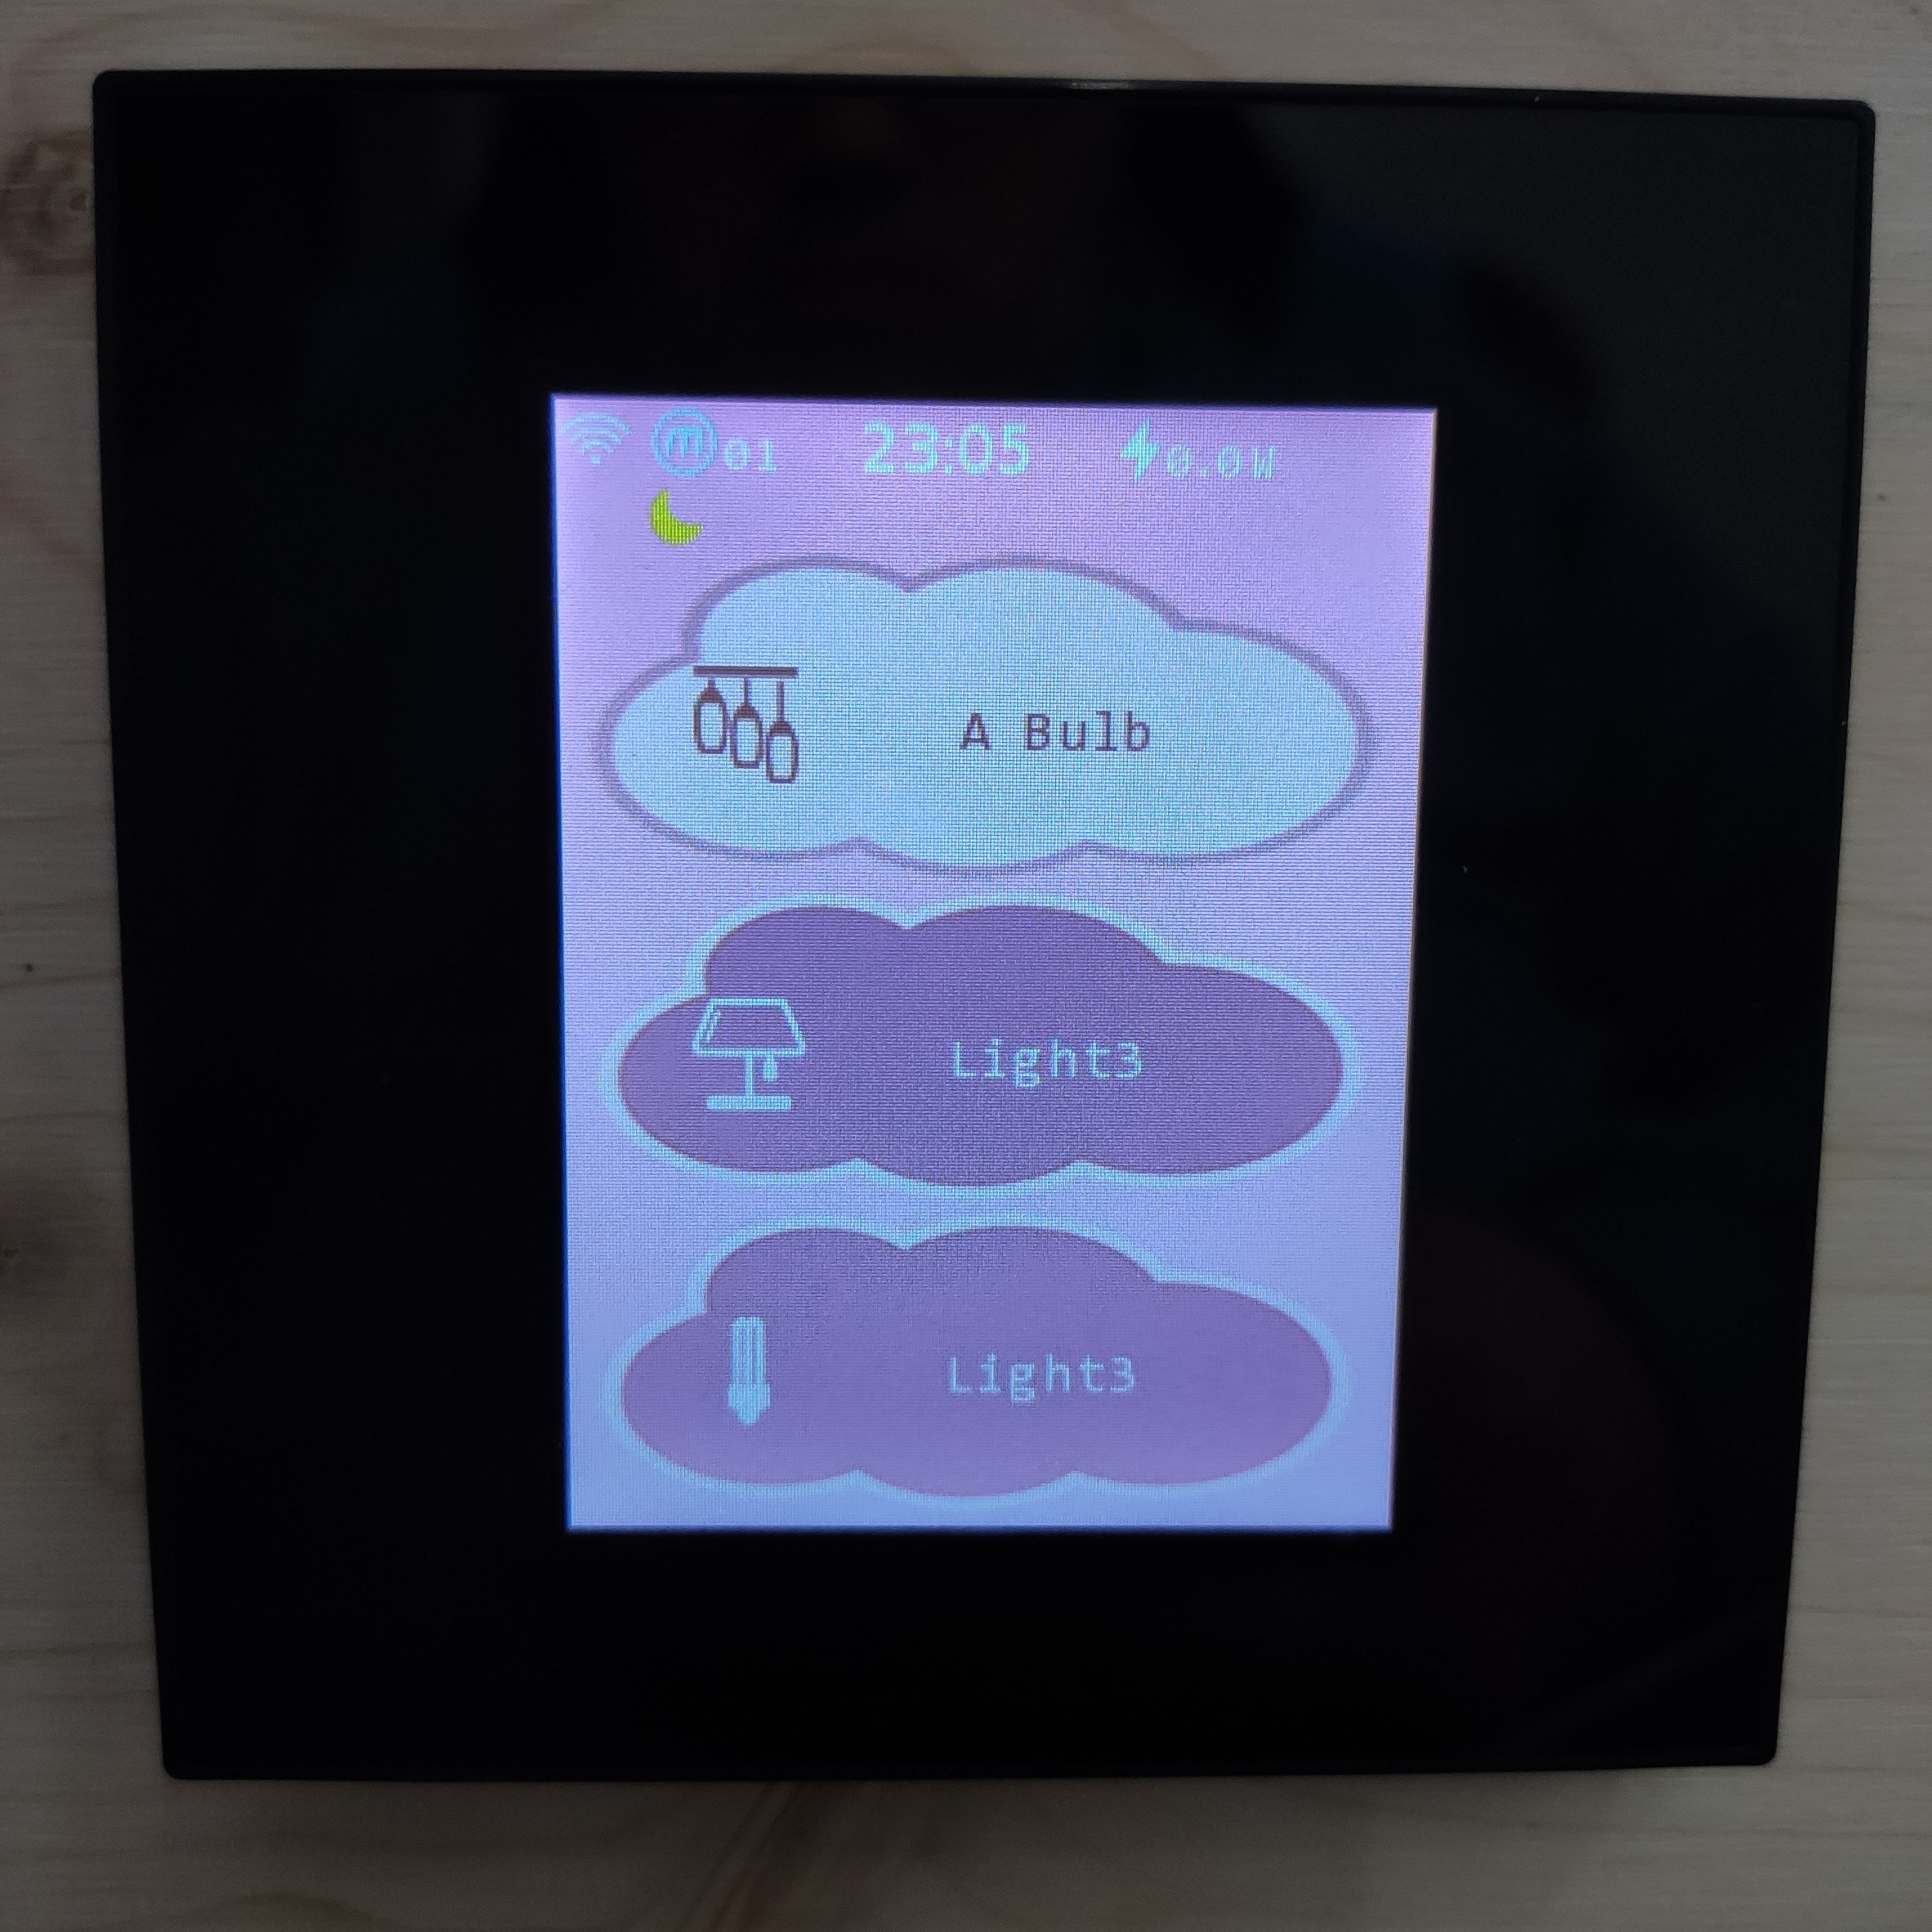
At the top of the screen is a status bar, similar to the one in our mobile phones. In the middle is a clock. To its right is the power monitoring data. On the left side is the Wi-Fi and mesh network status.
There are other icons that will be displayed here depending on features used, like the “Night Mode” or “Timer” icon.
Menu Screen
Timer
First in the Menu screen is Timer. It allows you to set timers to control the switch at exact time with or without repeat.
Delayer
Next to is “Delayer” which has two options. “Delay” is used to set a delayed action.
“Greenmode” automatically turns off the light after the configured interval. When “Greenmode” is active a green leaf icon is displayed in the status bar right of the clock.
Linkage config
This feature was not available to me but it is used to configure the mesh network between 2 or more Lanbon H8 switches.
Settings
Its time to explore that settings menu and see what this thing can do. Back to the Settings menu!
First of all you can change the way you’re using the switch between the 5 modes: 1 gang, 2 gang, 3 gang, curtain switch and scene switch.
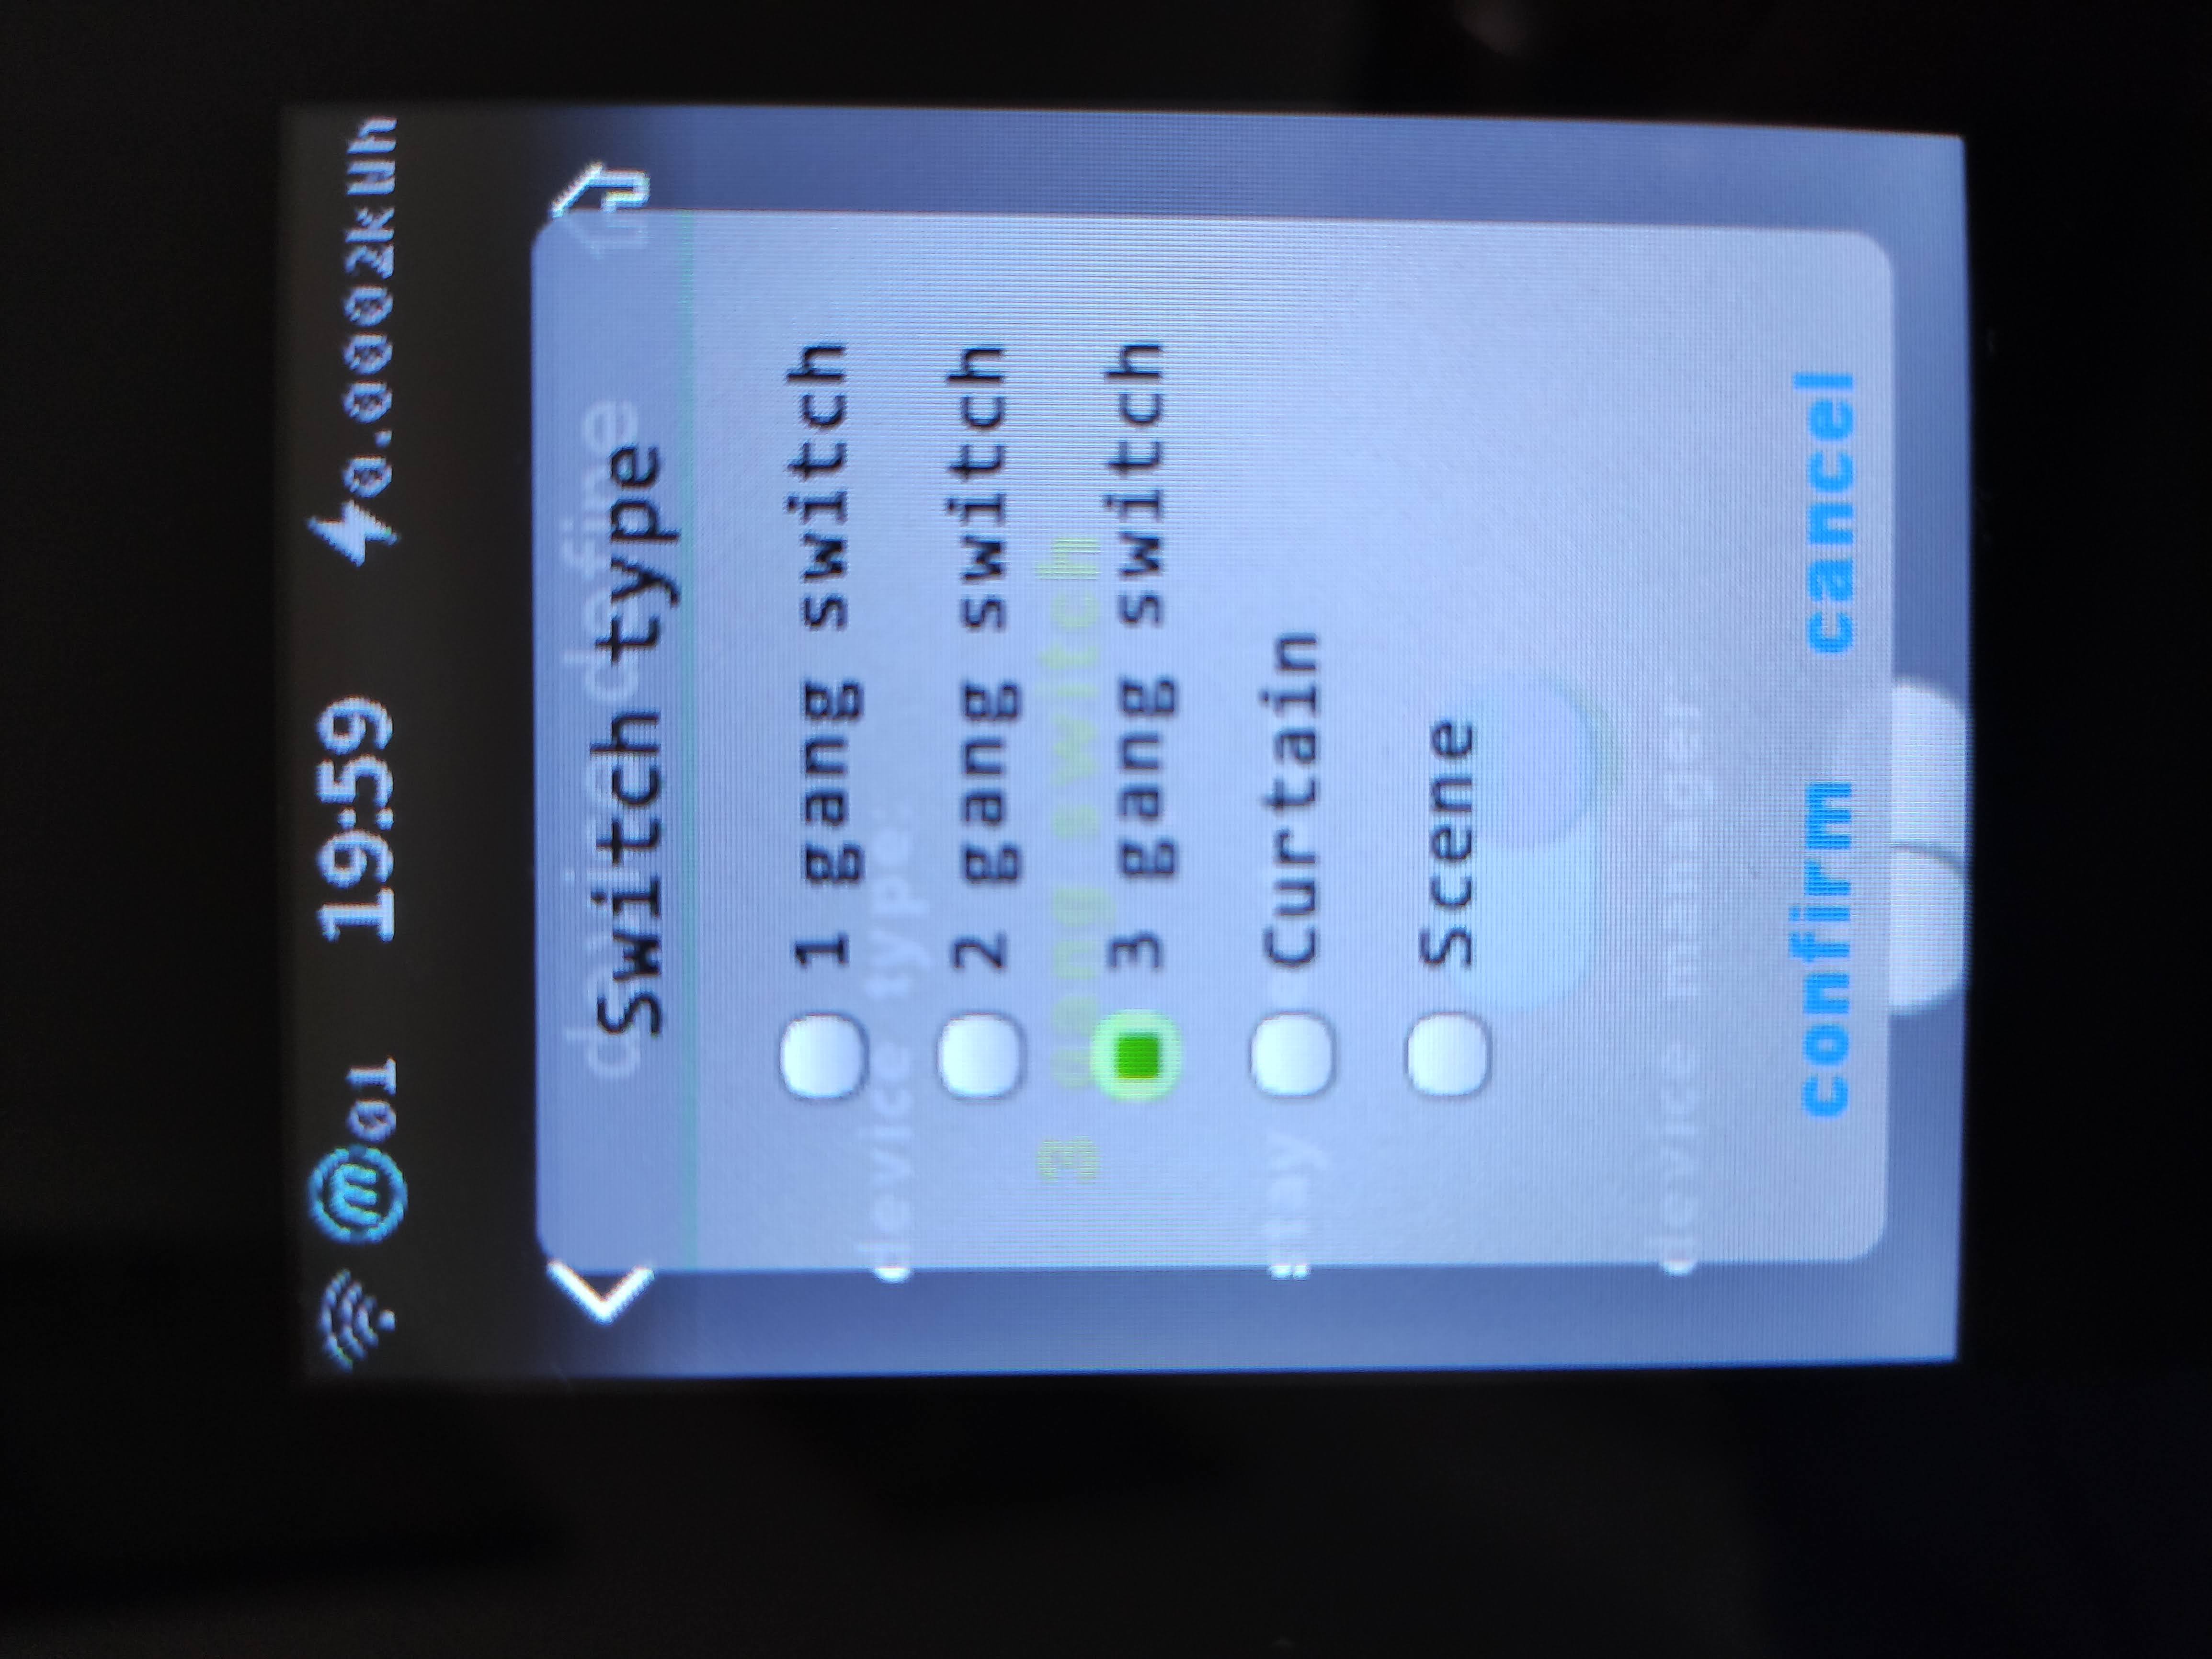
Main display changes appropriately depending on the mode selected.
Set background image and choose between 3 switch themes. Granted, the alternatives are quite horrible compared to the default one.
You can set screen brightness and screen timeout time. Turn on Home Assistant support. Calibrate temperature offset. Choose between power consumption or current power used displayed on the main screen. You can also flip the display to landscape orientation. Of course, there’s the obligatory Factory reset.
And then there’s something called “epidemic report:”. After turning it on I can select a country. And with this I got a display of COVID stats for my country when the switch goes to sleep mode. Got to have a good reminder of how bleak the times are, just before turning on the light.
Wi-Fi config
We’ve been here already! Once Wi-Fi is configured you also get an option to reset Wi-Fi config.
System Info
Displays various system information including system time, current firmware version, power monitoring stats, memory, network info, device temperature and more.

App Features
While the switch has quite a rich settings menu, not all features are available for setup. For that you will have to install the Lanbon SmartLiving app and register an account.
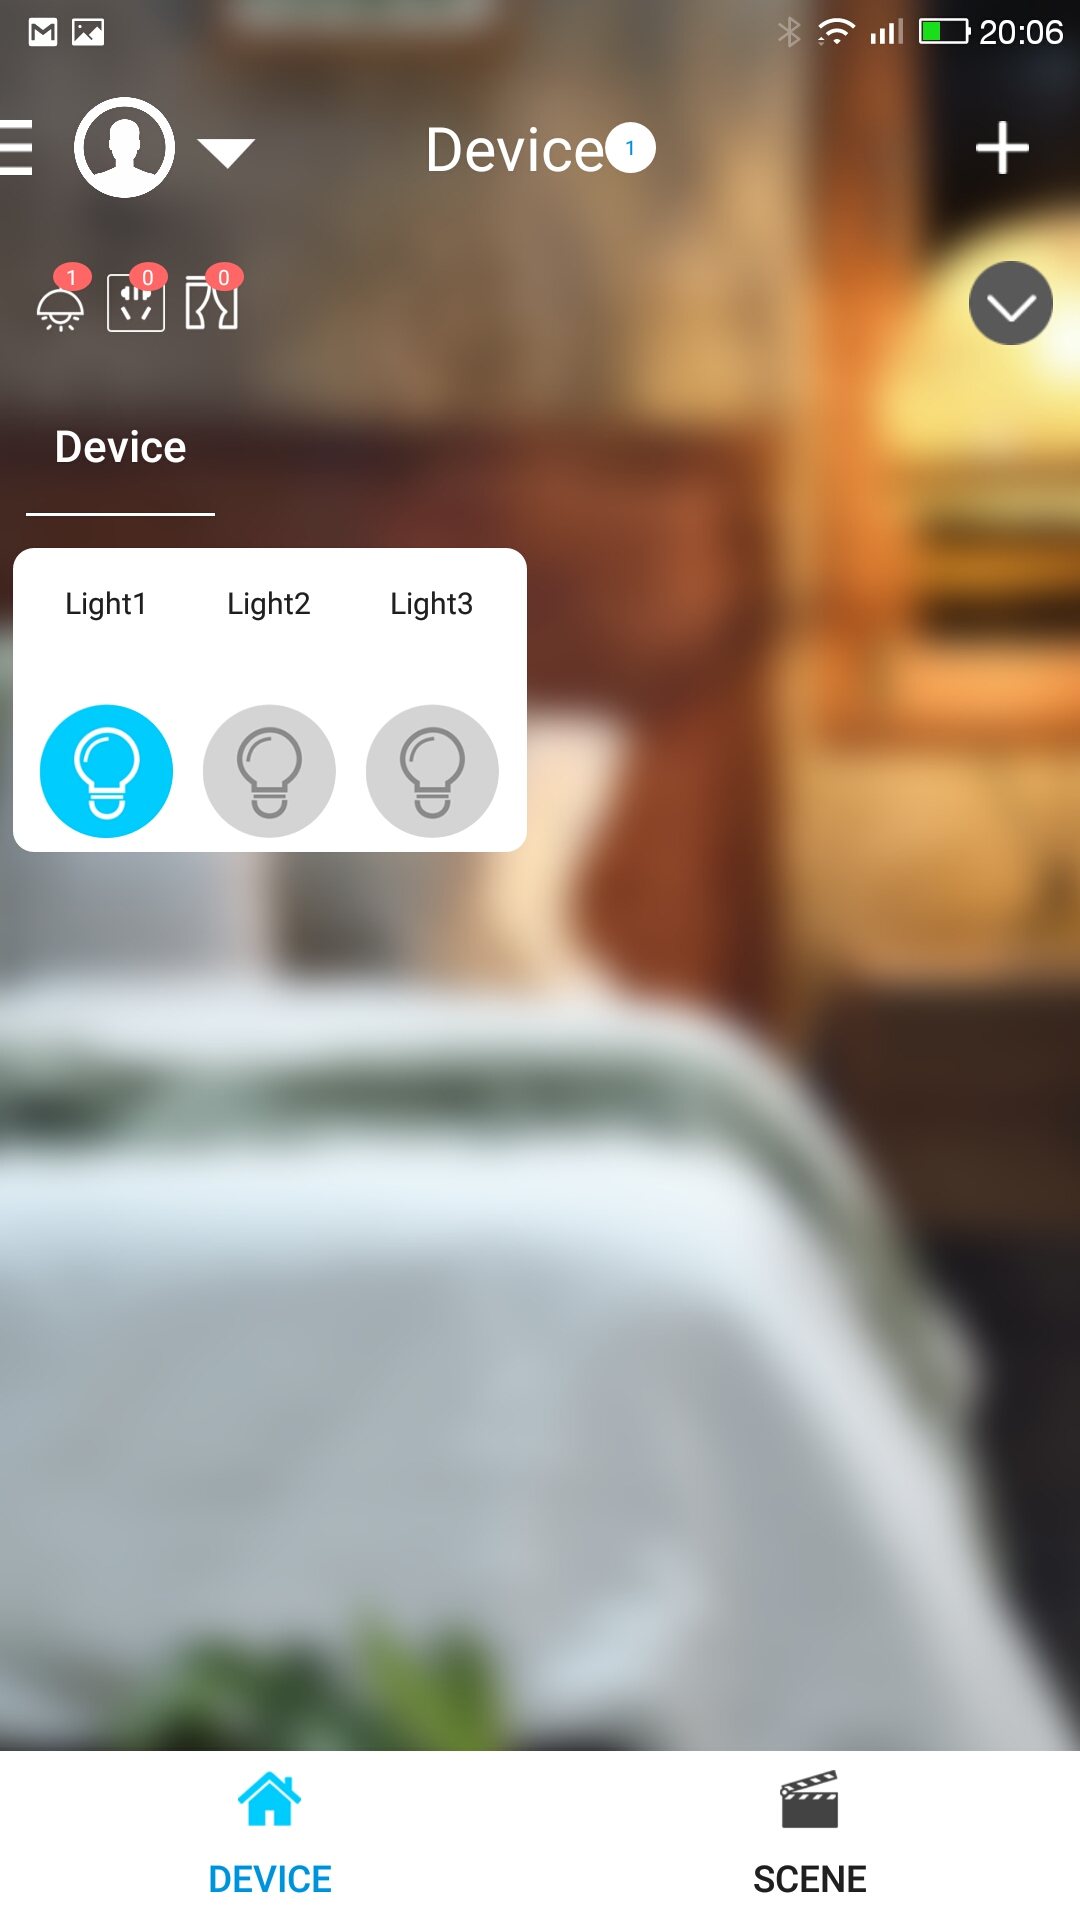
App has a standard interface, nothing groundbreaking.
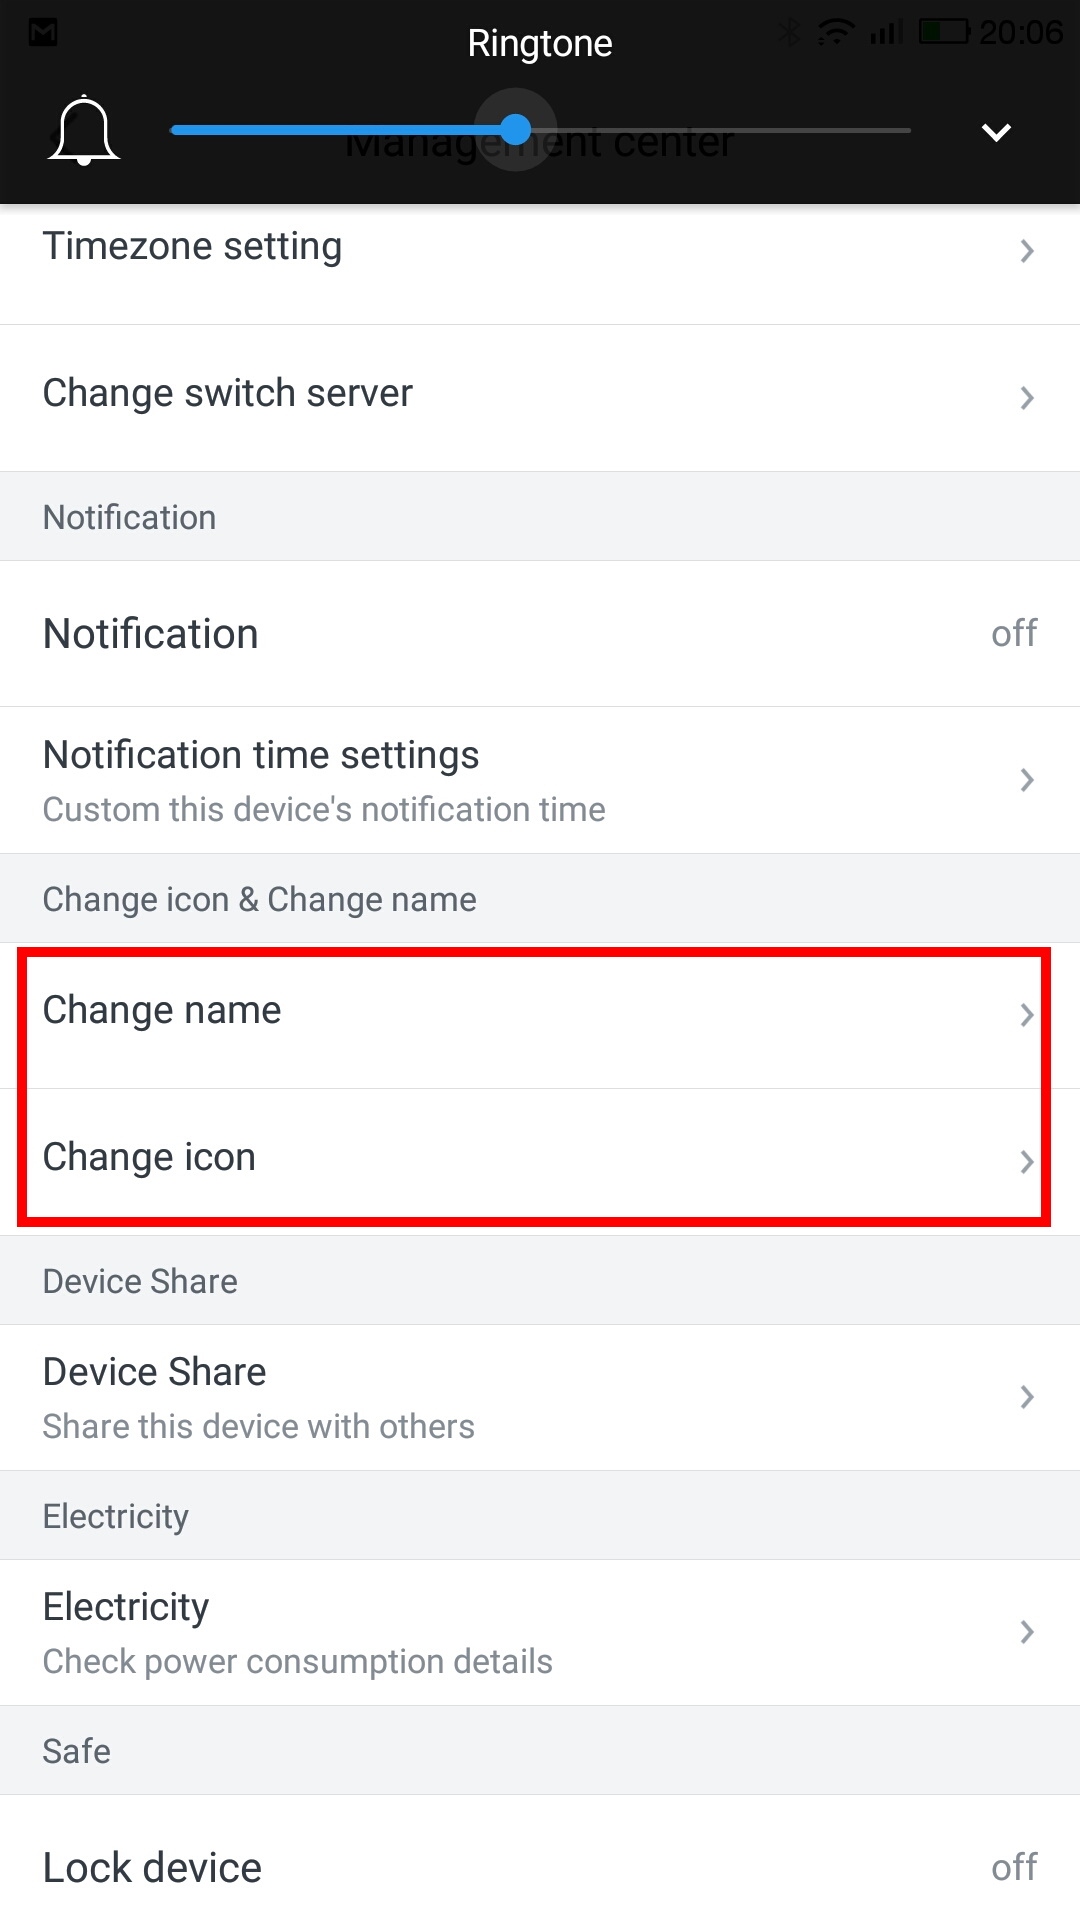
The most interesting feature: change the switch label and icon is only settable in the app.
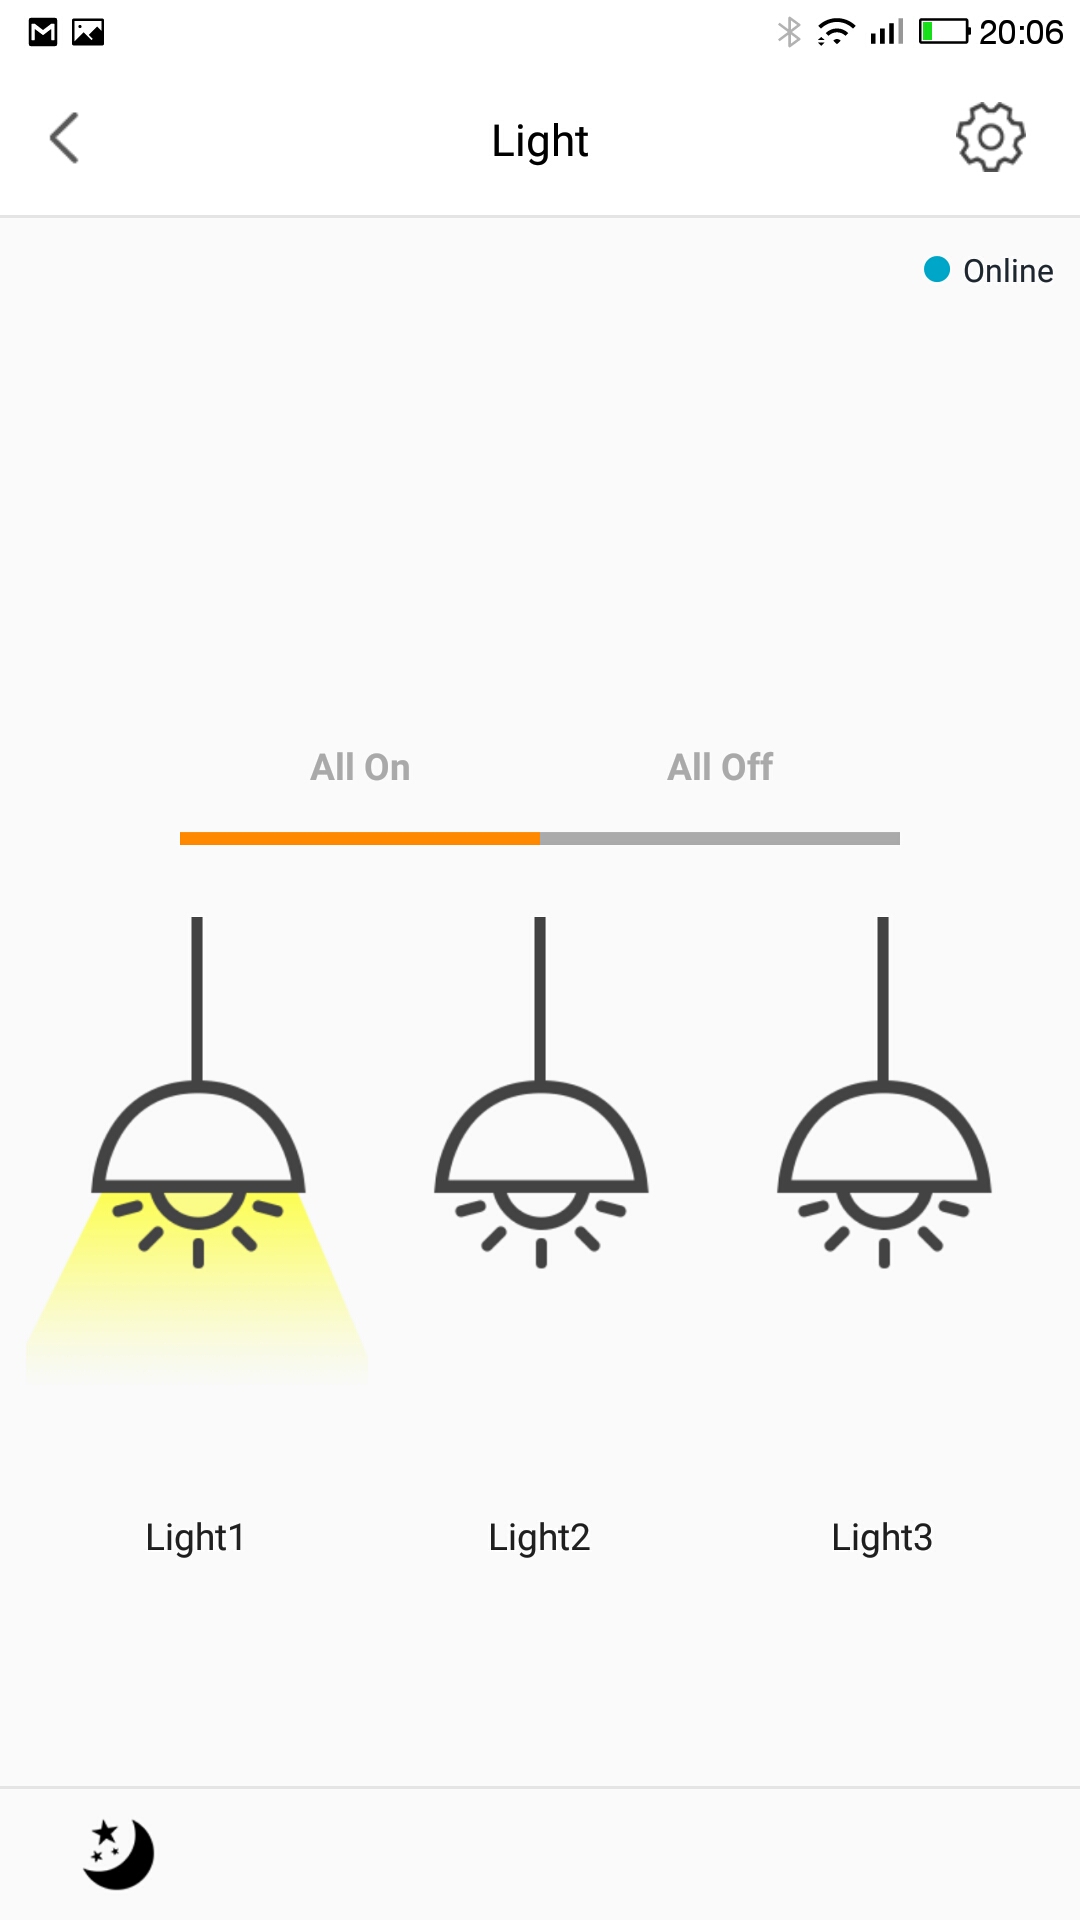
Like in switch settings you can also set Timers, Delay, switch theme and style.
In the Change icon menu there’s an option to choose a local image or take a photo to, presumably, use as the icon for that switch. Sadly my version of the app simply crashes when I try to do that.
Another important setting is the Change server where you set your Home assistant server.
Home Assistant support
Ah, yes. One of the surprising features of this device. If you think it’s easy to get it into Home Assistant, guess what… It is not!
First you need to enable Home Assistant support in the app setting settings. Lanbon gives you two configuration options:
Option 1
Add Lanbon’s MQTT server into Home Assistant’s MQTT integration?!?!! Dahell!!!
To be clear, they want you to allow access to your Home Assistant instance from a remote MQTT server. Huge PASS on that! Not even gonna tell you any details, just forget this option exists
Option 2
The less violating option. Open the App and go to Settings - Set Server and choose “Homeassistant Server”. Enter your local MQTT broker credentials there and the switch will inform you server settings have changes. You have to enable “Homeassistant support” in GUI settings so it starts broadcasting MQTT messages.
Now the switch is completely cut off from the cloud and communicates only locally. App will not work anymore until you disable Home Assistant support in the switch menu.
Lanbon claims the device will be autodiscovered but it is broadcasting the switch discovery message on the wrong topic. Lanbon assumes you will change discovery_prefix: in homeassistant but that is likely to break other MQTT discovery protocols, so the autodiscovery doesn’t exactly work. You need to configure the switch manually in .yaml.
Here’s the official guide for each switch type.
The implementation is very basic. There is no availability topic or switch updates after a reboot so the state will not always be synced and you will not know if it goes offline or disconnects from the MQTT server.
Firmware Upgrade
There is no option to upgrade the firmware directly from the switch when a new version is released. Instead of that simple procedure you have to email the support staff with a request to allow you an upgrade. Once they get your switch information from the QR code they allow an upgrade and a new option appears in the settings menu for a limited time. If you wish to upgrade again you have to go through the entire process again.
Aside from this unnecessary complication there’s no way to know if there’s a new firmware released. I guess you can e-mail them once a month or, better, once a week and check ;)
Once I went through the arduous process I received v1.0.37 which is quite a big jump in numbers. It’s nice to know they’re actively working on the firmware.
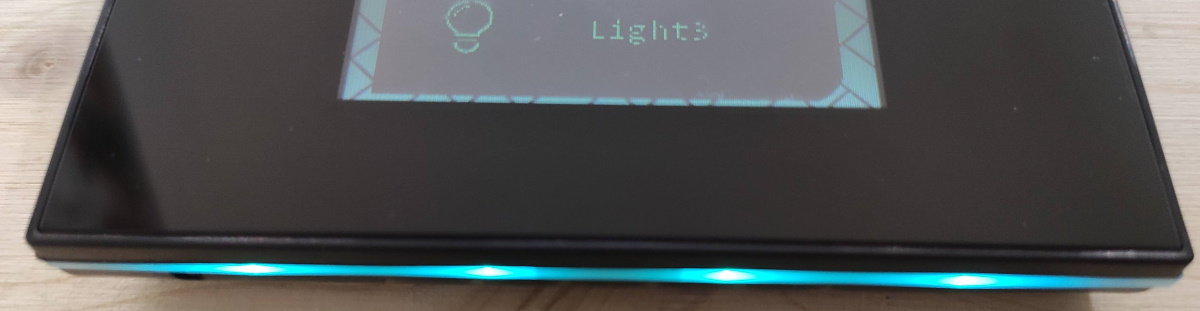
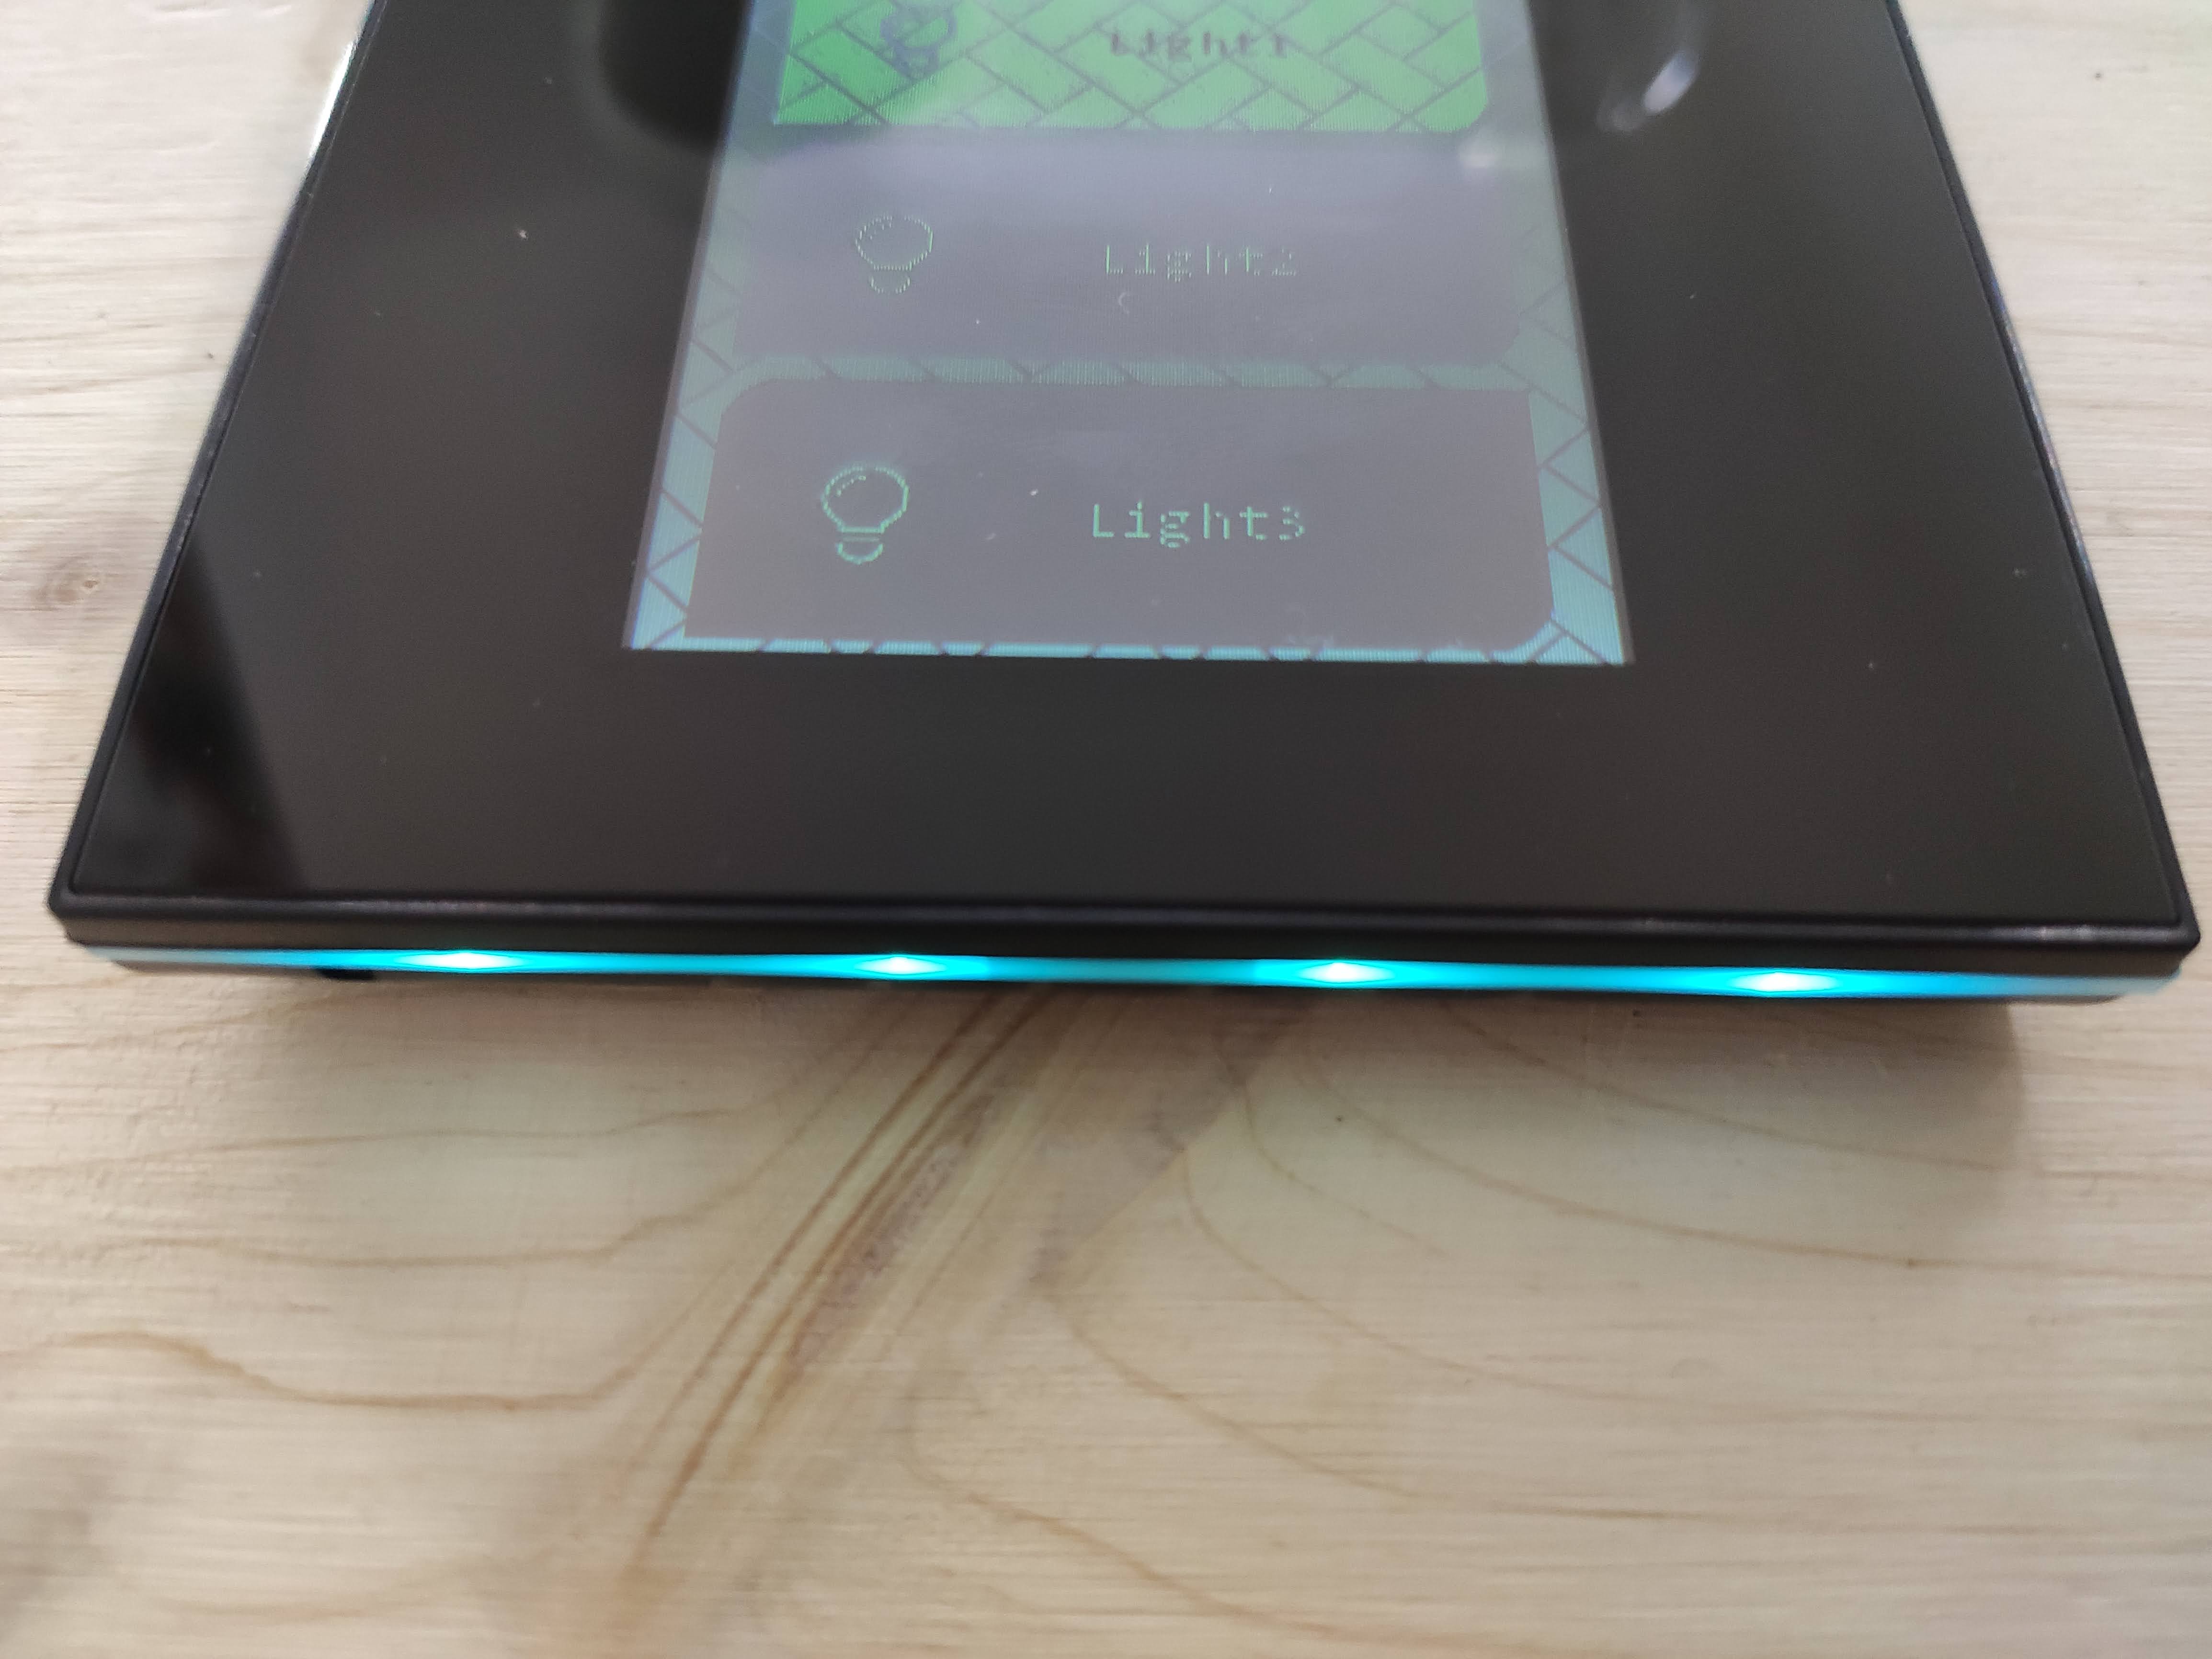
Status LED aka Decorative Lamp
Status LEDs on all 4 sides of the switch are an interesting feature which wasn’t thought out completely. Light diffusion is uneven, on top and bottom you can see the 4 LED’s while on the sides the light is nicely diffused into a single strip of light.
When you tap a button on the screen it informs you with a brief color change. If there’s something wrong (for example Wi-Fi is not connected) it glows red.
While the switch is in sleep mode the light is slowly pulsing and changing colors, I guess to help locate it in a dark room.
That is nice and useful but in my firmware version there were no options to control the way it is lit or turn it completely off. You can only put the switch into Night mode through the app which will turn the light off when the screen is off or dim it to a faint white when in use.
But, after an upgrade there’s now a new setting option called “Decorative lamp set”. well damn, I was calling it wrong all this time. Now you can set up the colors of the LED, turn the breathe effect on or off or turn it off completely. Nice to see they’re adding useful features.
Conclusion
While the construction and the design of the switch is very good its usefulness is bogged down by the limited firmware, a clumsy GUI and a needlessly convoluted upgrade process. Still, there is so much potential hidden in it and, luckily, the switch is based on ESP32 so who knows, maybe someone will start a good open source firmware project for it. I for sure will try installing Tasmota on it!

Explore more like this

Moes ES1 (ZSS-LP-HP02) Zigbee Human Presence Sensor Review
It was hard to resist the new Moes labelled sensor on AliExpress because it looked identical to the Linptech ES1 sensor which works with Xiaomi’s Mijia ecosystem but I avoided...

Comments