Sonoff L1 Lite Review

Sonoff L1 Lite is a Wi-Fi RGB LED light kit
Full disclosure: This is a review sample sent to me free of charge by Sonoff. Review is not influenced by that fact and is solely my opinion. Shopping links in this article are affiliate links and I earn a small commission when you buy through them

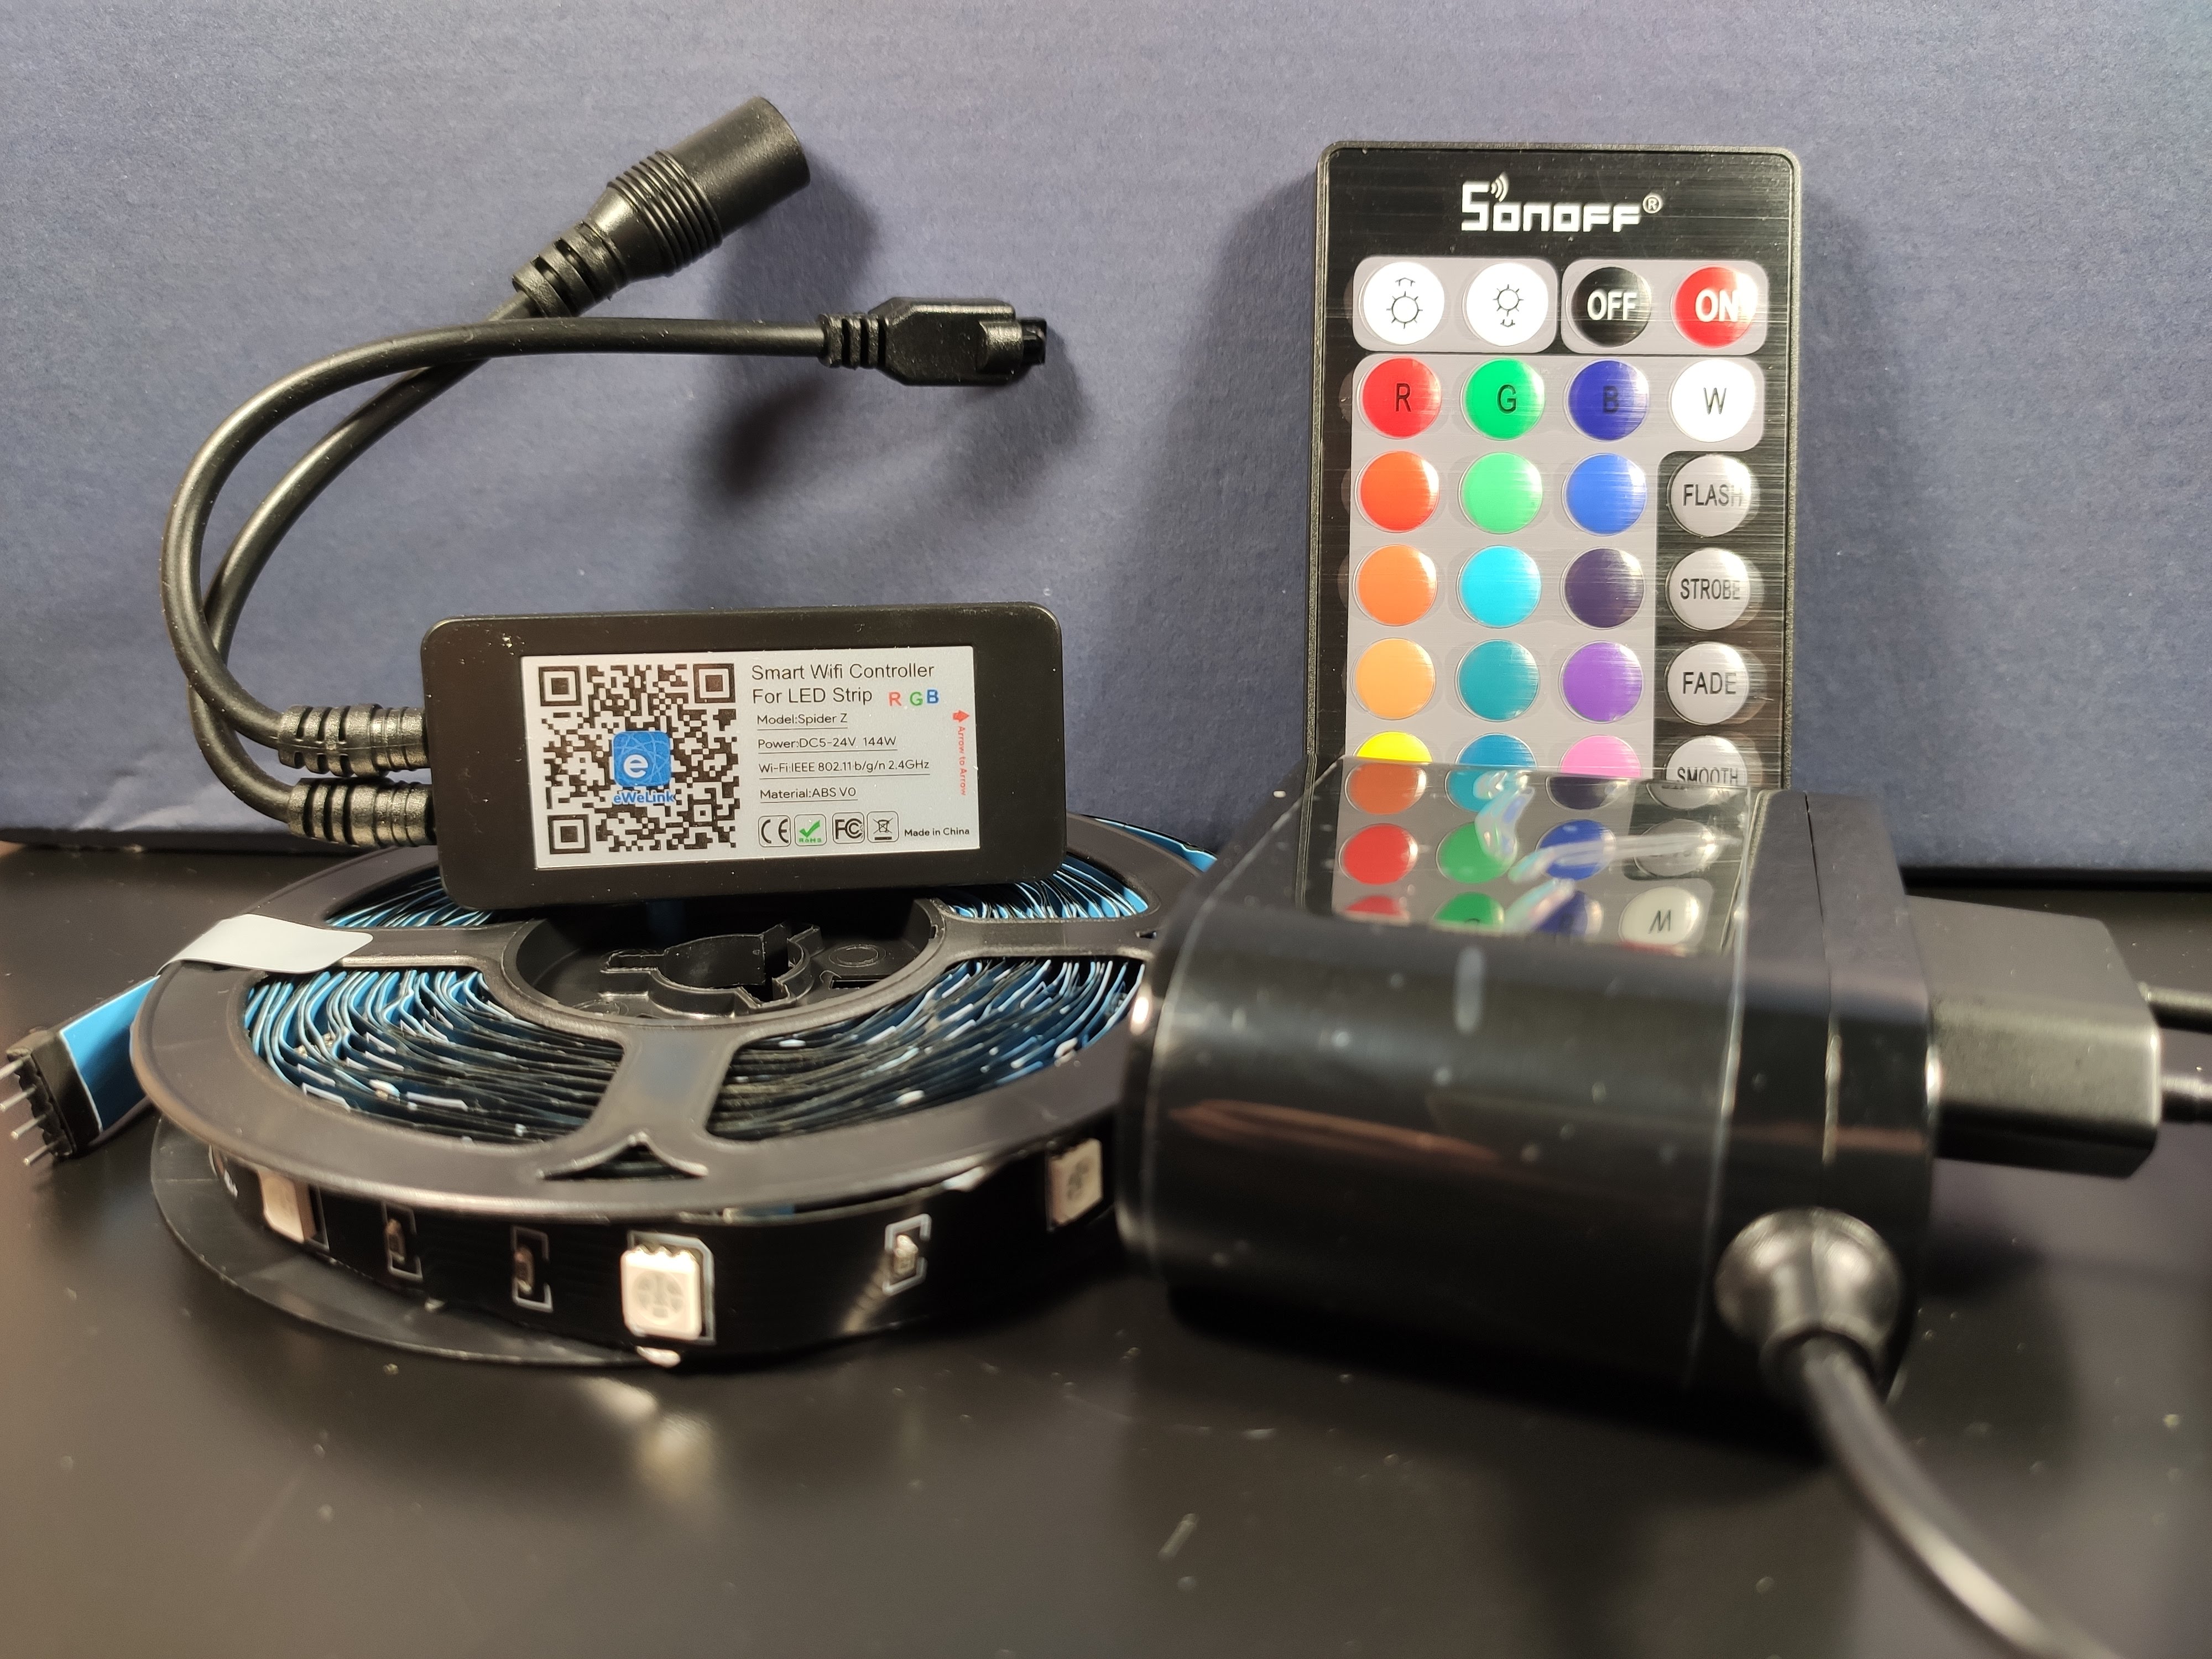
It consists of an RGB LED controller, a power supply, a LED strip and a 24 button IR remote to control it. The strip is a 5 meter long with 30 5050 RGB LED per meter. Its a standard cuttable LED strip type which is easy to shorten by cutting on the copper RGB12V tabs or expand it by using another strip of the same type. Power supply has a decent, but not great, 150cm long cable and provides 2A of 12V electricity.
This is a cheaper and leaner package than the Sonoff L1 which downgrades the LED strip to a non-waterproof one, removes the universal power supply and the power injector. You didn’t really need all these for a simple ambient light or a TV backlight anyway so the benefit of the price cut is worth it.
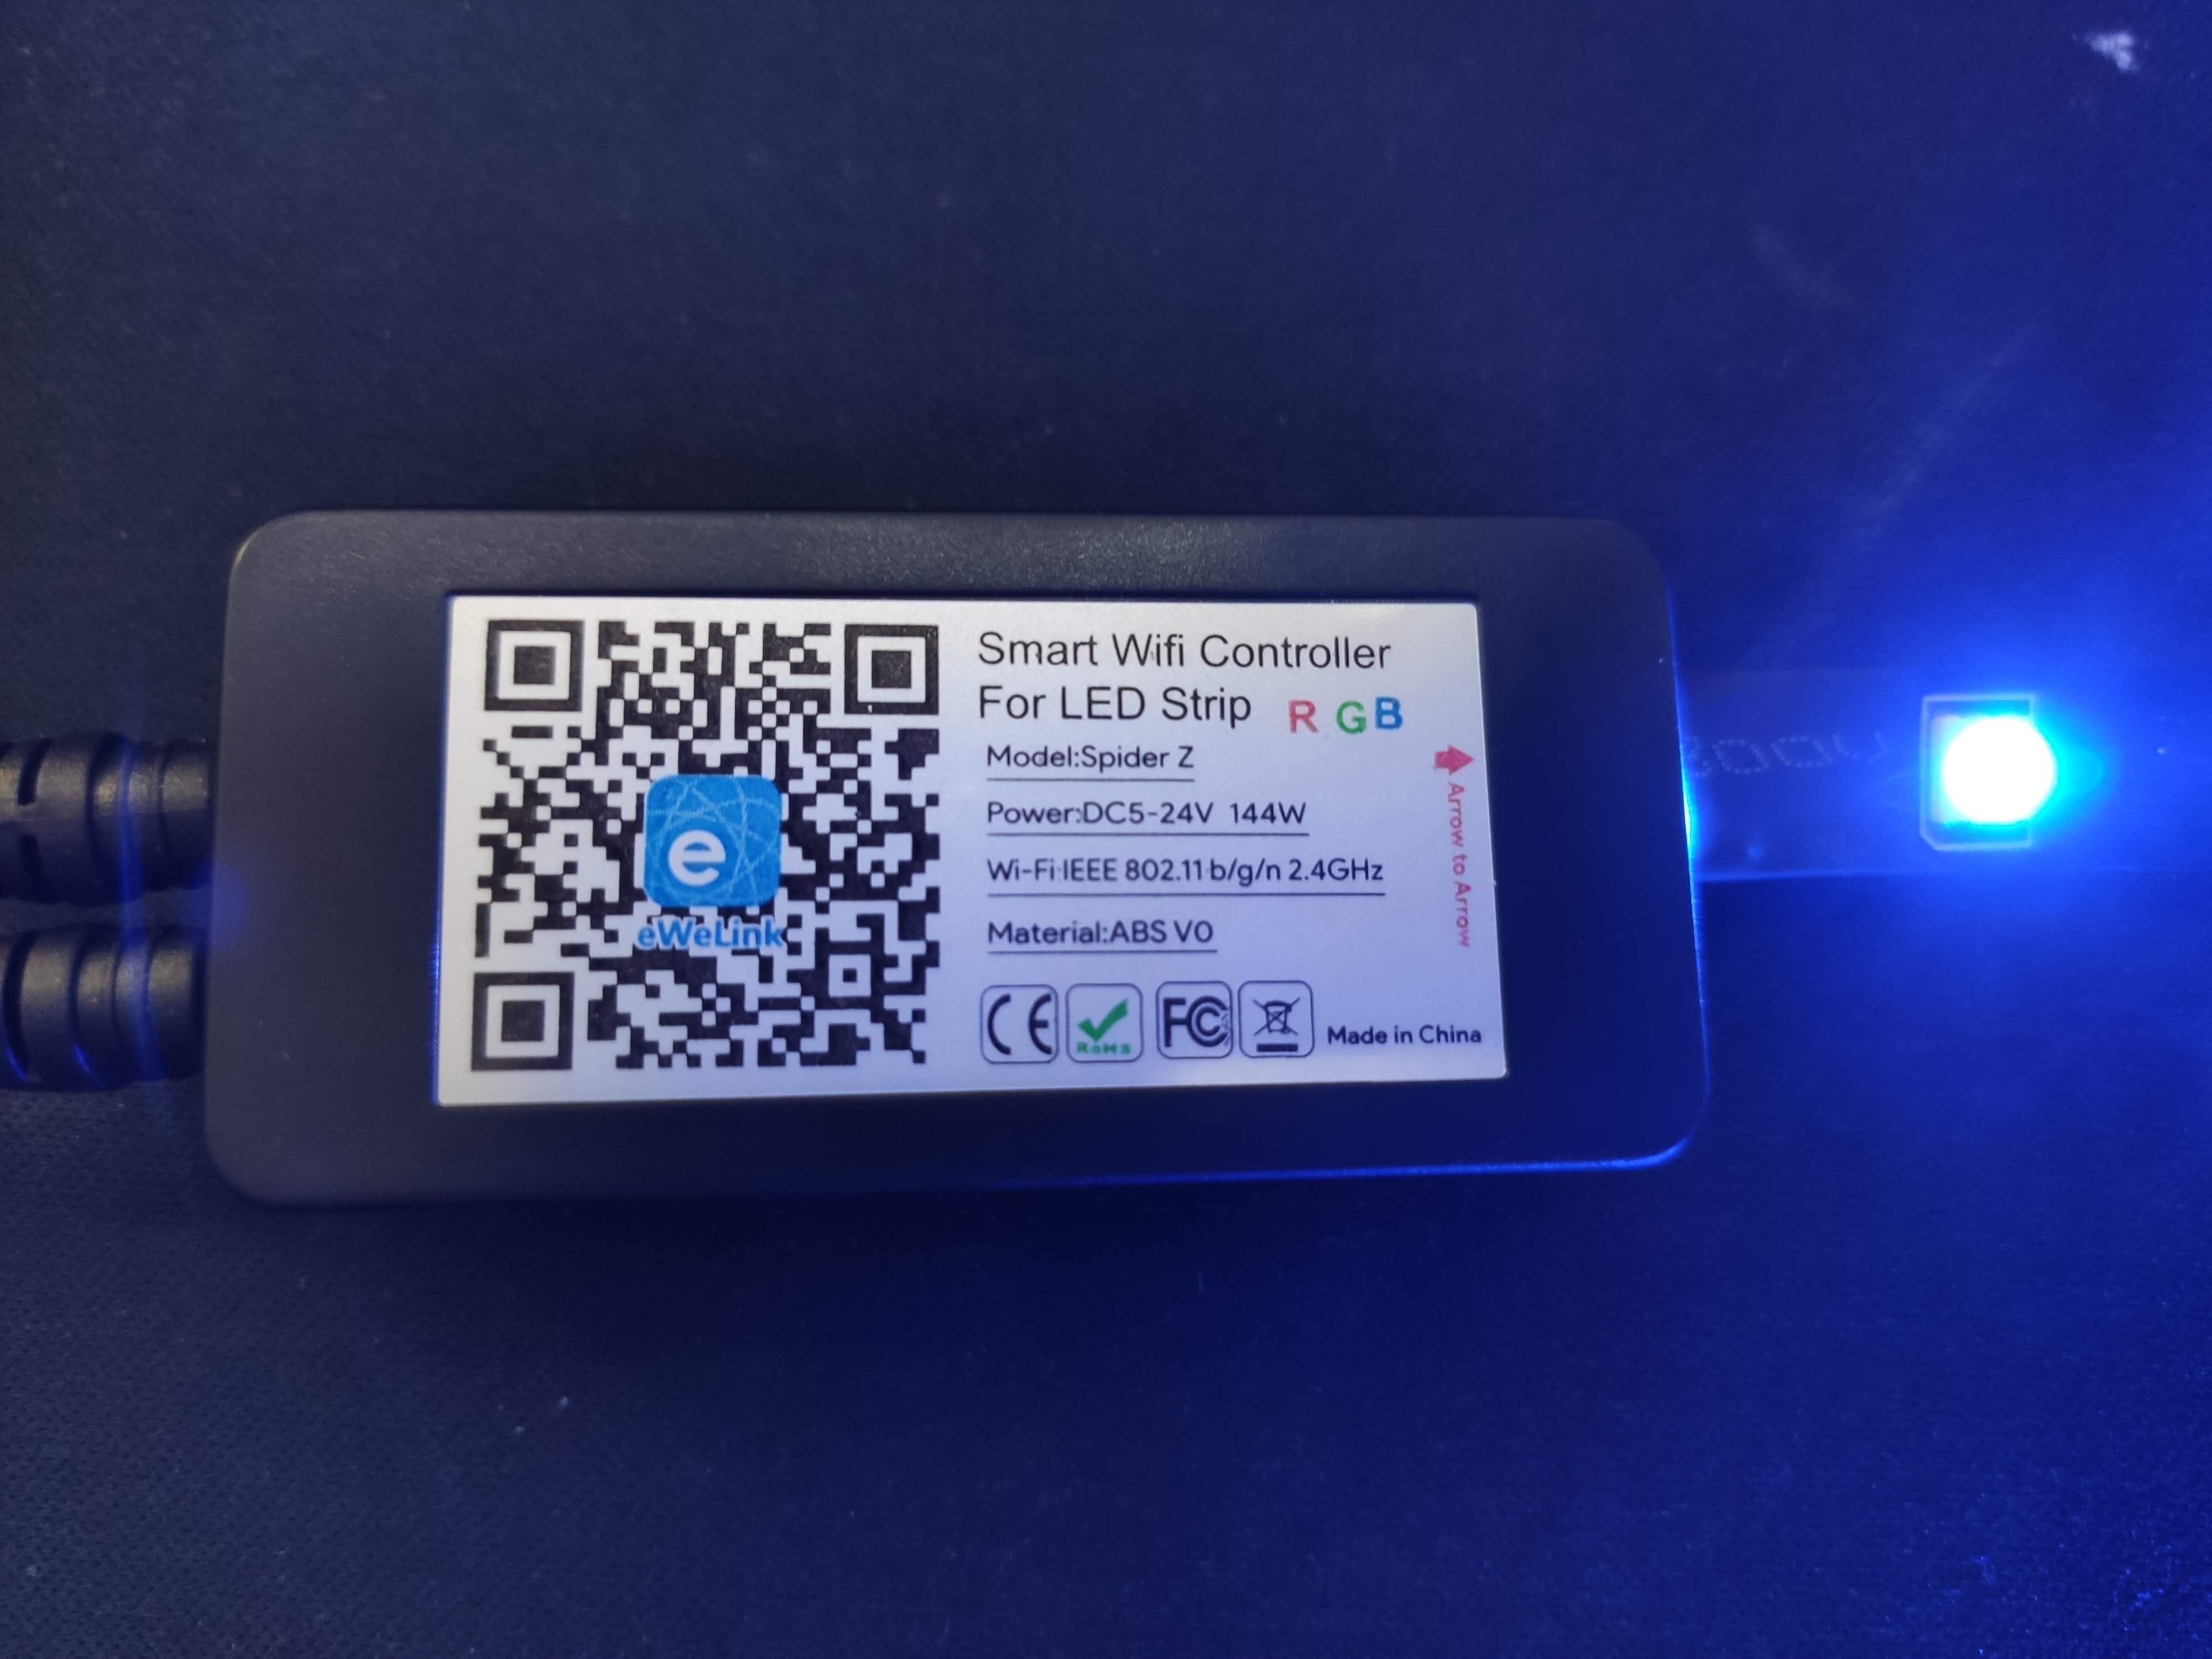
The LED controller, model Spider Z, is the same as on the Sonoff L1 controller. It’s based on an ESP8285 chipset which communicates with the Nuvoton MCU that is in charge of controlling the lights. The separate controller is, in my opinion, actually a plus because it assures smooth transitions and effects while the PWM based lights suffer from stuttering due to the software control from the ESP8266.
Another bonus feature of this controller is that it has a built in electret microphone used to “sync” the lights to music, or to be more precise, any sound. While this is not a true light sync to different frequencies because the microphone used is quite cheap its a cool feature to have on a low priced light kit and a great one for showing off to the smart home beginners. Kids love it the most!
Installation
After taking everything out of all the boxes connect the power supply and the LED strip to the LED controller. While the label on the controller instructs you to align “Arrow to Arrow” that might prove a bit difficult with the supplied LED strip which doesn’t have a standard 4 pin LED connector but a 4 pin header and some heat shrink around it and no arrow to speak of at all. Just connect with the LEDs facing the same way as the QR code label on the controller. See image as well:
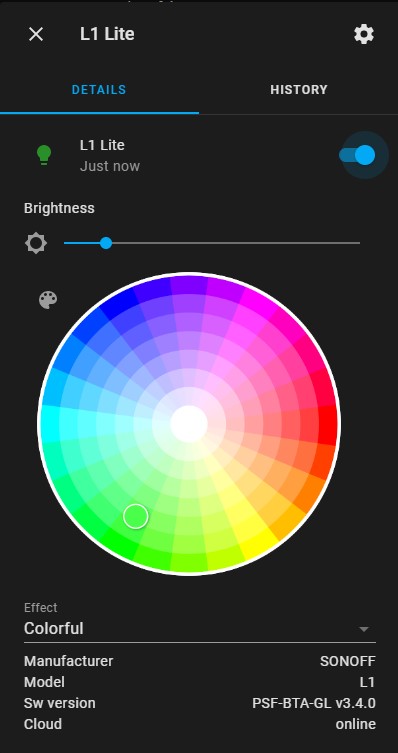
Pairing the L1 Lite to the eWelink app is quick and easy. You have to press the on button on the remote for 5 seconds for the strip to enter pairing mode. Don’t forget to remove the plastic tab in the remote that protects the battery life.
If you’re not the one for soldering and flashing you can easily add this light to Home Assistant using SonoffLAN custom component. After configuring the custom component your L1 Lite will be automatically discovered after a reboot.
Flashing Tasmota
To install Tasmota you need to open the case and remove the PCB to get access to all the pins.
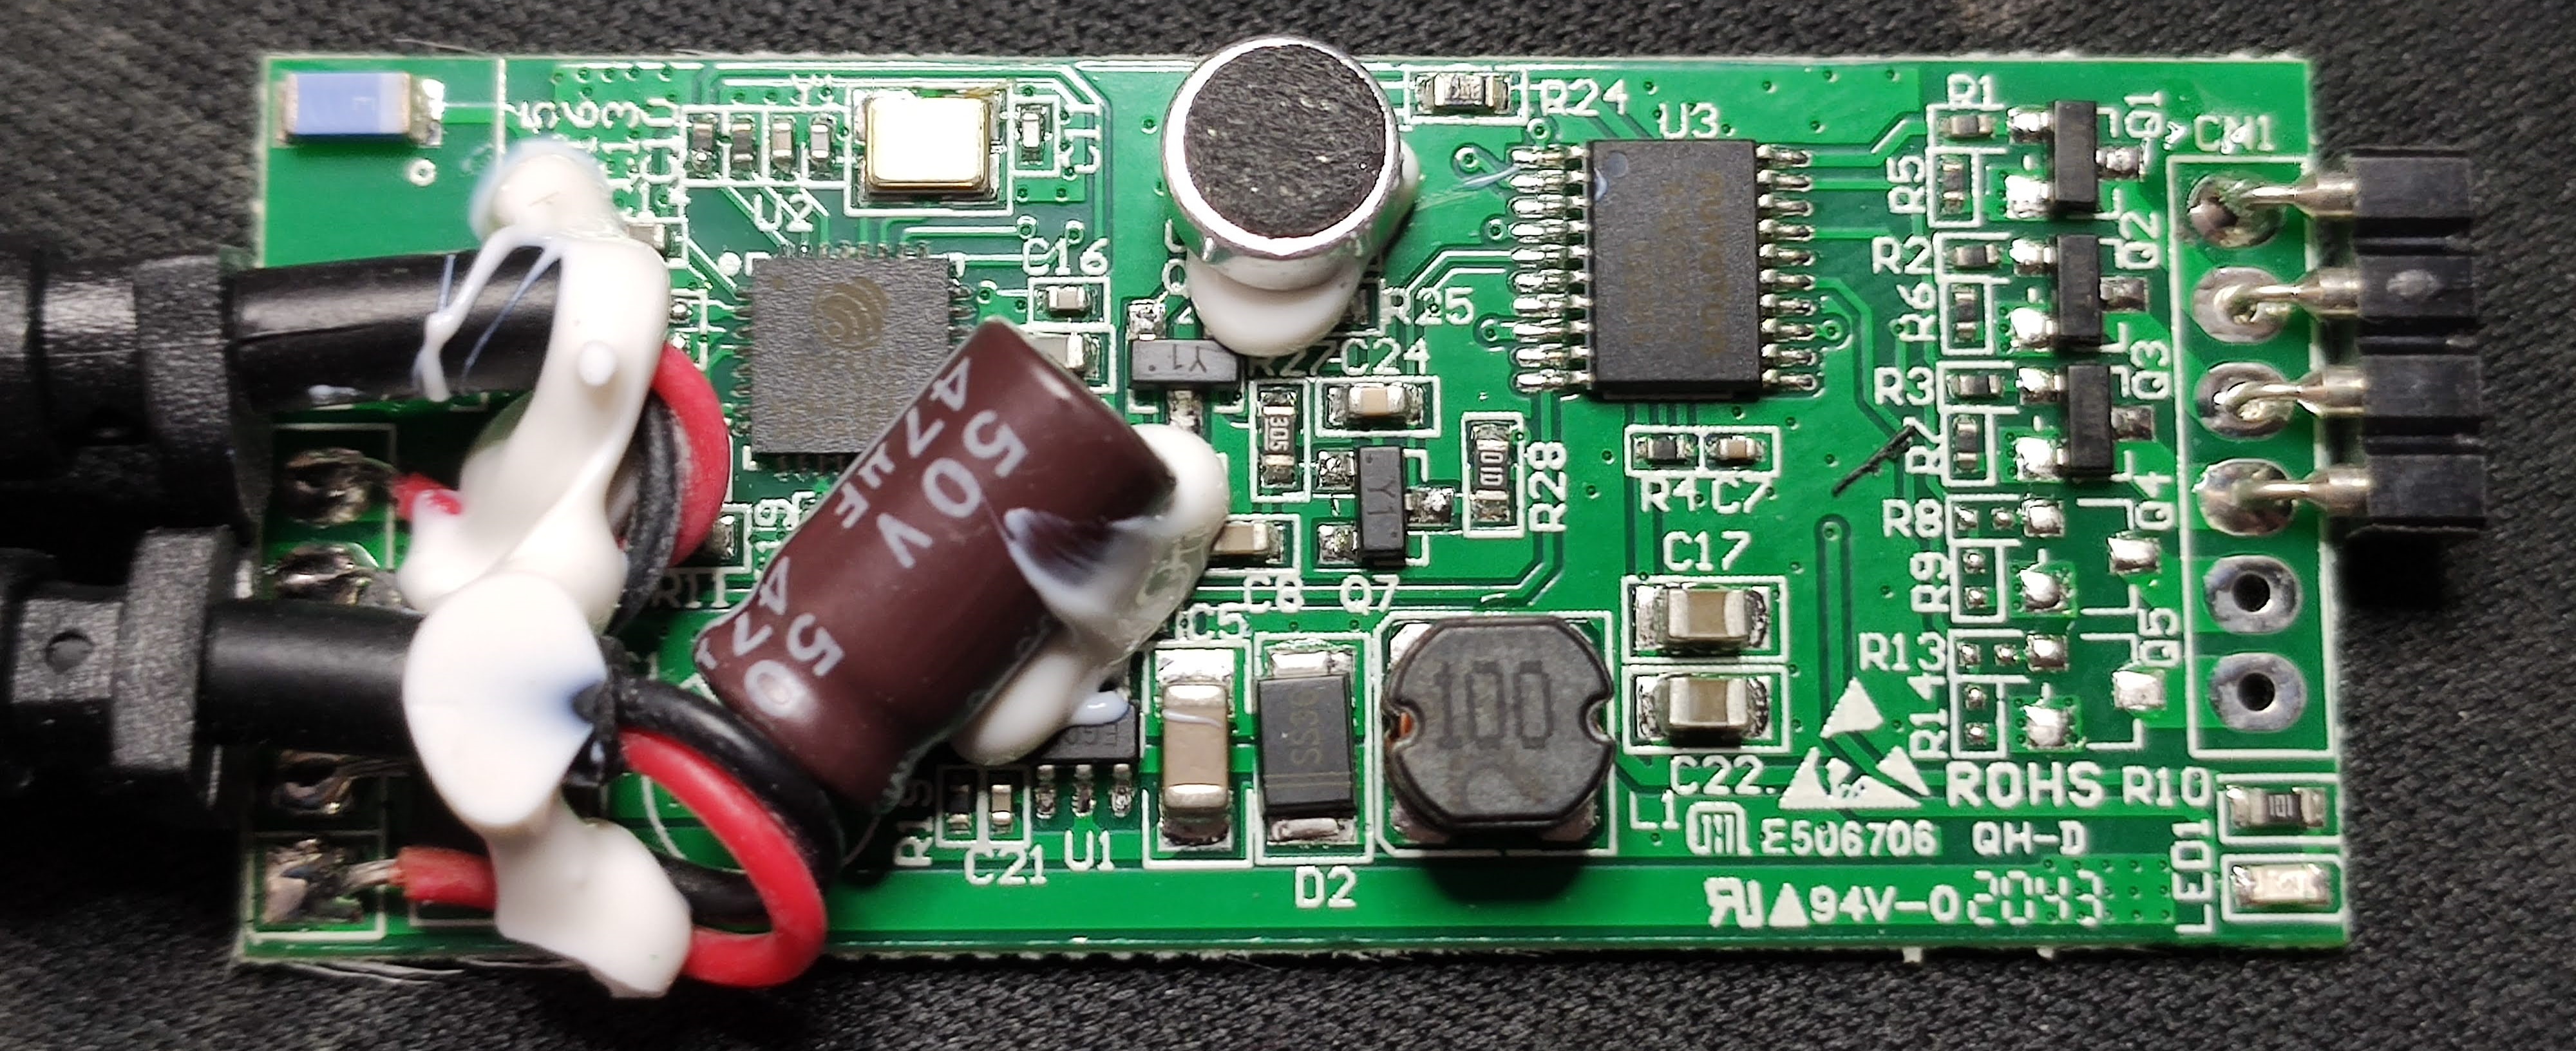
Most of the pins are available and easy to solder to…
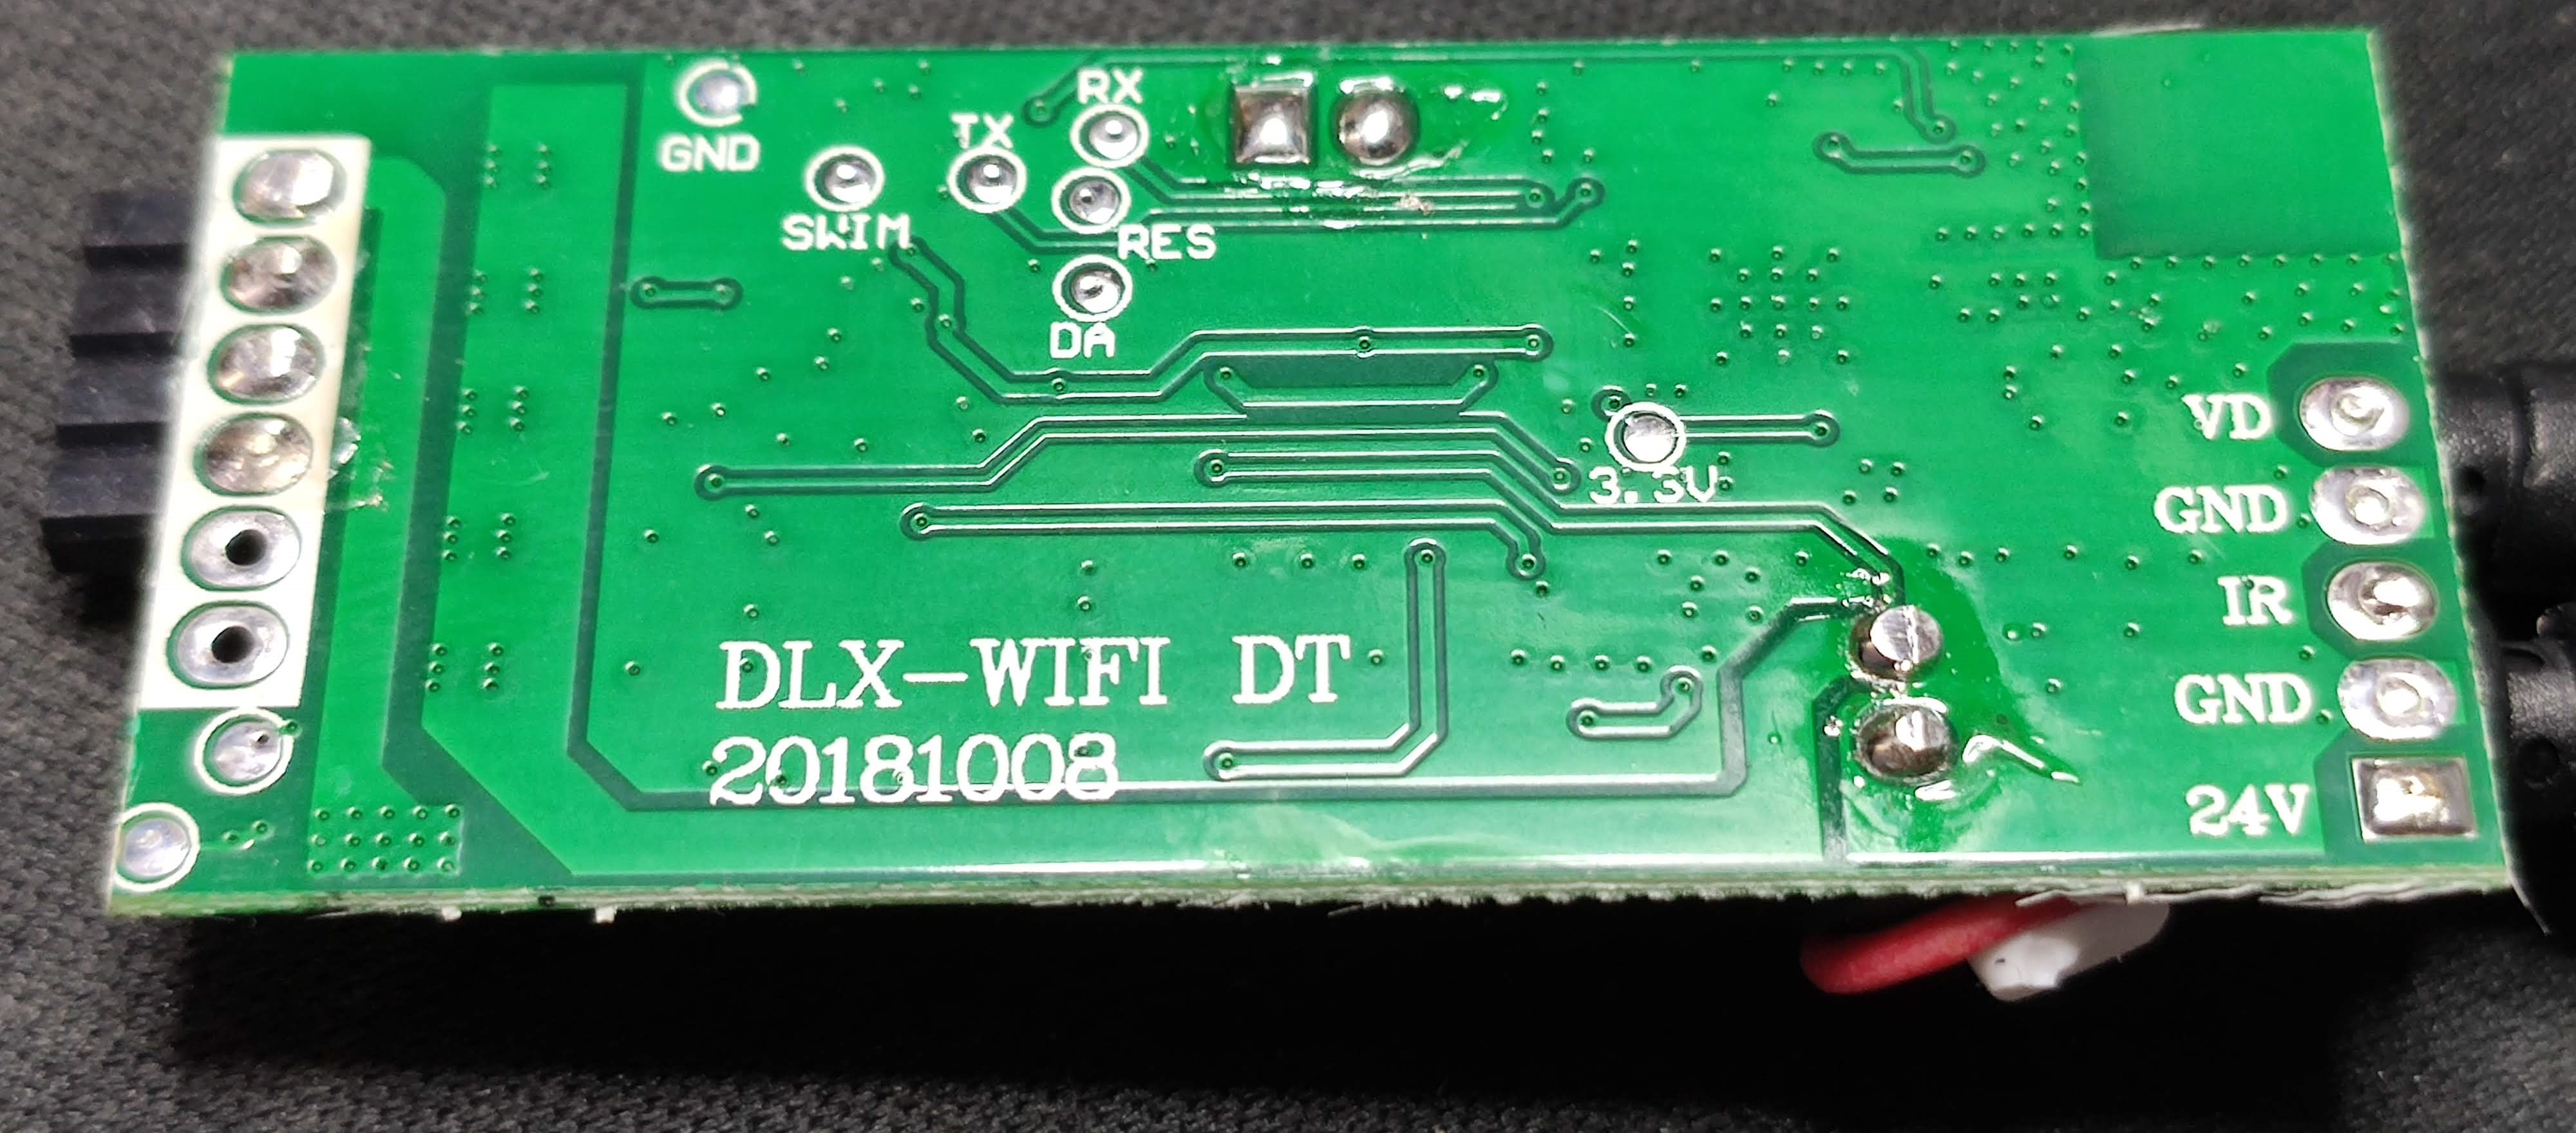
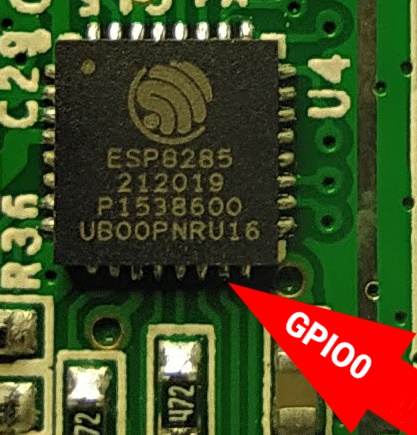
… but GPIO0 can only be found on the ESP8285 chip and its hiding behind that capacitor in the front image. I’ve provided an image from another device with the same ESP8285 chip so its easier to show where it is exactly. You only need to connect it to GND for a few seconds during boot so just soldier on and use a male Dupont cable to keep it grounded during that short time.
Fire up your favorite flashing utility, in my house it is the one and the only Tasmotizer! and flash at least Tasmota v9.2.0.4. Why that one exactly? The microphone and music sync mode mentioned previously weren’t supported in Tasmota but with some copy paste coding “skills” of mine and thorough touch up by the main man Theo it is now working in Tasmota too.
Use command L1MusicSync power,sensitivity,speed where:
power=0for off,1for on,2for togglesensitivy=1..10to adjust sound sensitivityspeed=1..100to adjust transition speed
Sensitivy and speed are optional and are set to 5 and 50 by default, respectively.

One minor drawback of a having a separate MCU control the lights is that you cannot reconfigure the GPIO’s to use a CCT LED strip or control three single channel ones. This one is meant for RGB only.
Flashing esphome
To flash this light in a mostly working condition to esphome.io I will refer you to this this article by @emorydunn and thank him for the inspiration on how to implement the music sync feature in Tasmota.
Conclusion
If you’re only starting with smart home lighting and never had a smart LED strip before, get the L1 Lite! Its a great starter package for a good price with everything you need included and a bonus IR controller to quickly switch colors and modes if you don’t have a voice assistant yet.
If you need a quick mood light, L1 Lite might be a better choice than sourcing a controller that might or might not have an Espressif chip, sourcing the right power supply and you can always extend or upgrade the LED strip.

Explore more like this

Moes ES1 (ZSS-LP-HP02) Zigbee Human Presence Sensor Review
It was hard to resist the new Moes labelled sensor on AliExpress because it looked identical to the Linptech ES1 sensor which works with Xiaomi’s Mijia ecosystem but I avoided...


Comments