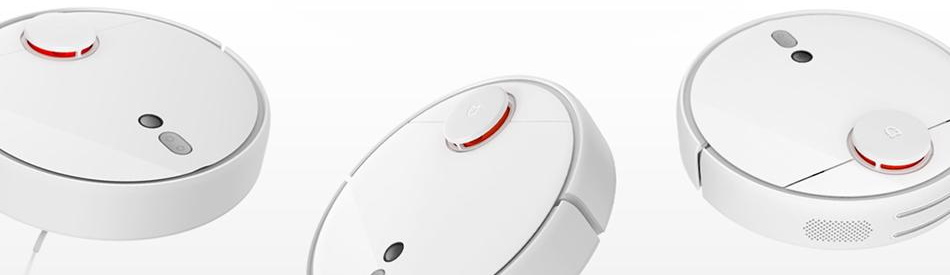
Xiaomi Mi Robot Vacuum 1S in Home Assistant
Summary
Integrating Xiaomi Mi Robot Vacuum 1S in Home Assistant and a few practical automations to make life even easier.
Short Review
I wanted to upgrade my old and a bit dumb robot vacuum, the iLife V5S Pro. While the V5S is still good at cleaning, it is not efficient, it is constantly bumping into stuff and it is moving about randomly to everywhere it has access to. I wanted a better vacuum with laser navigation and targeted room cleaning.
After some soul searching I’ve decided on a Xiaomi Vacuum 1S over the popular Roborock S5x or S6 line.
The Xiaomi 1S is still a Roborock produced vacuum it is branded as Xiaomi and significantly cheaper. The 1S is often available from Banggood for an incredibly low price of 299.99$ (and shipped from a local warehouse). It can also be purchased from Gearbest’s EU Warehouse.
Second reason is that we used the mopping of the V5S twice in the past 2 years so paying extra for a feature that will not get used was out of the question.
Third, it is easily integrated into Home Assistant using vacuum.xiaomi_miio integration.
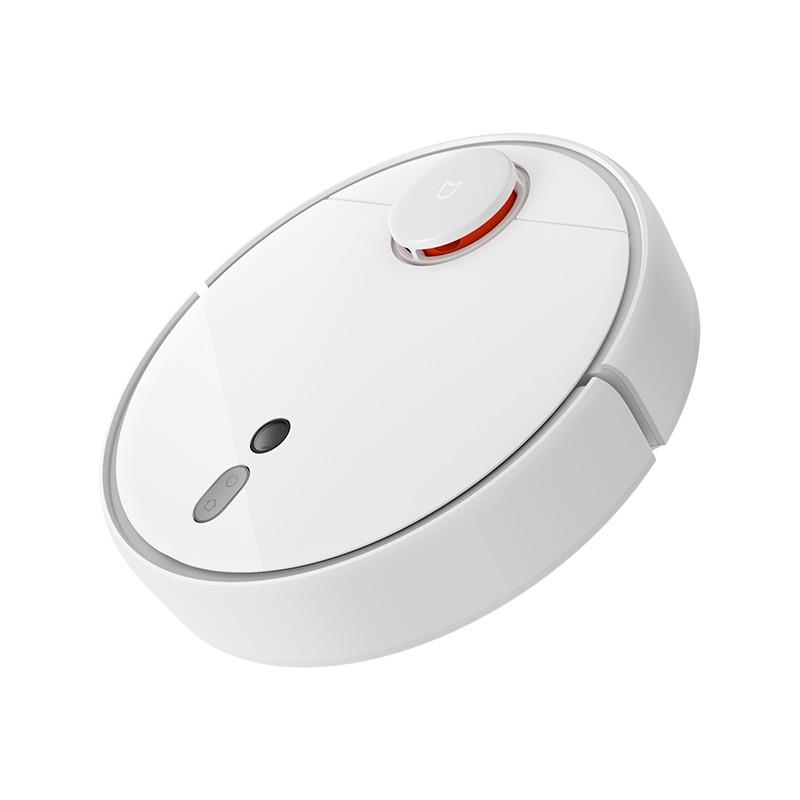
Meanwhile it has all the good stuff a modern robot vacuum should have: LDS laser navigation with an additional obstacle camera sensor, 3 separate maps in the app with room definition and no go zones and no go lines.
The MCU is a newer and beefier Cortex A35. An English voice pack is available for the vacuum if you’re not keen on learning mandarin just to know what your robot vacuum is doing.
Dustbin is slightly smaller compared to Roborock models but that will not be an issue once its automated to, almost, self clean.
I was not that interested in “cleaning power” comparisons or which vacuum has most sensors. Ultimately every robot vacuum cleans and if you run it daily it cleans well. That has proven to be true with the Mi Robot Vacuum 1S to. It sucks! Literally! Check it out in action:
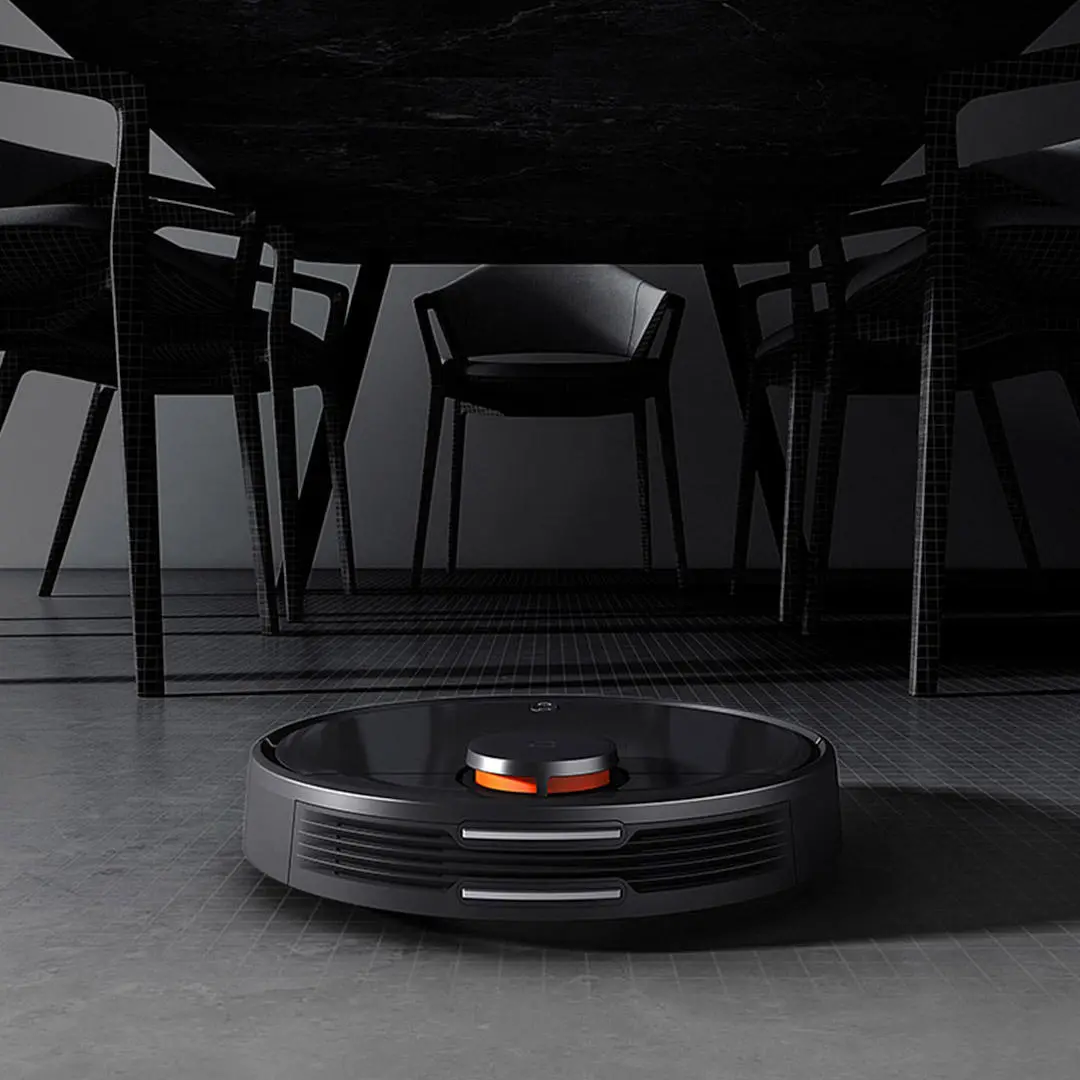
If you really want, or need, mopping I would recommend the newest Xiaomi Mijia STYJ02YM. It has all the cool features of the 1S but it comes with a 2 in 1 mopping and sweeping bin with a slight tradeoff of a smaller battery and missing the camera sensor.
Best of all is: It comes in black!!!
Integrating in Home Assistant
All information applies only to Home Assistant 2023.9+
Add the vaccum using the Xiaomi Miio integration and your Mi Home credentials.

If you opt for the *Configure manually” option you need to get the “hidden” device token. This made incredibly easy with the Xiaomi Cloud Tokens Exctactor. Run the app, enter your credentials and server and it will show you the IP addresses and tokens for all the devices paired to Mi Home.
I would recommend to assign a fixed IP address to your vacuum since the integration could stop working if the IP changes in your router.
Now you have a new vacuum entity in Home Assistant and the accompanying sensors.
Almost Self-cleaning Vacuum
This is why you don’t need a huge dustbin in the vacuum. With this automation, your vacuum will cart itself next to your trashcan every n-th clean cycle and wait there to be emptied. No more wondering “When the hell was the last time I emptied the dustbin?”. Neat, right!?
Finding the Coordinates
Using xiaomi_miio.vacuum_goto service (use Developer Tools - SERVICES tab)you can send the vacuum to an x,y coordinate on the map. If the exact coordinates are blocked it will try to get to them as near as it can.
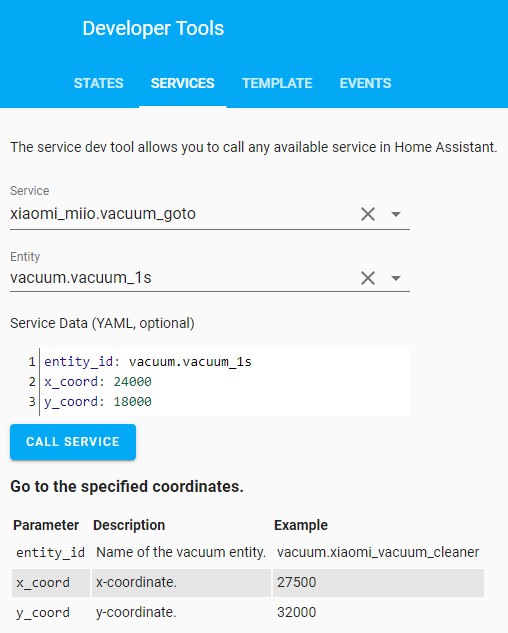
There is no simple way to find out the coordinates of the desired location, in this case the trashcan where the dustbin will be emptied. Since we’re only interested in one spot we will use the trusty “trial and error” method.
Charging dock is located at coordinates 25500,25500. From there you can start moving the vacuum on the x and y axis until it reaches your desired location.
Once we’ve got the coordinates we need to automate it.
Empty Dustbin Automation
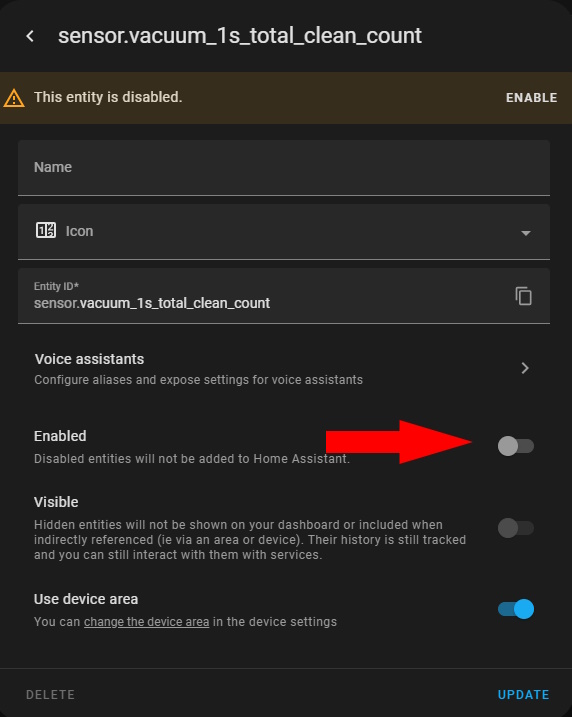
This automation uses the “Total clean count” sensor as condition which needs to be enabled first. Click on “entities not shown” in the Diagnostic card, click “Total clean count” sensor then click the cog icon in the top right corner. Set sensor to Enabled and click “UPDATE”.
- id: fdc3816a-80e7-466d-82b0-7b3a75c5e353
  alias: vacuum.go to trash when full
  trigger:
  - entity_id: vacuum.vacuum_1s
    from: cleaning
    platform: state
    to: returning
Automation triggers when the vacuum goes from cleaning to returning state, which prevents it from triggering when going from any other state to returning.
  condition:
  - condition: template
    value_template: '{{ states('sensor.vacuum_1s_total_clean_count') | int is divisibleby 4 }} '
Condition checks the cleaning count sensor for the vacuum which tracks total cleans done and then checks if the number is divisible by 4. That means the automation will execute only on every 4th completed clean.
Lower the divisibleby number if you want to empty the dustbin more often or raise it if it doesn’t fill up as fast.
  action:
  - data:
    entity_id: vacuum.vacuum_1s
    service: vacuum.stop
  - delay: 00:00:20
  - data:
    entity_id: vacuum.vacuum_1s
    service: xiaomi_miio.vacuum_goto
      entity_id: vacuum.vacuum_1s
      x_coord: 26000
      y_coord: 18600
The action part required some finagling because a lot of the time the vacuum would not complete the automation as required due to queued up commands.
This way we completely stop whatever the vacuum is doing (usually just returning to the charging dock) then wait for 20 seconds for all the commands to process then activate the xiaomi_miio.vacuum_goto service and send the vacuum on a garbage disposal errand.
Use the “return home” button on the vacuum to return it to its charging dock after.
Complete automation in YAML:
- id: fdc3816a-80e7-466d-82b0-7b3a75c5e353
  alias: vacuum.go to trash when full
  trigger:
  - entity_id: vacuum.vacuum_1s
    from: cleaning
    platform: state
    to: returning
  condition:
  - condition: template
    value_template: '{{ states('sensor.vacuum_1s_total_clean_count') | int is divisibleby 4 }} '
  action:
  - data:
    entity_id: vacuum.vacuum_1s
    service: vacuum.stop
  - delay: 00:00:20
  - data:
      entity_id: vacuum.vacuum_1s
      x_coord: 26000
      y_coord: 18600
    entity_id: vacuum.vacuum_1s
    service: xiaomi_miio.vacuum_goto
Daily Cleaning Automation
No point in having a robot vacuum if it doesn’t start cleaning itself.
- id: '7070bf0f-9ff3-4ee1-a364-58b41d0d1956'
  alias: vacuum.daily house clean
  description: 'Clean house each workday at 14:00'
  trigger:
  - at: '14:00'
    platform: time
Triggers at 14:00h (2pm for the US folks). Simple.
condition:
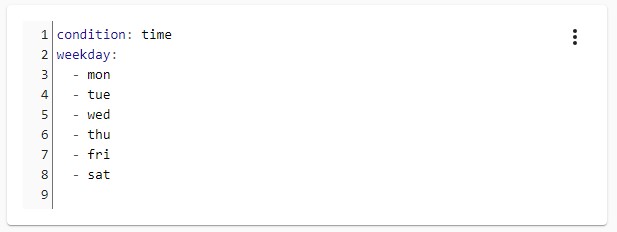
- condition: time
weekday:
- mon
- tue
- wed
- thu
- fri
- sat
This condition checks if the current day is one of the listed ones. In short: it won’t clean if its Sunday.
Weekday condition cannot be entered using automations UI. You need to click the three dots and choose Edit as YAML.
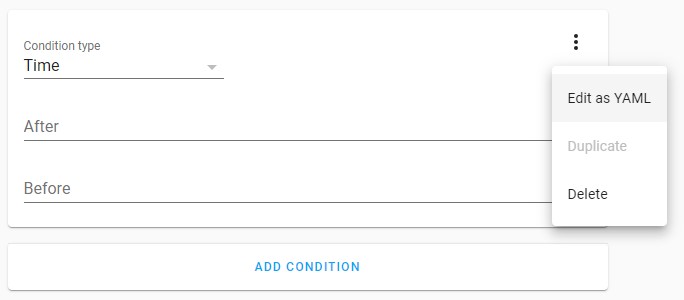
Then enter values like this:
You could set up a Workday Binary Sensor which would be more reliable at determining non-working day but it complicates the configuration a bit for this article.
  - condition: state
    entity_id: binary_sensor.tv
    state: 'off'
Who needs presence detection when you’re addicted to TV? If the TV is on, its a strong indicator someone is in the house and would probably not appreciate the hoovering noise.
  action:
  - data:
    entity_id: vacuum.vacuum_1s
    service: vacuum.start
Just run the vacuum.
Complete automation in YAML:
- id: '7070bf0f-9ff3-4ee1-a364-58b41d0d1956'
  alias: vacuum.daily house clean
  description: 'Clean house each workday at 14:00'
  trigger:
  - at: '14:00'
    platform: time
  condition:
  - condition: time
    weekday:
    - mon
    - tue
    - wed
    - thu
    - fri
    - sat
  - condition: state
    entity_id: binary_sensor.tv
    state: 'off'
  action:
  - data:
    entity_id: vacuum.vacuum_1s
    service: vacuum.start
You can get more advanced with this and track presence to run the vacuum only when no one is home or on a door locked event.
Targeted Room Cleaning
First you need to define rooms in the Mi Home App after the vacuum has mapped everything.
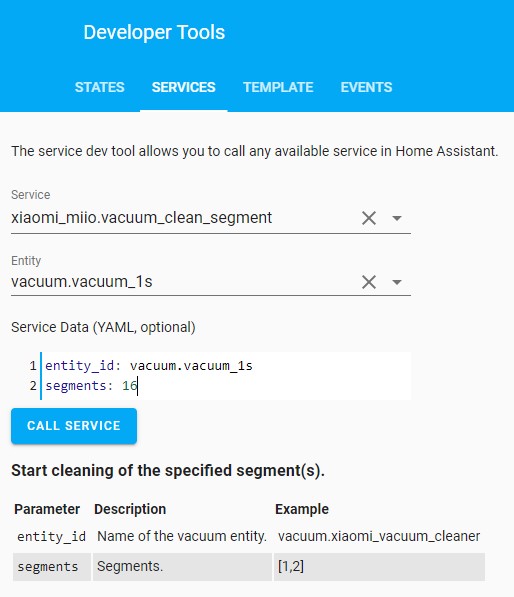
Room numbering typically starts at 16. You can just try numbers from 16 and up depending on how many rooms you have defined in the app.
Send the vacuum to each number by calling the xiaomi_miio.vacuum_clean_segment service (use Developer Tools - SERVICES tab) and pass the room number inside segments: field. Wait a bit for the vacuum to travel to the location and start cleaning and note down the corresponding rooms and numbers.
Once you have all the room number designations you can use them inside a script (or automation) like this:
vacuum_kitchen:
  alias: vacuum.clean kitchen
  sequence:
  - data:
    entity_id: vacuum.vacuum_1s
    service: vacuum.stop
  - data:
    entity_id: vacuum.vacuum_1s
    service: xiaomi_miio.vacuum_clean_segment
      entity_id: vacuum.vacuum_1s
      segment: 17
Before issuing the clean segment command I used a “stop” command, otherwise, if the vacuum was already doing something it would queue up the clean segment command and execute it after it was finished with the current job.
If you want to target more than one room you need to pass the numbers inside [ ] and separate them by a ,:
segment: [18,20]
I use these location scripts and activate them through Google Home, mostly when the kitchen floor is full of crumbs.
Discovering Room Numbers
Another way to find out room numbers is to use python-miio.
To install it you need to have Python3 on your system and follow their installation instructions.
This tool enables you to interface with your vacuum using the command line and it’s very powerful with tons of commands. For now we will focus on getting the mapped rooms numbers:
Run the command, replacing token and ip values with your own:
$ miiocli vacuum --token <vacuum_token> --ip <vacuum_ip> get_room_mapping
If everything is installed properly you should see an output:
Running command get_room_mapping
[[20, '832001153667'], [16, '832001005174'], [17, '832001005175'], [18, '832001028430'], [19, '832001153658']]
The relevant numbers are the first ones in each bracket aka 20,16,17,18,19.
After you have all the numbers you still have to find out which number is which room by calling xiaomi_miio.vacuum_clean_segment. In a way this is not at all easier or faster than guessing room numbers.

Explore more like this

Moes ES1 (ZSS-LP-HP02) Zigbee Human Presence Sensor Review
It was hard to resist the new Moes labelled sensor on AliExpress because it looked identical to the Linptech ES1 sensor which works with Xiaomi’s Mijia ecosystem but I avoided...
Comments