Ulanzi Desktop Pixel Clock on Esphome
Guide on installing Esphome on Ulanzi TC001 pixel clock I reviewed and making it work with Home Assistant.
Full disclosure: This device is purchased with the help of your donations. Links in this article are affiliate links. By purchasing through them I also get a small commission that funds future projects!
Ulanzi Smart Pixel Clock is available from the following stores:
In my internet searches for everything Ulanzi and Awtrix pixel clock related I found lubeda’s awtrix python script for Home Assistant. I checked out lubeda’s profile, as you usually do as a low key internet stalker, and a repository called EsphoMaTrix was on the list. I don’t know if it was the camel case of the title or the description “A simple DIY status display with an 8x32 RGB LED panel implemented with esphome.io” that drew me in. Well, I know some Esphome and I like tight Home Assistant integrations so I put it on the “to try out” list. Meanwhile I also got a Twitter ping mentioning the same project.
Almost two months later I got to try it out and, lo and behold, there was even support of Ulanzi TC001, albeit in an unfinished stage. Sometimes you unintentionally wait and others do the bulk of the work for you.
This will be a great solution for a Home Assistant or standalone user, if you’re not on of those you might be better off trying out PixelIt_Ulanzi which was also mentioned to me on Twitter a couple of times.
Installation
This configuration will not work with new ESPhome versions and the component has been moved to V2 with a different configuration. Update for this configuration is in the works!
First you need to have Esphome. If you don’t, install it using the appropriate method for your situation. For me it was a Docker container on my small Celeron J3455 home server.
Open Esphome dashboard and start a new project. Paste the yaml.
substitutions:
devicename: ulanzi
matrix_pin: GPIO32
buzzer_pin: GPIO15
battery_pin: GPIO34
ldr_pin: GPIO35
left_button_pin: GPIO26
mid_button_pin: GPIO27
right_button_pin: GPIO14
scl_pin: GPIO22
sda_pin: GPIO21
external_components:
- source:
type: git
url: https://github.com/lubeda/EsphoMaTrix
refresh: 60s
components: [ ehmtx ]
esphome:
comment: "Ulanzi TC001"
name: $devicename
on_boot:
then:
- ds1307.read_time:
esp32:
board: esp32dev
ota:
wifi:
ssid: !secret wifi_ssid
password: !secret wifi_password
web_server:
font:
# adapt the filename to your local settings
- file: Calcium.ttf
id: ehmtx_font
size: 16
glyphs: |
!?"%‰()+*=,-_.:°µ²³0123456789ABCDEFGHIJKLMNOPQRSTUVWXYZ abcdefghijklmnÖÄÜöäüopqrstuvwxyz€$@<>/
ehmtx:
id: rgb8x32
time_component: ehmtx_time
matrix_component: ehmtx_display
clock_time: 5 # duration to display the clock after this time the date is display until next "show_screen"
clock_interval: 60 # show the clock at least each x seconds
screen_time: 6 # duration to display a screen or a clock/date sequence
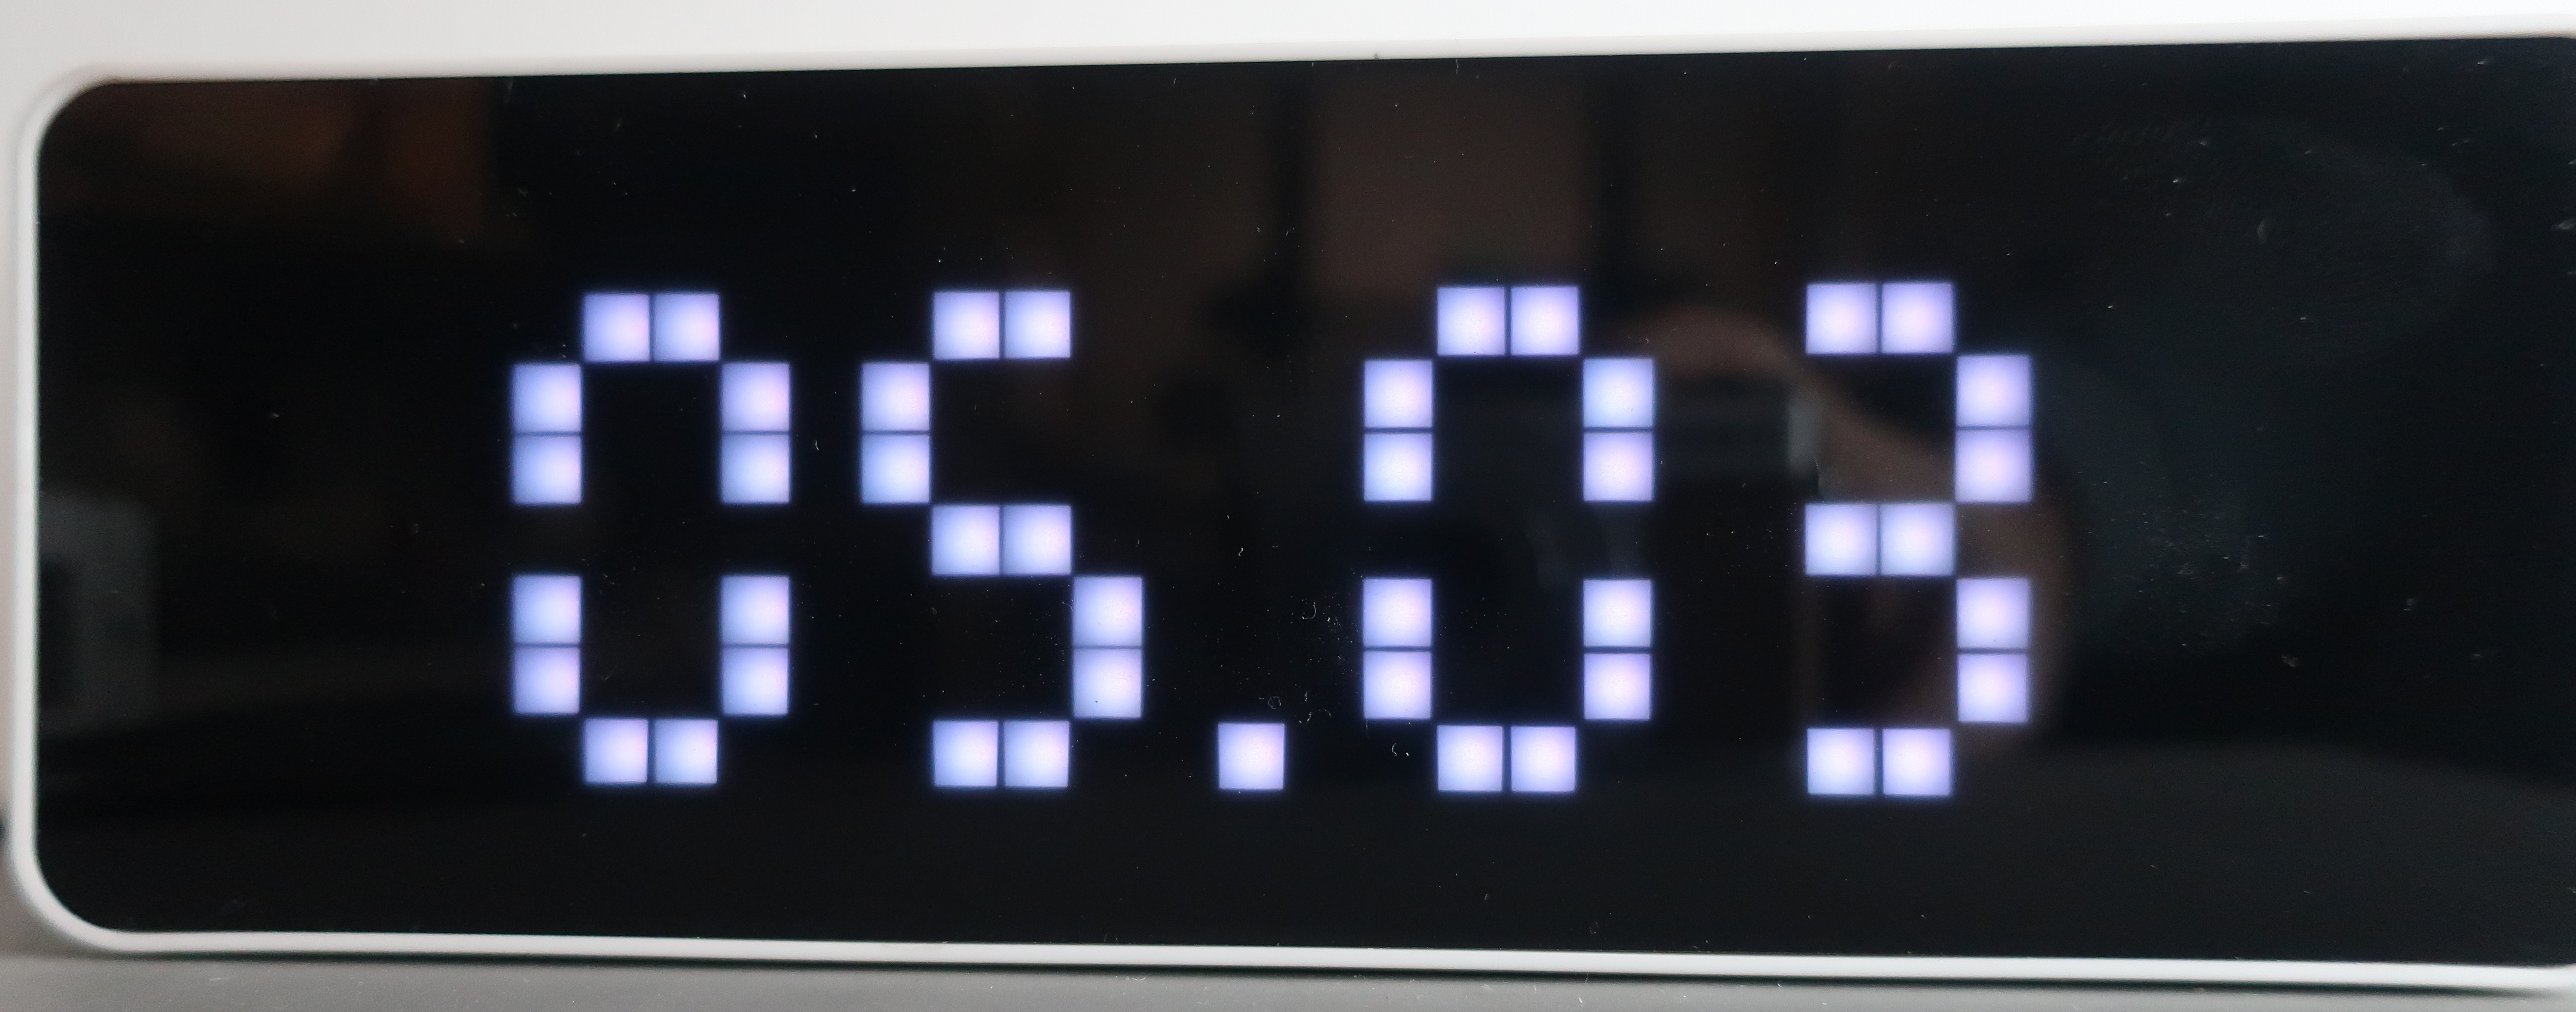
date_format: "%d.%m" # defaults "%d.%m." (use "%m.%d." for the US)
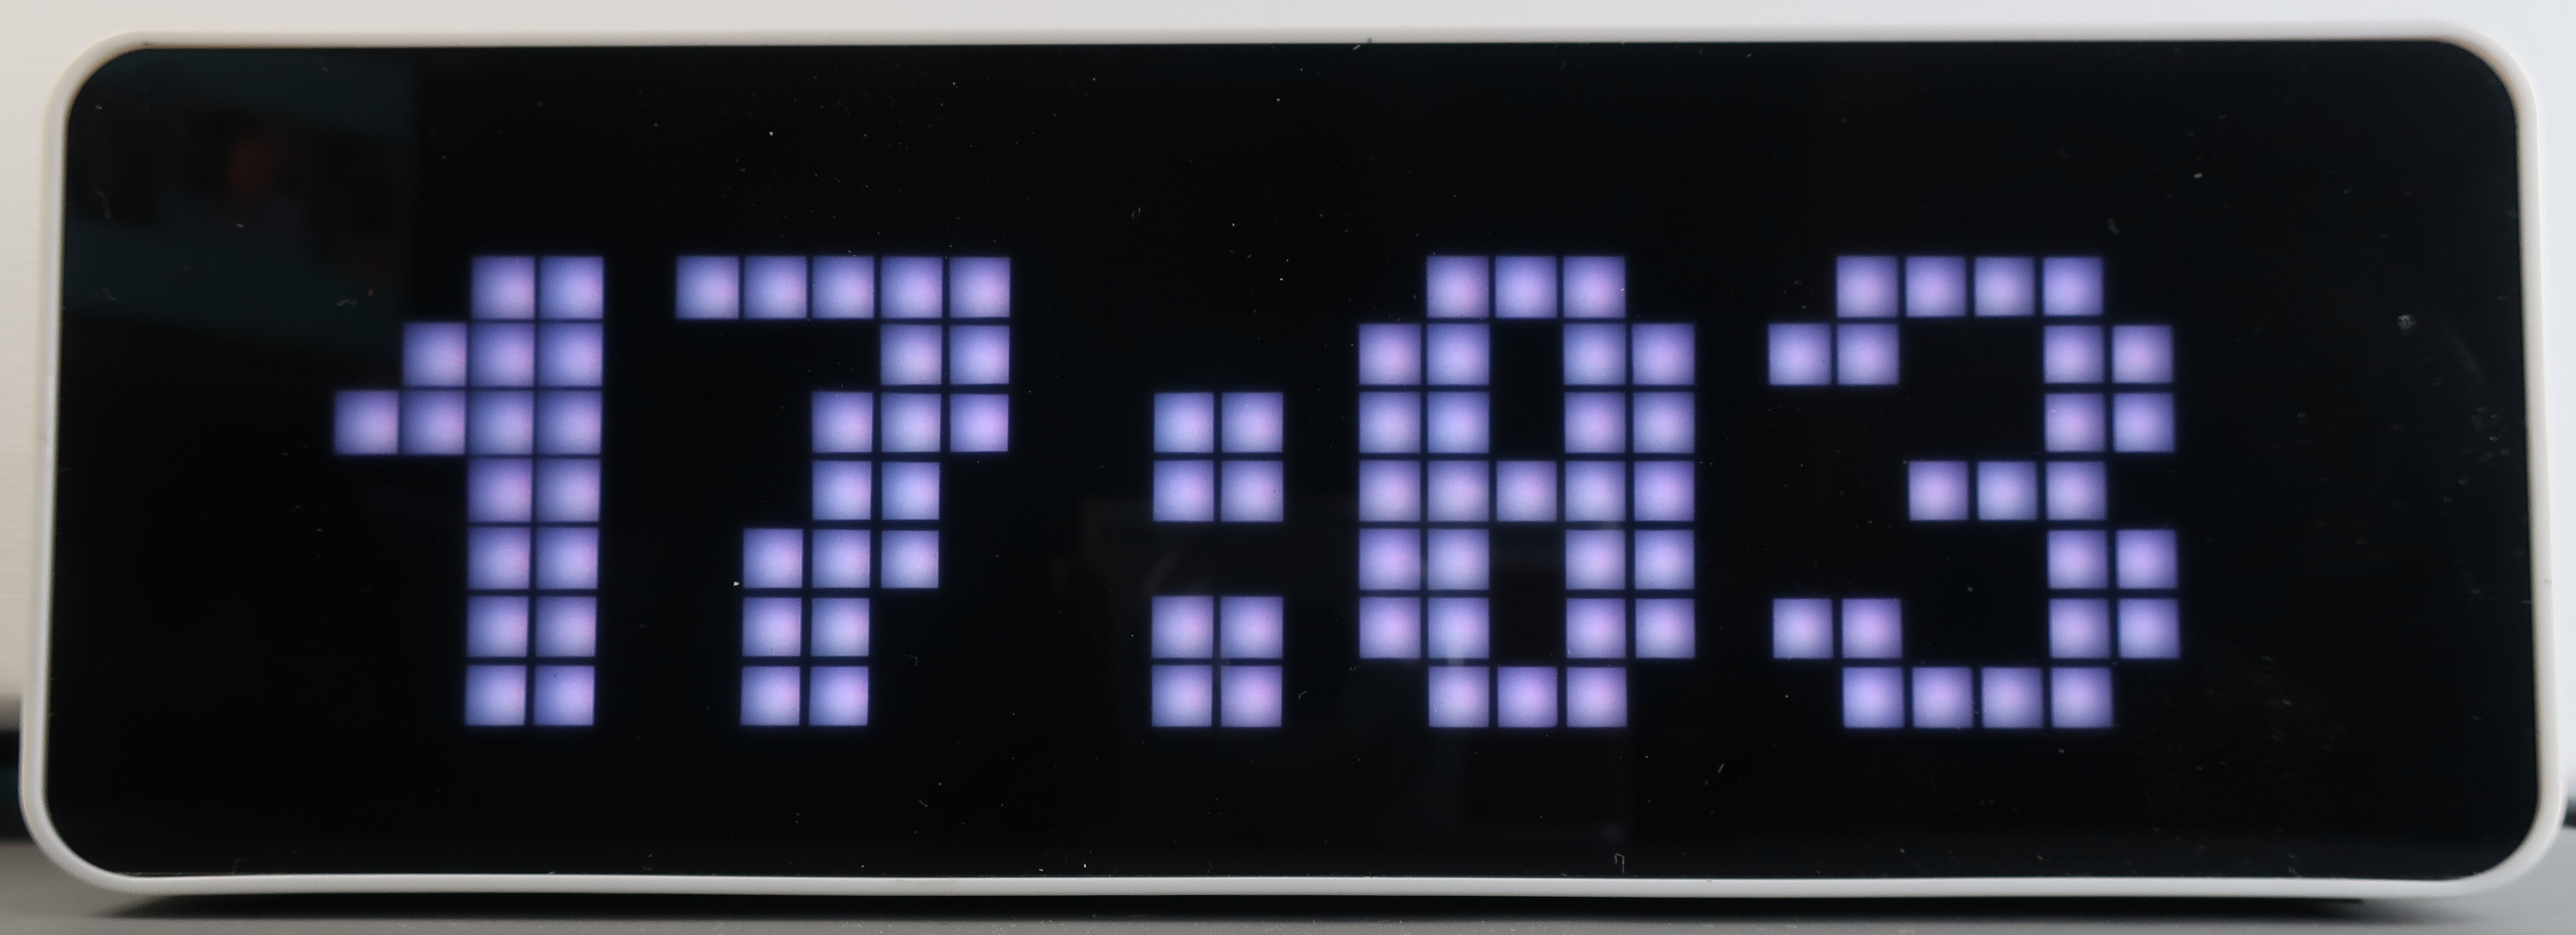
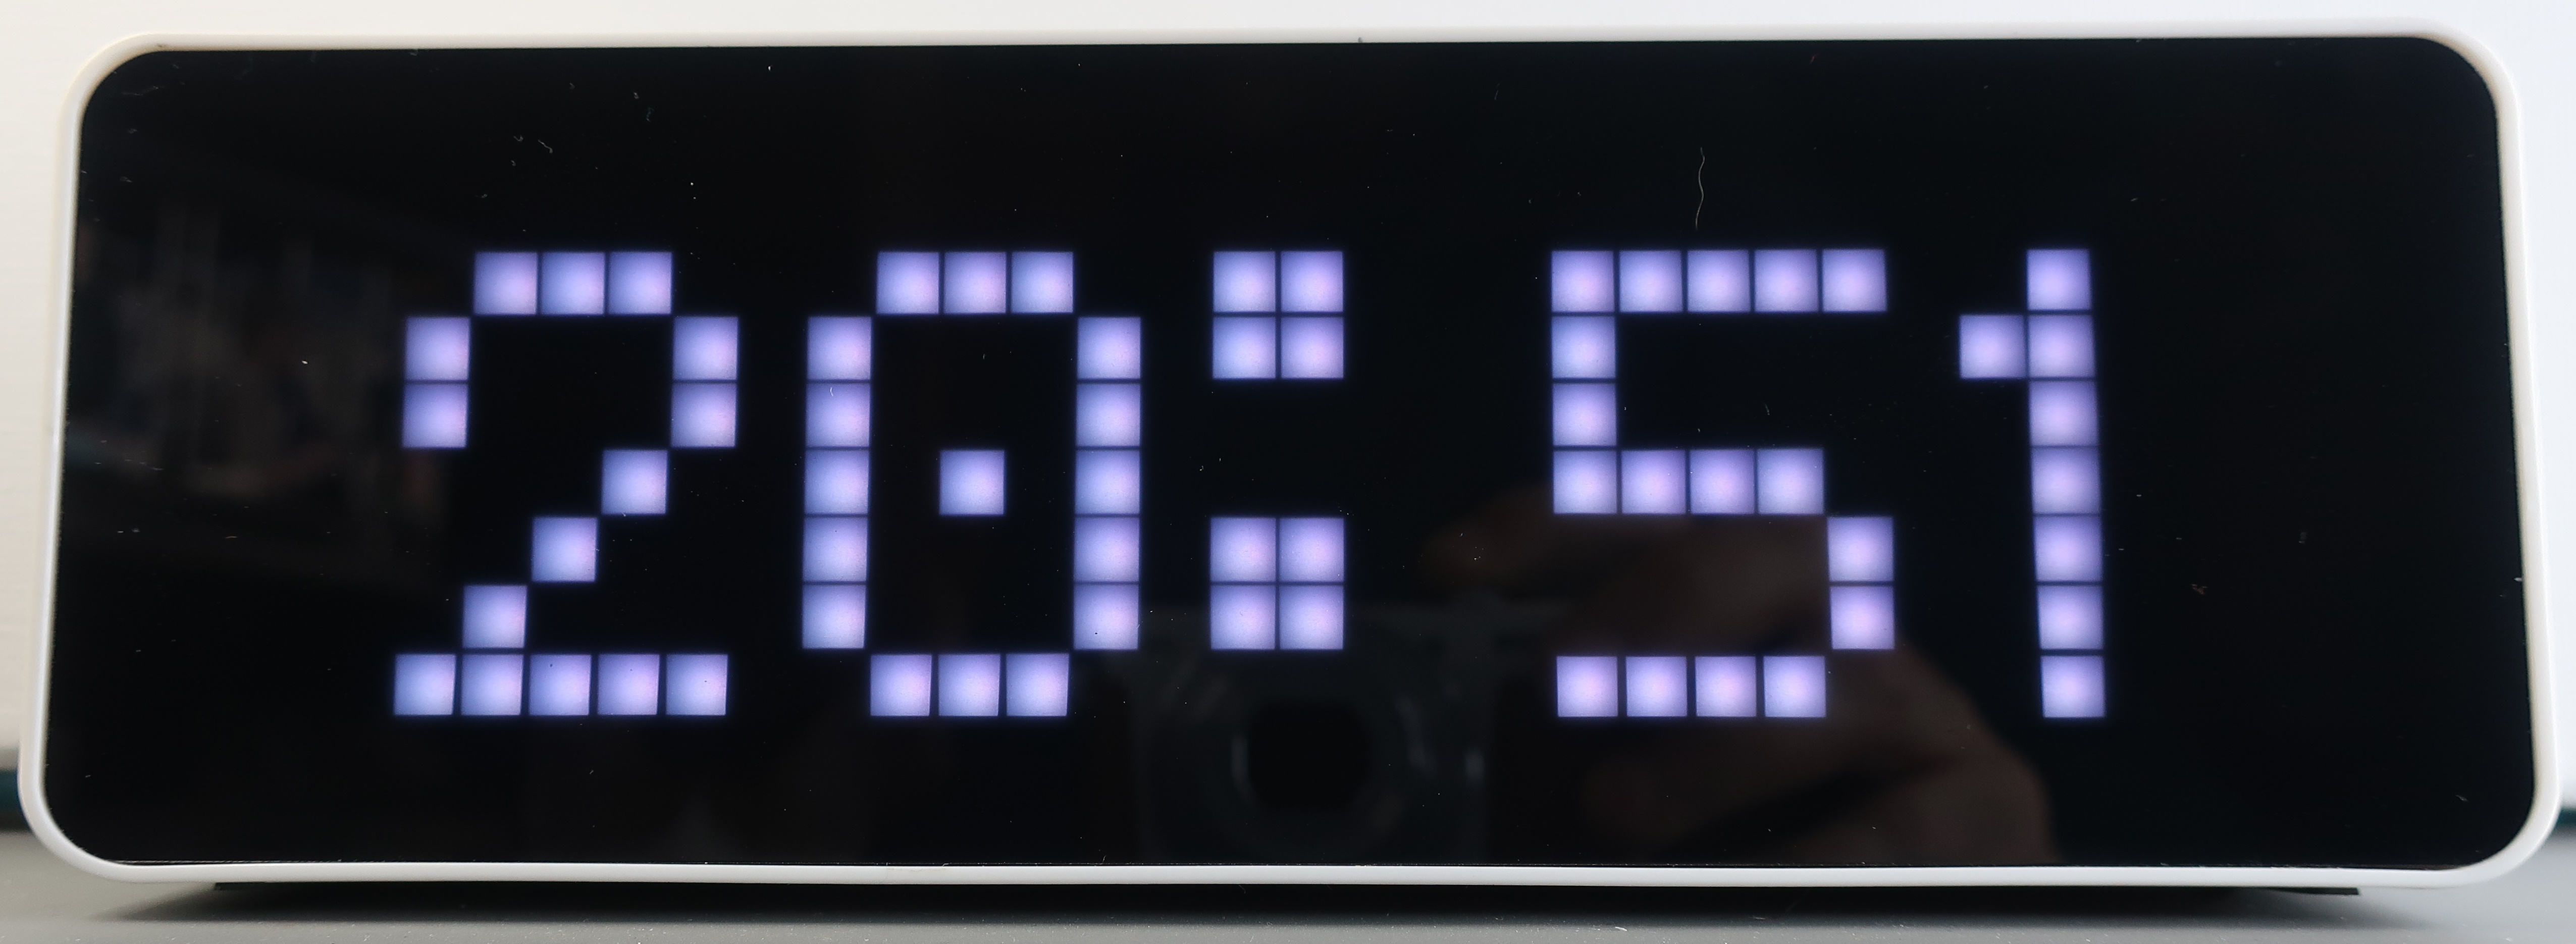
time_format: "%H:%M" # defaults "%H:%M" (use "%I:%M%p" for the US)
show_dow: false # draw the day indicator on the bottom of the screen, defaults to true
show_date: true # show the date for show_screen - show_clock seconds otherwise only shows the clock for show_screen seconds, defaults to true
week_start_monday: true # default monday is first day of week, false = sunday
yoffset: 8 # the text is aligned BASELINE_LEFT, the baseline defaults to 6
xoffset: 1 # the text is aligned BASELINE_LEFT, the left defaults to 1
scroll_interval: 80 # the interval in ms to scroll the text (default=80), should be a multiple of the update_interval from the display (default: 16ms)
frame_interval: 192 # the interval in ms to display the next anim frame (default=192), should be a multiple of the update_interval from the display (default: 16ms)
font_id: ehmtx_font
icons:
- id: ha
lameid: 7956
- id: tempc
lameid: 2422
- id: plug
lameid: 403
- id: humidity
lameid: 51764
- id: co2
lameid: 30662
binary_sensor:
- platform: status
name: "$devicename Status"
- platform: gpio
pin:
number: $left_button_pin
inverted: true
name: "$devicename left button"
on_press:
then:
- number.decrement: screen_brightness
- platform: gpio
pin:
inverted: true
number: $mid_button_pin
mode: INPUT_PULLUP
name: "$devicename middle button"
on_press:
then:
- switch.toggle: displaycontrol
- platform: gpio
pin:
number: $right_button_pin
inverted: true
name: "$devicename right button"
on_press:
then:
- number.increment: screen_brightness
# example to switch to next screen
# lambda: |-
# id(rgb8x32)->skip_screen();
logger:
level: INFO
# Enable Home Assistant API
api:
services:
- service: alarm
variables:
icon_name: string
message: string
then:
lambda: |-
id(rgb8x32)->add_screen(icon_name,text,7,20,true);
id(rgb8x32)->force_screen(icon_name);
- service: brightness
variables:
brightness: int
then:
lambda: |-
id(rgb8x32)->set_brightness(brightness);
- service: icons
then:
lambda: |-
id(rgb8x32)->show_all_icons();
- service: skip_screen
then:
lambda: |-
id(rgb8x32)->skip_screen();
- service: tuneplay
variables:
tune: string
then:
- rtttl.play:
rtttl: !lambda 'return tune;'
number:
- platform: template
name: "$devicename brightness"
id: screen_brightness
min_value: 0
max_value: 255
update_interval: 1s
step: 25
lambda: |-
return id(rgb8x32)->get_brightness();
set_action:
lambda: |-
id(rgb8x32)->set_brightness(x);
switch:
- platform: template
name: "$devicename Display"
id: displaycontrol
icon: "mdi:power"
restore_mode: ALWAYS_ON
lambda: |-
return id(rgb8x32)->show_display;
turn_on_action:
lambda: |-
id(rgb8x32)->set_display_on();
turn_off_action:
lambda: |-
id(rgb8x32)->set_display_off();
sensor:
- platform: sht3xd
temperature:
name: "$devicename Temperature"
humidity:
name: "$devicename Humidity"
update_interval: 60s
- platform: adc
pin: $battery_pin
name: "$devicename Battery"
id: battery_voltage
update_interval: 10s
device_class: battery
accuracy_decimals: 0
attenuation: auto
filters:
- sliding_window_moving_average:
window_size: 15
send_every: 15
send_first_at: 1
- multiply: 1.6
- lambda: |-
return ((x - 3) / 0.69 * 100.00);
unit_of_measurement: '%'
- platform: adc
id: light_sensor
name: "$devicename Illuminance"
pin: $ldr_pin
update_interval: 10s
attenuation: auto
unit_of_measurement: lx
accuracy_decimals: 0
filters:
- lambda: |-
return (x / 10000.0) * 2000000.0 - 15 ;
output:
- platform: ledc
pin: $buzzer_pin
id: rtttl_out
rtttl:
output: rtttl_out
i2c:
sda: 21
scl: 22
scan: true
id: bus_a
light:
- platform: neopixelbus
id: ehmtx_light
type: GRB
variant: WS2812
pin: $matrix_pin
num_leds: 256
color_correct: [30%, 30%, 30%]
name: "$devicename Light"
restore_mode: ALWAYS_OFF
on_turn_on:
lambda: |-
id(ehmtx_display)->set_enabled(false);
on_turn_off:
lambda: |-
id(ehmtx_display)->set_enabled(true);
time:
- platform: homeassistant
on_time_sync:
then:
ds1307.write_time:
- platform: ds1307
update_interval: never
id: ehmtx_time
display:
- platform: addressable_light
id: ehmtx_display
addressable_light_id: ehmtx_light
width: 32
height: 8
pixel_mapper: |-
if (y % 2 == 0) {
return (y * 32) + x;
}
return (y * 32) + (31 - x);
rotation: 0°
update_interval: 16ms
auto_clear_enabled: true
lambda: |-
id(rgb8x32)->tick();
id(rgb8x32)->draw();
Before installing download the Calcium font and place it in the same location as the configuration yaml. Connect the Ulanzi via the USB-C port to the machine with Esphome. Click install and choose “Plug into..” and wait for it to complete.
If that is not possible you can choose “Manual download”, grab the built binary and flash it manually with esptool.py or ESPHome-Flasher.
This is just the skeleton configuration, you need to add (animated) icons you’re going to use. Or do a deep dive and adapt it how you want it, it’s just Esphome.
Buttons and Sensors
Buttons are configured to change brightness using left and right buttons and turn the display on or off with the middle button.
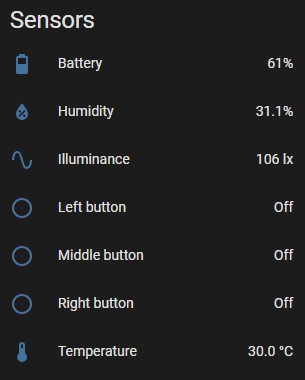
Initial configuration had raw ADC sensors for battery and voltage. I’ve set them up as a lux and battery percentage sensors to the best of my abilities. Can’t say they’re accurate since the “calibration” was a trial and error job but they look to be in the ballpark.
Icons
You can add icons and animated gifs via a file or url. Esphome will try to downscale the static images to 8x8 but the icons don’t turn out great most of the time. The easier way is to use the Lametric Developer website and poach from their library of thousands of appropriately sized icons, many of them animated.
Create an account, go to Create new app and click Select icon under Look and Feel and find the ones you want to use.
There’s a somewhat hidden feature in EsphoMaTrix to pull the icons directly just by its LameTric numeric id:
  icons:
    - id: ha
      lameid: 7956
I don’t know for how long will this be possible and I strongly recommend to download the icons you intend to use and save them locally. Add the icon number to the url https://developer.lametric.com/content/apps/icon_thumbs/ and download it to the same folder as the configuration yaml file. Use with:
  icons:
    - id: batman
      file: batman.gif
Fonts
To have good readable fonts you should search for pixel fonts. I’ve found a great resource called Bitfontmaker2 with a large selection of fonts with open licenses like public domain or Creative Commons. Bitfontmaker2 also lets you create your own font or edit the existing one to add characters you might be missing.
Not all fonts will work but there’s a higher chance to find a suitable one here than on the random free font repositories.
Download the font and save it to the same folder as the configuration yaml file and change the filename in the yaml.
font:
  - file: fonts/BetterPixels.ttf
    id: ehmtx_font
    size: 16
    glyphs:  |
      !?"%()+*=,-_.:°0123456789ABCDEFGHIJKLMNOPQRSTUVWXYZ abcdefghijklmnÖÄÜöäüopqrstuvwxyz€$@<>/
Some fonts will require different sizes, most likely 8 or 12 and many fonts will just be too big to display properly. Some fonts will fit only with uppercase letters.
Depending on the font size and shape you might need to raise or lower yoffset: to make the entire font visible.
The glyphs: key just tells Esphome which characters will be saved to flash memory and used by the display. If a character is missing from the font with a defined glyph it will be displayed as a white outlined square. If a glyph isn’t defined that character it will be displayed as a white block. Adjust according to your use and font’s capabilities. Fonts on Bitfontmaker2 have a GlyphMap link to display all available characters.
I settled on Calcium because it looks nice and has a lot of included glyphs. Other contenders were Awesome as a large font or, appropriately named, smallfonts with symbols or DMD-Small as small font options. Small fonts are useful if you have day_of_week indicator enabled, make sure to set yoffset: 6. Honorable mention goes to Fallout, font used in my favourite games Fallout 1 and 2
Services
Many of the basic EsphoMaTrix services are in the configuration. Read more about Services.
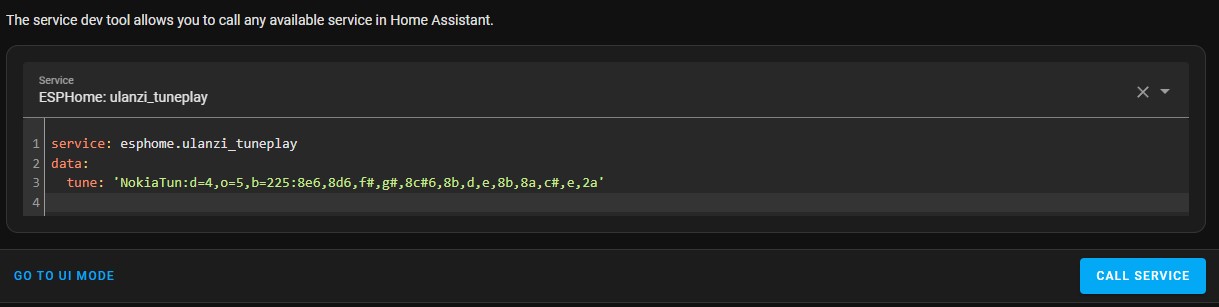
There’s a new service, particular to the Ulanzi TC001: tune service which plays RTTTL tunes on the built in buzzer.
RTTTL or Ring Tone Text Transfer Language was used to transfer ringtones to Nokia cellphones. Some of you will remember the ubiquitous Nokia ringtone in the late 90’s and nowadays you can play it directly from Home Assistant as a notification on your pixel clock.

find service ESPHome devicename_tuneplay and enter
service: esphome.ulanzi_tuneplay
data:
  tune: 'NokiaTun:d=4,o=5,b=225:8e6,8d6,f#,g#,8c#6,8b,d,e,8b,8a,c#,e,2a'
As with any other service you can use it in an automation.
There’s more than ten thousand melodies to choose from downloadable from Picaxe.
Example Automation
I’ve just gone ahead and used the ehmtk [README.md] example because it’s simple and effective.
alias: Ulanzi Display Stuff
description: "Create screens on Ulanzi TC001"
trigger:
  - platform: state
    entity_id: sensor.temptest_pms5003_pm2_5
    id: pm25
  - platform: state
    entity_id: sensor.temptest_2_sht4x_temperature
    id: tempc
  - platform: state
    entity_id: sensor.temptest_mhz19b_carbondioxide
    id: co2
condition: []
action:
  - service: esphome.ulanzi_add_screen
    data:
      icon_name: "{{trigger.id}}"
      text: >-
        {{ trigger.to_state.state }}{{ trigger.to_state.attributes.unit_of_measurement }}
      lifetime: 2
      alarm: false
mode: queued
max: 10
To make this work you have to configure icons in yaml with id’s identical to the trigger id used.
What happens is this:
First you need to configure an icon with icon_name: pm25. Then, when the trigger with the id “pm25” happens, Home Assistant calls the _screen service with icon_name: pm25 (identical to the trigger id). This will create a screen pm25 with the icon configured and then insert the value and unit of measurement of that sensor.
Possibilities
This were just basic examples. Read more on all the services you can call from Home Assistant and different displays EsphoMaTrix has in their README.
Ulanzi Smart Pixel Clock is available from the following stores:
I’m looking forward to see what you’ve accomplished with this powerful component for Esphome. Share your screens and tag me on Twitter or Instagram.

Explore more like this
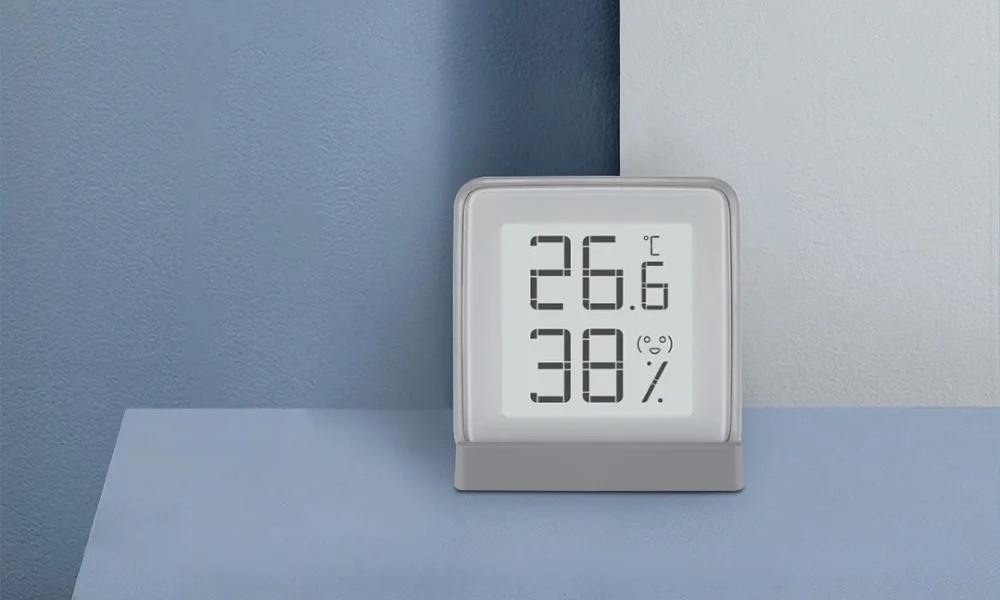
Convert Xiaomi MMC MHO-C401 E-Ink Bluetooth Sensor to Zigbee
Guide on installing Zigbee firmware on the Bluetooth temperature and humidity sensor with e-ink display. The best Zigbee temperature and humidity sensor with an e-ink display is a Bluetooth one....
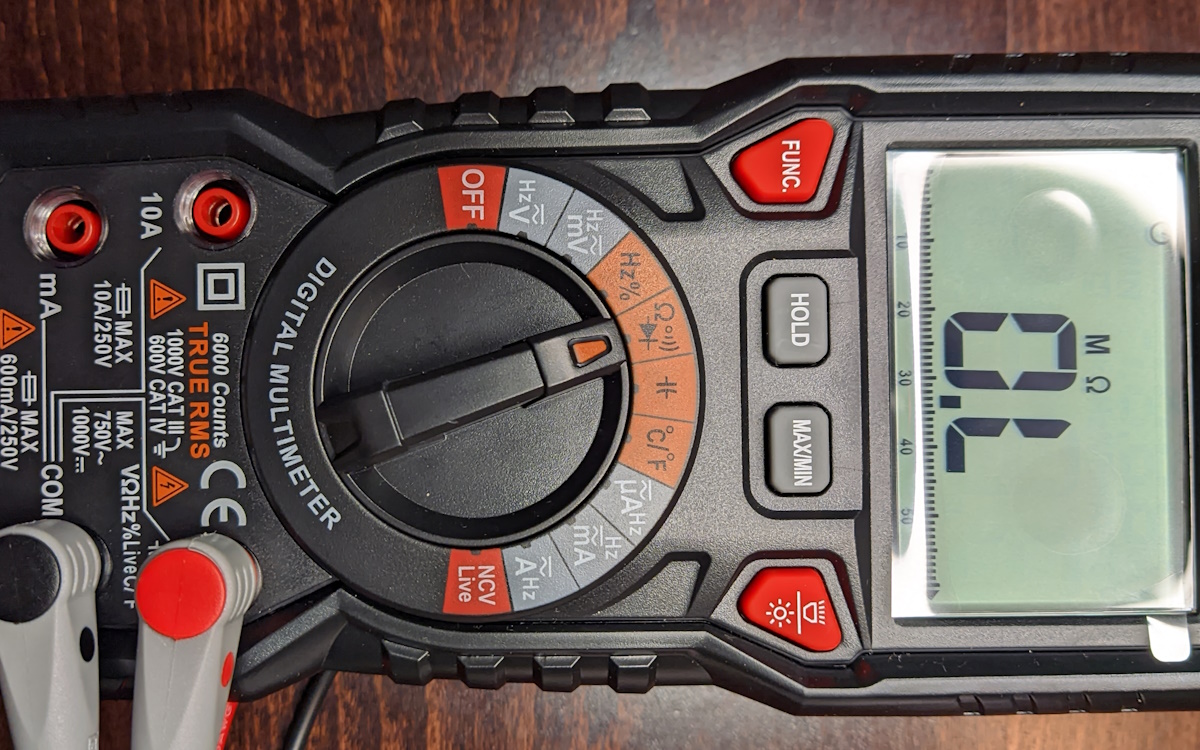
Kaiweets HT118A Digital Multimeter Review
If you’re into tinkering with electronics one of the tools you can’t go without is a multimeter.
Comments