Tasmotize the BlitzWolf Smart Air Fryer
How to disassemble and tasmotize the BlitzWolf Air Fryer BW-AF1.
In case you haven’t read the review the BlitzWolf Smart Air Fryer BW-AF1 is available from Banggood, delivered from China or EU.
Factory Tuya firmware was, per usual, not exactly feature rich. Let’s try and flash Tasmota on it and see what else is possible.
Disassembly
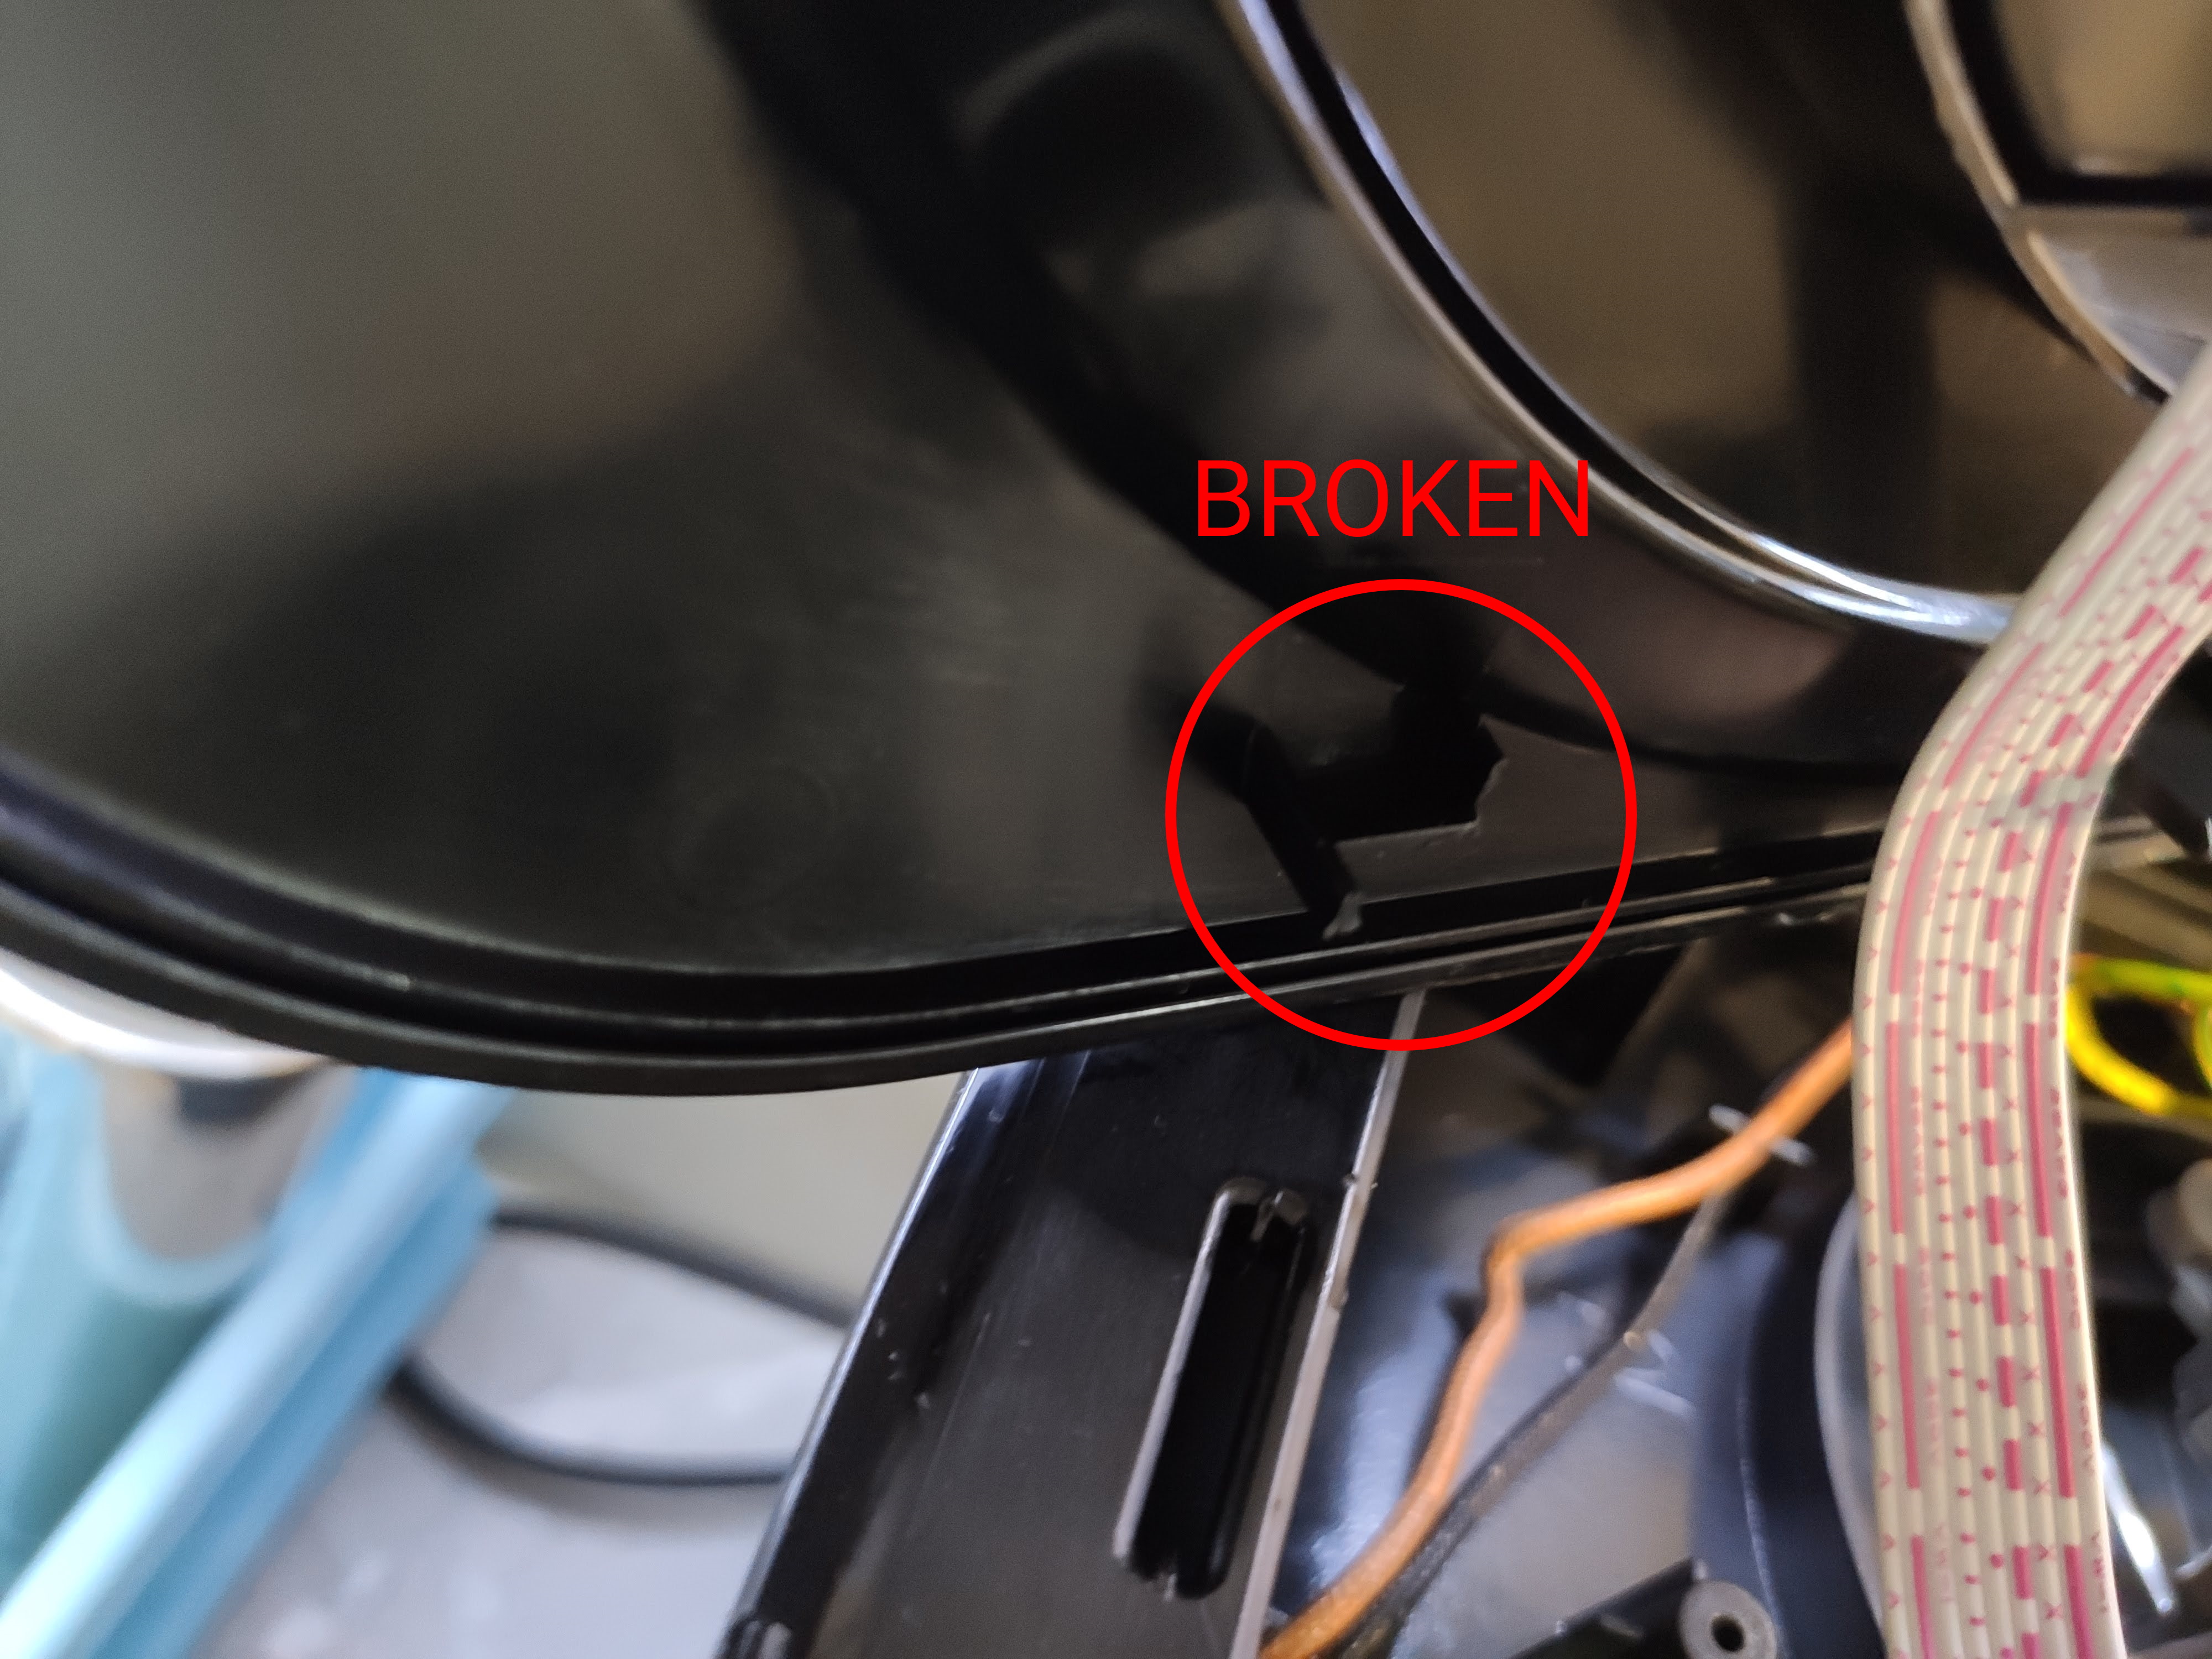
To gain access to the Wi-Fi module you have to remove the top part with the control panel. It is held to the base with 8 clips (2 clips on each side) that are visible in the middle of the ventilation slits.
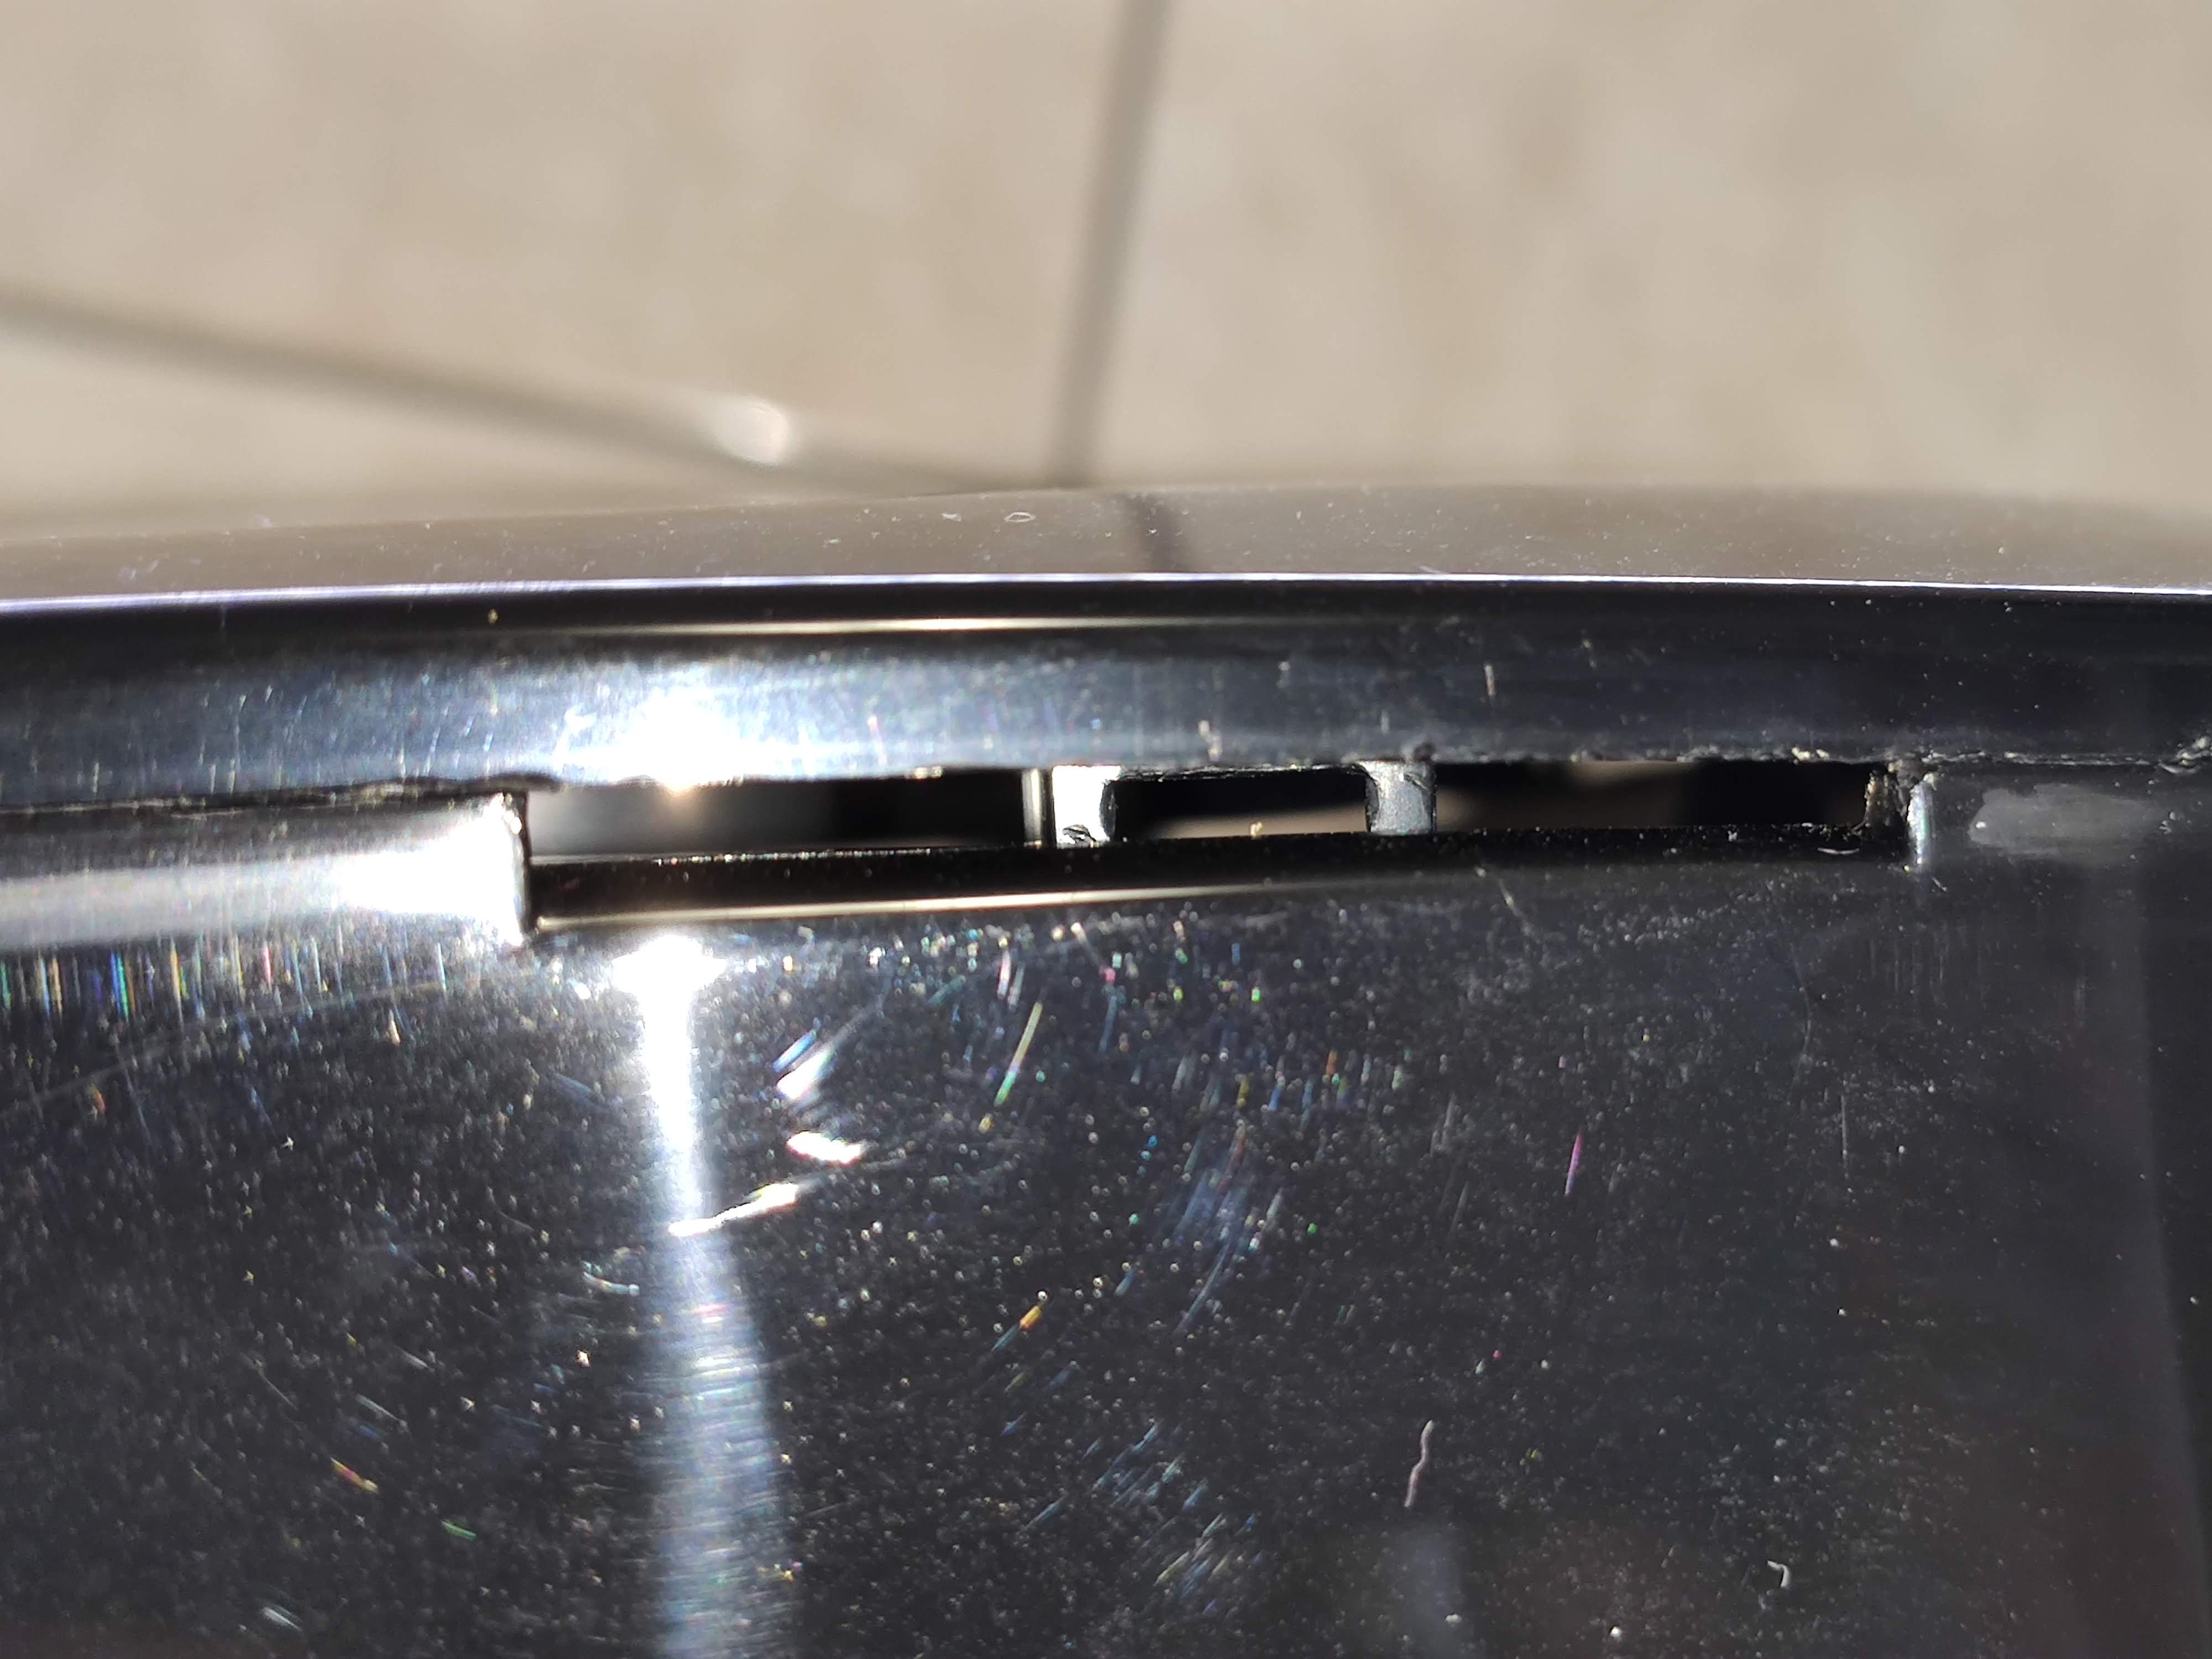
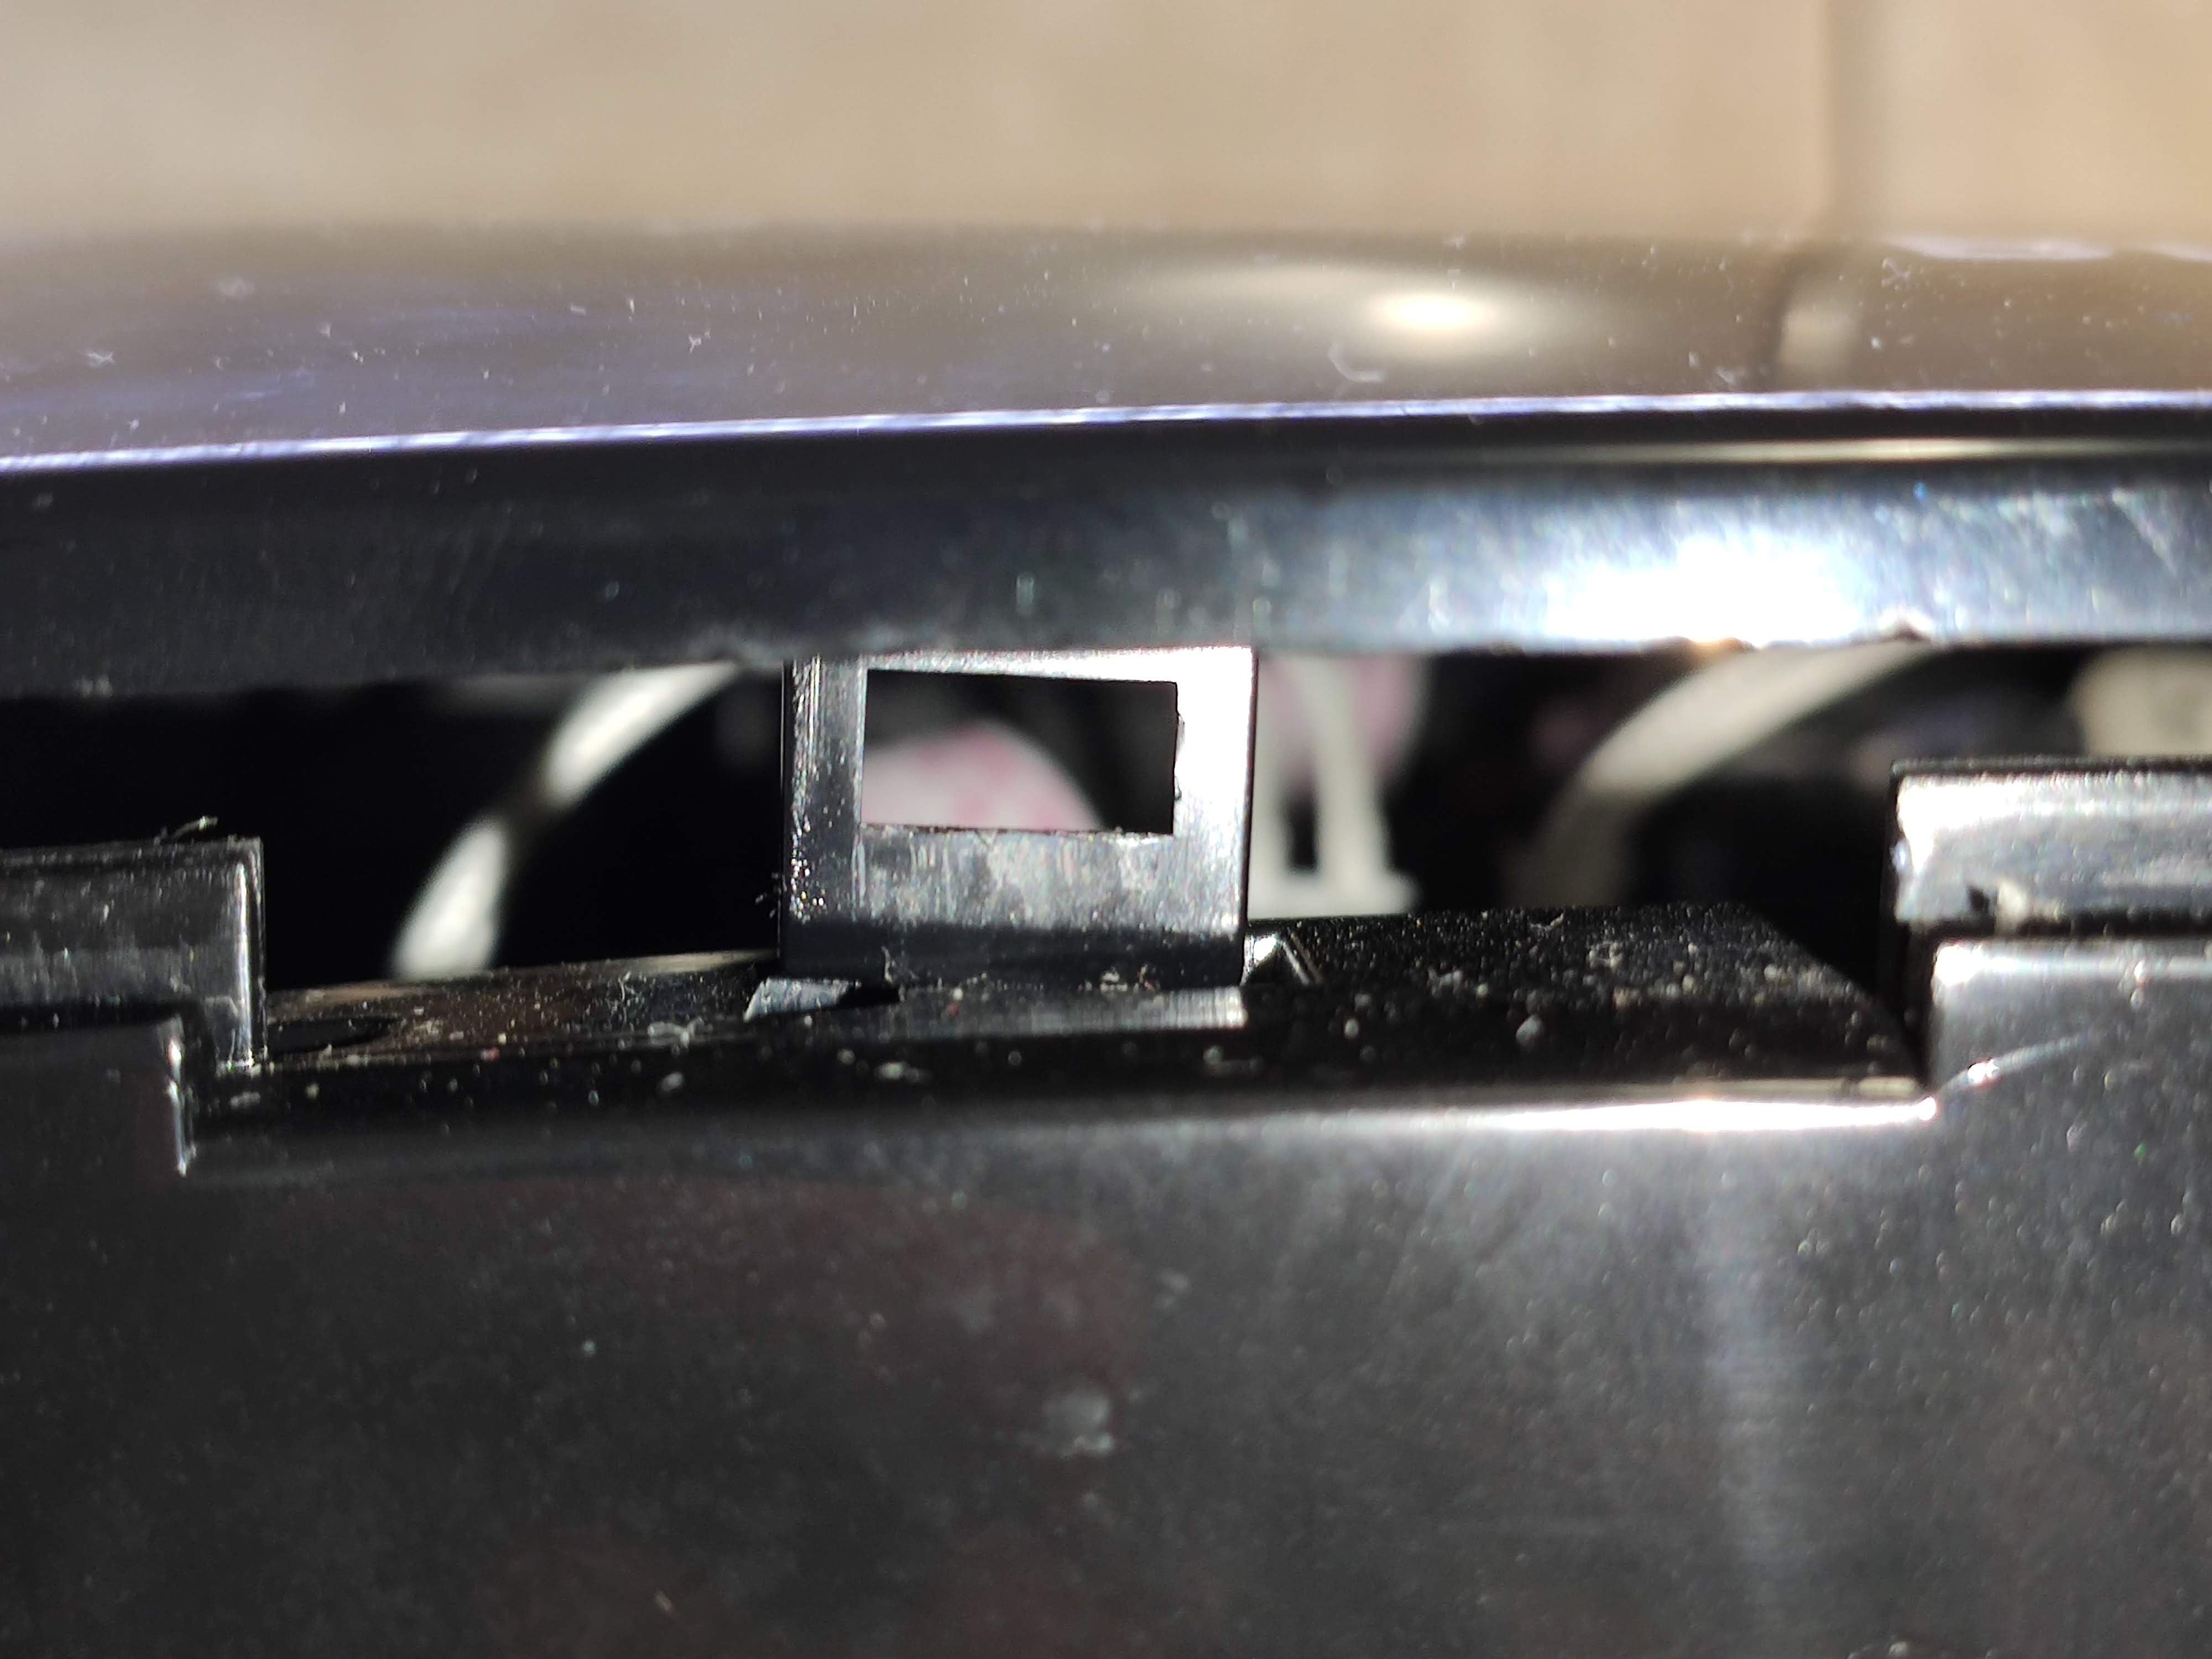
Preferably use some plastic tool to gently push the clips to release them from the base.
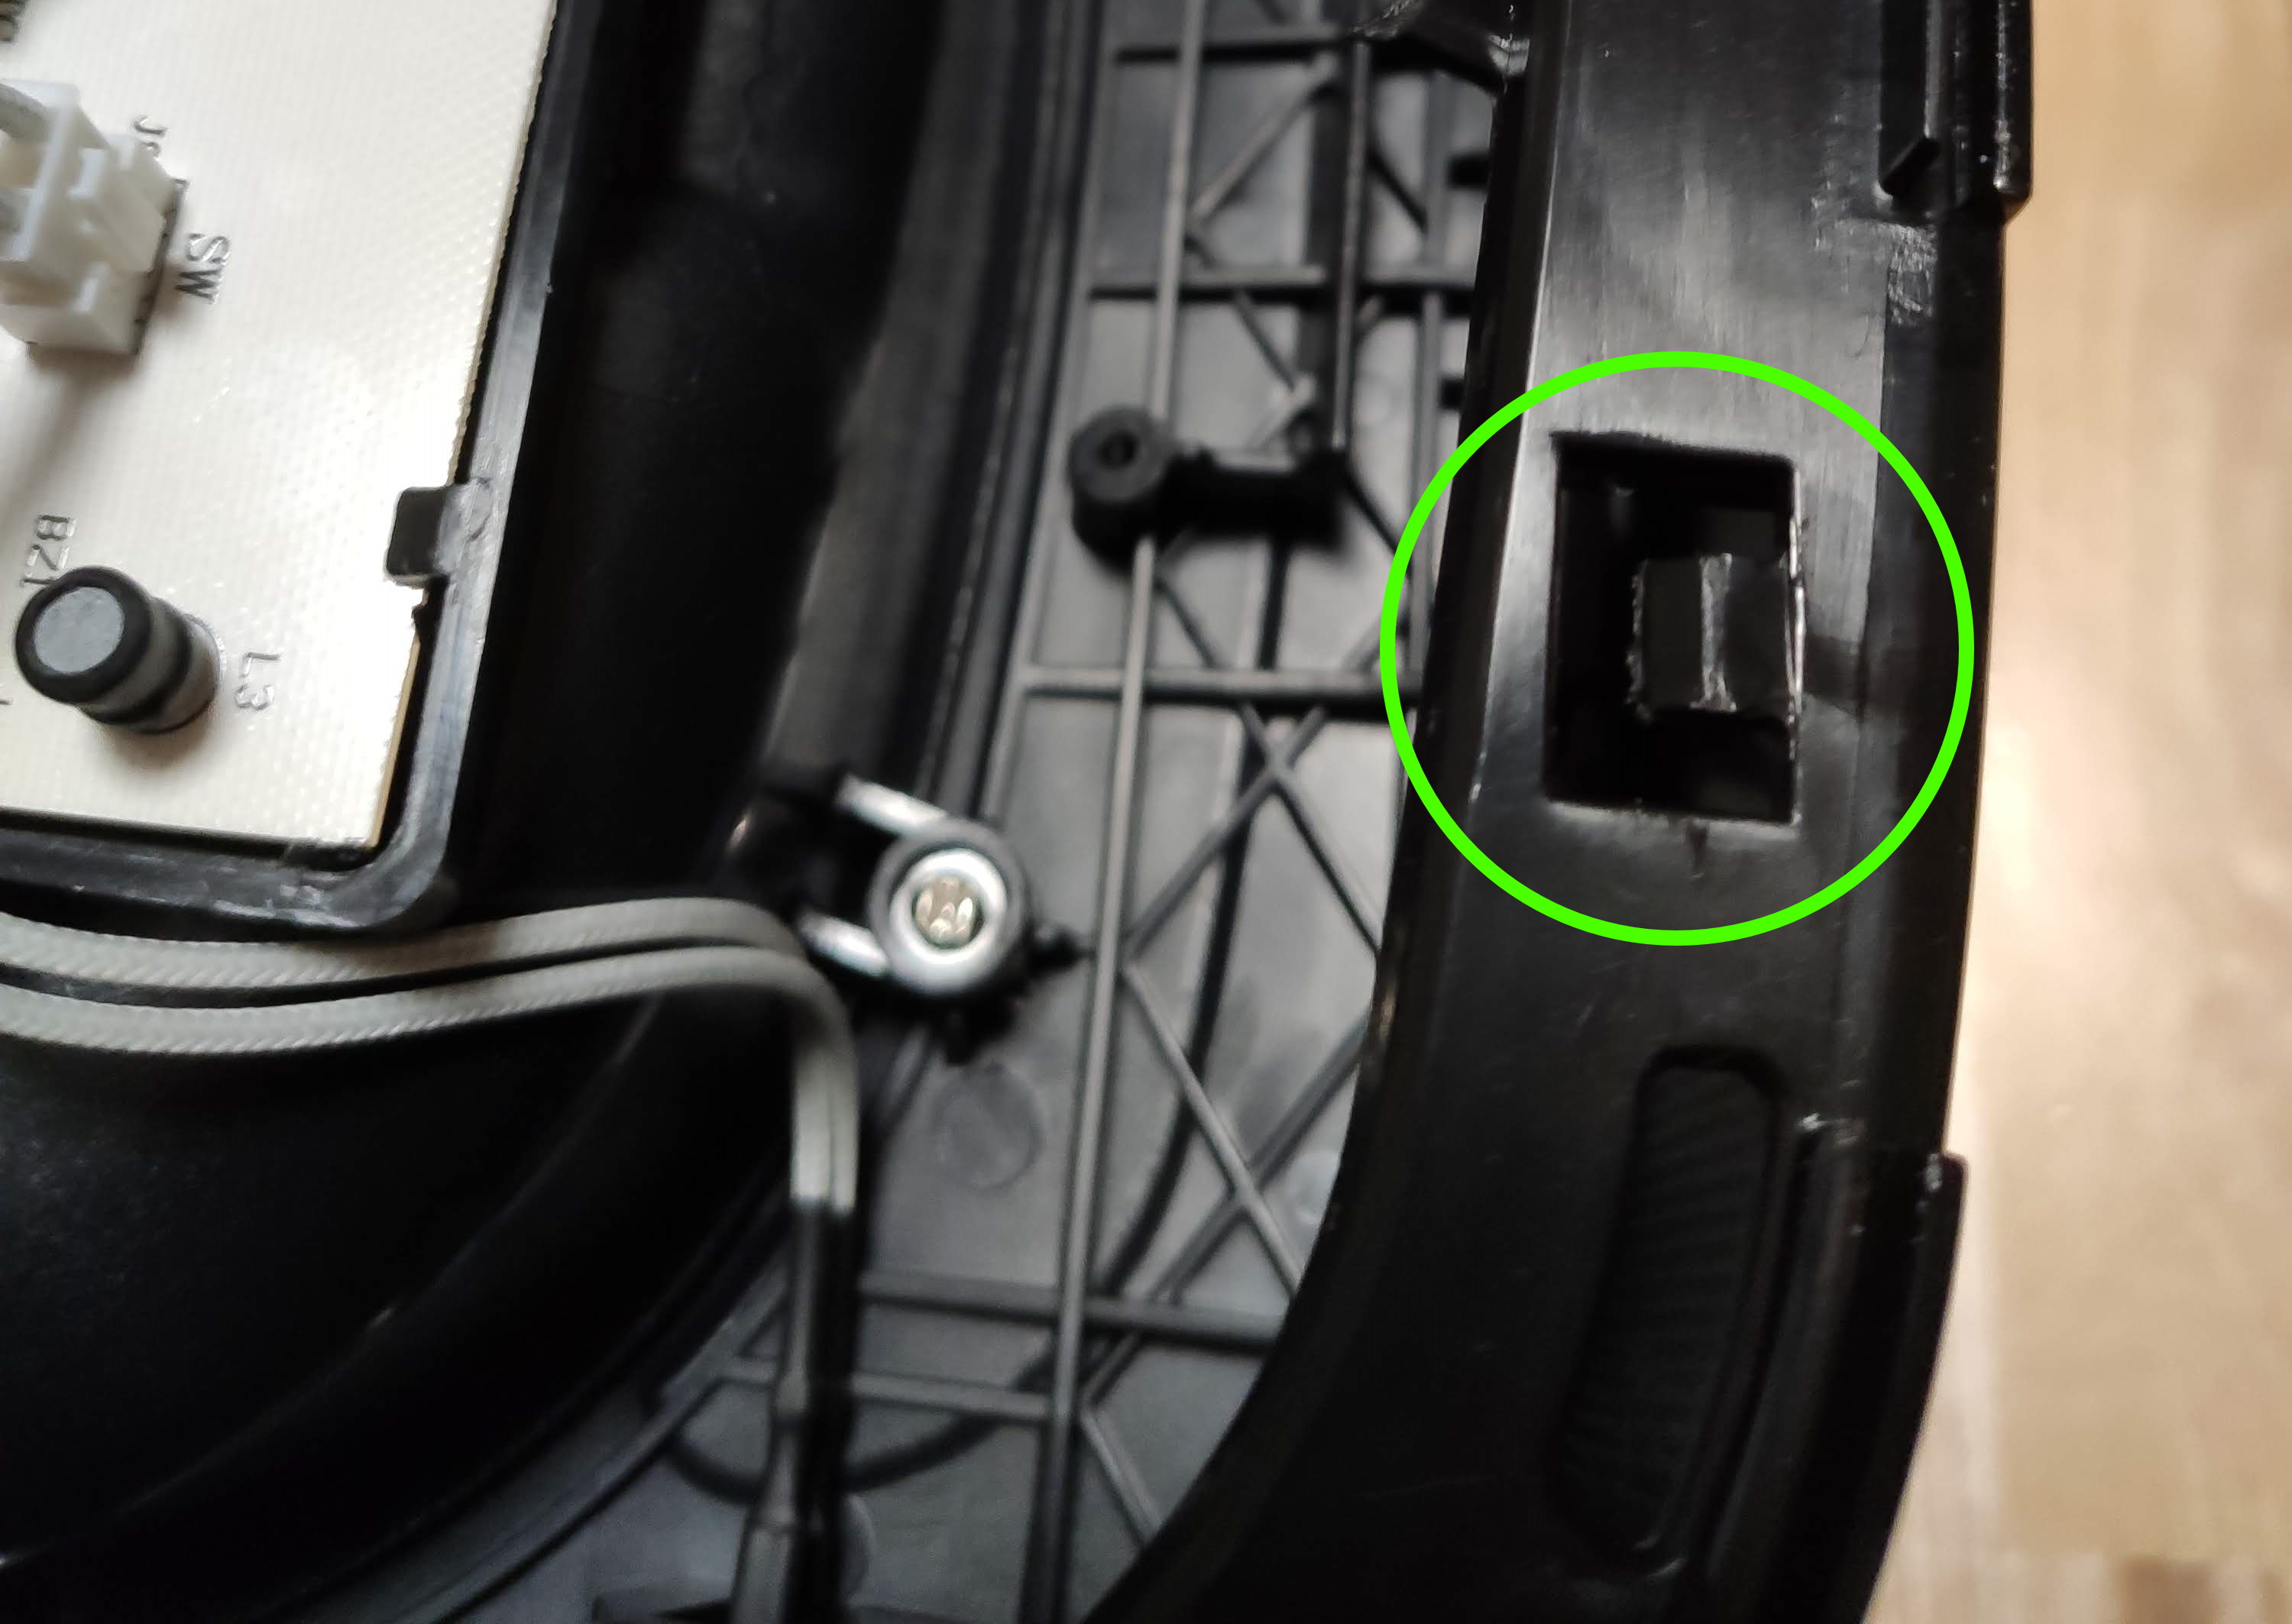
Ultimately you will likely break a clip or two (or 4 in my case) because the plastic used is not very pliable and breaks easily. But that’s nothing to worry about, some double sided tape, hot glue or regular clue will fix that in the end.
Disconnect the white cable from the base PCB.
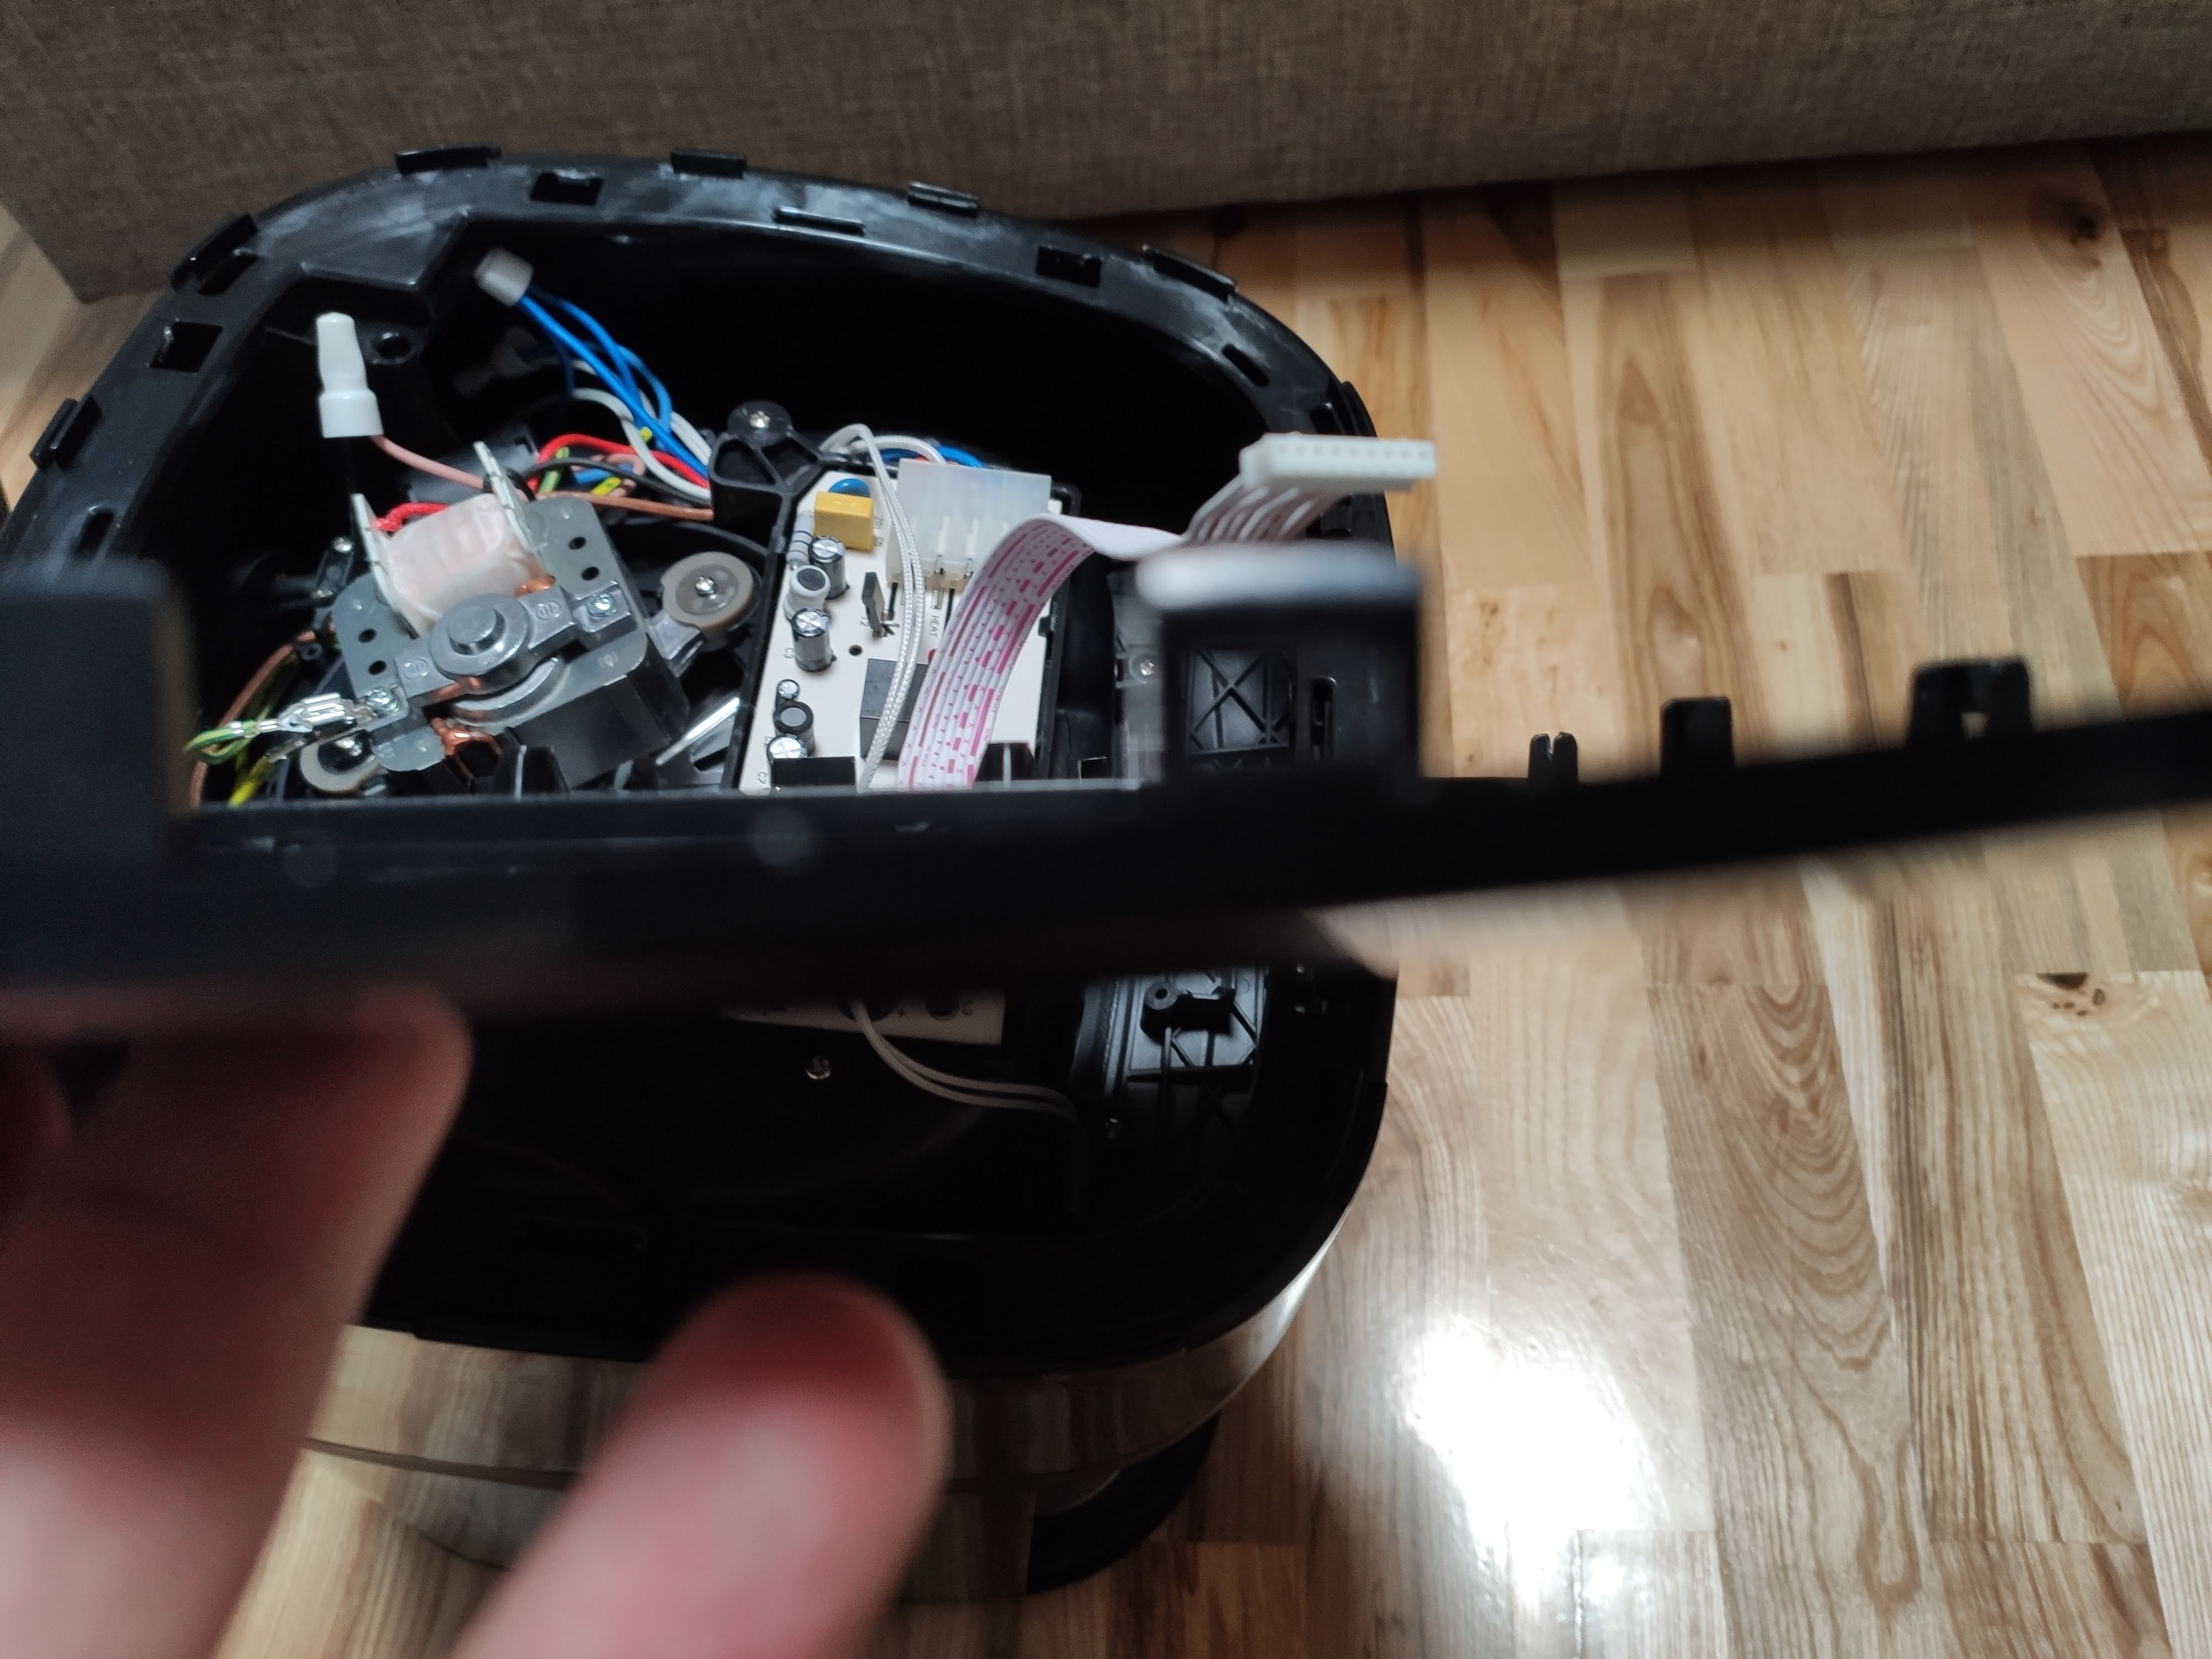
Flip the lid and unscrew the top to gain access to the control board.

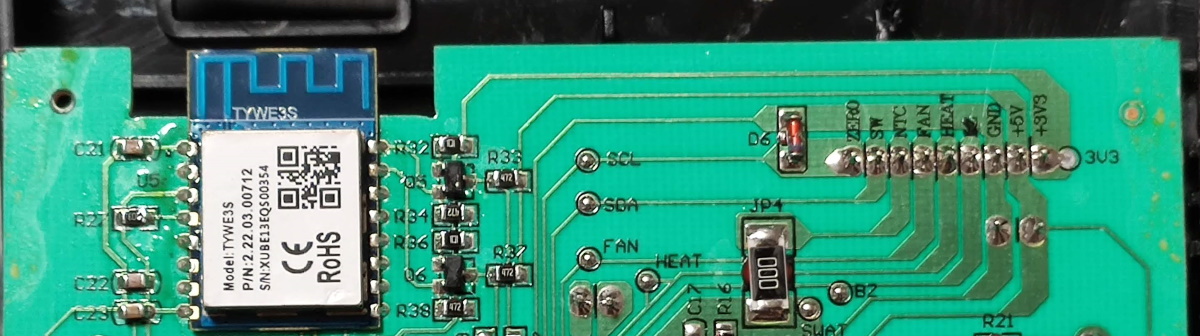
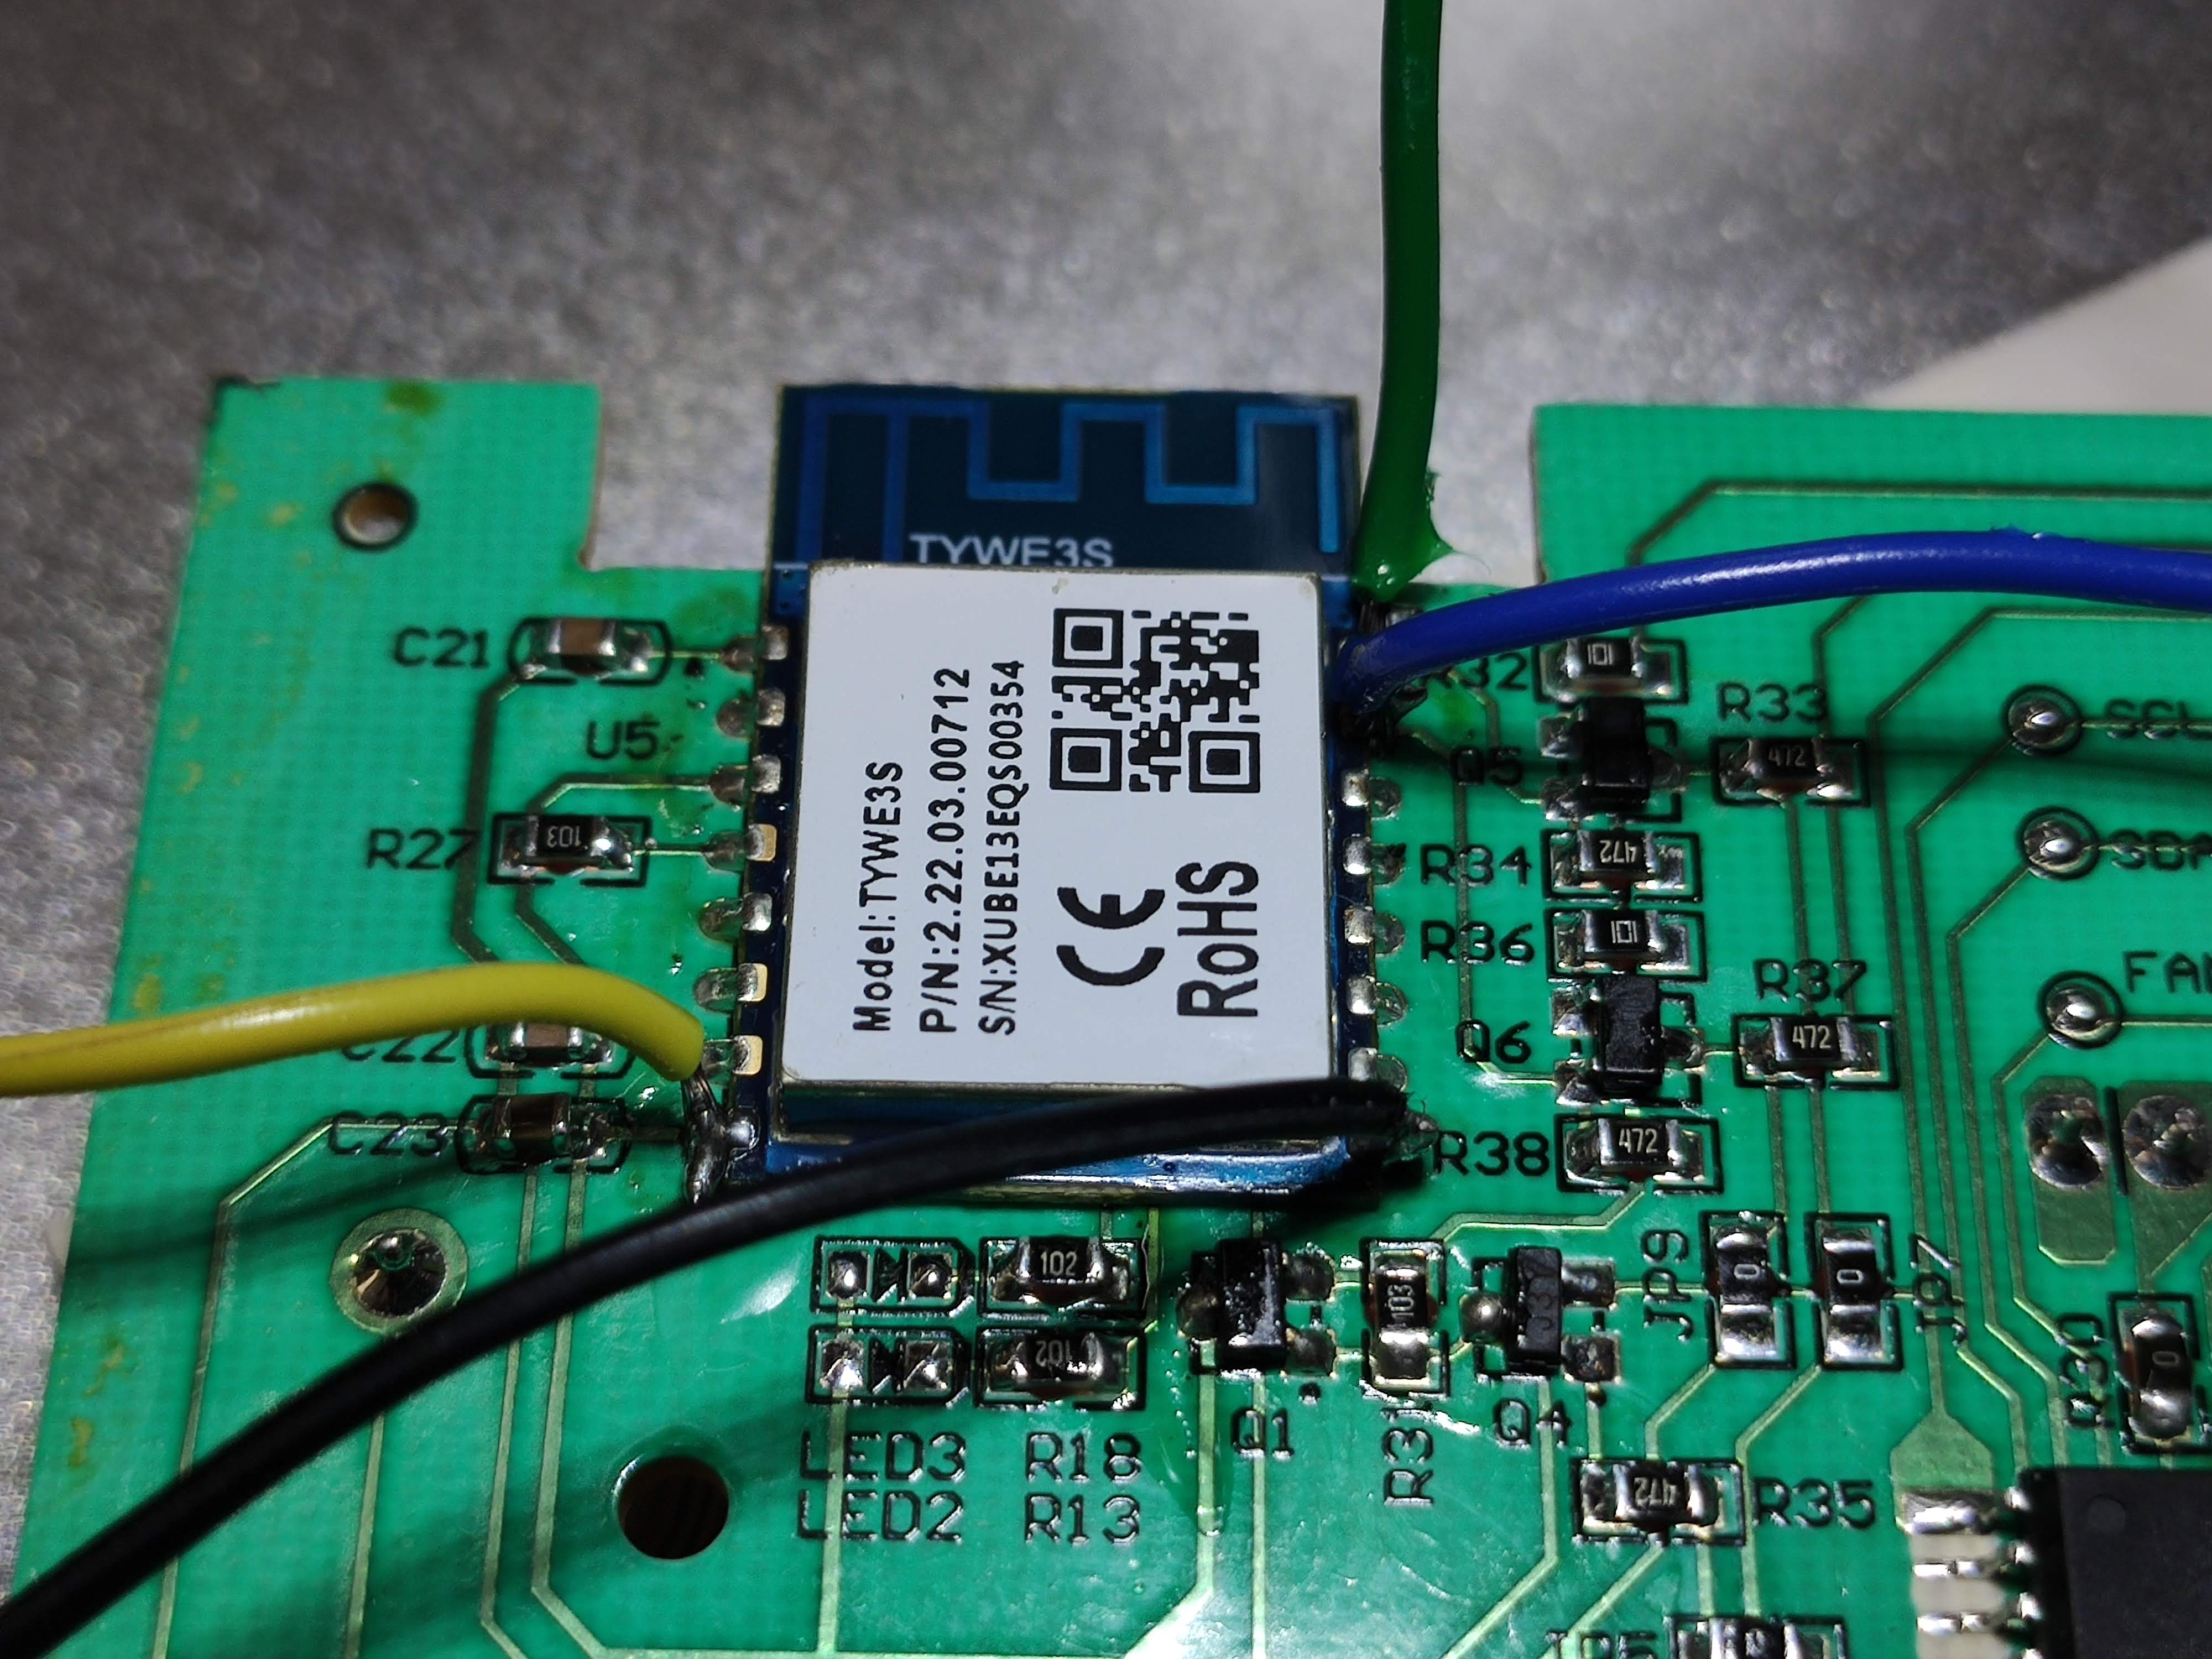
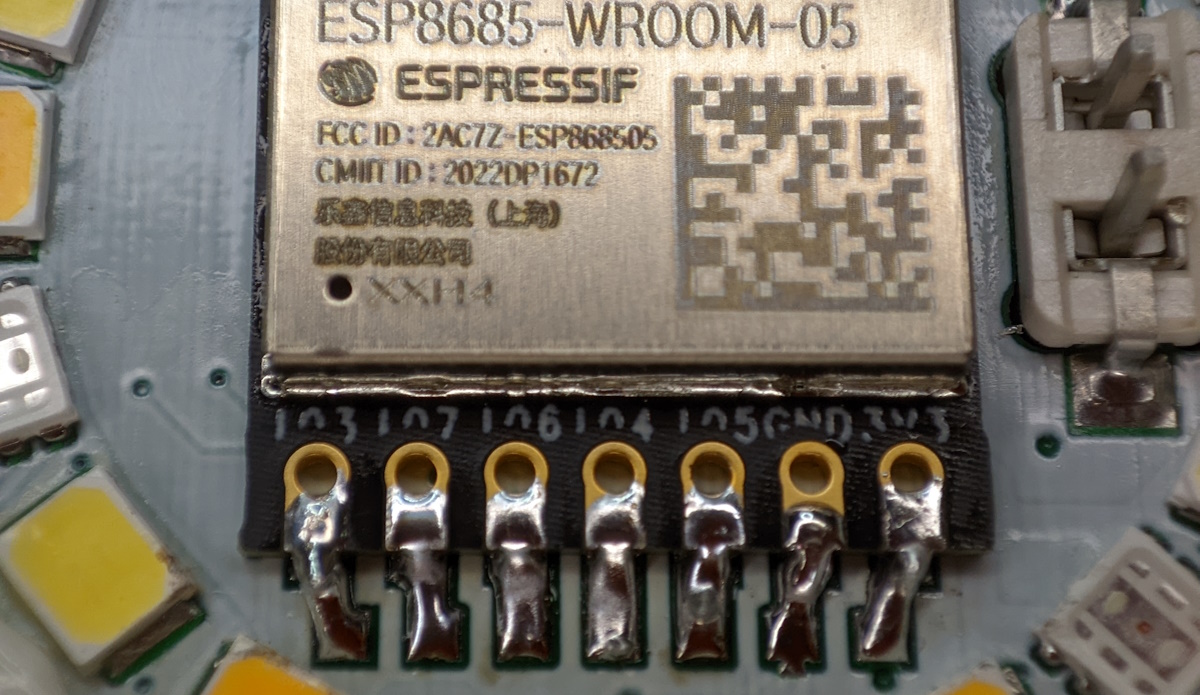
Board is held by three side clips, you have to take the board out to get to the TYWE3S module.
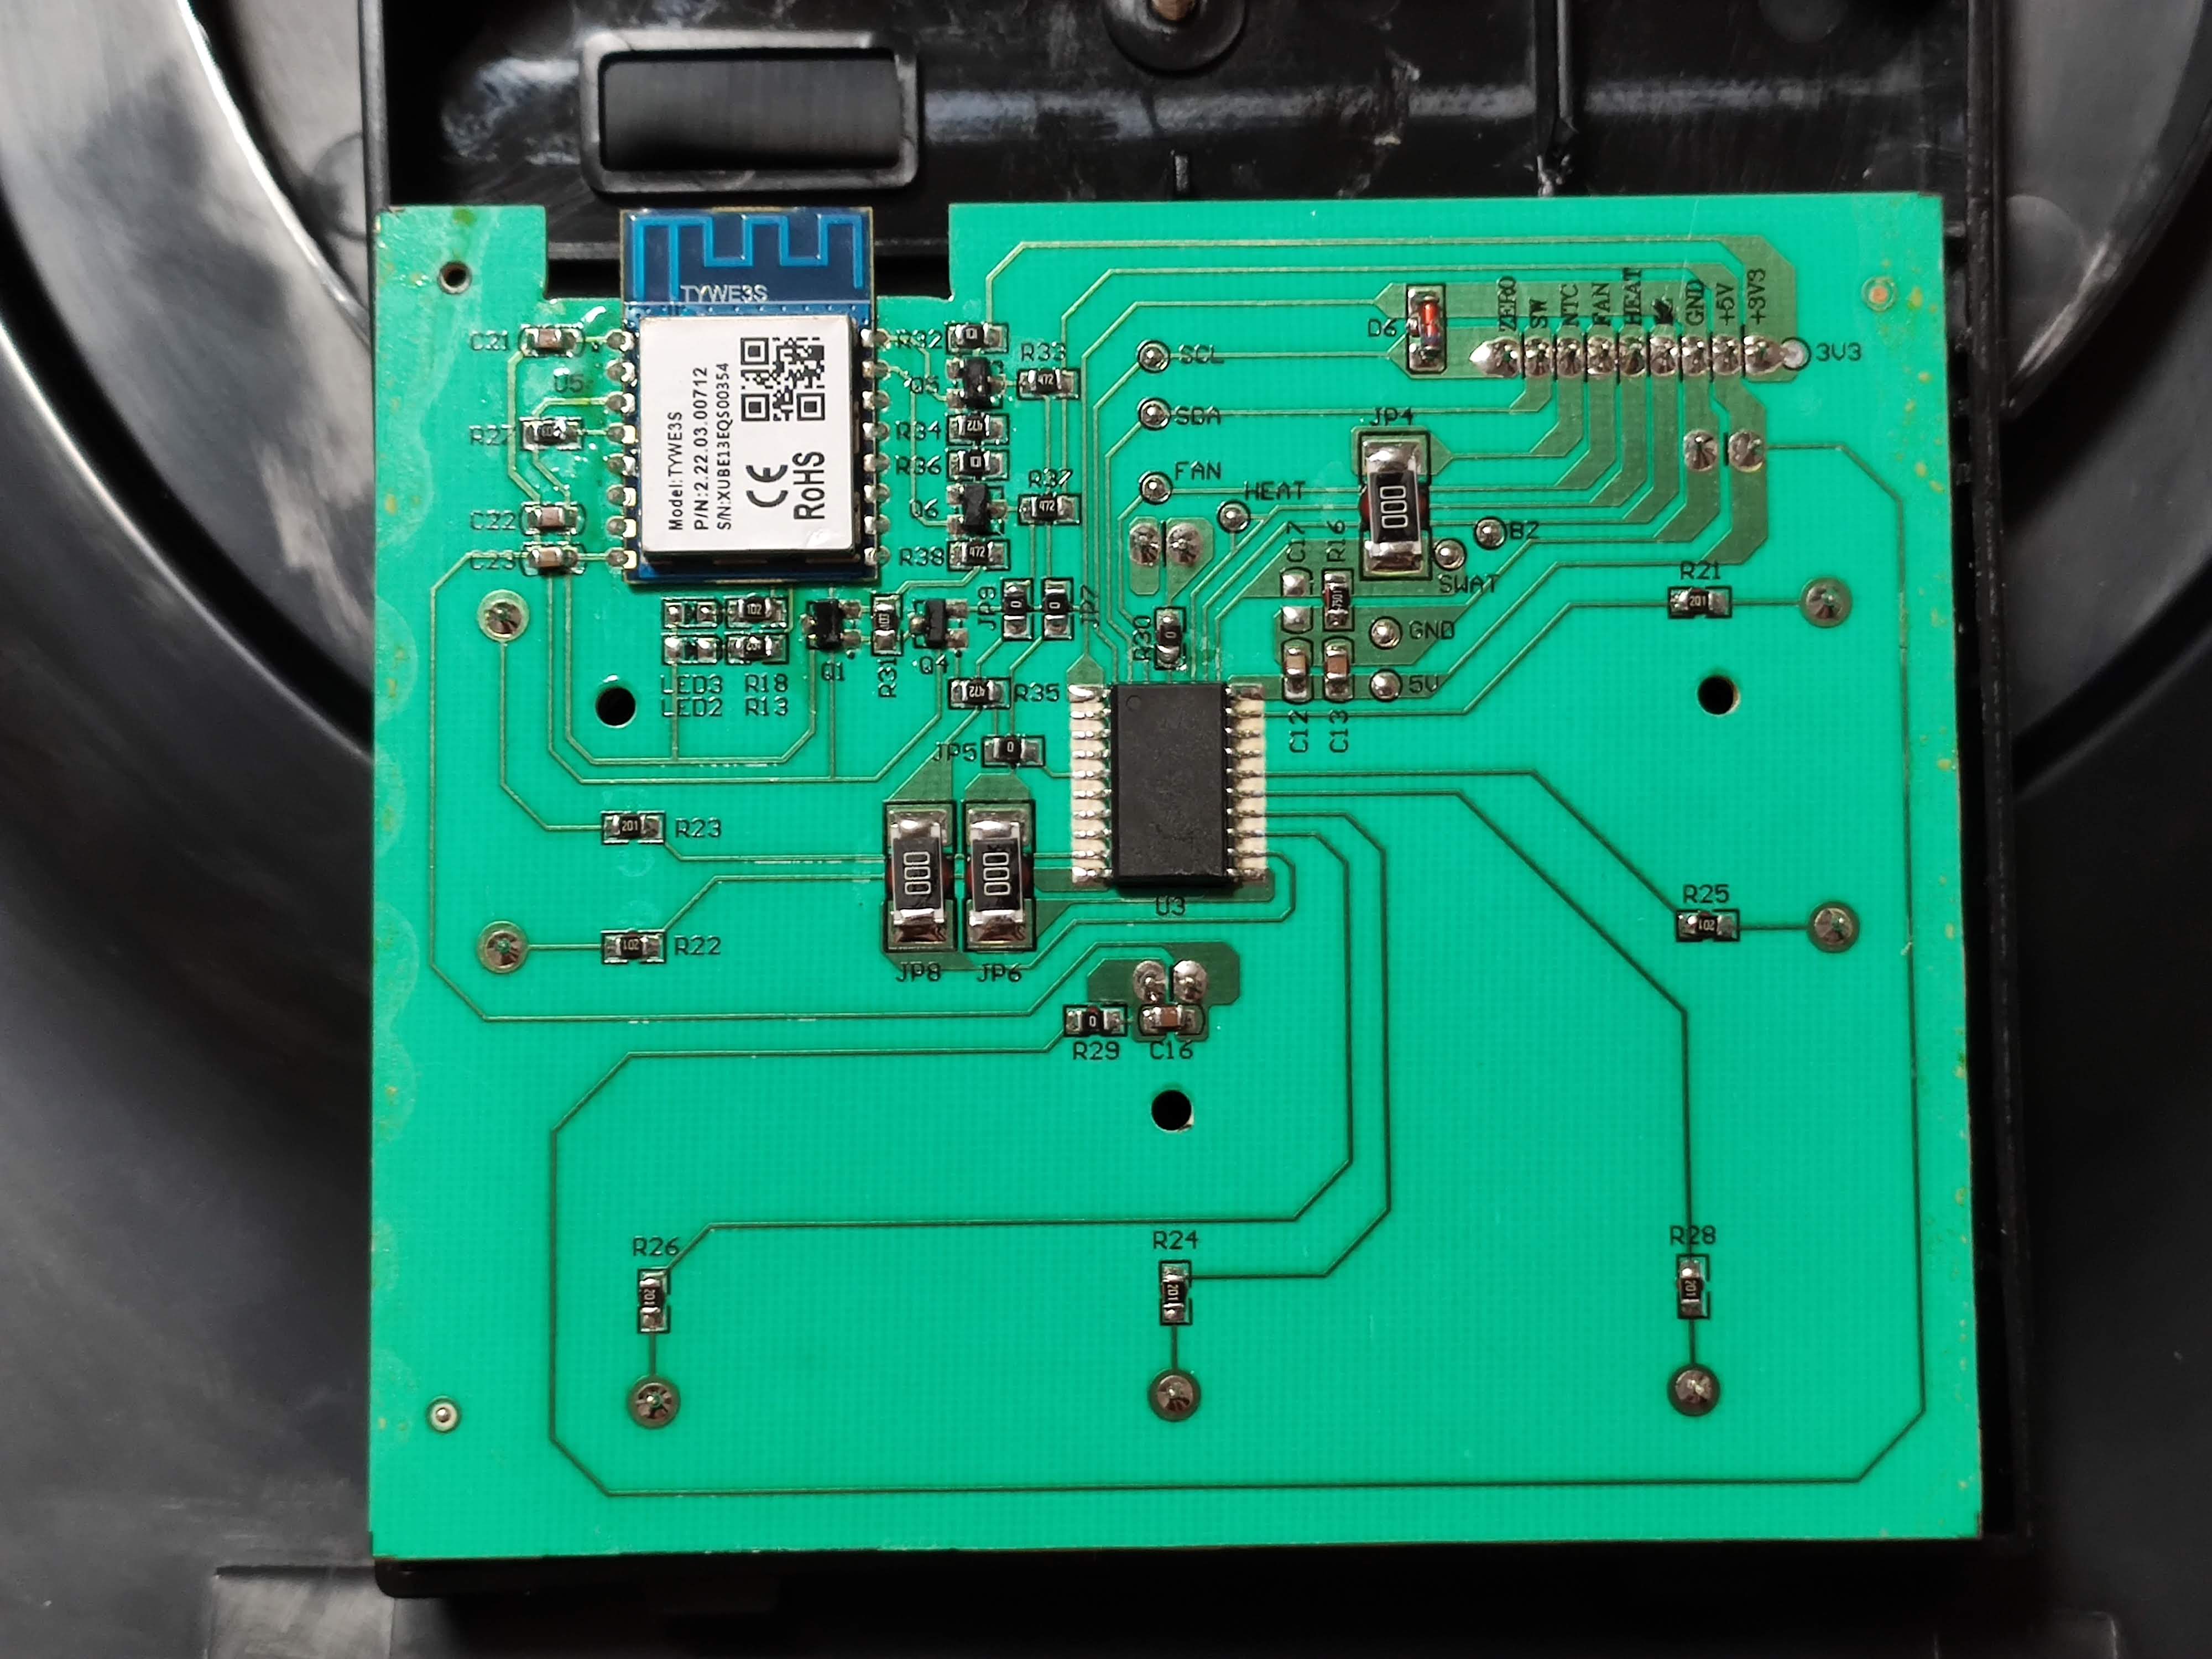
Flashing goes according to the standard flashing procedure for TYWE3S module. Connect 3v3, GND, TX and RX and ground GPIO0 on power up. Flash latest Tasmota on it.
Reassemble everything, stick/glue lid on top if you were like me and broke half of the pins.
Tasmota Configuration
After configuring Wi-Fi and MQTT set the template to:
{"NAME":"BW-AF1","GPIO":[0,107,0,108,0,0,0,0,0,0,0,0,0],"FLAG":0,"BASE":54,"CMND":"TuyaMCU 11,111 | TuyaMCU 12,101 | TuyaMCU 71,104 | TuyaMCU 81,106 | TempRes 0"}
This will map dpid 111 which is Start-Pause Cooking to the first toggle and dpid 101 for powering the fryer on or off to second toggle. You can flip them if you like with Backlog TuyaMCU 11,101; TuyaMCU 12,111. Two sensors, one for current device temperature and one of remaining cooking time in seconds will be shown in the webUI.
Webbutton Tricks
Did you know you can change the toggle text with webbutton command? And did you know you can use emojis instead of regular text?
To get this…

…use this command
Backlog WebButton1 ▶; WebButton2 🔴
*Available icons and icon design may vary depending on browser or operating system
Features
These are all available dpid’s with their descriptions.
dpid 101
Power the air fryer on (1) or off (0) using second toggle or TuyaSend 101,<value>.
dpid 103
Sets cooking temperature with a range from 40 to 400 using TuyaSend2 103,<value>.
dpid 104
Shows current internal temperature of the fryer
dpid 105
Set cooking time with a range from 0 to 60 minutes using TuyaSend2 105,<value>
dpid 106
Shows remaining time of the current cooking program
dpid 108
Changes temperature unit. 0 is Celsius (°C) and 1 is Fahrenheit (°F). When you change to Fahrenheit,dpid 103 and dpid 104 change their values and scale accordingly. Use TuyaSend 108,<value>.
dpid 109
Selects cooking mode with TuyaSend4 109,<value>.
- 0 is “default”
- 1 is “custom”
- 2 is “fries”
- 3 is “frozen fries”
- 4 is “nuggets”
- 5 is “chicken”
- 6 is “steak”
- 7 is “fish”
dpid 111
Start cooking or pause current cook cycle using first toggle or or TuyaSend 111,<value> (Start is 1 and pause is 0).
To control the device from Tasmota use the appropriate TuyaSend commands. To have all the features in the webUI would take a lot of advanced scripting and, for me, it doesn’t make sense to do so since I use Home Assistant as the center of my smart home. Integration into Home Assistant is split off to a second article here.

Explore more like this
Replace Tuya CB2L, WB2L, BW2L Modules with ESP
Replace Tuya TYWE2L, CB2L, WB2L, WR2L, WBR2L, BW2L and similar Wi-Fi modules with an Espressif ESP32 or ESP8266 light module.

Comments