Sonoff NSPanel Pro Secrets, Tips and Tricks

Summary
A collection of secrets, tips and tricks to making your NSPanel Pro even better.
Shopping links in this article are affiliate links and I earn a small commission when you buy through them
This guide applies to:
I assume you already have adb shell access to the panel.
NSPanel Pro Tools
In January 2023 began development of NSPanel Pro Tool, an app directed to making the NSPanel Pro easier to use and aims to replace the Automagic solution.
Features in v1.0:
- support wakeup on proximity sensor trigger
- support wakeup on touch
- support auto launch application
Download it from GitHub and sideload to NSPanel Pro.
Emergency Recovery
Sonoff NSPanel Pro has a protection mechanism that will boot the firmware from a recovery partition in case of a firmware update failure. If you messed up something big time you can trigger this emergency recovery and factory reset everything with the following procedure:
Power on the device and wait until the Sonoff logo boot animation starts playing then power it off. Power it on again and repeat the process 5 times. After that the panel will boot into “Update Firmware Protect Mechanism” and factory reset everything to the version stored in the recovery partition.
Make Any App Default Launcher
If you want your dashboard app to start as the default launcher. Download and install Target Home Launcher. Open it and select your dashboard as the default. A warning will pop-up to set it as the default home app. Set “Target Home Launcher” as ALWAYS.
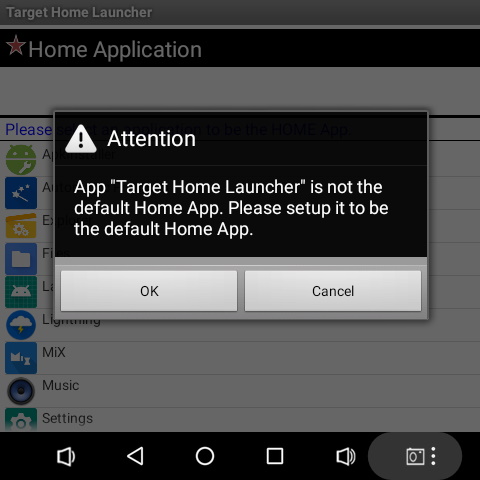
Now your dashboard app will pop up on boot or when pressing Home button.
You can open the Ultra Small Launcher via ADB:
adb shell monkey -p l.l 1
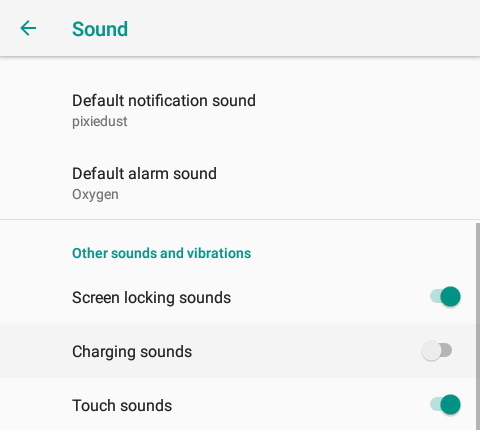
Turn Off Startup Sound
You know that annoying sound that plays while the NSPanel Pro boots. Well, it’s easy to turn off. Just navigate to Settings > Sound > Advanced and toggle Charging sounds off.
Upgrade TTS Voice
PicoTTS installed on NSPanel sounds horrible and too robotic. To make it a lot better download and install Speech Services by Google arm64-v8a.
Once installed navigate to System > Languages and input > Advanced > Text-to-speech output > Preferred engine and select “Speech Services by Google”


See more about sending TTS notifications from Home Assistant to HA Companion.
Mock Location
Some apps require location services enabled. Since NSPanel Pro doesn’t have a GPS we’ll have to fake the location.
Download and install a fake location app such as Fake GPS or Fake Traveler.
Navigate to Settings -> System -> Developer options -> Select mock location app and choose your app.
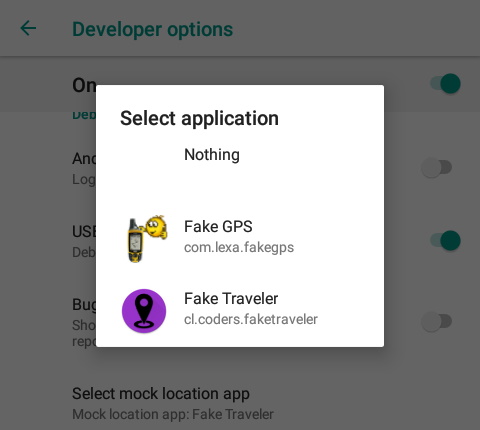
Open your fake location app and set the coordinates.
Debloat Apps
To save on memory you can debloat the NSPanel Pro and disable or uninstall some of the apps. It is best to be in su shell for this.
You can disable the app to prevent it from running but it will still stay in the system. You can disable some apps from the Settings > Apps menu. For others use:
pm disable [package.name]
Here’s a list of the apps that should be safe to disable:
- com.eWeLinkControlPanel - The default app and launcher
- com.eWeLinkNSPro.dev - eWeLink’s version of the testing app
- com.rockchip.devicetest - Device Test
- android.rockchip.update.service - Update Service, it runs by itself occasionally
- com.android.gl2jni - Thomas’s Room
- com.smatek.test - hardware testing app
- android.rk.RockVideoPlayer - Video Player
- acr.browser.barebones - Lightning Browser
- org.chromium.webview_shell - WebView Browser Tester
- com.android.music - Music Player
- com.android.nfc - NFC service which we don’t need since there’s no NFC
- com.DeviceTest - yet another device test app
- com.cghs.stresstest - and another testing app, runs occasionally in background
To free up space on the device you have to uninstall the app but be aware some system apps cannot be removed this way. To uninstall use:
pm uninstall --user 0 [package.name]
List Packages
To list all the packages:
pm list packages
To list only disabled ones:
pm list packages -d 2>/dev/null
MQTT Broker
There’s a fully running mosquitto MQTT broker running on your NSPanel Pro. It is there because it’s used by the eWeLink Panel app to communicate with the Zigbee module.
The broker doesn’t require authentication so just connect with an MQTT client to the IP address and default port of 1883.
If you wish to change the configuration get root access with su and change the mosquitto.conf configuration file in /oem/siliconlabs_host/. Here’s quick guide on setting up mosquitto broker.
SSH Access
There’s also an SSH server running on standard port 22. To be able to login and control the panel via SSH instead of ADB you need to change the configuration file and add in your RSA public key. Needs su
mount -o remount,rw /system
You have to edit the file /etc/ssh/sshd_config. You can use Mixplorer and edit the file in the GUI or install Busybox and edit in adb shell using busybox vi /etc/ssh/sshd_config.
uncomment line with:
#PubkeyAuthentication yes
to
PubkeyAuthentication yes
To harden the security a bit and since I haven’t been able to find out the username and password to log in change PasswordAuthentication to
PasswordAuthentication no
add you RSA public key to /data/ssh/authorized_keys
echo [your_pubkey] > /data/ssh/authorized_keys
The shell is started with the script in /system/bin/start-ssh.
Install microG Services
This tip is from Memphis007 in comments, published here with edits:
You can also install microG services to use apps that require Google Play services functions. I’ve done it successfully and can now enjoy push notifications on my favourite smarthome app, Jeedom Connect.
To do so you must :
- Install & activate FakeGApps Xposed module
- Install F-Droid and add microG repo: https://microg.org/download.html
- Install Gmscore and GsfProxy from F-Droid
- Install UnifiedNlp backend of your choice from F-Droid (I chose the Mozilla one)
- Install FakeStore app from F-Droid
- Open microG parameters and ensure log in and cloud messaging are enabled
- Grant every permission to microG (the usual Android way)
- Reboot the NSPanel Pro
- Deactivate battery optimisation for microG
- Ensure everything is setup correctly with “self check” function in microG parameters.
Enjoy!
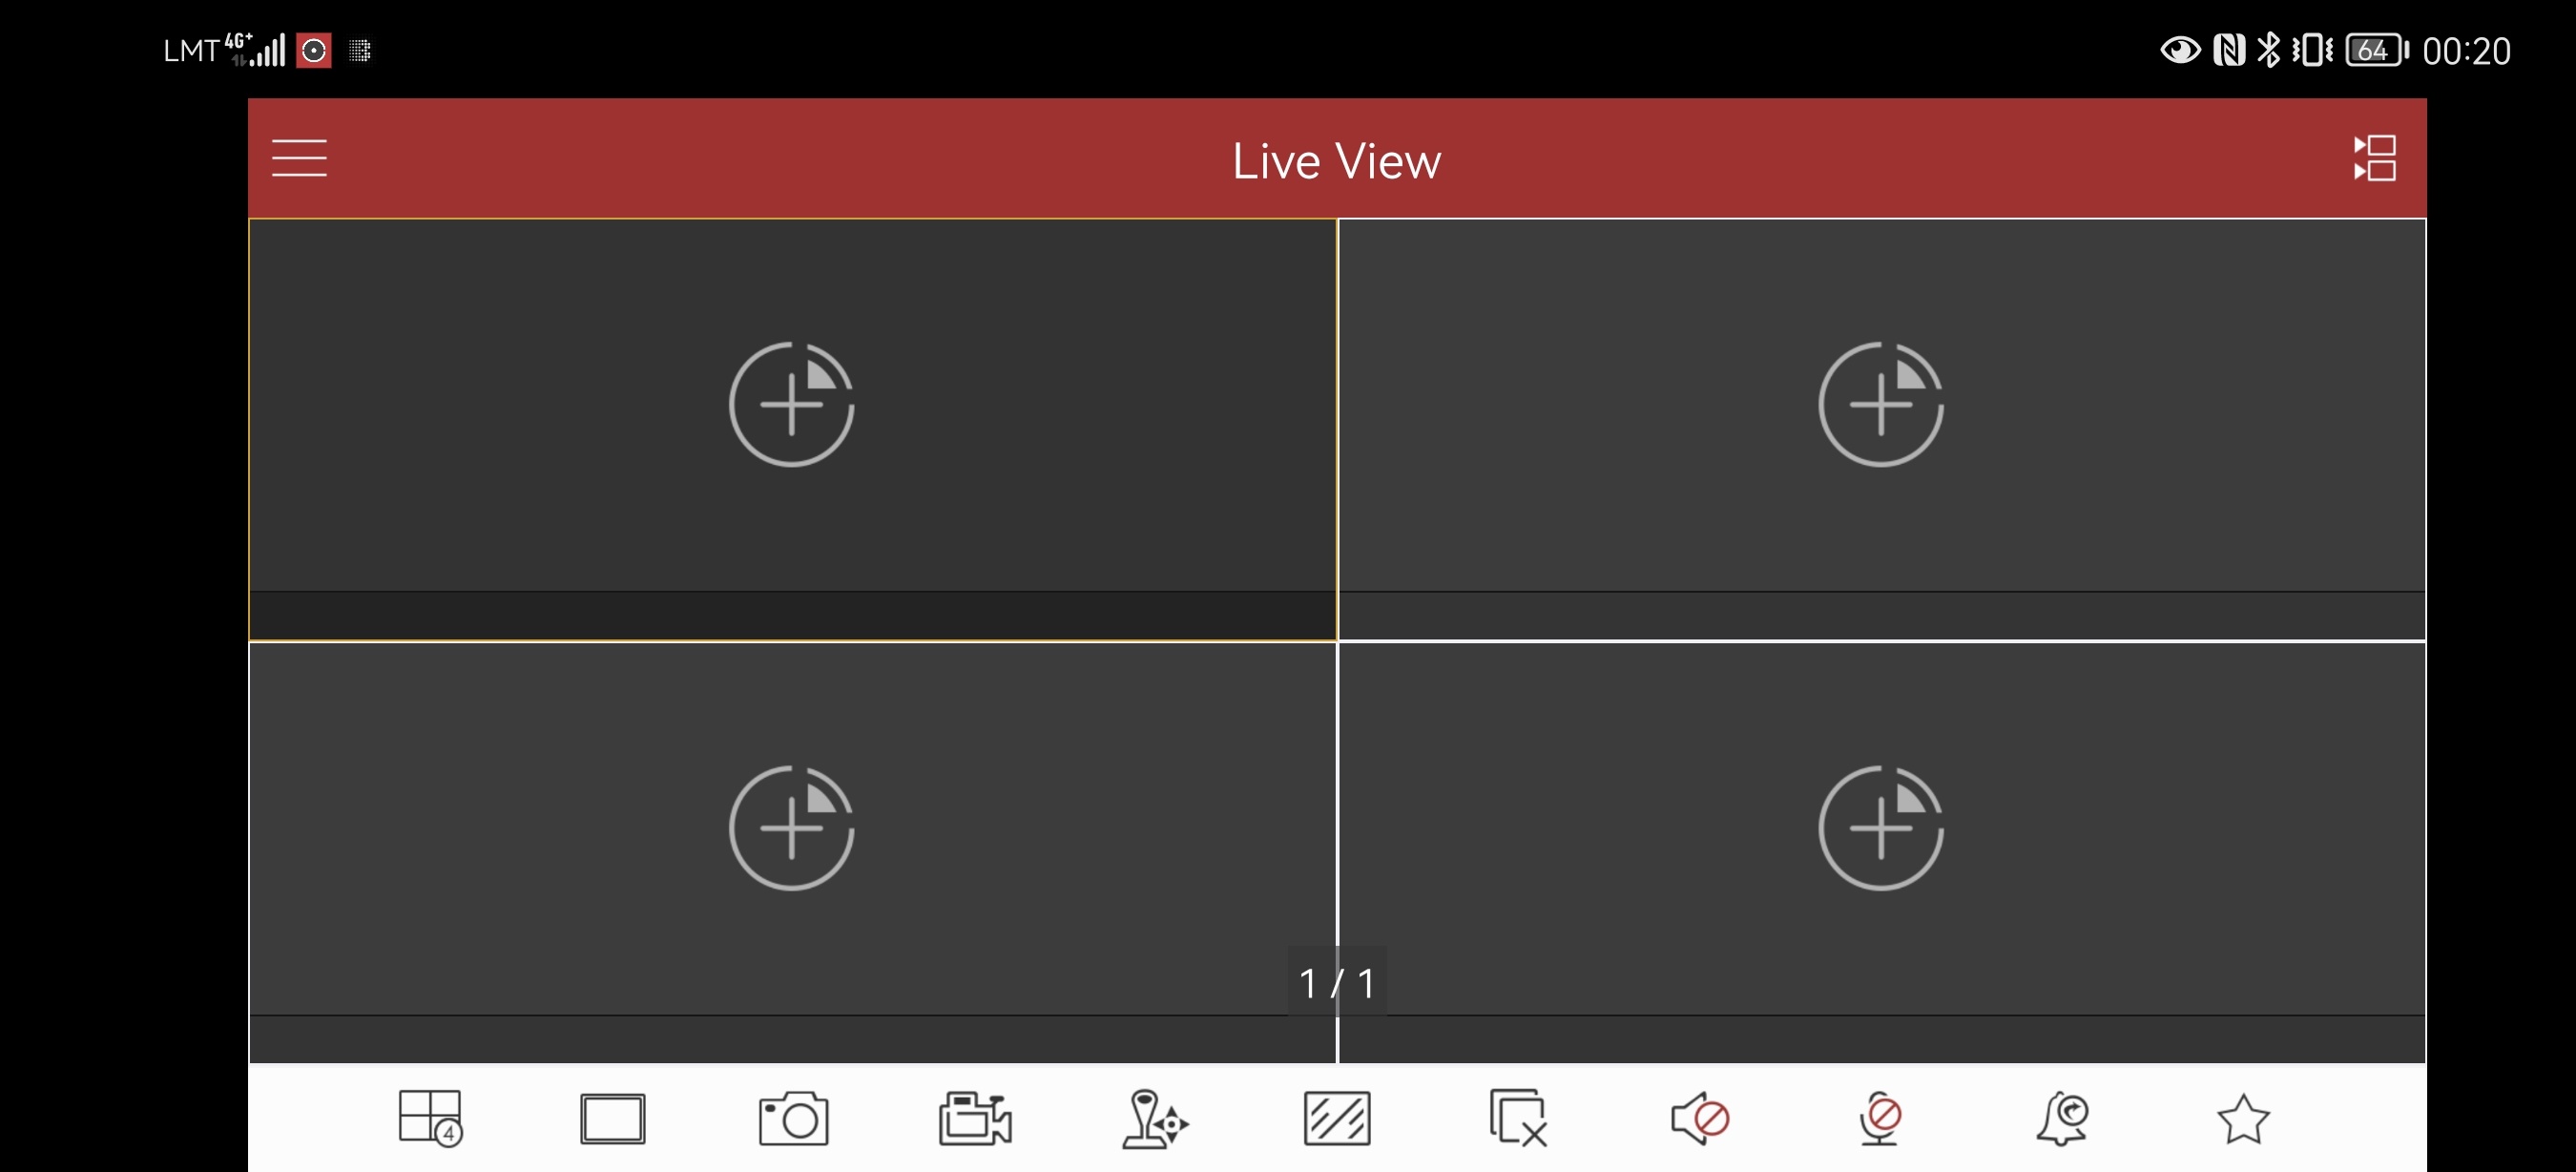
Install HikVision App
Submitted by Vlad Kivika in comments, published here with edits:
I have installed, Hikvision app for DVR/NVR. Works good but needs some easy tricks to run properly.
First of all, Hik-Connect is not working on NSPanel. Last version couldn’t work on rooted devices, but earlier versions couldn’t login to the account, because they are too old.
I’ve tried some additional apps from Hikvision and stopped on iVMS4500, which worked good enough to check surroundings. First of all, you need to download from APKMirror or Apkpure and sideload the app. It will take some time.
when installation is complete, you will see the icon in the launcher. Open the app and:
- Select your Region
- We go to the main screen, looks like demo
- On the top right screen, push icon, which looks like 2 cameras
-
- New Device
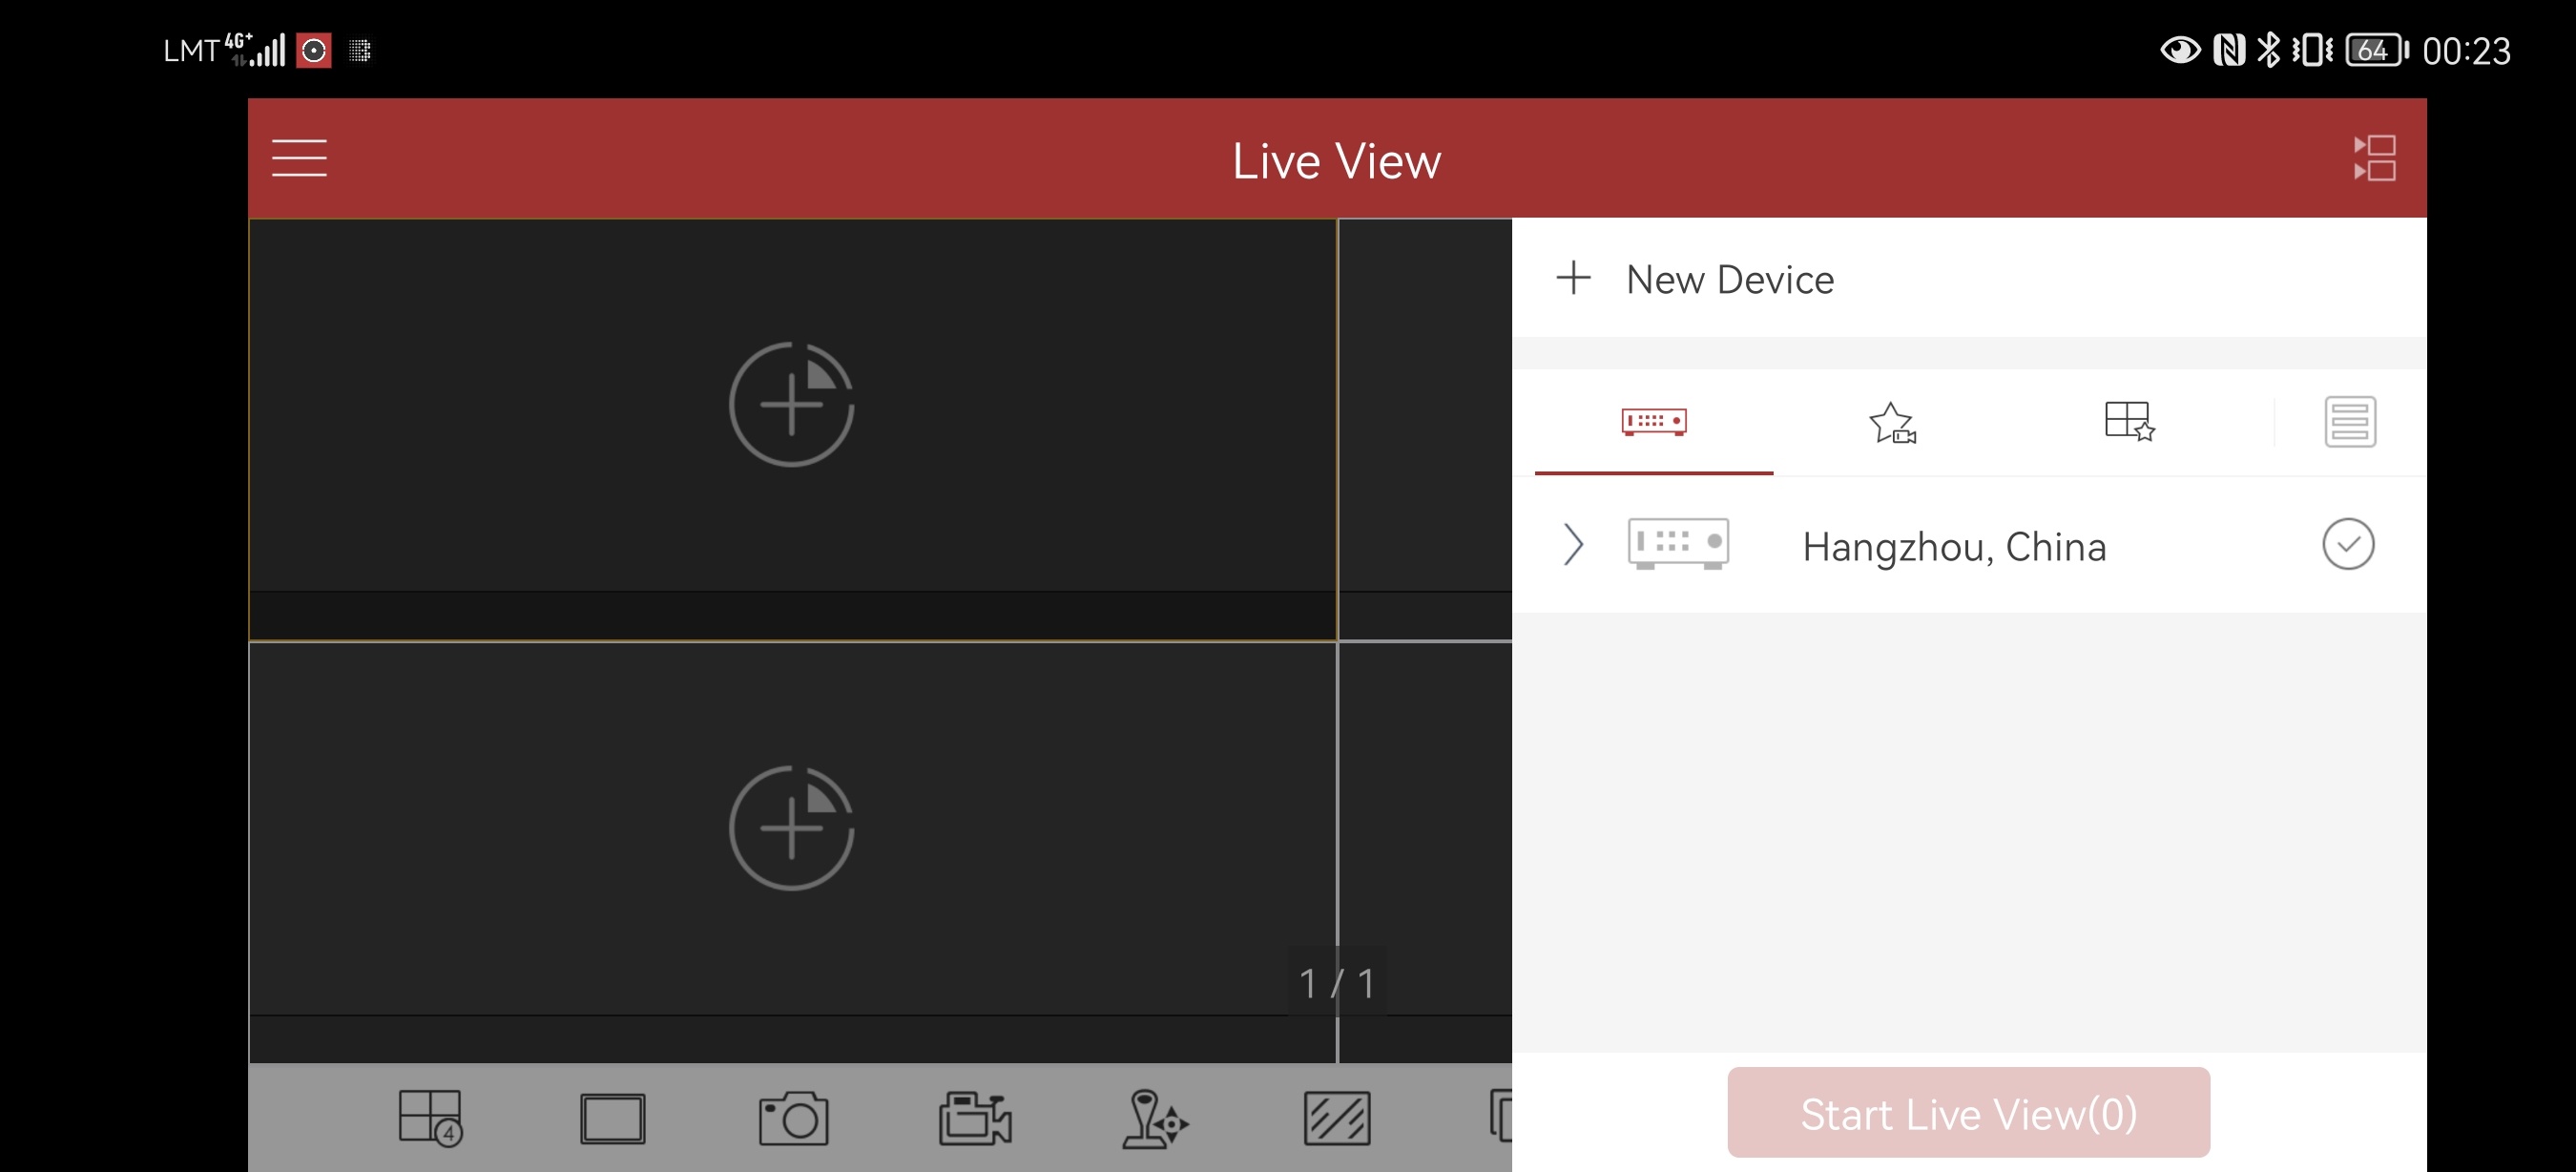
- New Device
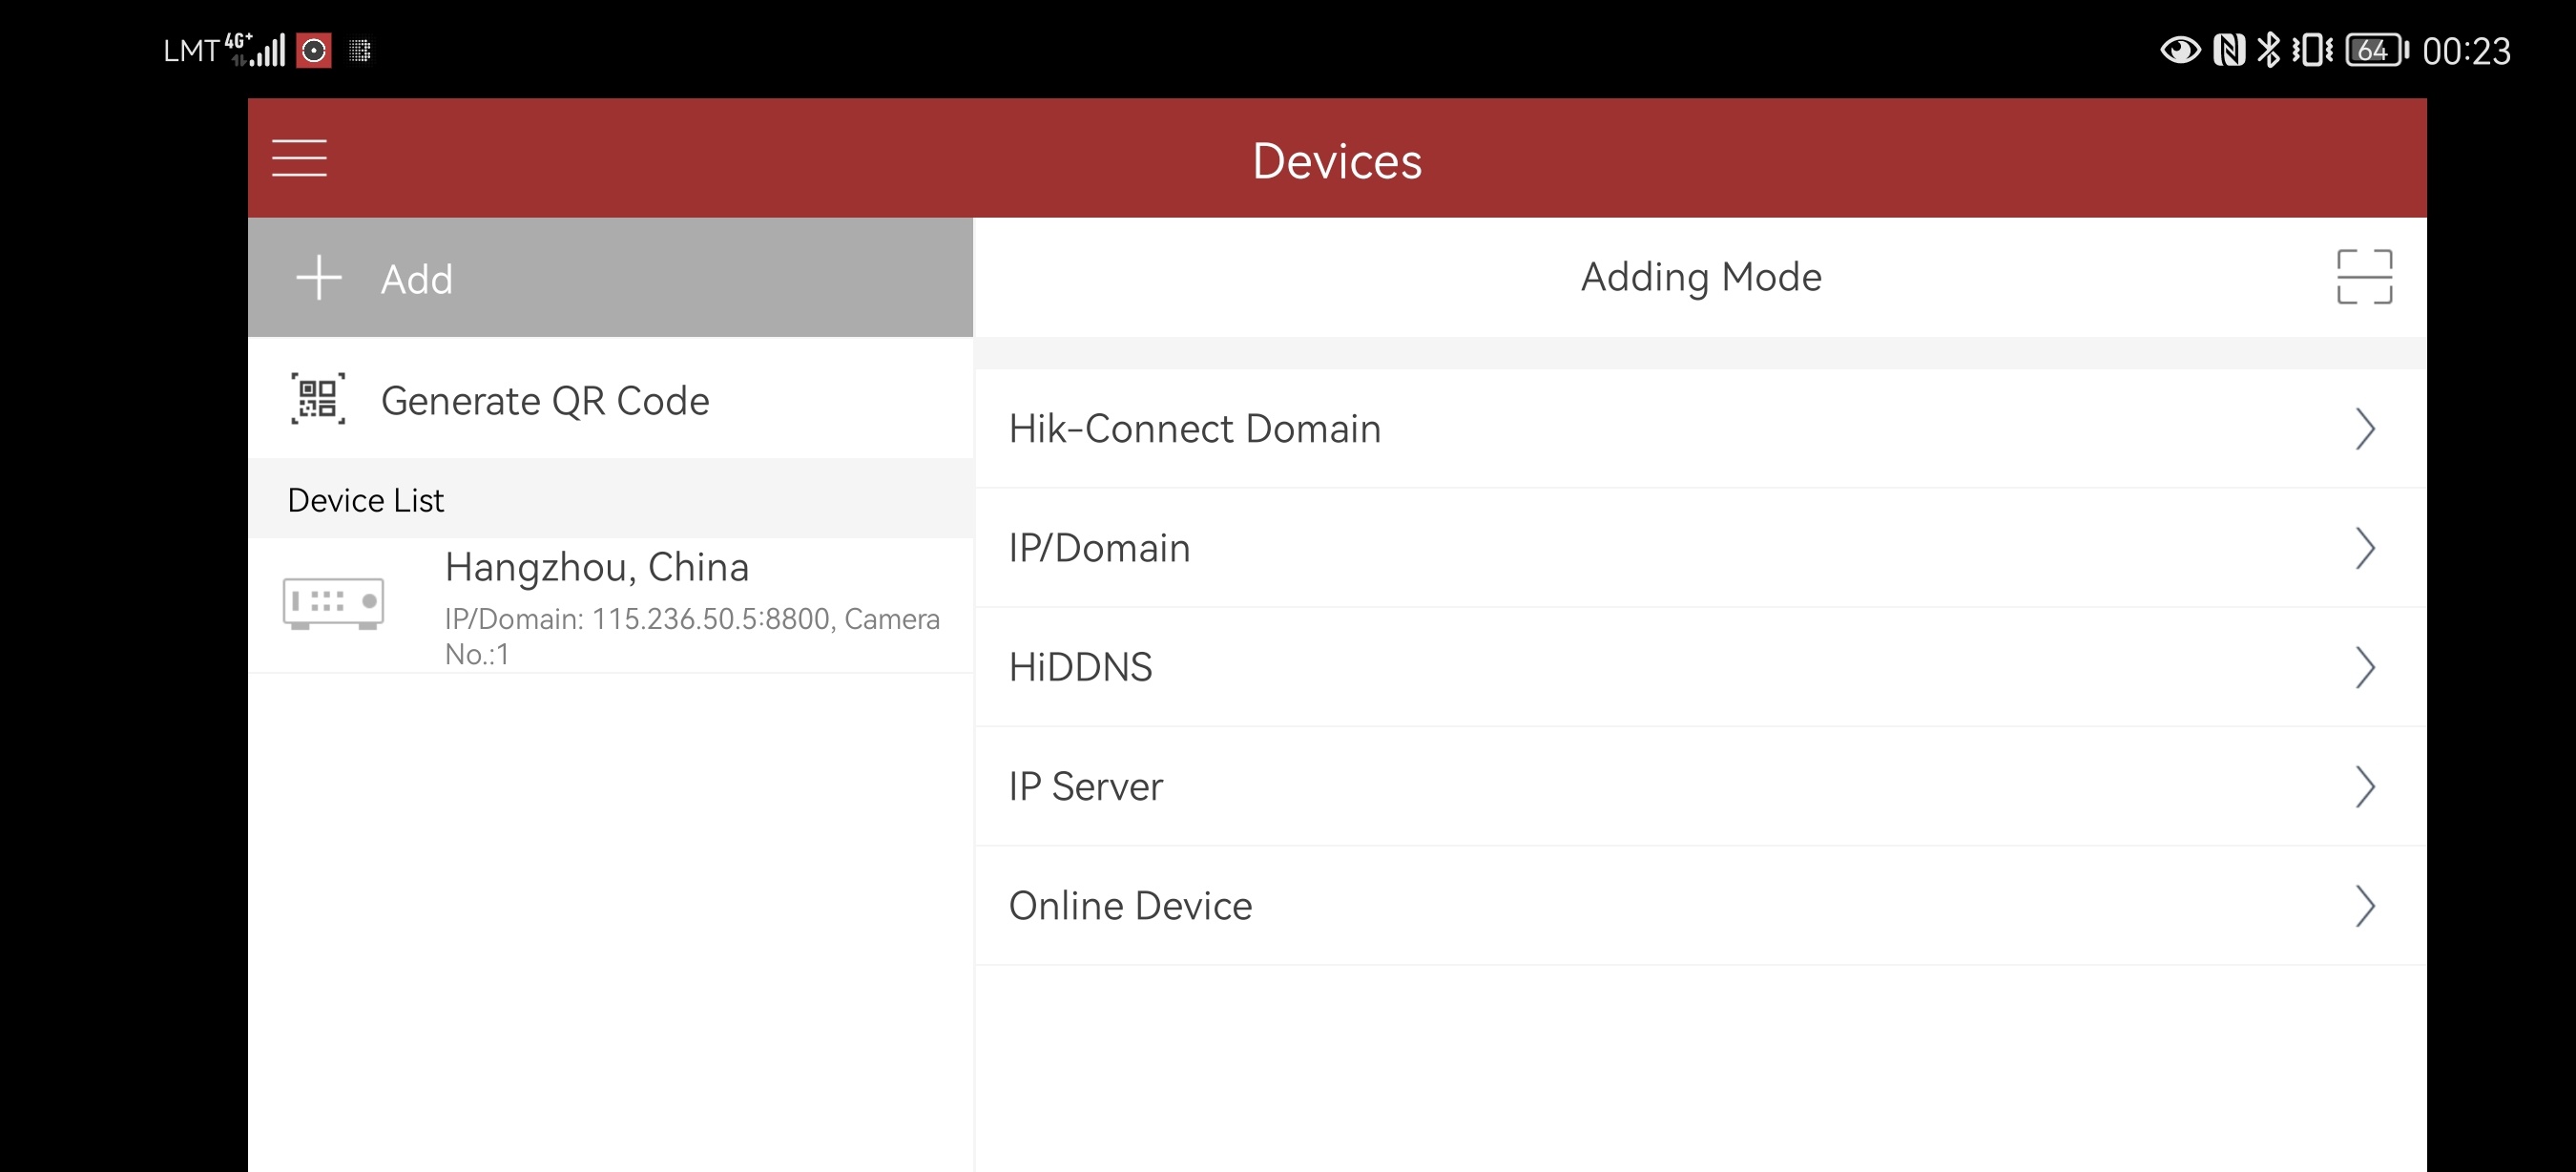
- Adding mode, choose IP/Domain or most relevant for you, input necessary data and save
- Choose your NVR / DVR and choose Live View
There you can manage your cameras, and default views.
But the problem is that the screen of our NSPanel Pro is damn small. To bring all this to more or less compatible view, you need to go to Settings –> Display –> Advanced –> Display Size and move the toggle to Small. Don’t hurry to run away from the Display Settings. You need to go up to Screen Rotation and set value to 90. If you have your panel already fixed, you will need to disassemble it from the mount place and physicaly turn it by 90 degrees. I will explain why it’s necessary just right now (but may be some one will found better solution for this).
When all above were managed, you will need to come back to iVMS4500 app, push the 3 lines icon on the left top corner, then go to Configuration and turn on Tablet Mode.
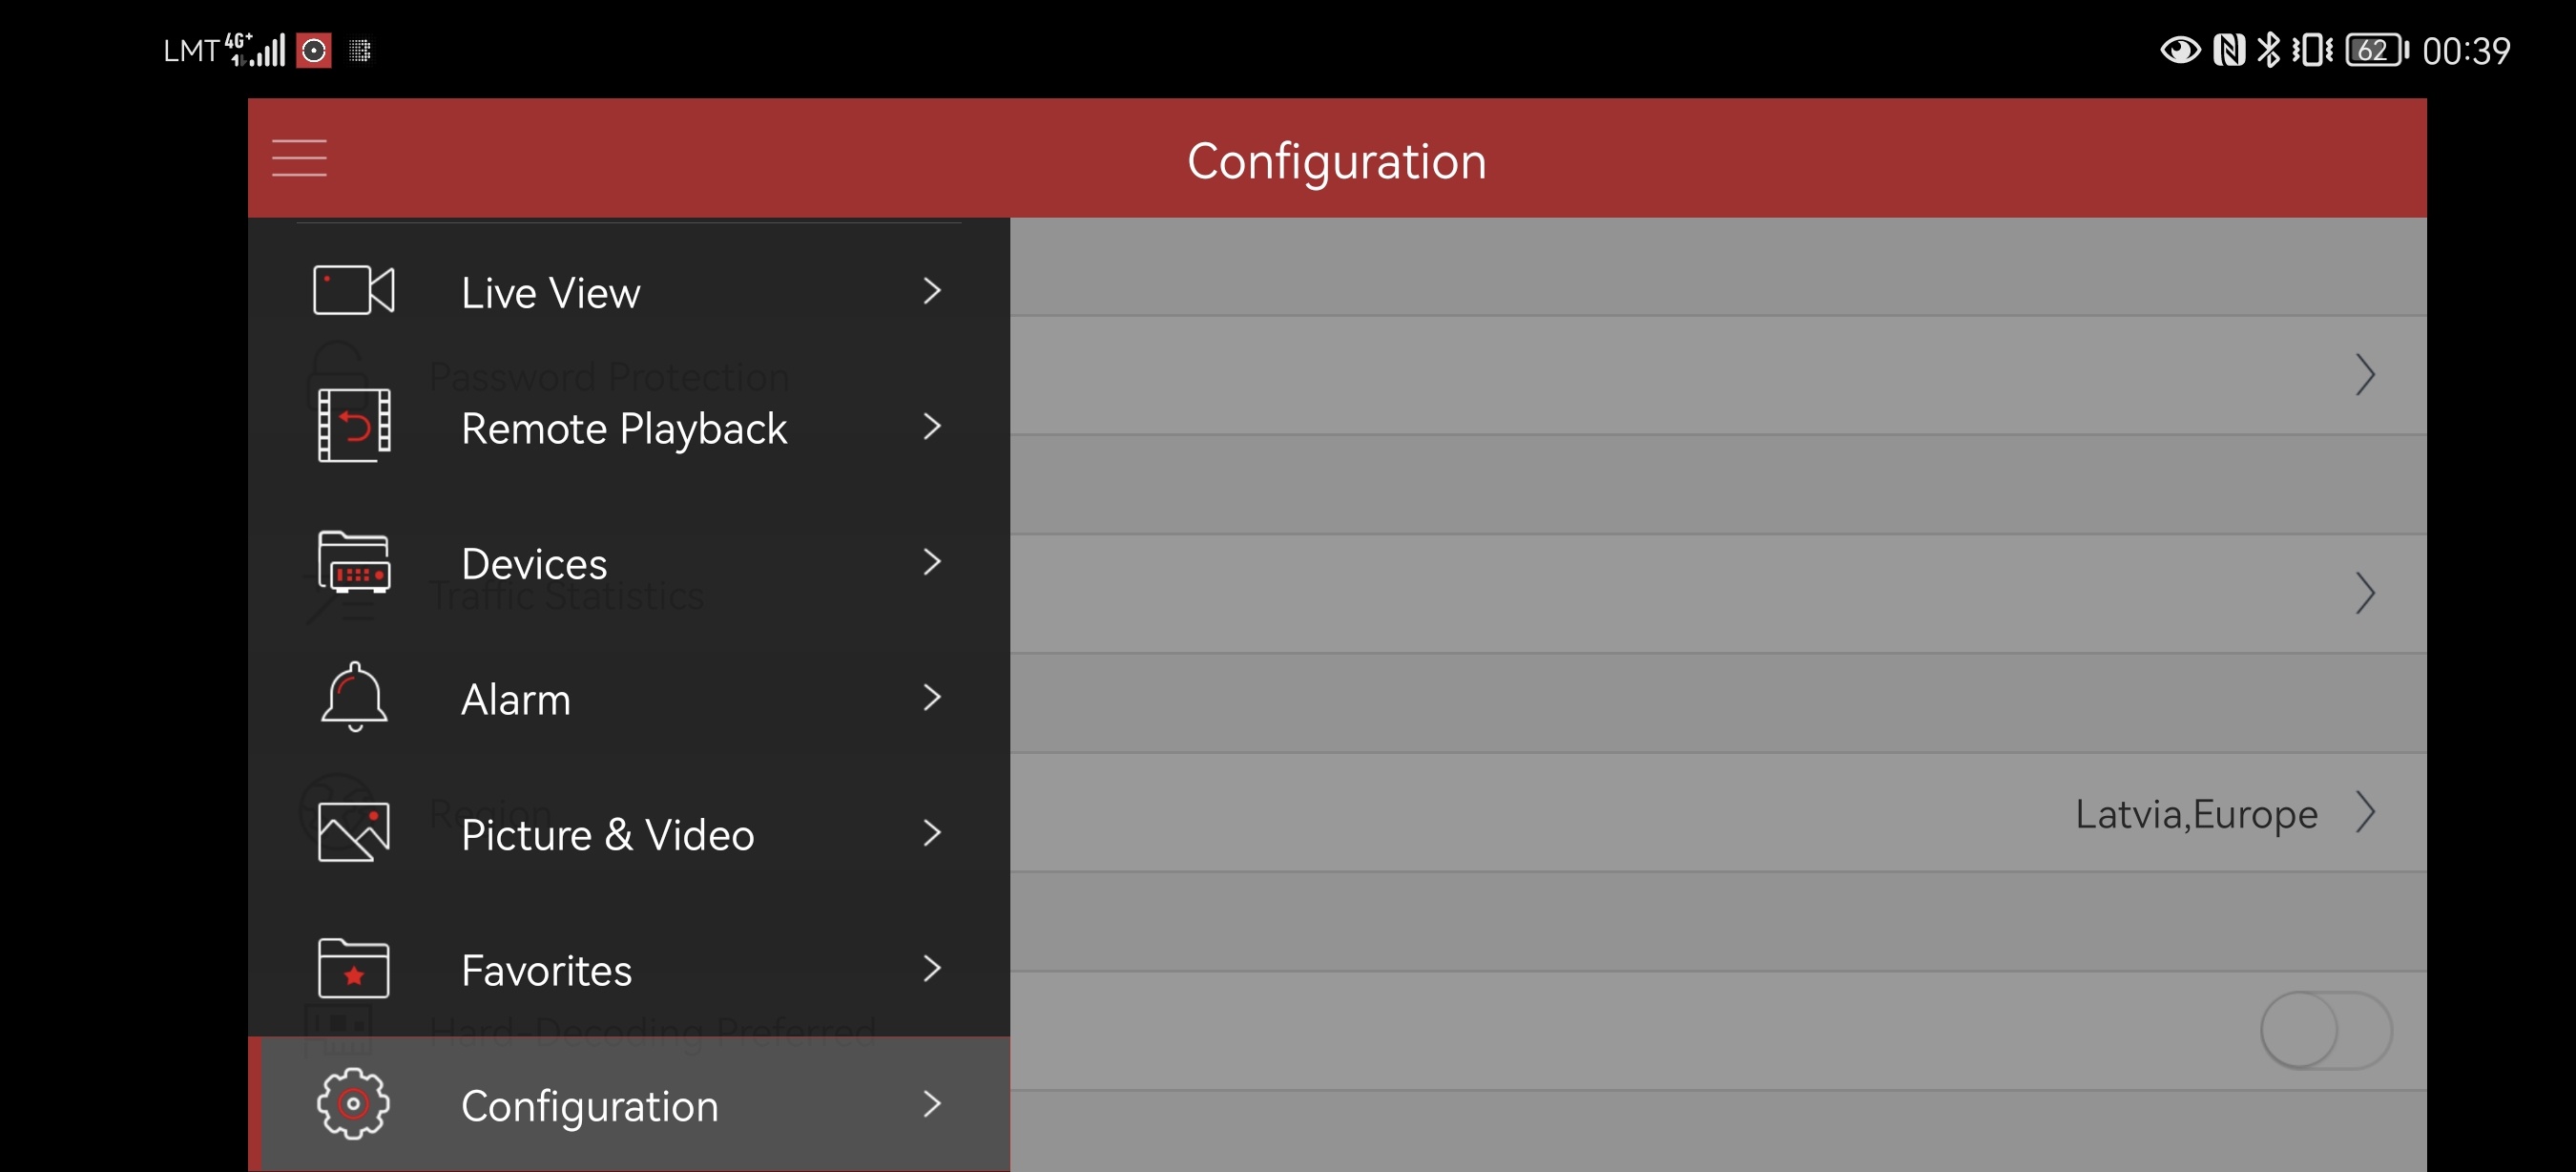
You will be dropped from the application, but when you come back, it will work. When you turn on Tablet Mode, application will turn your screen bz 90 degrees, that’s why we already rotated the screen in Display Settings.
Share What You’ve Done
Share with me what you’ve managed to do with it on Twitter or in comments!

Explore more like this
Replace Tuya CB2L, WB2L, BW2L Modules with ESP
Replace Tuya TYWE2L, CB2L, WB2L, WR2L, WBR2L, BW2L and similar Wi-Fi modules with an Espressif ESP32 or ESP8266 light module.
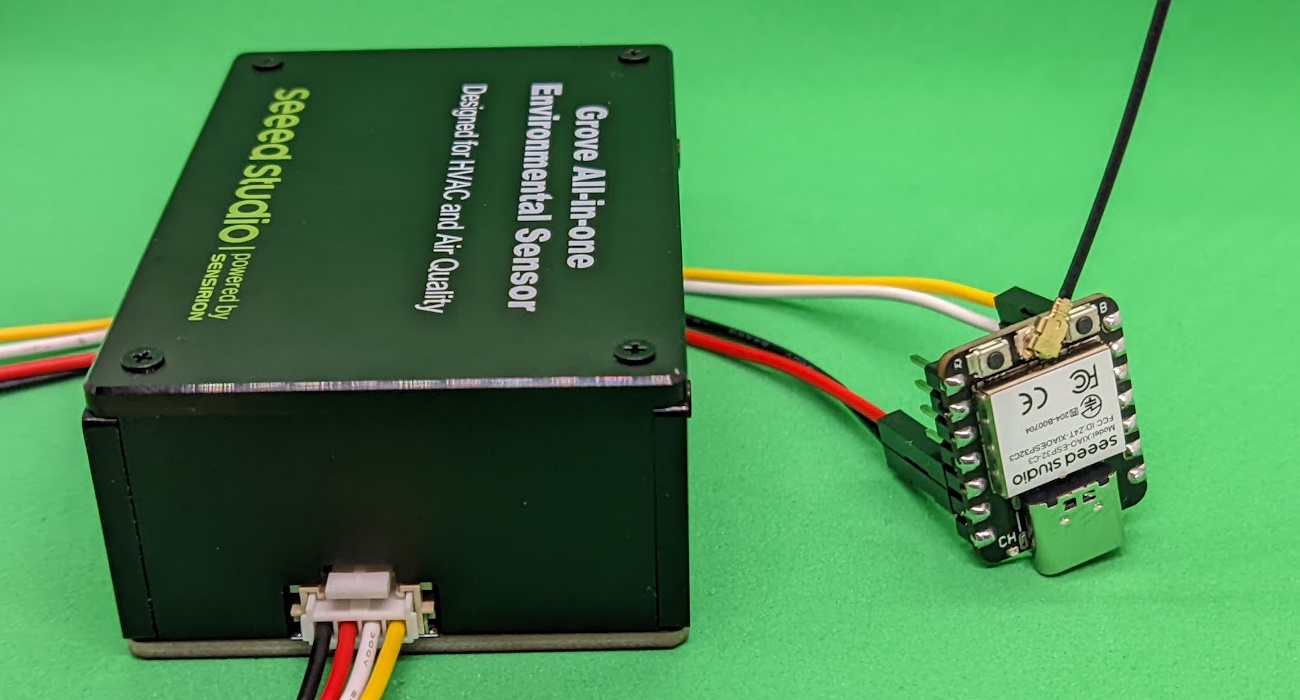
Seeed Studio Grove All-in-one Environmental Sensor with Tasmota
The Grove all-in-one environmental sensors from Seeed Studio (SEN54 and SEN55) detect various pollution indicators and can be used to monitor air quality in enclosed spaces. They’re built to easily...

Comments